uniCloud云开发之创建项目和对云数据库的增删改查
前言
uniapp官方文档
uniCloud官方文档
uview UI插件
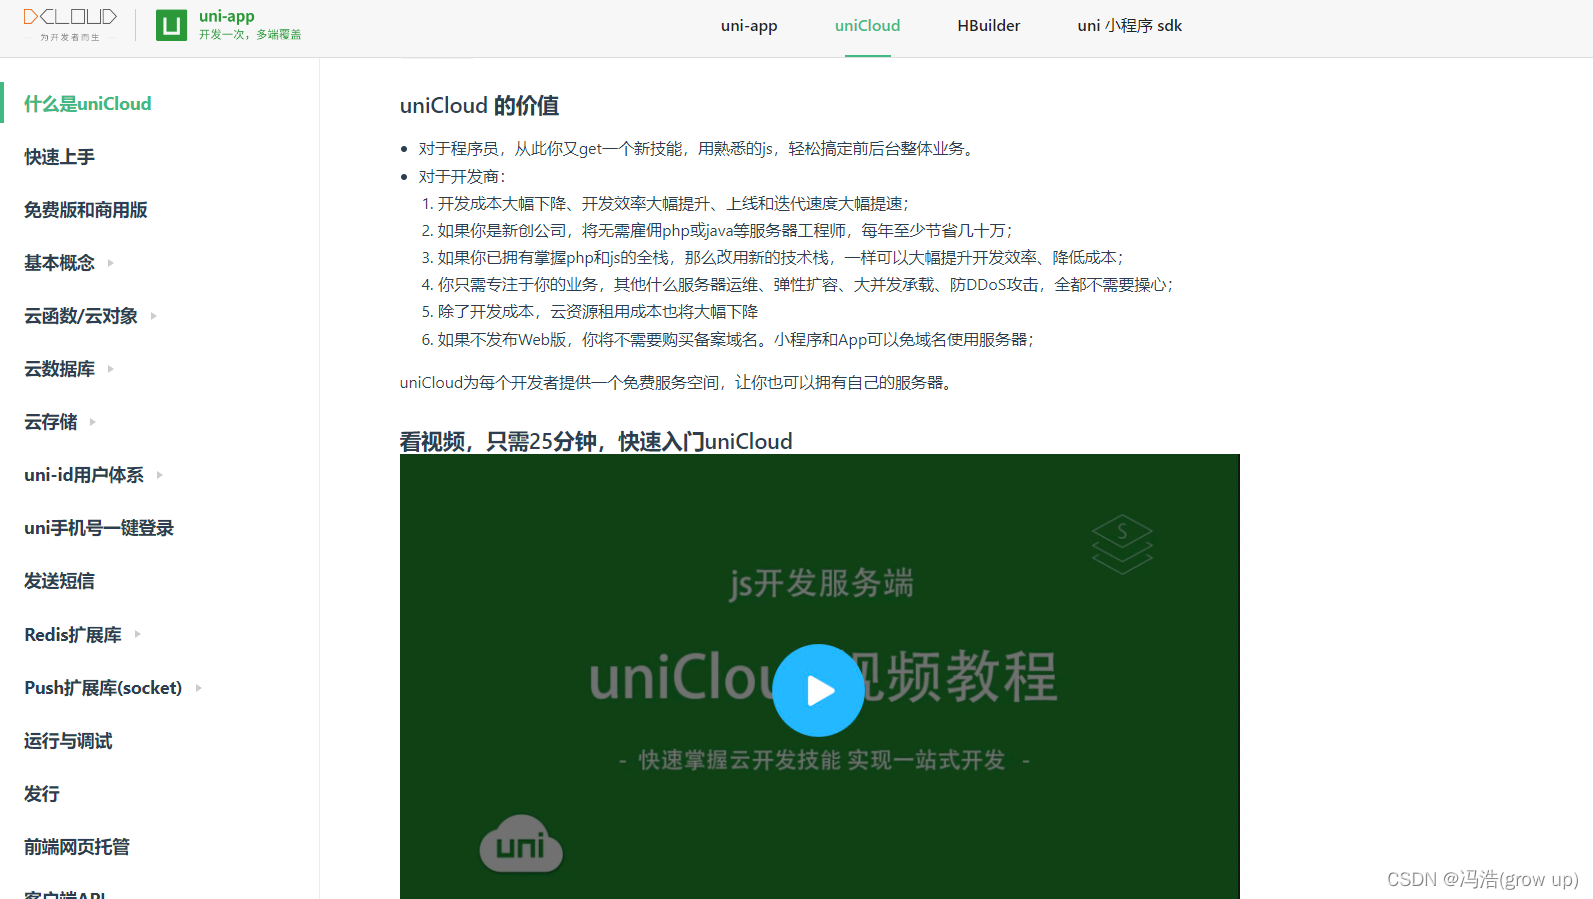
uniCloud 是 DCloud 联合阿里云、腾讯云,为开发者提供的基于 serverless 模式和 js 编程的云开发平台
uniCloud为每个开发者提供一个免费服务空间,让你也可以拥有自己的服务器(当前阿里云免费,腾讯云开始收费了)。
它的优势:
1、可以缩短开发周期,降低开发成本
2、如果你是新创公司,将无需雇佣php或java等服务器工程师,每年至少节省几十万;
3、如果你已拥有掌握php和js的全栈,那么改用新的技术栈,一样可以大幅提升开发效率、降低成本;
4、你只需专注于你的业务,其他什么服务器运维、弹性扩容、大并发承载、防DDoS攻击,全都不需要操心;
5、除了开发成本,云资源租用成本也将大幅下降
6、如果不发布Web版,你将不需要购买备案域名。小程序和App可以免域名使用服务器
7、使用uniCloud,可以自己一个人把小程序的前后端开发都搞定。
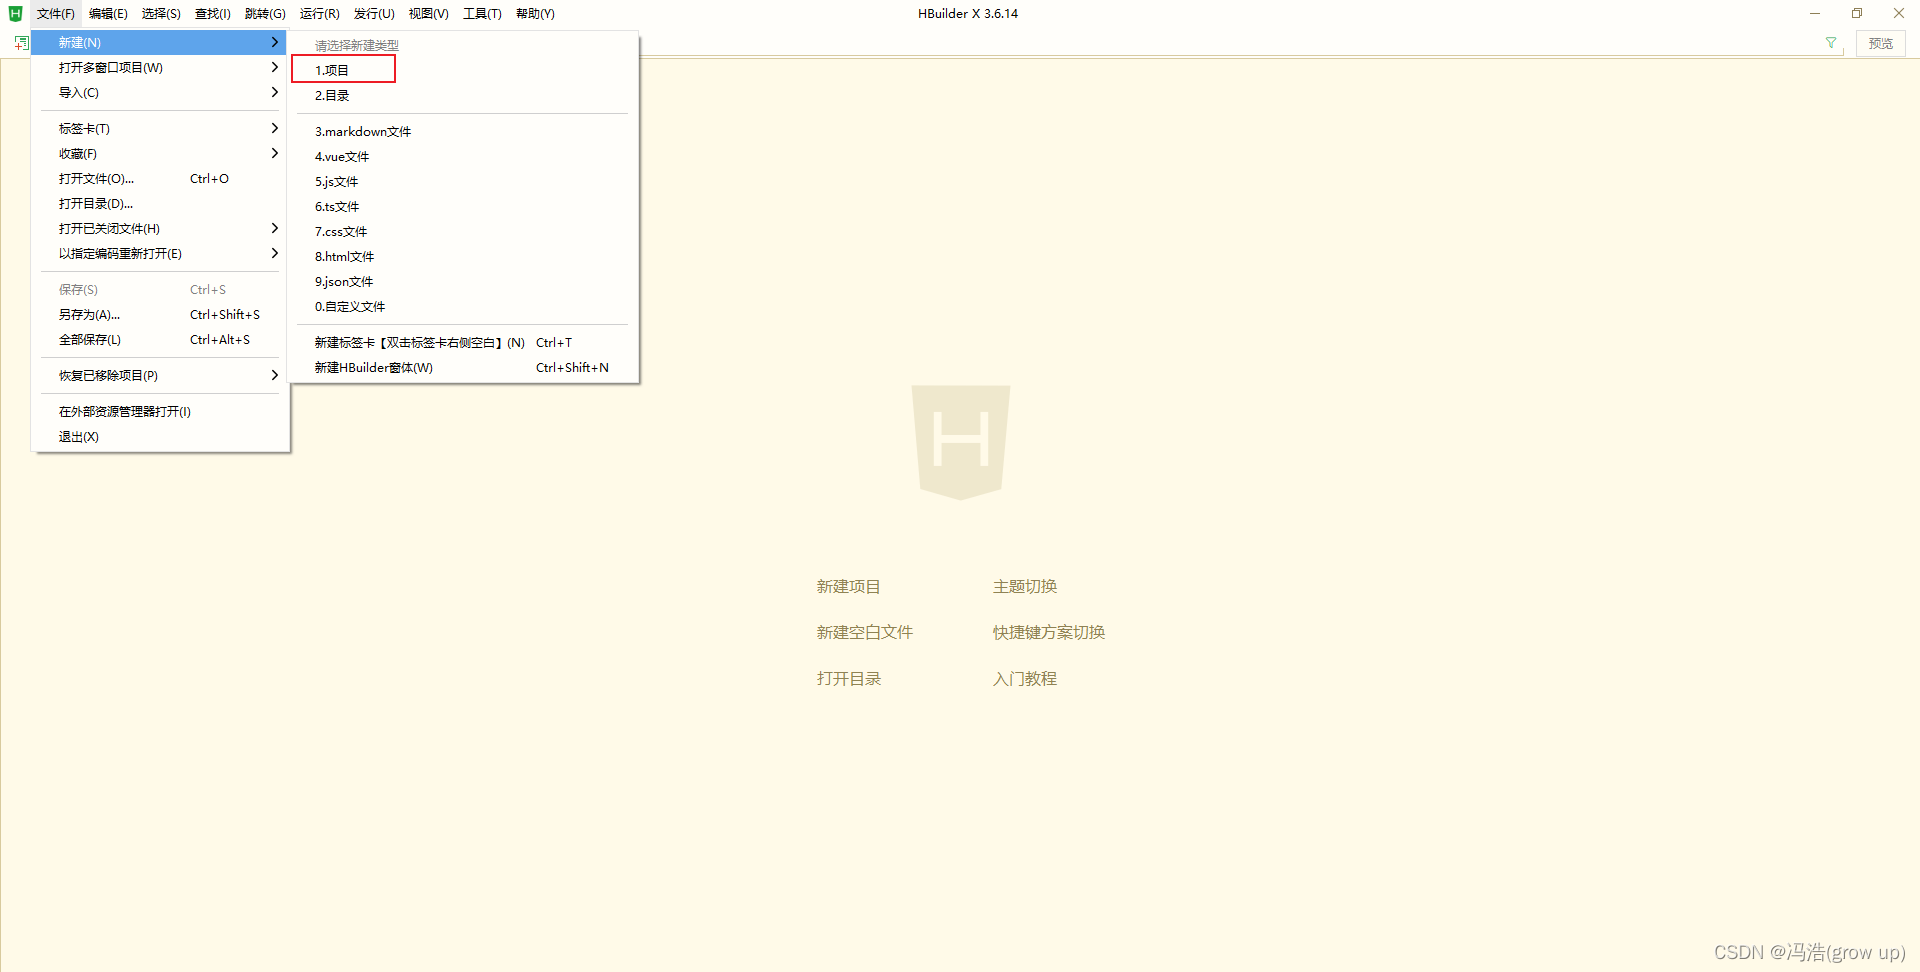
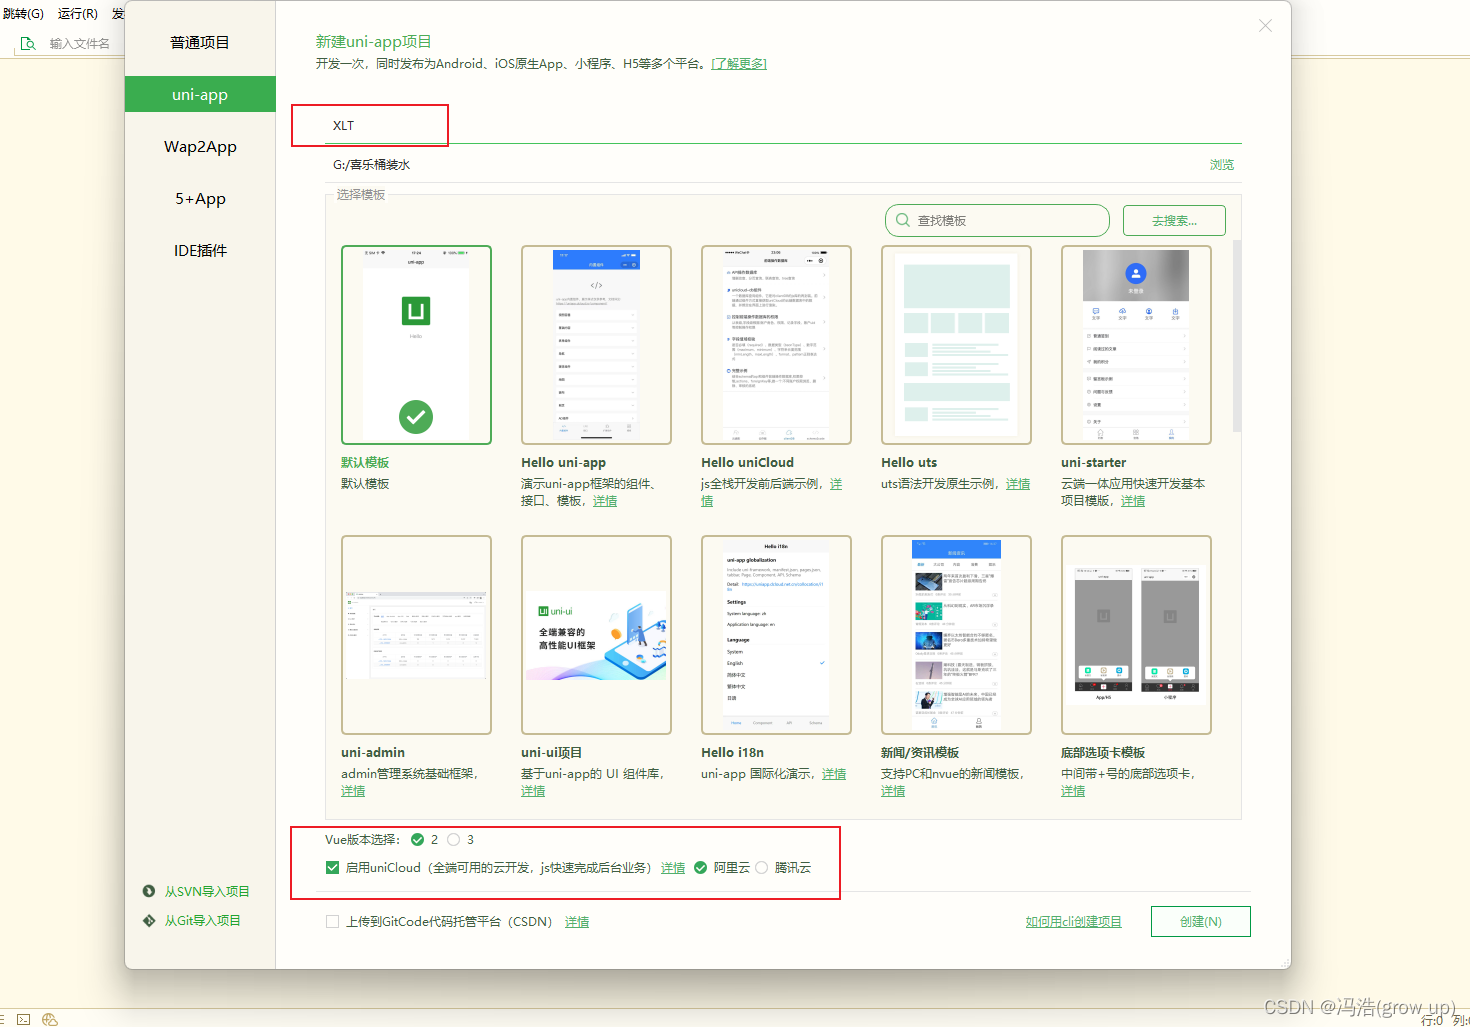
1.下载最新版的HBuilderX,并创建一个uniCloud的项目
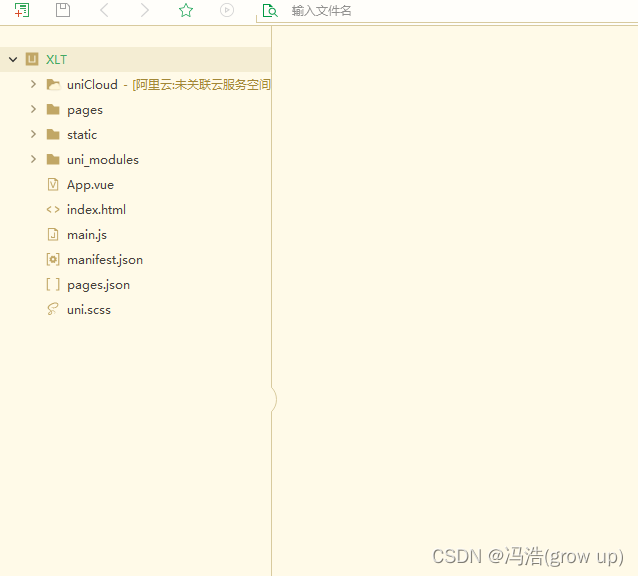
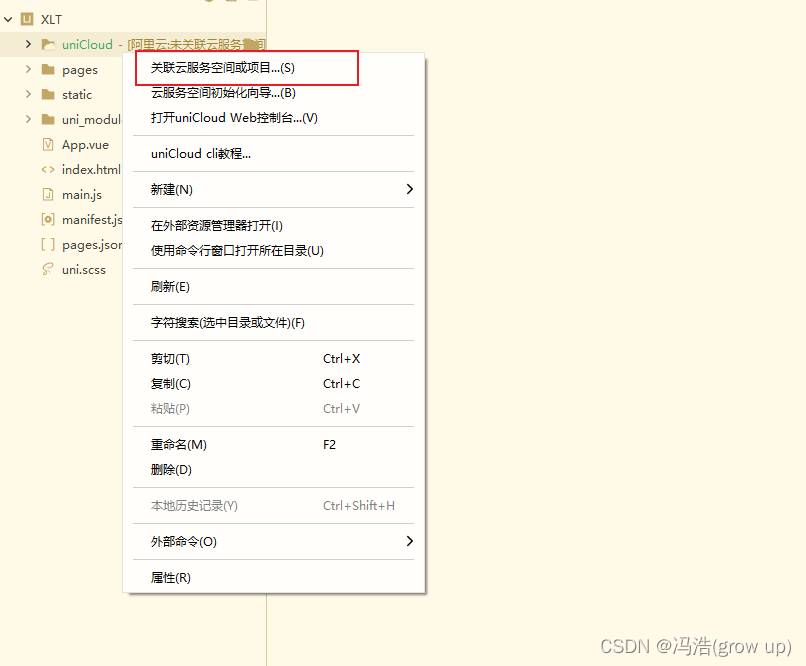
2、关联云服务空间
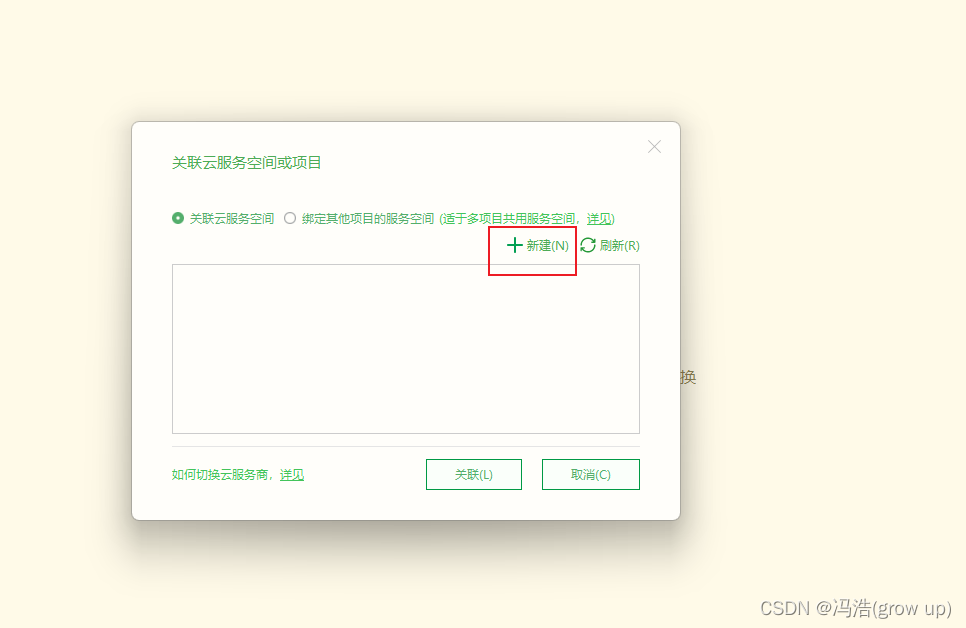
3、会出来需要登录没有登录的去注册一个就好了,然后新建

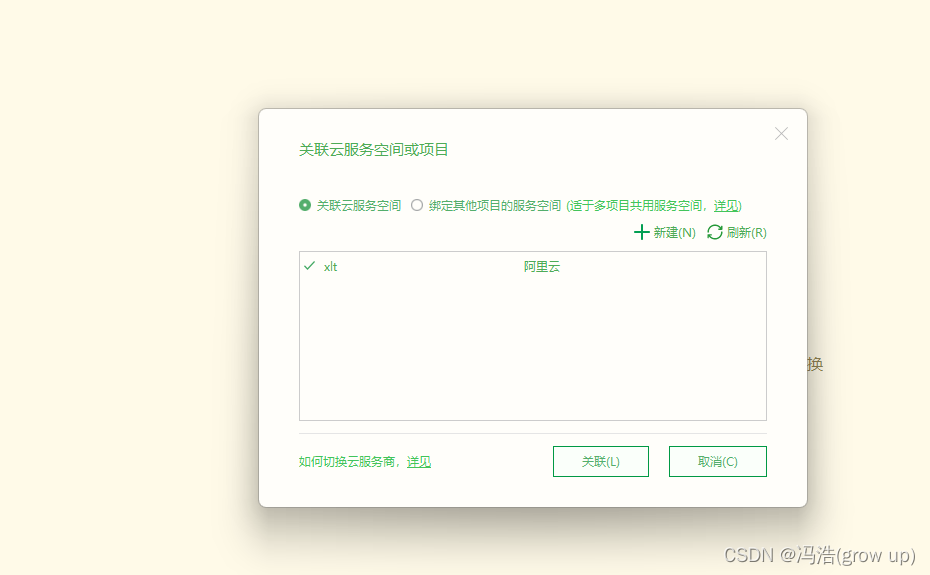
4、这样就关联好云数据库了

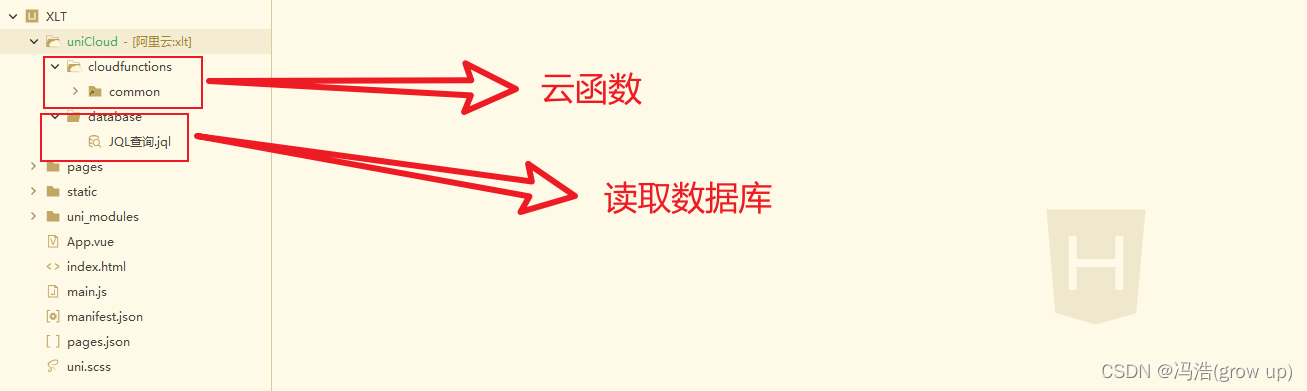
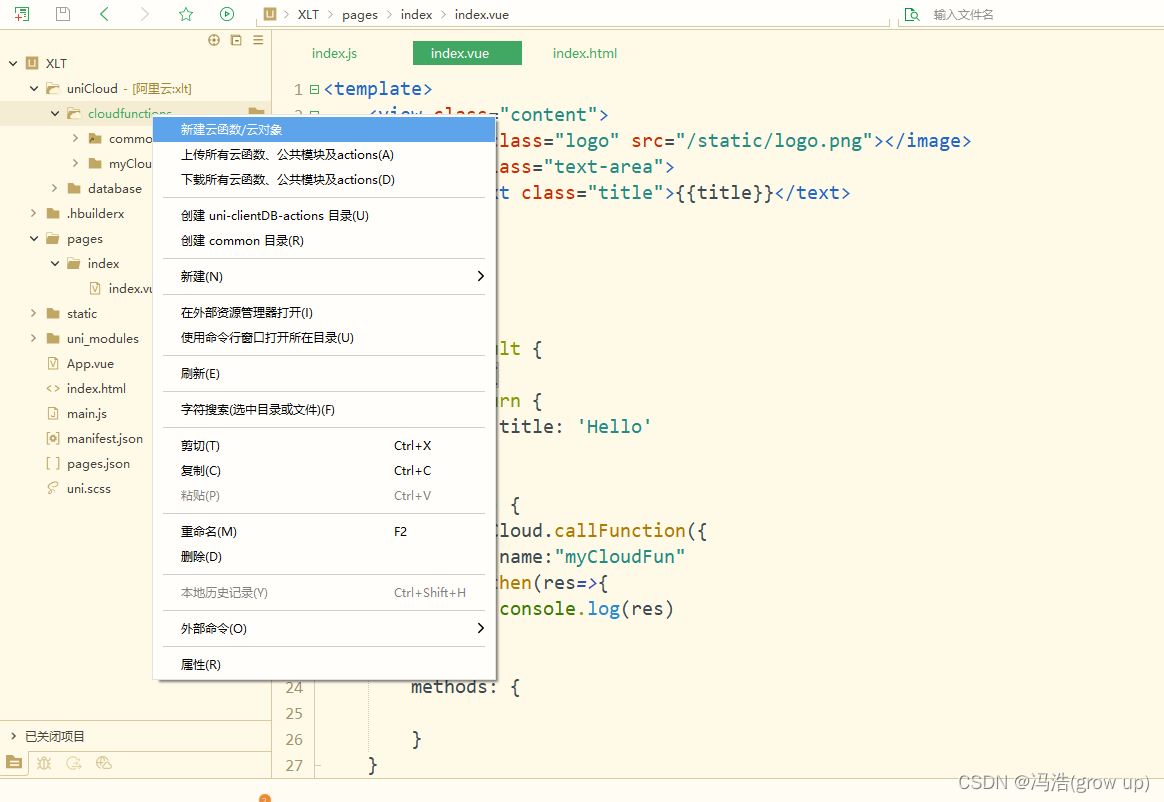
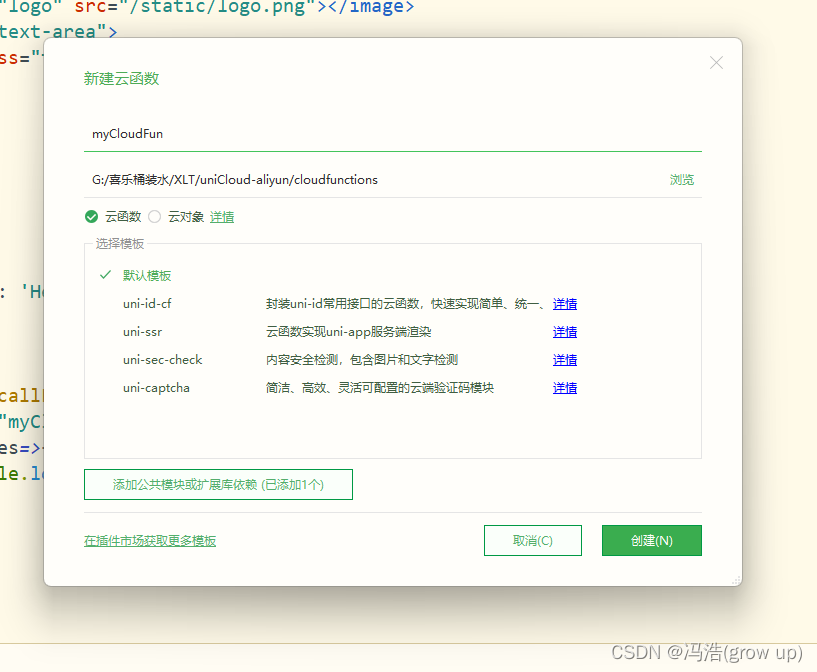
5、创建云函数

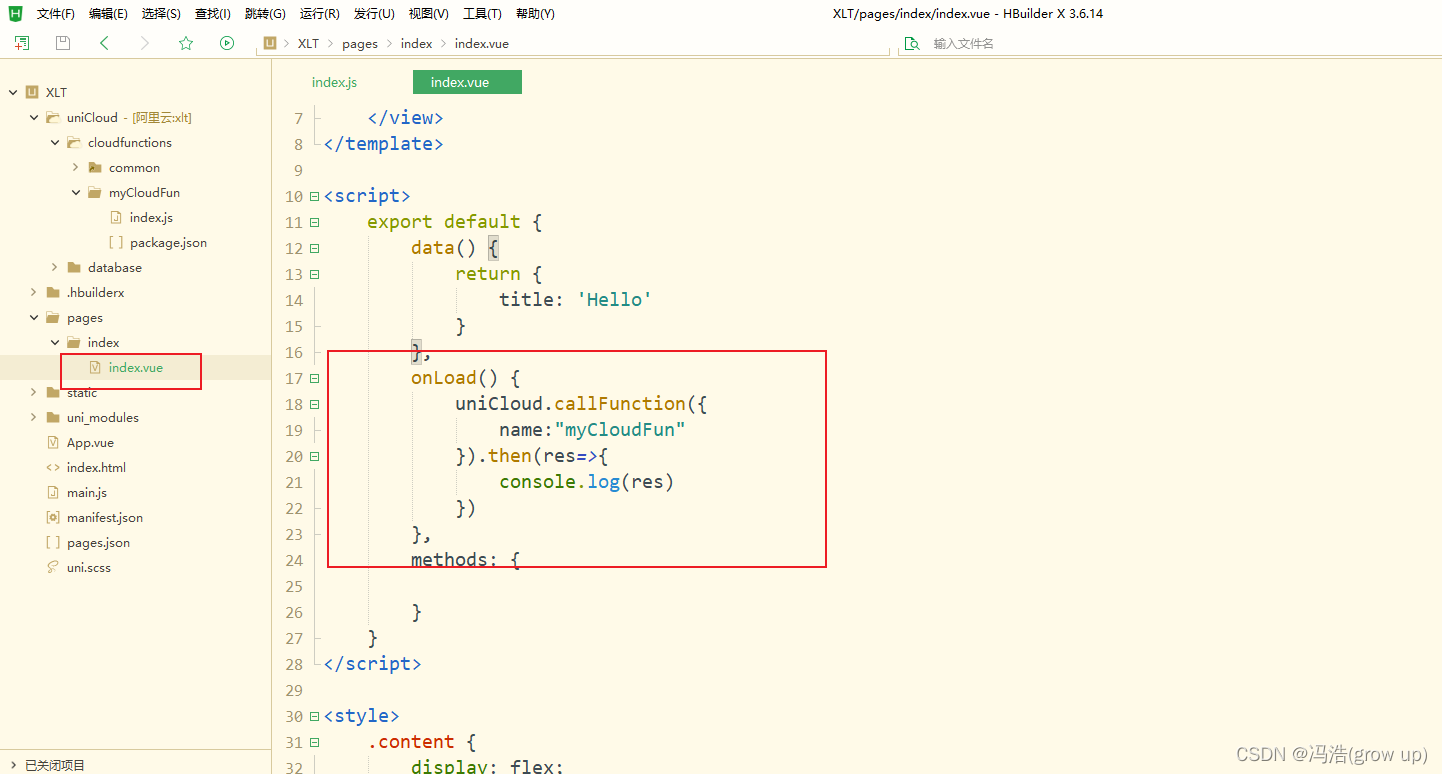
6、调用云函数
(1)编辑云函数

(2)编辑首页文件
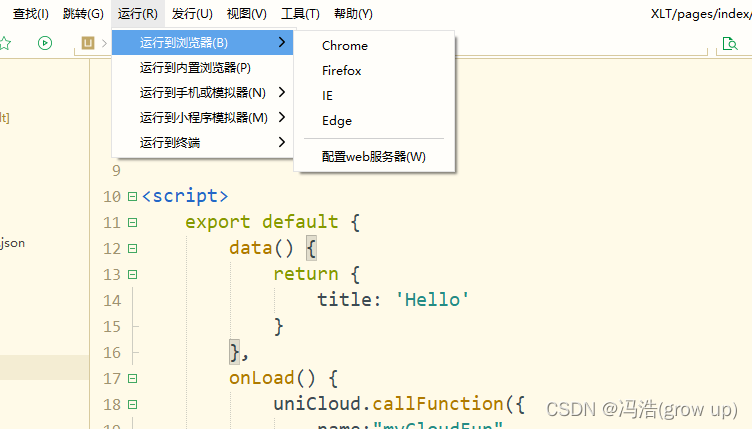
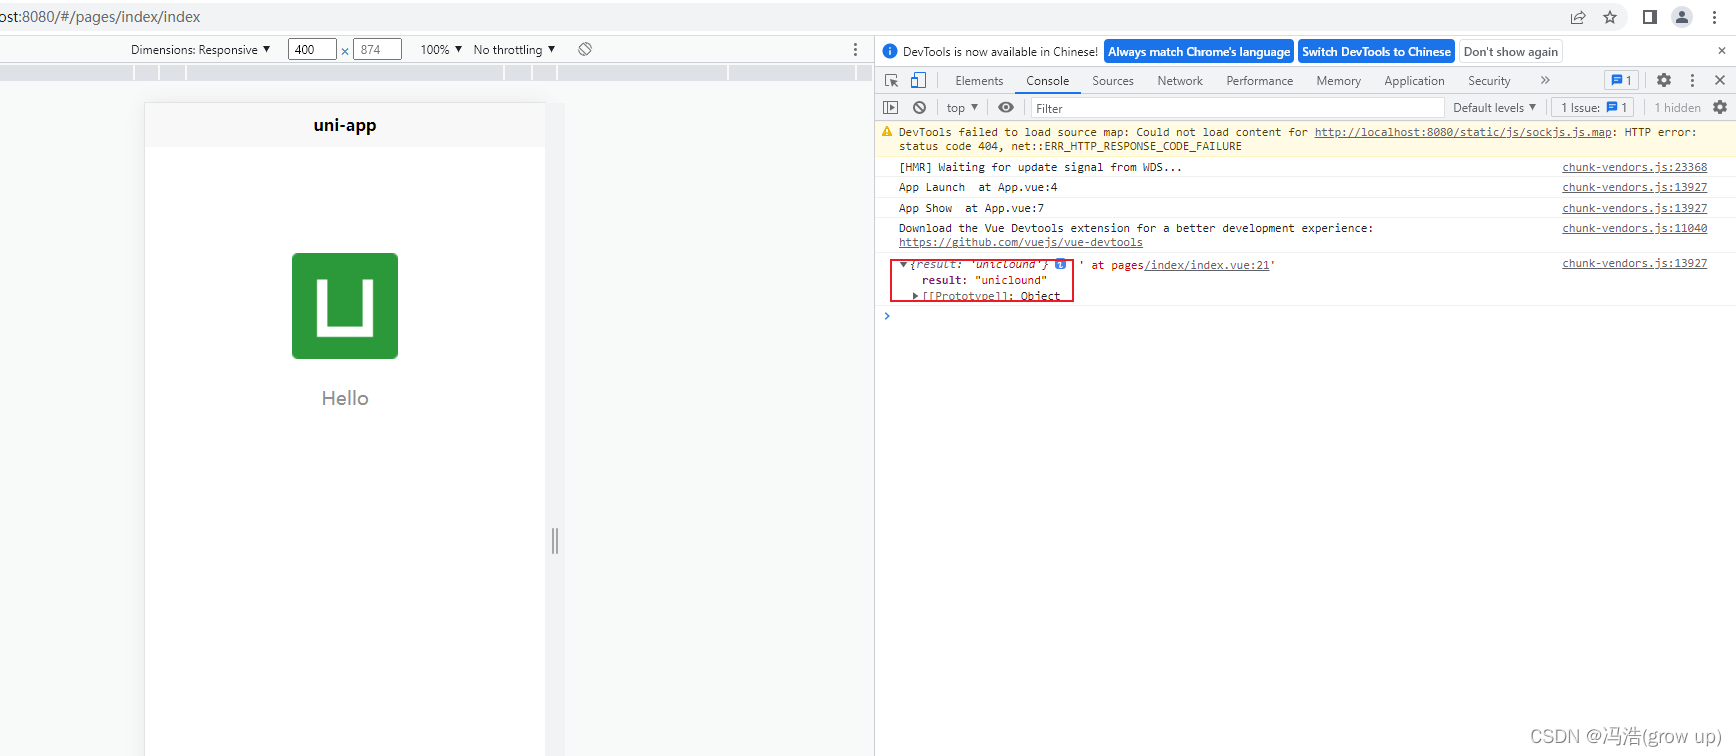
(3)运行项目
(4)浏览器返回值,调用成功
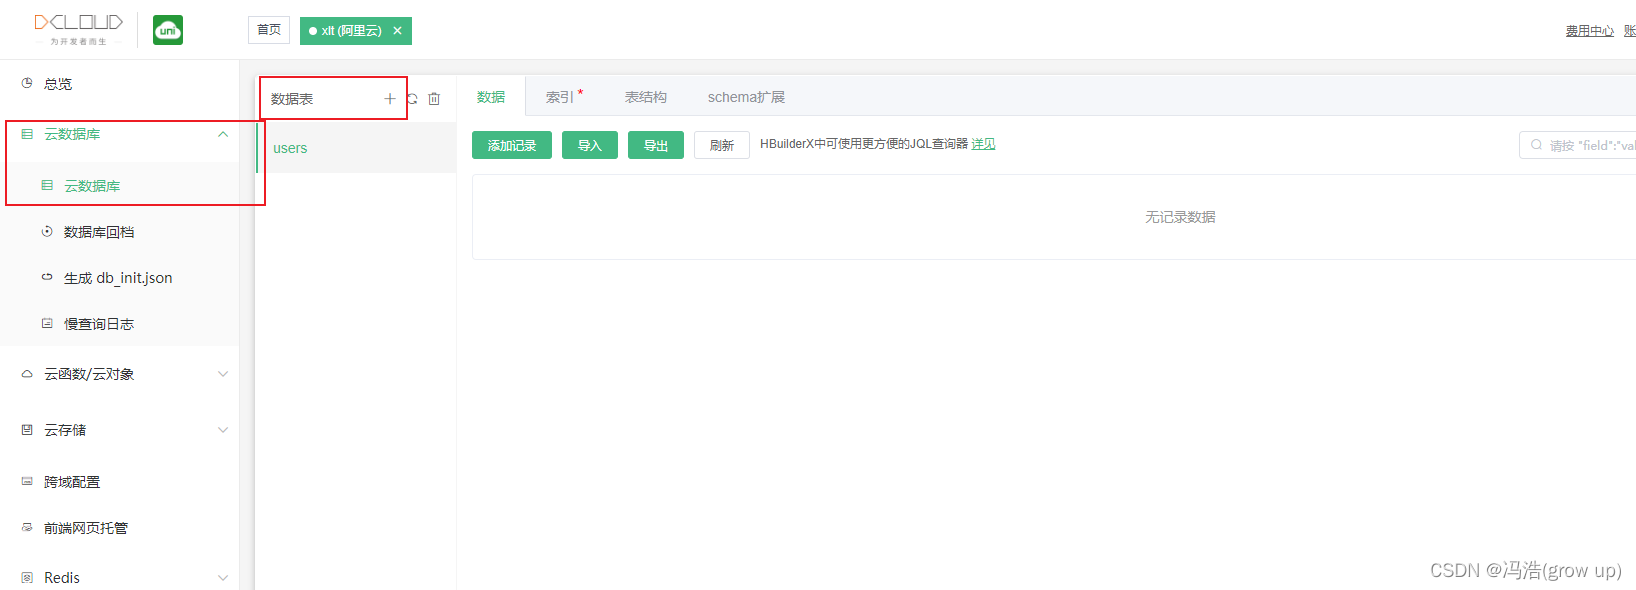
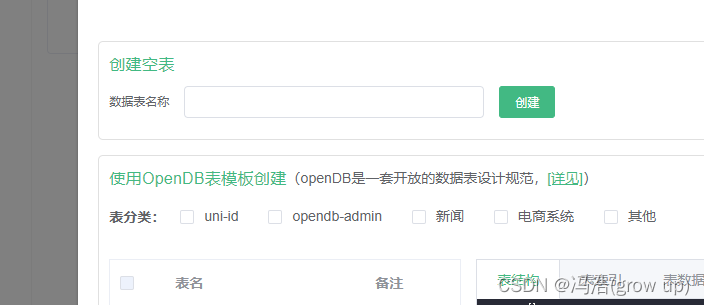
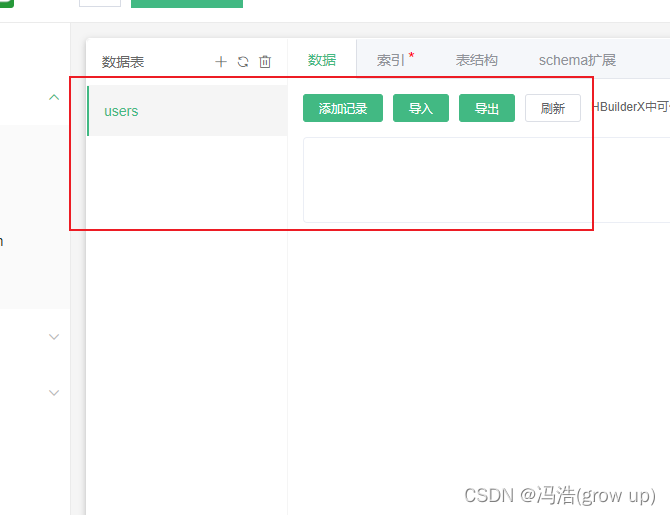
7、创建数据库表
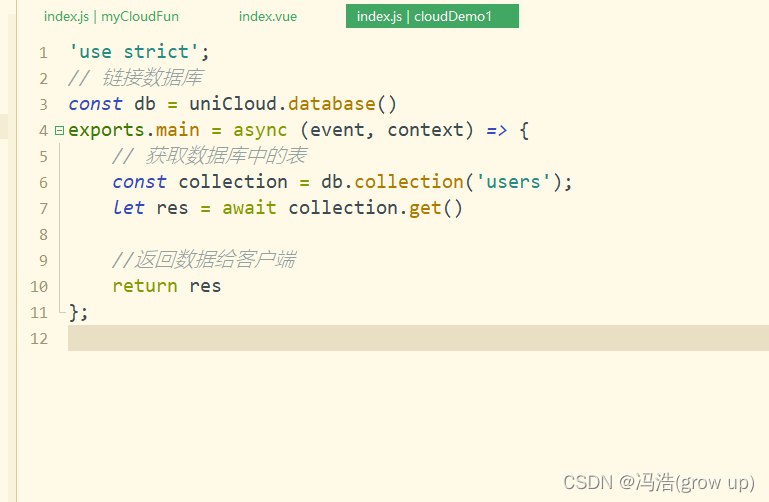
8、链接数据库
// 数据库中的方法
	const db = uniCloud.database()
	// 获取数据库中的表
	const collection = db.collection('users');
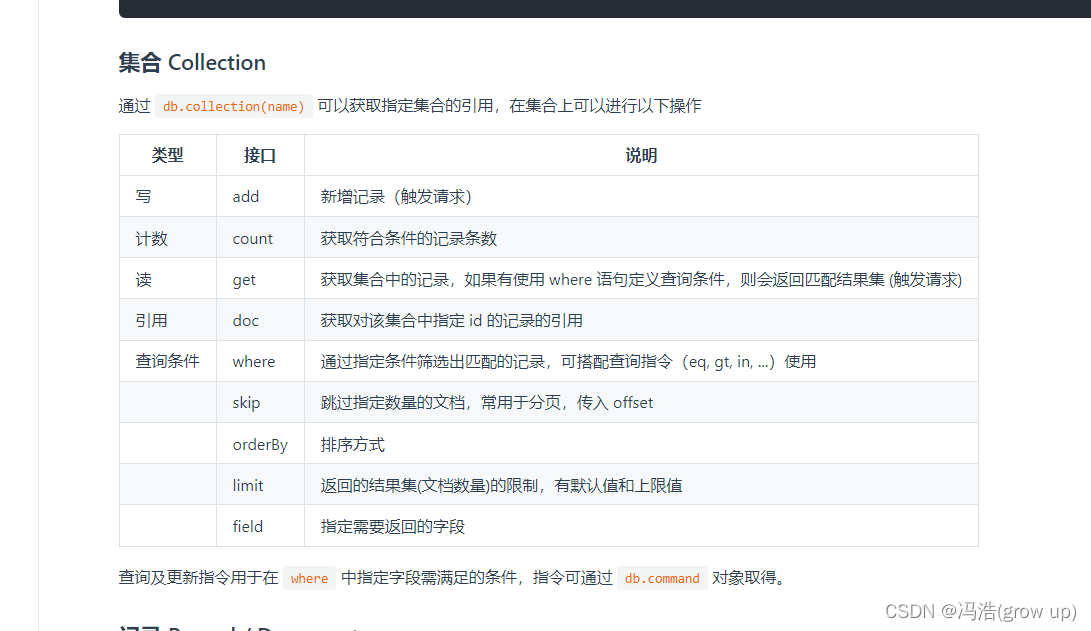
(1)获取数据库中的所有数据
let res = await collection.get()
	// 根据id查询
	const get = collection.doc(event.id).get()

	// 根据条数和分页查询
	const num = collection.limit(event.num).skip(0).get()

	//正序 asc 倒叙:desc
	const order = collection.orderBy('_id','desc').get()

	// 指定返回字段
	const fie = collection.field({

    'name':true,'age':false}).get()
通过where进行查询
// 使用where查询固定字段数据
	const res = collection.where({


		_id:"639c3a10f43e609a3cfbb73c",
		age:'3',
		name:'小红'
	}).get()
where结合eq查询
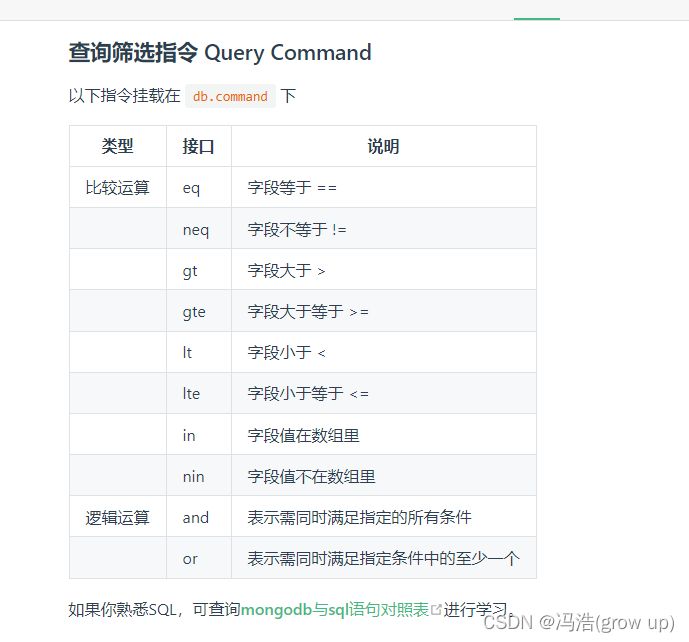
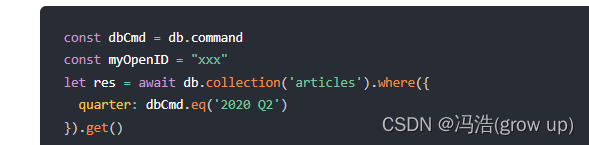
	// 使用指令dbcmd.eq()
	const dbCmd = db.command
	const res =await collection.where({


		age:dbCmd.neq('16')
	}).get()
	//逻辑运算
	const res = await collection.where({


		// age:dbCmd.gt(30).and(dbCmd.lt(60))
		age:dbCmd.and(dbCmd.gt(30),dbCmd.lt(60))
	})
	const res = await collection.where({


		// age:dbCmd.gt(30).or(dbCmd.lt(60))
		age:dbCmd.or(dbCmd.gt(30),dbCmd.lt(60))
	})
	//正则表达式
	const res = await collection.where({


		name:new RegExp(name, 'ig')
	}).get()
(2)添加数据Add
	//单条添加
	let res = await collection.add({


		name:'小红',
		age:'50'
	})
	//多条添加
	let res = await collection.add([
	{


		name:'小红',
		age:'52'
	},
	{


		name:'小红',
		age:'53'
	},
	])
(3)修改数据update
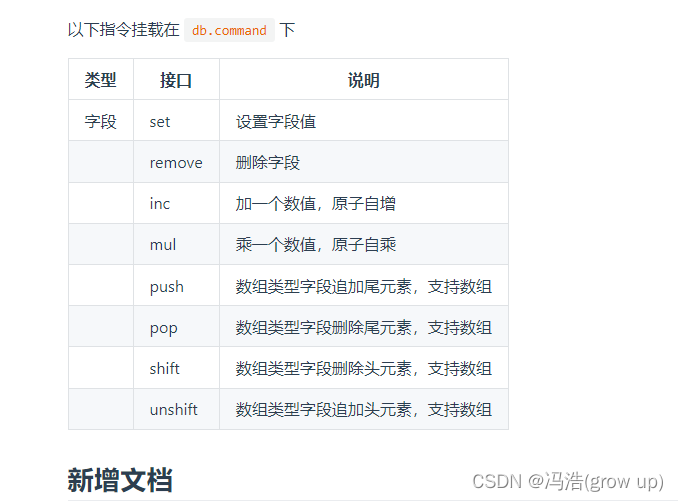
	const res = await collection.doc("639c3a10f43e609a3cfbb73c").update({


		name:'六五',
		age:555
	})

	const resUpdate = await collection.where({


		name:'牛头'
	}).update(
		//修改列表
		// like:{


		// 	0:'蹦极'
		// }

		// 在开头单个追加
		// like:dbCom.unshift('蹦迪')

		// 在开头批量追加
		// like:dbCom.unshift(['蹦迪','蓝球'])

		// 在末尾追加
		// like:dbCom.push(['lol','吃鸡'])

		// like:dbCom.push({


		//	 each:['蹦迪','蓝球'],
		//	 position:1
		// })

		// 删除尾部
		// like:dbCom.pop()

		// 删除头部
		// like:dbCom.shift()

		// 原子自增
		// 更新指令。用于指示字段自增某个值,这是个原子操作,使用这个操作指令而不是先读数据、再加、再写回的好处是:

		// 原子性:多个用户同时写,对数据库来说都是将字段加一,不会有后来者覆写前者的情况
		// 减少一次请求:不需先读再写
		// love:dbCom.inc(1)

		// 更新指令。用于指示字段自乘某个值。
		// fav:dbCom.mul(2)

		// 设置字段值
		// fav:dbCom.set({


		// 	fav:1
		// })
	)

4、删除数据
	//删除指定数据
	const delet = collection.where({


		name:'小红'
	}).remove()

	// 全部删除
	// const delet = collection.remove()