在Unity使用OCR技术大致会写三篇吧,主要是介绍一下OpenCV、例子里的OCRHMMDecoder和Tesseract。心急的同学可以直接跳过前两篇,直接看Tesseract。就当是我水个博客吧。
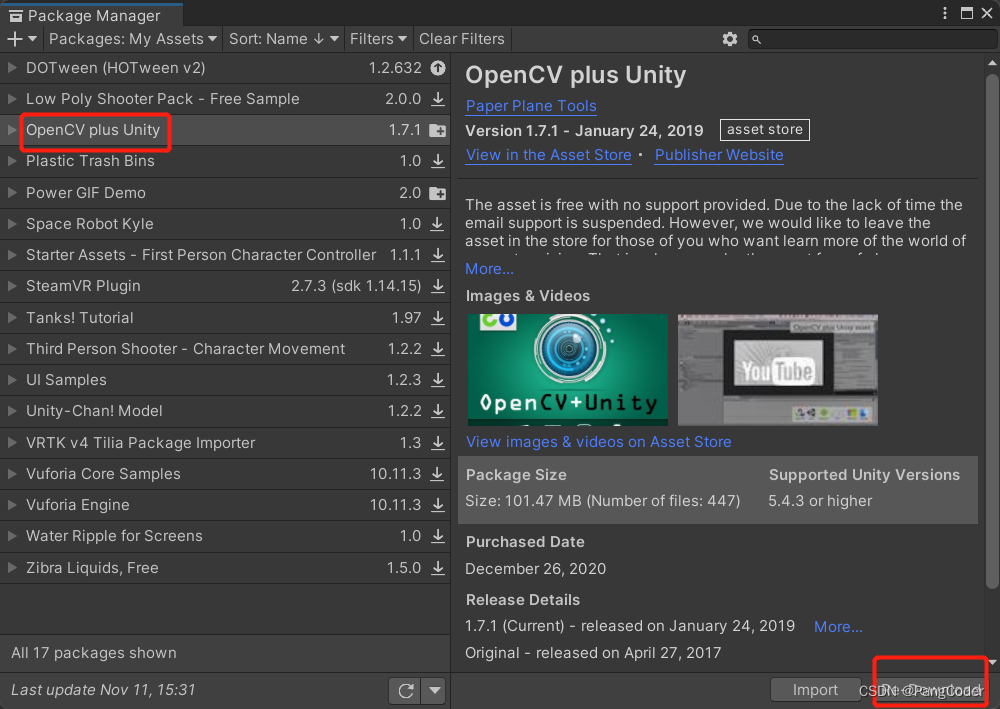
一、下载并导入OpenCV插件
 https://assetstore.unity.com/packages/tools/integration/opencv-plus-unity-85928
下载完成后,新建Unity工程(2D或者3D),在Window-->Package Manager里找到,先DownLoad然后再Import。(注意+号旁边的Packages是可以切换的,切换成My Assets)
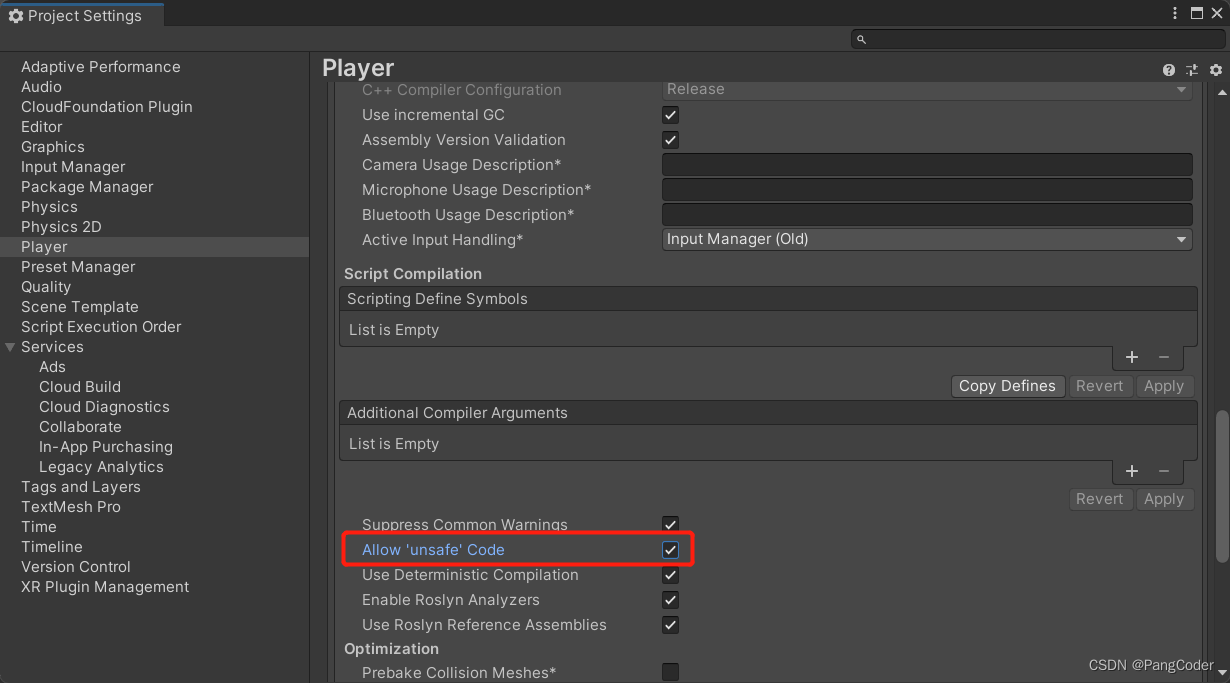
导入后大概率会有报错
error CS0227: Unsafe code may only appear if compiling with /unsafe
打开File-->Build Settings-->Project Settings-->Player-->Other Settings,勾选unsafe即可。
二、namespace和函数说明
常用的namespce如下,需要注意的是有时候明明已经引入了namespace,但是还是会和Unity的冲突,这时候你就必须带上opencv的namespace。
using OpenCvSharp;
using OpenCvSharp.Util;
在OpenCV中二转灰度、二值化等与图像处理相关的函数直接封装进了Mat类中,例如
//从纹理转成Mat
Mat Img=OpenCvSharp.Unity.TextureToMat(Texture2D);
//从Mat转成纹理
Texture2D tex=OpenCvSharp.Unity.MatToTexture(Mat);
//灰度化
Mat tempImg = Img.CvtColor(ColorConversionCodes.BGR2GRAY);
//中值滤波
Mat tempImg = Img.MedianBlur(5);
//二值化
Mat tempImg = Img.Threshold(185, 255, ThresholdTypes.BinaryInv);
///如果你要是嫌弃上面写的太麻烦还可以一步到位
 Mat tempImg = Img.CvtColor(ColorConversionCodes.BGR2GRAY).MedianBlur(5).Threshold(185, 255, ThresholdTypes.BinaryInv);
//找轮廓
Point[][] contours;
HierarchyIndex[] hierarchy;
Img.FindContours(out contours, out hierarchy, RetrievalModes.List, ContourApproximationModes.ApproxNone);
在OpenCV中经常使用的imshow、circle等函数则被封装进了Cv2里,例如
//从纹理转成Mat
Mat Img=OpenCvSharp.Unity.TextureToMat(Texture2D);
//绘制矩形
Cv2.Rectangle(Img, Roi, new Scalar(0, 255, 255));
//画圆
Cv2.Circle(Frame,new Point(0,0),5, new Scalar(0, 255, 255));
//显示(这个一定要慎用)
Cv2.ImShow("Image",Img);
三、从摄像头获取图像显示
这部分和Unity一样了,插件也是通过调用WebCamTexture来打开摄像头的。需要一个显示画面的RawImage和WebCamTexture。将WebCamTexture转换成Mat,再将Mat转换成Texture2D。中间可以加上图像处理的一些函数。例如
using System;
using System.IO;
using System.Collections;
using System.Collections.Generic;
using UnityEngine;
using UnityEngine.UI;
using OpenCvSharp;


public class GameController : MonoBehaviour
{
    public RawImage Capture;
    private WebCamTexture Tex;

    // Start is called before the first frame update
    void Start()
    {
        ///打开相机
        StartCoroutine(OpenCamera());

    }

    // Update is called once per frame
    void Update()
    {

        if (Tex != null && Tex.didUpdateThisFrame)
        {
            Mat Frame = OpenCvSharp.Unity.TextureToMat(Tex);

            ///
              图像处理.....
            ///
            Destroy(Capture.texture);
            Capture.texture = OpenCvSharp.Unity.MatToTexture(Frame);
        }

    }

    void OnApplicationQuit()
    {
        StopCamera();
    }

    IEnumerator OpenCamera()
    {
        yield return Application.RequestUserAuthorization(UserAuthorization.WebCam);
        if (Application.HasUserAuthorization(UserAuthorization.WebCam))
        {

            WebCamDevice[] device = WebCamTexture.devices;
            string deviceName = device[0].name;
            Tex = new WebCamTexture(deviceName, 1920, 1080);
            Tex.Play();
        }
    }

    void StopCamera()
    {
        if (Application.HasUserAuthorization(UserAuthorization.WebCam))
        {
            WebCamDevice[] device = WebCamTexture.devices;
            string deviceName = device[0].name;
            Tex.Stop();
        }
    }

}
下面要说的才是重点,有的同学肯定发现了,在替换贴图之前多了“Destroy(Capture.texture);”这是因为在Unity里不断给图像更换贴图会触发一个“内存泄漏”的漏洞。在PC运行还好,但是打包成安卓的话,程序坚持不了多久就会因为内存泄漏而闪退。因此在更新贴图之前要释放原先的贴图。
至此为止,OpenCV的环境搭建完成!