1.导入相关的maven依赖
<!--导入javax mail-->
        <dependency>
            <groupId>org.springframework.boot</groupId>
            <artifactId>spring-boot-starter-mail</artifactId>
        </dependency>
这里的版本号,依赖sringboot的版本,所以不用描述版本号
2.配置QQ邮箱
进入发件人的QQ邮箱
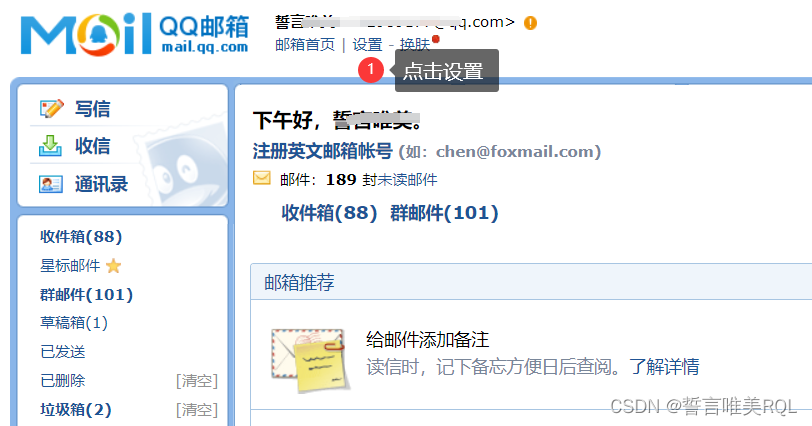
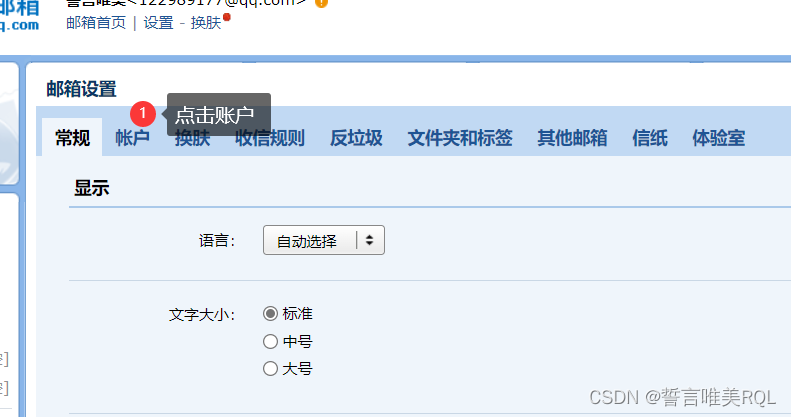
然后往下滑,看到如下的内容
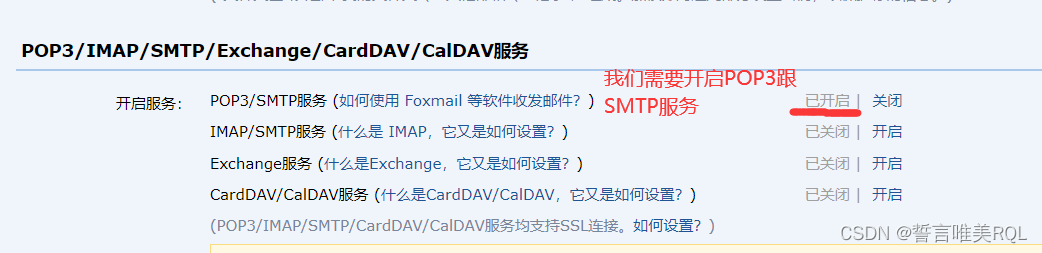
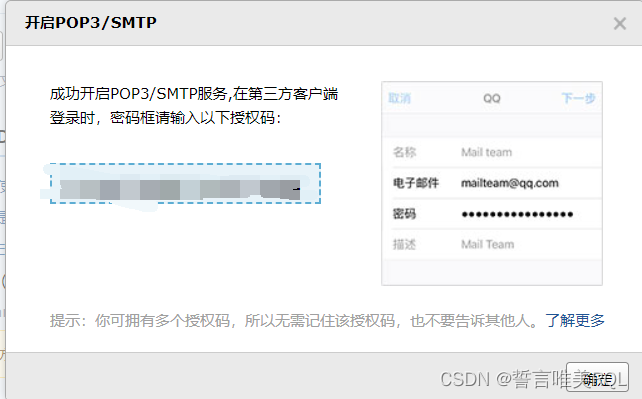
当开启成功后,会给你生成一个加密后的密钥,一定要记住这串密钥,它相当于是你加密后的QQ密码,是需要我们放到配置文件中的。
3.配置application.properties
#发件方账号
[email protected]
#发件方密码,也就是上面开启pop3跟smtp服务的生成密钥
spring.mail.password=fafaafewwwcxw
#服务主机
spring.mail.host=smtp.qq.com
#开启加密验证,QQ邮箱需要,163、新浪不需要
spring.mail.properties.mail.smtp.ssl.enable=true
4.配置Springboot启动类
@EnableScheduling//开启定时功能的注解
@SpringBootApplication
public class SpringbootAsynchronousApplication {


    public static void main(String[] args) {


        SpringApplication.run(SpringbootAsynchronousApplication.class, args);
    }

}
5.编写Service类
ScheduledService.java
@Service
@EnableScheduling  //开启定时注解
public class ScheduledService {


    @Autowired(required = false)
    JavaMailSenderImpl mailSender;
//简单邮件定时发送实现
    static int key = 0;
    @Scheduled(cron = "0 0/1 * * * ?")   //cron表达式:秒 分 时 日 月 周几; 可以百度cron查看如何使用cron表达式
    //实现每隔一分钟发送一次邮件
    public void simpleScheduToEail(){


        SimpleMailMessage mailMessage = new SimpleMailMessage();
        System.out.println();
        mailMessage.setSubject("简单邮件"+key++);
        mailMessage.setText("你好");
        mailMessage.setFrom("[email protected]");   //发送方,注意这个发送方,一定是你在配置文件中,配置的账号
        mailMessage.setTo("[email protected]");  //接受方
        // mailMessage.setTo("[email protected]","[email protected]");  //批量接收方
        mailSender.send(mailMessage);
    }

 //复杂邮件定时发送实现
    static int mub = 0;
    @Scheduled(cron = "0 0/1 * * * ?")   //cron表达式:秒 分 时 日 月 周几; 可以百度cron查看详情
                                        //实现每隔一分钟发送一次邮件
    public void SchedulToEail() throws MessagingException {


        MimeMessage mimeMessage = mailSender.createMimeMessage();
        //组装
        MimeMessageHelper helper = new MimeMessageHelper(mimeMessage,true);
        //正文
        helper.setSubject("复杂邮件"+mub++);
        helper.setText("<p style='color:red'>这是红色的</p>",true);
        //附件
        helper.addAttachment("a.jpg",new File("D:\\谷歌浏览器下载\\a.jpg"));

        helper.setTo("[email protected]");
        helper.setFrom("[email protected]");
        mailSender.send(mimeMessage);
    }
    }
然后我们启动Springboot的启动类,就可以实现定时发送邮件了!