系列文章目录
一、Linux 安装Nexus3.42.0-01图文教程
二、nexus创建Maven私服图文教程
三、使用nexus上传jar包图文教程
四、IDEA Maven项目上传jar包到nexus仓库图文教程
五、IDEA 中使用maven从nexus中下载jar包 图文教程
maven命令上传jar包到nexus
- 系列文章目录
- 前言
- 一、maven是什么?
- 二、使用
- 问题记录
-
- 1.Failed to execute goal org.apache.maven.plugins:maven-deploy-plugin:2.8.2:deploy-file (default-cli) on project Failed to deploy artifacts: Could not transfer artifact with status code 401
- 2.Cannot deploy artifact from the local repository
- 3.Maven报错-The goal you specified requires a project to execute but there is no POM in this directory..
- 总结
前言
对于集成了maven的项目如idea中的maven项目可以通过deploy:deploy命令将项目部署到远程存储库中。那么对于没有集成maven的项目来说,如何将项目部署到远程存储库呢?本文主要介绍的是通过直接使用maven命令上传资源到远程存储库(nexus)中。
参考官网地址:
Apache Maven 部署插件 – 用法
Maven – 可用的插件 (apache.org)
一、maven是什么?
Maven一款专门为 Java 项目提供构建和依赖管理支持的工具
Maven作为依赖管理工具,能够管理规模庞大的jar包,能够将依赖的jar进行下载。
Maven作为构建管理工具,当我们使用IDEA进行开发是,构建的工作是IDEA替我们做的,离开IDEA环境之后,需要专门的工具。Maven能够帮助我们进行构建为jar包
二、使用
1. 首先在在maven的settings.xml文件中添加
settings.xml文件(示例):
!--nexus服务器-->
  <servers>
<!--id为对应资源库id-->
    <server>
        <id>tfjy-snapshot-hosted</id>
        <username>admin</username>
        <password>nexusb-test</password>
    </server>
    <server>
        <id>tfjy-hosted</id>
        <username>admin</username>
        <password>nexusb-test</password>
    </server>
  </servers>
2.对应的maven命令
maven命令语法:
mvn deploy:deploy-file
-DgroupId=xxx.xxx.xxx (对应pom文件标签)
-DartifactId=xxx-xxx (对应pom文件标签)
-Dversion=xxx (对应pom文件标签)
-Dpackaging=xxx (上传的类型)
-Dfile=xxx:\xxx\xxx. (文件路径)
-DpomFile=xxxx表示需要上传的jar包对应的Pom文件的绝对路径。
-Durl=http://xxx.xxx.x.x:xxxx/xxx(上传的服务器)
-DrepositoryId=xxxxx(服务器的表示id,setting.xml文件中配置的serverId,用来关联私服的用户名和密码)

注意事项:如果当前上传的Jar还依赖了其他的Jar,需要同时上传当前Jar的pom文件。
2.1上传资源为pom或jar包到远程资源库
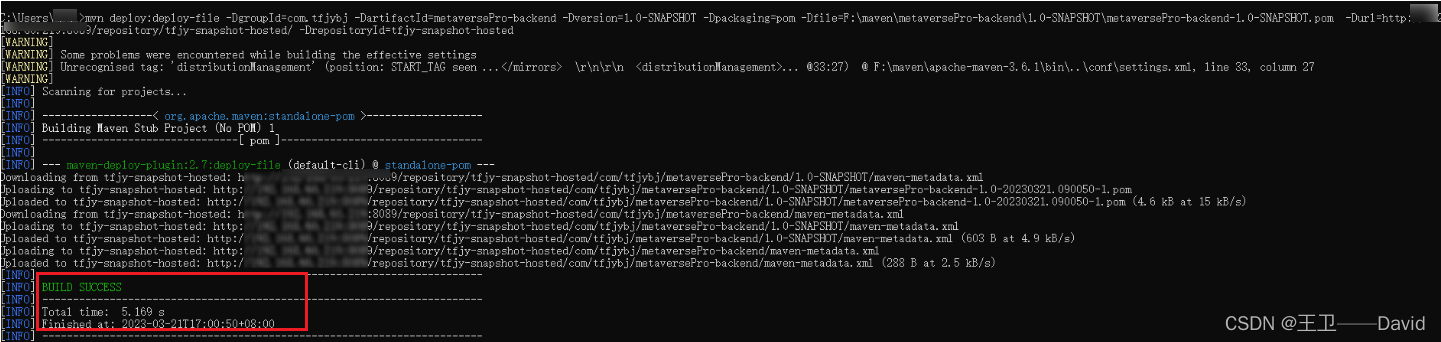
代码示例:打开Windows 命令提示符(Windows+R 输入cmd并回车);输入mvn命令,此处上传的是仅有pom文件的资源。
mvn deploy:deploy-file -DgroupId=com.tfjybj -DartifactId=metaversePro-backend -Dversion=1.0-SNAPSHOT -Dpackaging=pom -Dfile=F:\maven\metaversePro-backend\1.0-SNAPSHOT\metaversePro-backend-1.0-SNAPSHOT.pom -Durl=http://xxxxx/repository/tfjy-snapshot-hosted/ -DrepositoryId=tfjy-snapshot-hosted
结果截图:
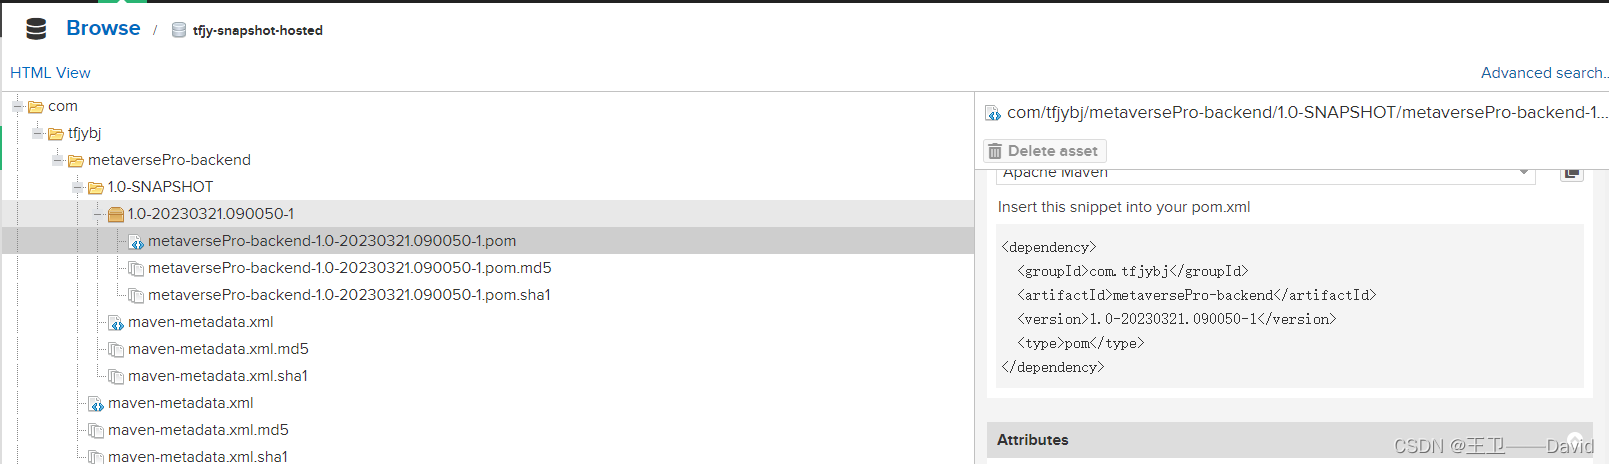
在远程资源库中进行查看,可以看到上传的资源已经上传上来了。
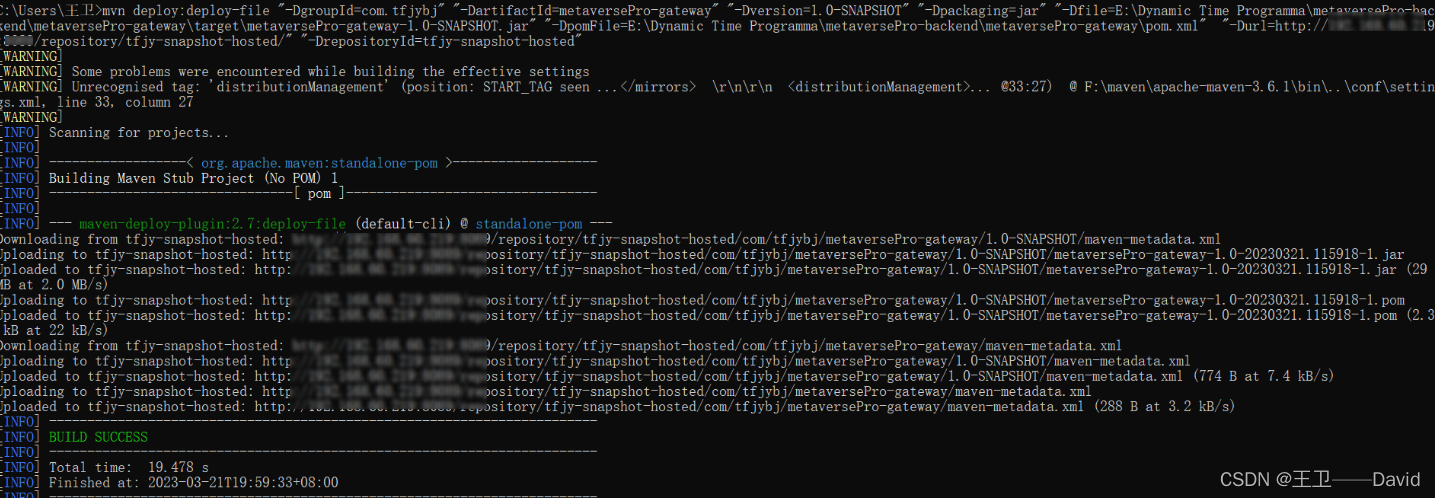
2.2上传jar包并且此jar还依赖了其他的Jar,同时上传当前Jar的pom文件
代码示例:不同的是需要添加-DpomFile=
mvn deploy:deploy-file "-DgroupId=com.tfjybj" "-DartifactId=metaversePro-backend" "-Dversion=1.0-SNAPSHOT" "-Dpackaging=jar" "-Dfile=E:\Dynamic Time Programma\metaversePro-backend\metaversePro-gateway\target\metaversePro-gateway-1.0-SNAPSHOT.jar" "-DpomFile=E:\Dynamic Time Programma\metaversePro-backend\metaversePro-gateway\pom.xml" "-Durl=http://xxxx/repository/tfjy-snapshot-hosted/" "-DrepositoryId=tfjy-snapshot-hosted"
结果截图:
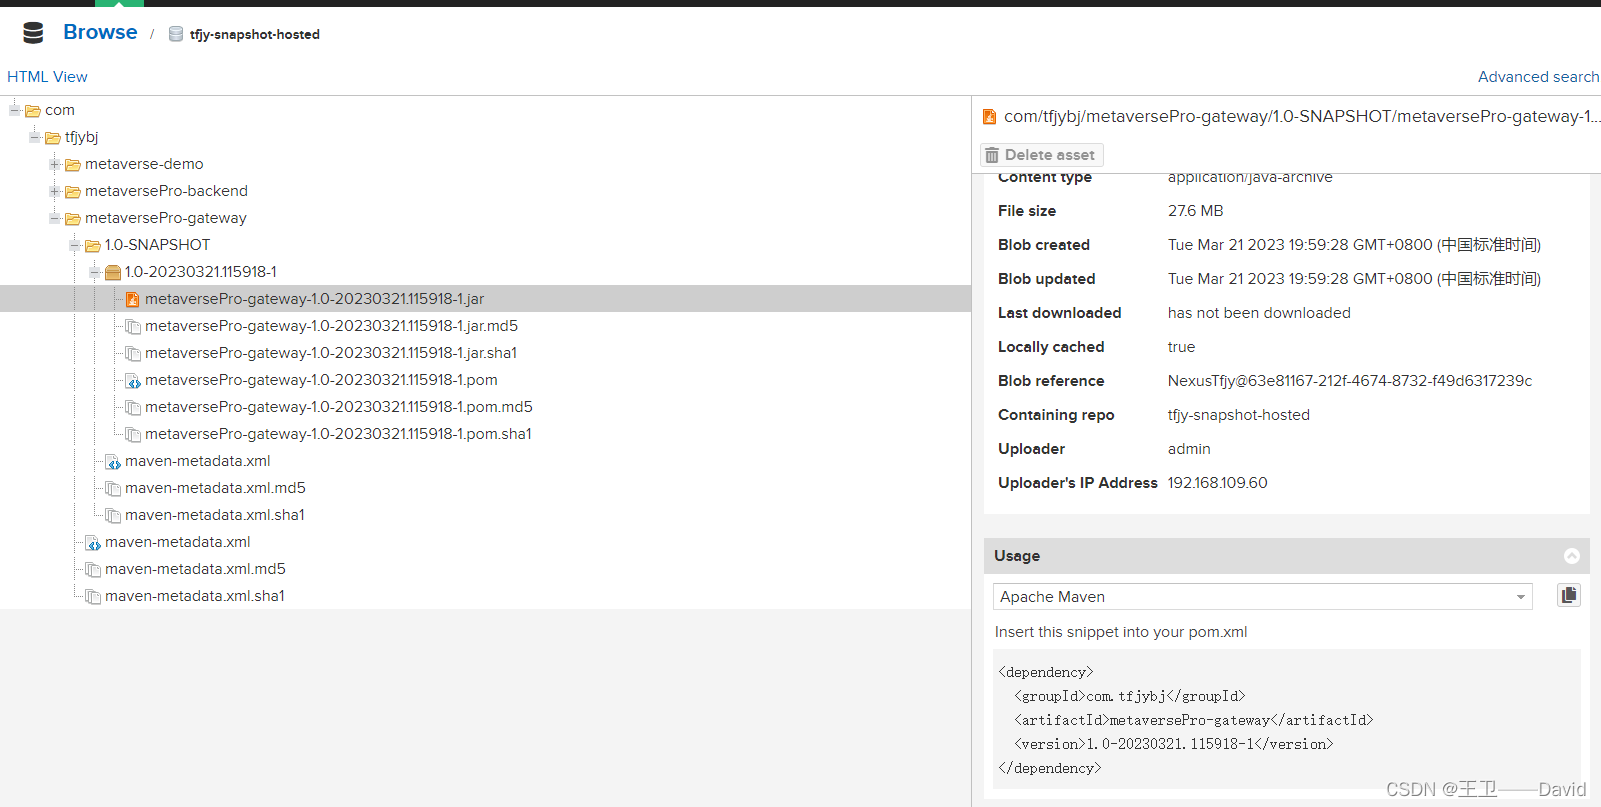
在远程资源库中进行查看,可以看到上传的资源已经上传上来了。
问题记录
1.Failed to execute goal org.apache.maven.plugins:maven-deploy-plugin:2.8.2:deploy-file (default-cli) on project Failed to deploy artifacts: Could not transfer artifact with status code 401

解决方法:一般为身份验证凭证没有通过,校验settings.xml配置中nexus的账号密码是否正确,和使用的settings.xml文件是否正确,是否使用了其他的settings.xml文件。
2.Cannot deploy artifact from the local repository

解决方法:maven的 deploy:deploy-file 命令,这种方法时要注意的是如果你要安装的jar和pom是位于本地repository的目录下,这个命令就会出错 (Cannot deploy artifact from the local repository…), 解决方法:将要安装的jar和pom copy到其它目录再安装,只要不在本地仓库目录都应该可以.
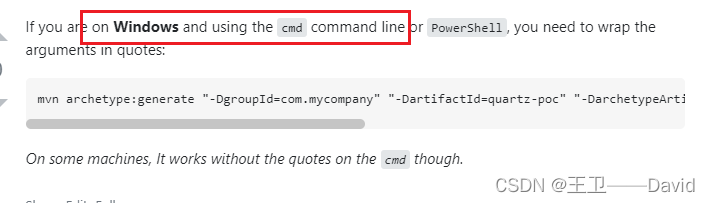
3.Maven报错-The goal you specified requires a project to execute but there is no POM in this directory…
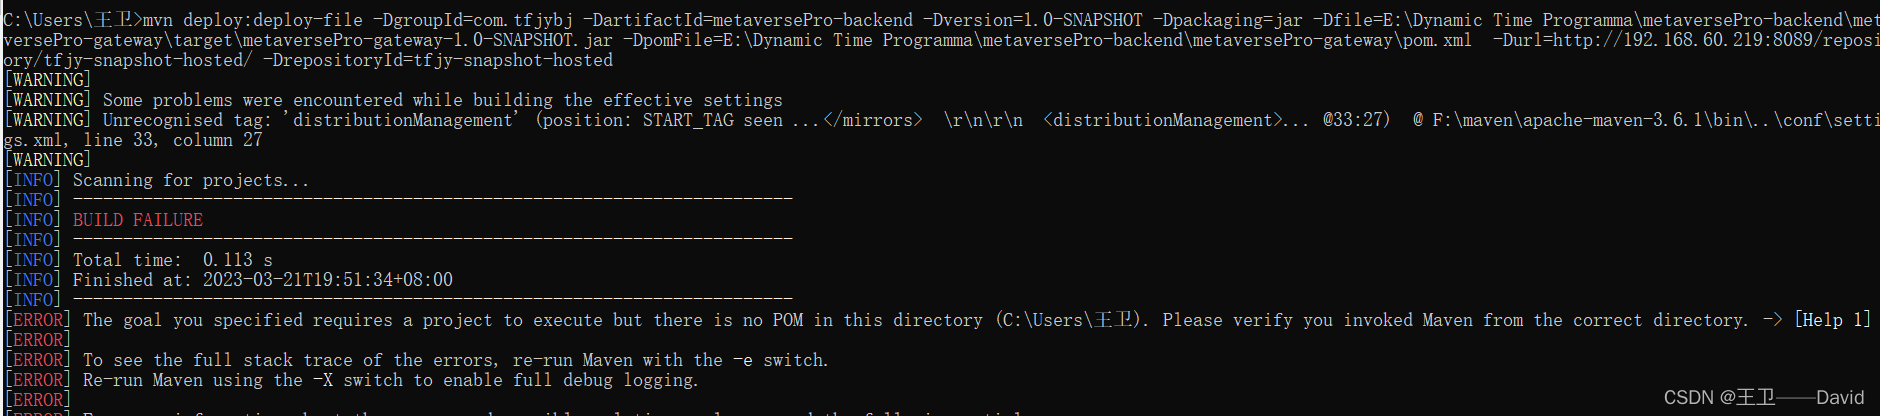
解决方法:给命令打上双引号(“”)
示例:
mvn deploy:deploy-file "-DgroupId=com.tfjybj" "-DartifactId=metaversePro-backend" "-Dversion=1.0-SNAPSHOT" "-Dpackaging=jar" "-Dfile=E:\Dynamic Time Programma\metaversePro-backend\metaversePro-gateway\target\metaversePro-gateway-1.0-SNAPSHOT.jar" "-DpomFile=E:\Dynamic Time Programma\metaversePro-backend\metaversePro-gateway\pom.xml" "-Durl=http://xxxx/repository/tfjy-snapshot-hosted/" "-DrepositoryId=tfjy-snapshot-hosted"
总结
通过maven官网了解到通过maven插件部署到远程存储库主要有两种方式,一种是项目集成了maven可以通过maven的deploy:deploy实现;另一种是项目没有集成maven我们可以在命令提示符中使用deploy:deploy-file命令实现。