在实际工作中,我们可以通过swagger插件将后台定义的路由通过对应的模式自动生成接口文档,同时可以直接在项目启动后浏览。
一、安装与注册以及简单使用
1.安装 npm i @fastify/swagger@版本号
通过上述命令安装指定版本的swagger插件,默认最新,值得注意的是swagger插件7.4.1版本和以上版本用法区别很大。我们先进行讲解7版本的
2.接下来在plugin目录下,创建 swagger模块,代码如下(需要在路由插件注册好之前注册,可以在插件plugin文件夹中定义。)注意uiConfiig和exportRouter在swagger属性外边,我已经上两次当了。....无奈
'use strict'
const fp = require('fastify-plugin')
module.exports = fp(async function (fastify, octs) {
fastify.register(require('@fastify/swagger'), {
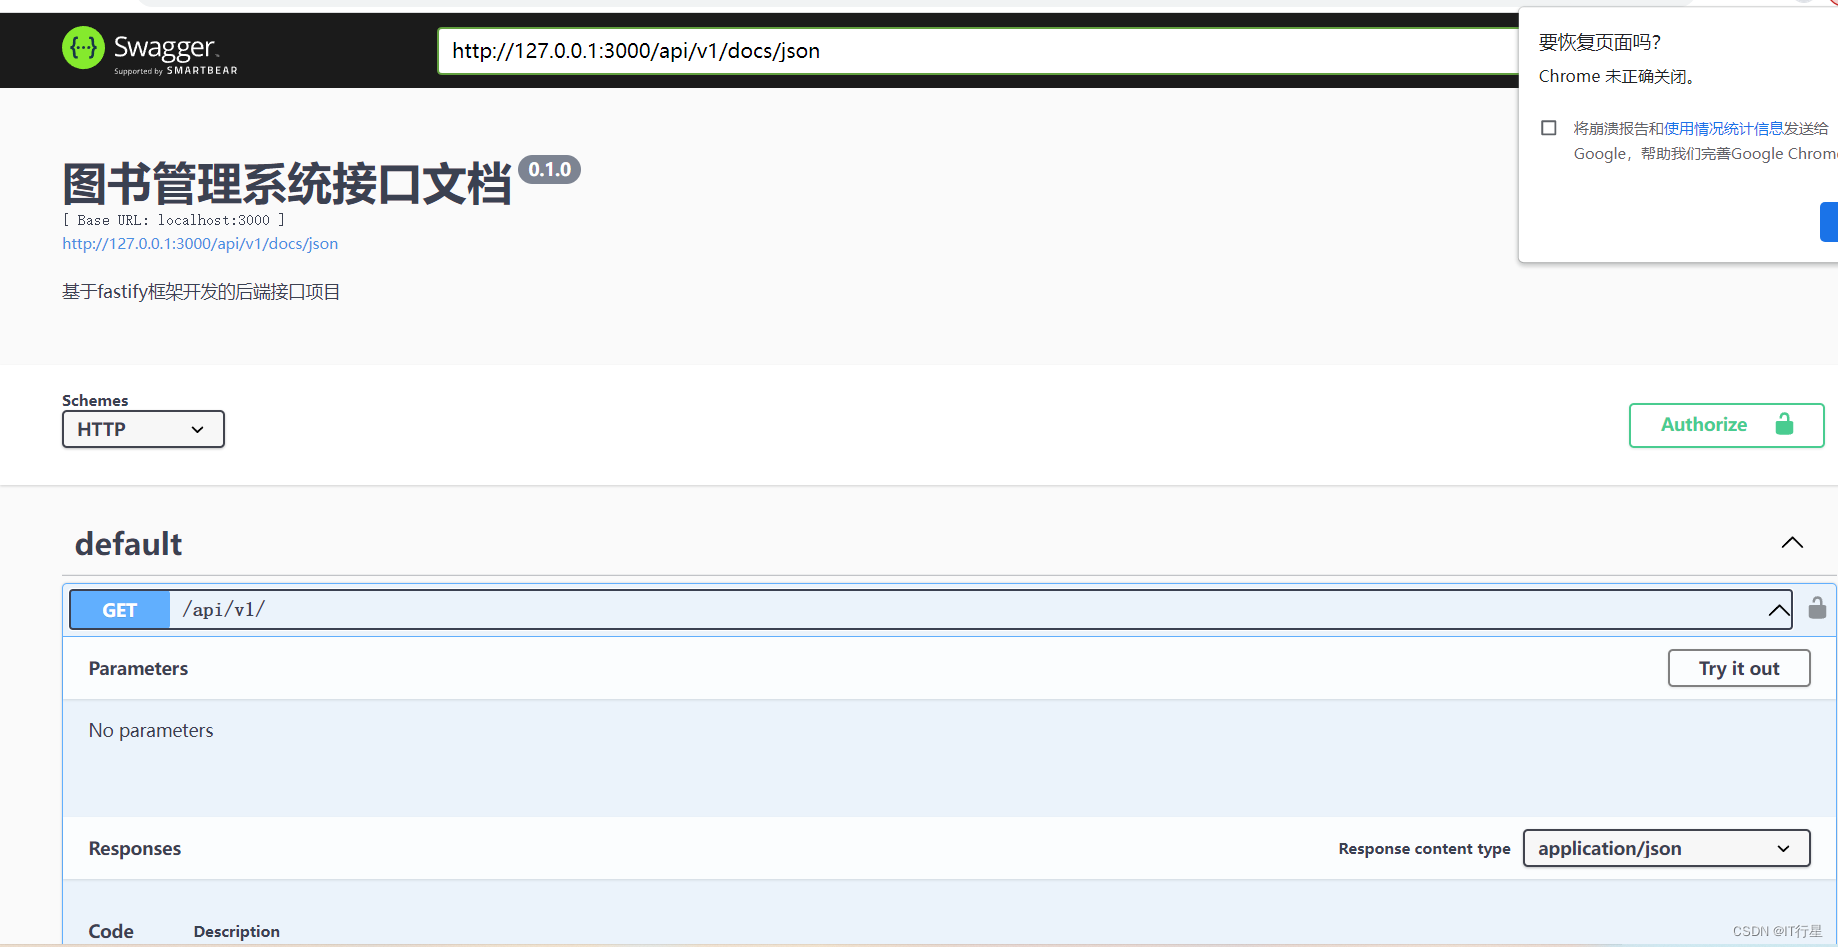
routePrefix: '/api/v1/docs',//接口文档的访问地址
swagger: {
info: {
title: '图书管理系统接口文档',
description: '基于fastify框架开发的后端接口项目',
version: '0.1.0'
},
// externalDocs: {
// url: 'https://swagger.io',
// description: 'Find more info here'
// },这部分是其他依赖
host: 'localhost:3000',//接口访问地址的主机部分
schemes: ['http'],//指定协议
consumes: ['application/json'],
produces: ['application/json'],
securityDefinitions: {//鉴权定义
apiKey: {
type: 'apiKey',
name: 'Authorization',
in: 'header'
}
},
security: [//开启鉴权
{
apiKey: [],
}
],
},
uiConfig: {
deepLinking: false
},
exposeRoute: true
}
)
});3.最后修改app.js文件(新增swagger代码部分)
'use strict'

const path = require('path')
const AutoLoad = require('@fastify/autoload')

// Pass --options via CLI arguments in command to enable these options.
module.exports.options = {}

module.exports = async function (fastify, opts) {
  // Place here your custom code!

  // Do not touch the following lines

  // This loads all plugins defined in plugins
  // those should be support plugins that are reused
  // through your application
  fastify.register(AutoLoad, {
    dir: path.join(__dirname, 'plugins'),
    options: Object.assign({}, opts)
  })

  // This loads all plugins defined in routes
  // define your routes in one of these
  fastify.register(AutoLoad, {
    dir: path.join(__dirname, 'routes'),
    options: Object.assign({prefix:'/api/v1'}, opts)
  }),
  //使用ready方法监听 项目已经准备好启动了
  fastify.ready().then(()=>{
    fastify.swagger();//生成文档(出必须在路由完成后)
  })
}
4.这样我们的一个简单的swagger引用就成功了。
8以上的版本需要引入swagger-ui。(需要注意)以后用到8再进行复习。
二、基本用法
第一大块schema
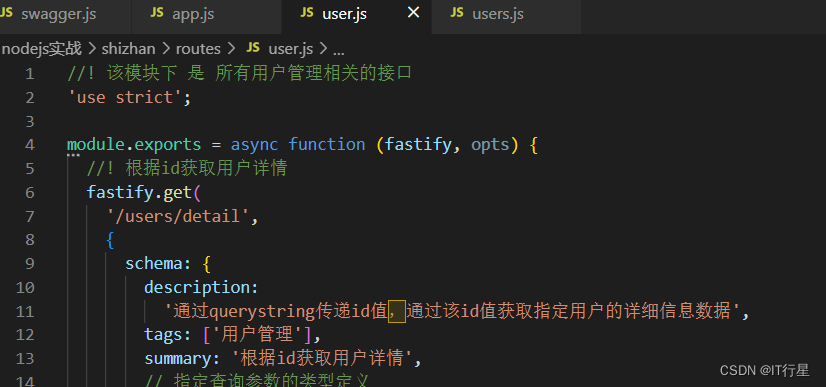
1.在我们注册的路由user中指定标题、描述、补充描述(在get方法中的schema中的属性tag、、summar、descriptiony)

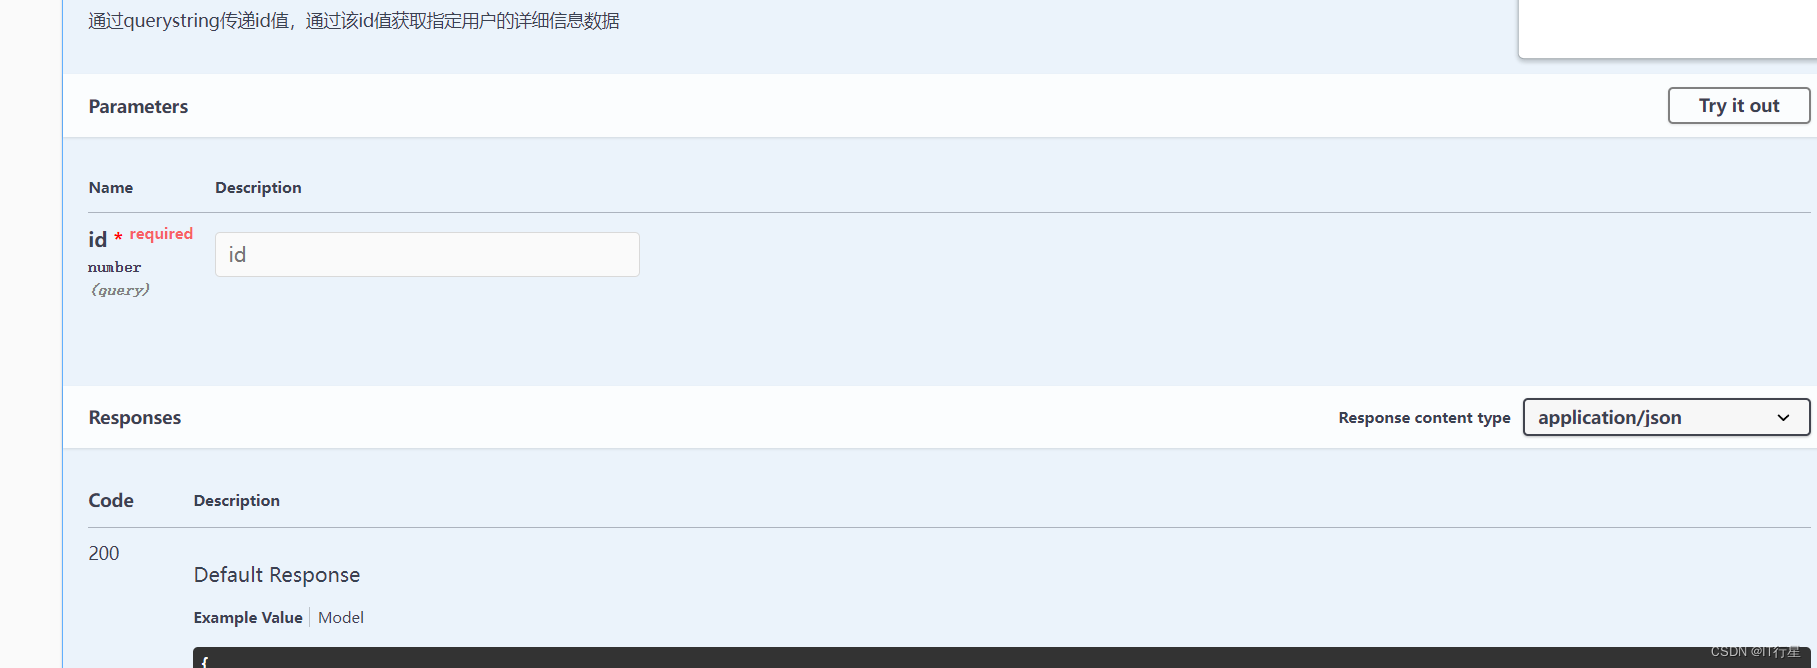
2.查询参数querystring
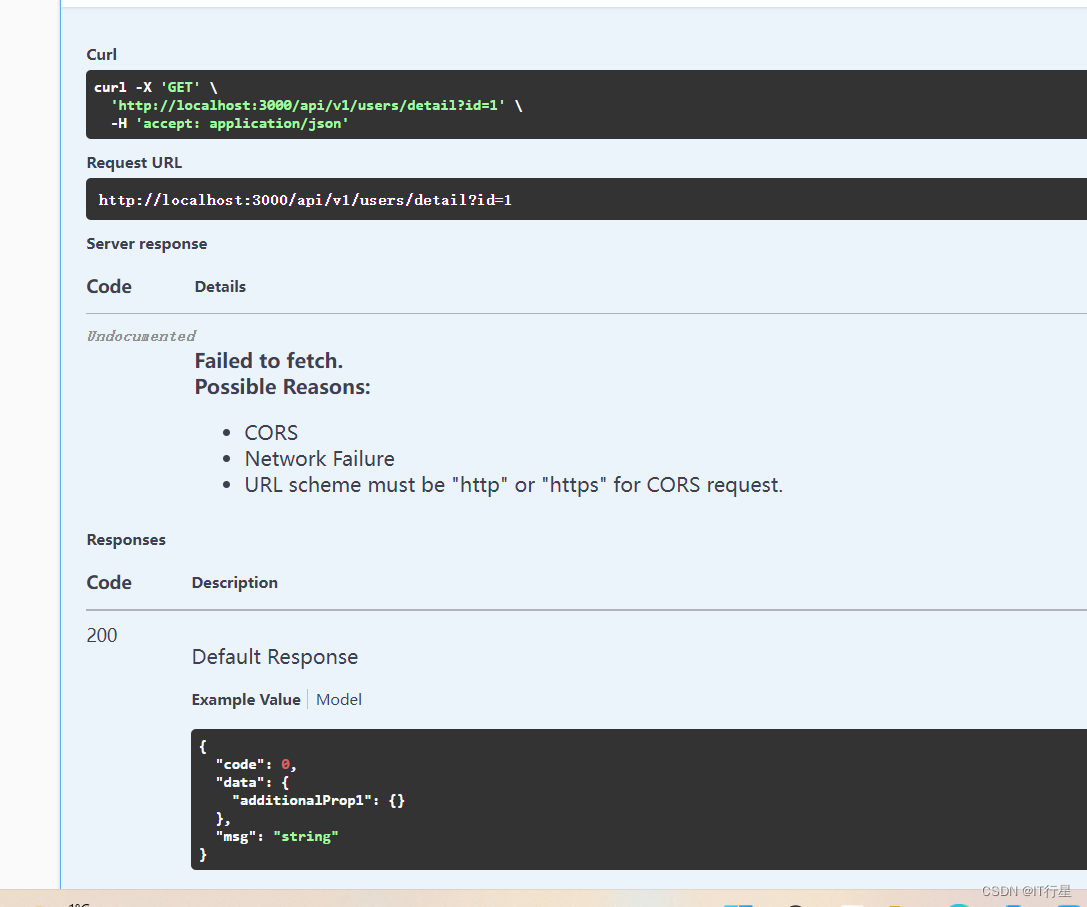
这样就可以通过查询参数获取数据了(try it out),但是此时并不会显示出数据(还需要响应)

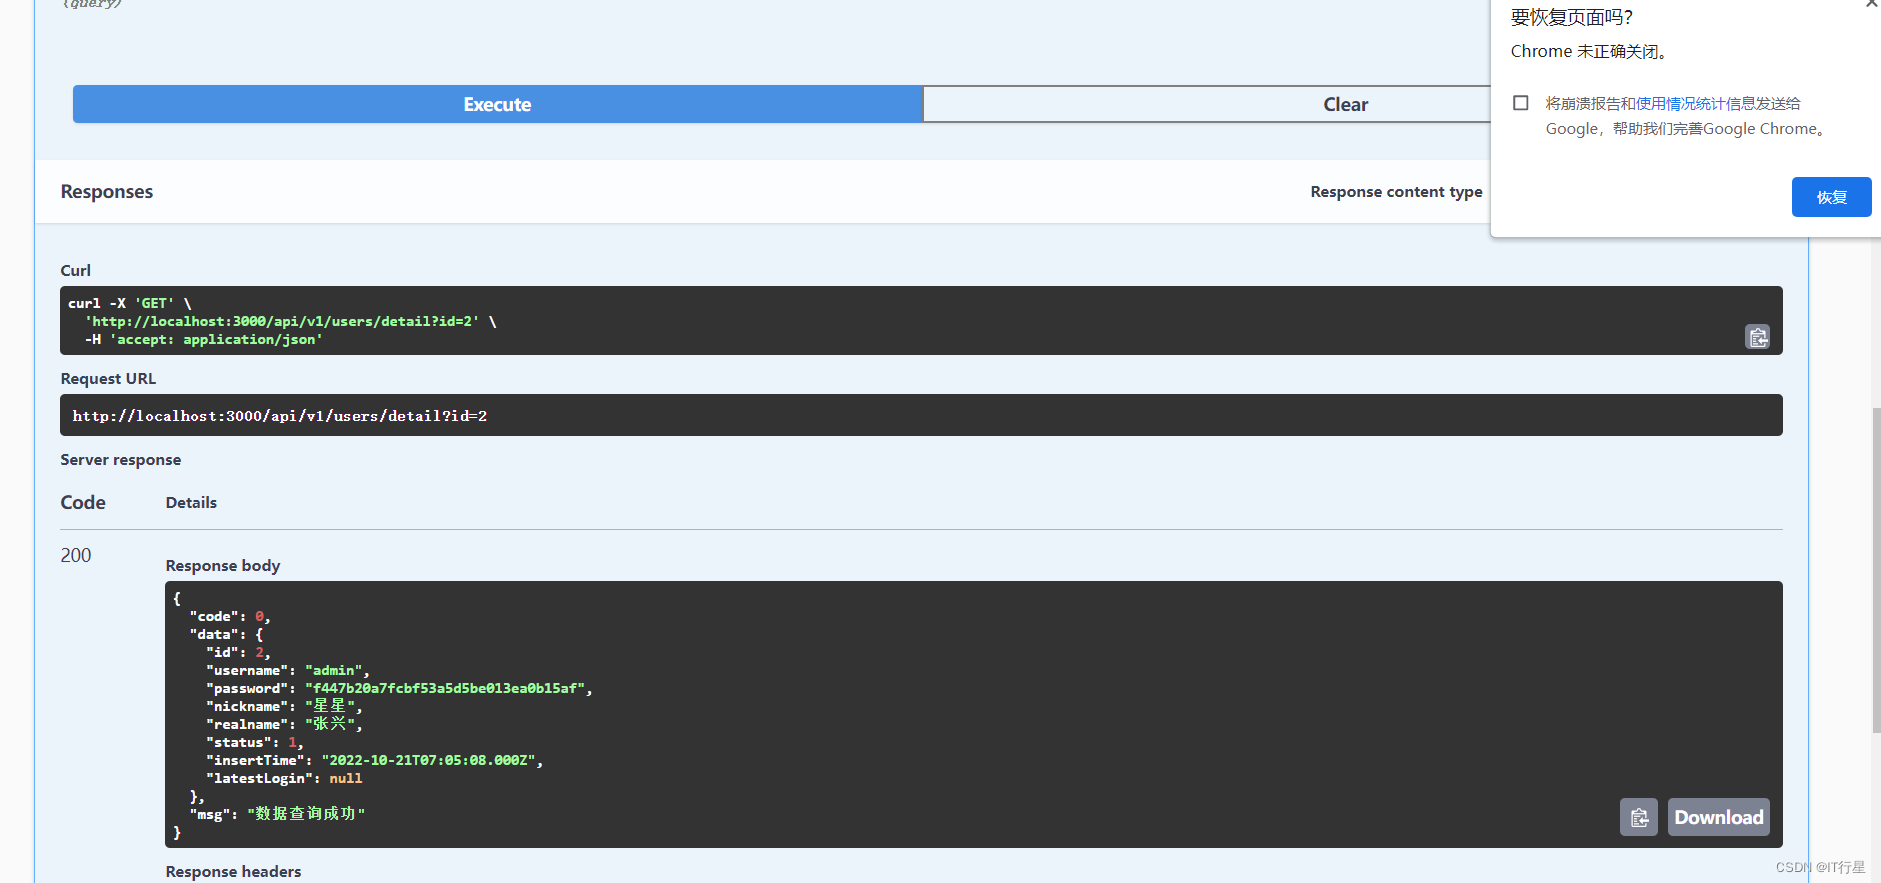
 3.配置响应 (reponse)

此时会响应我们定义好的reponse,如果并没有数据(没有进行Cors跨域,),前边的域名头换成localhost就好了