
GitLab 是一个免费的开源前端 Git 存储库,具有 Wiki 和问题跟踪功能。它允许你在自己的服务器上托管 Git 存储库,并设置 DevOps 平台。
在本指南中,我们将在 Debian 10 (Buster )系统上安装 GitLab CE (Community Edition)。
必备条件
- An instance of Debian 10 server with SSH access.
- Minimum of 8 GB RAM
- 20GB of hard disk space
- A valid domain name pointed to the IP address of the server.
- User with sudo rights
(1) 更新系统
使用 SSH 访问您的 Debian 服务器,更新系统上的包列表
$ sudo apt update
(2) 安装 GitLab 依赖
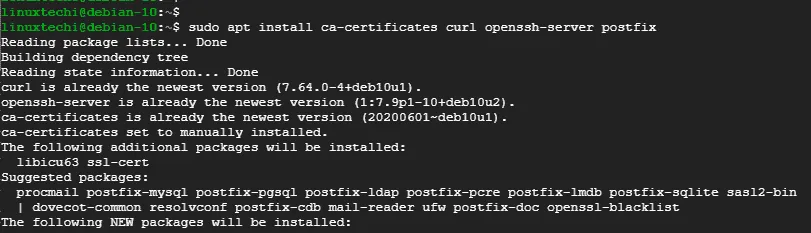
更新完成后,安装所需的依赖,如下所示
$ sudo apt install ca-certificates curl openssh-server postfix
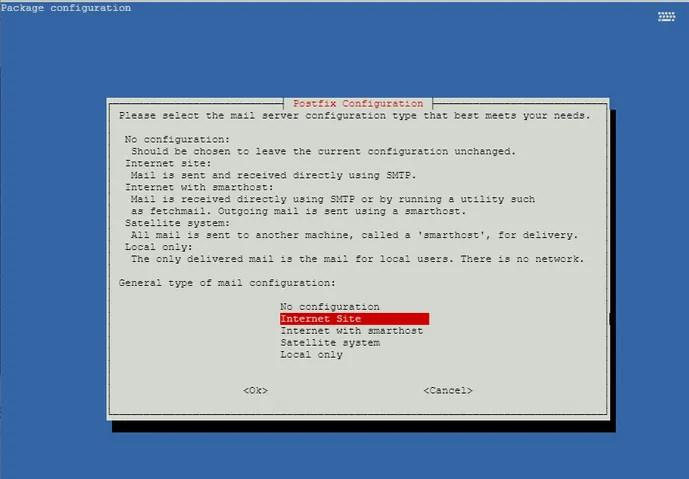
对于 Postfix 邮件服务器,请确保邮件配置选项为 Internet Site
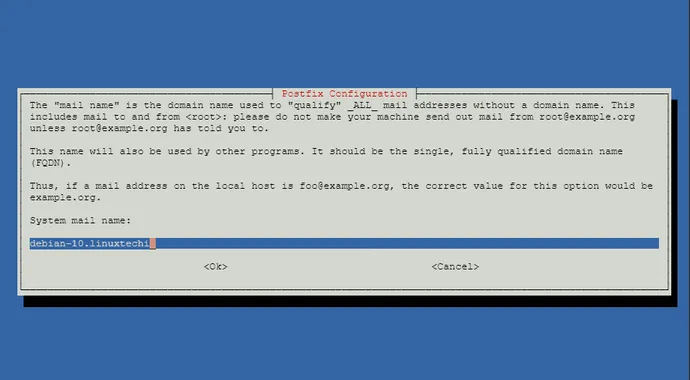
接下来,提供系统邮件名称,如图所示,并按 ENTER 键
之后,系统将自动完成所有软件包及其依赖项的安装

(3) 安装 Gitlab CE
如图所示,首先将存储库脚本从 GitLab 下载到 /tmp 目录
$ cd /tmp
$ wget https://packages.gitlab.com/install/repositories/gitlab/gitlab-ce/script.deb.sh
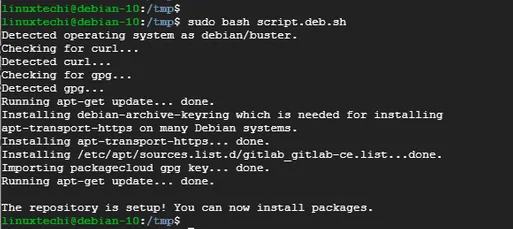
下载完成后,您需要执行脚本,如下所示
$ sudo bash script.deb.sh
这将设置 GitLab 存储库,为安装 GitLab 做好准备
完成存储库的设置后,执行命令安装 GitLab CE,如下所示
$ sudo apt install gitlab-ce

当出现提示时,按 Y 并按 ENTER 继续安装
在安装过程中,您将收到 GitLab 尚未配置以及尚未配置有效主机名的通知

我们将进一步进行必要的配置
(4) 配置 Gitlab
To tune our GitLab installation, you need to edit the github.rb file. Here we will use the vim editor to open the file.
要优化 GitLab 安装,需要编辑 github.rb 文件,我们将使用 vim 编辑器打开文件
$ sudo vim /etc/gitlab/gitlab.rb
Search and locate the external_url parameter. Update the field to correspond to your domain as follows:
搜索并定位 external_url 参数,更新字段以对应于您的域名,如下所示
external_url ‘http://domain.com’
在本例中,使用我们的测试域名,如下所示
external_url 'http://crazytechgeek.info'

接下来,找到 letsencrypt[‘contact_emails’] 参数,填入自己的邮箱,该邮箱将用于接收 Let s Encrypt SSL 证书到期提醒。
letsencrypt['contact_emails'] = ['[email protected]']

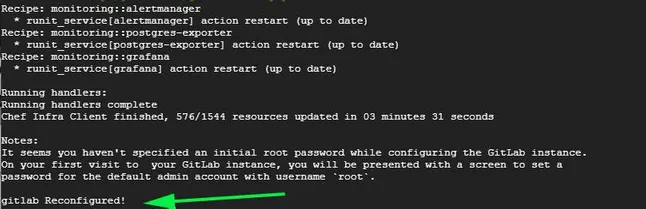
最后,保存文件并重新配置 GitLab 安装,如下所示
$ sudo gitlab-ctl reconfigure
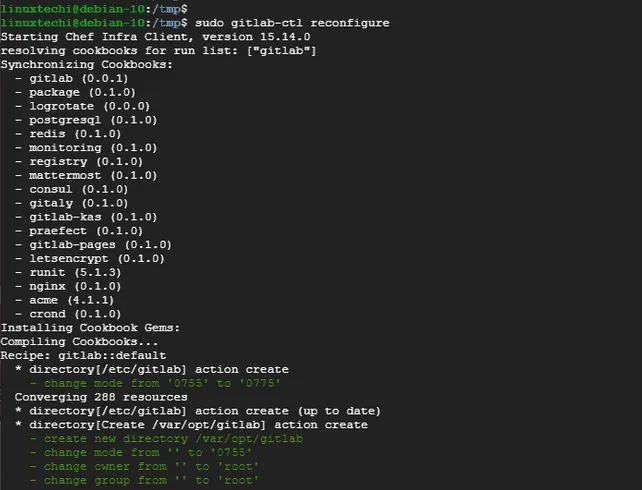
重新配置大约需要 5 分钟,配置完成后,你应该看到 GitLab Reconfigured! 的输出
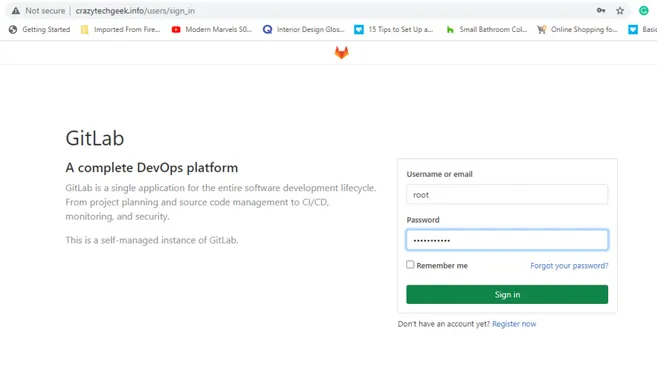
(5) 访问 Gitlab
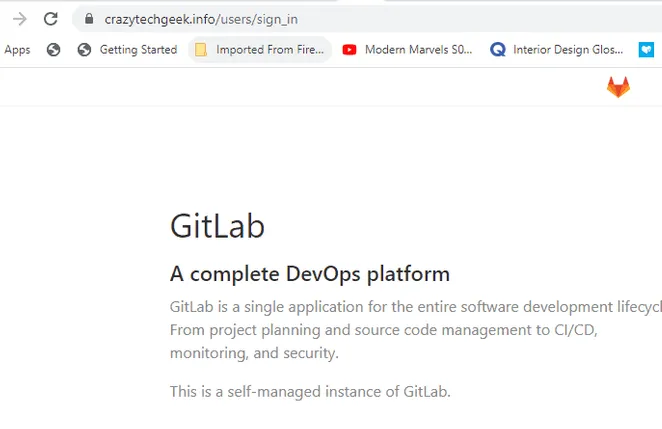
从 web 浏览器访问您的域名,如下所示
http://domain.com
首次访问时,将向您提供下面的登录页面。使用 root 用户凭据登录。
系统会要求您更改密码
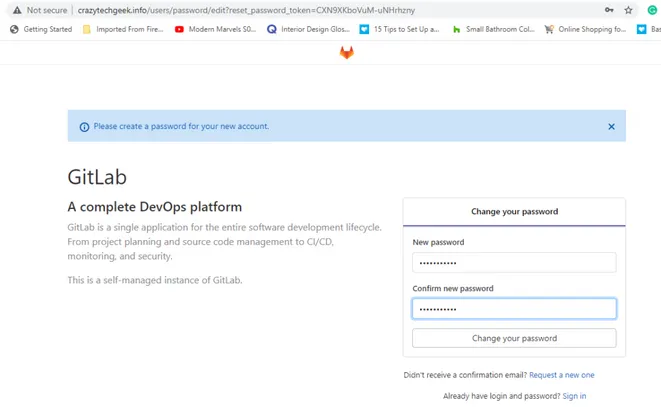
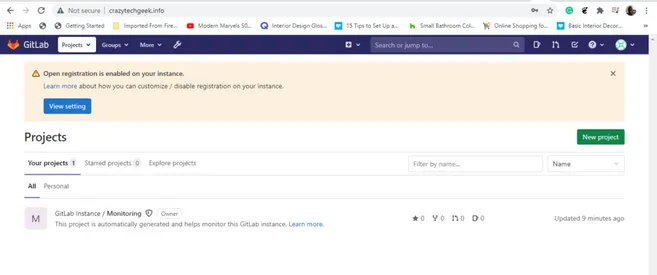
完成后,单击更改密码选项并按 ENTER。然后引导您进入 GitLab 仪表板,如图所示
(6) 使用 Let’s Encrypt SSL 安全证书
Let’s Encrypt is a free security certificate by Lets Encrypt
authority that allows you to secure your website. GitLab configuration
supports Let’s Encrypt and, in this step, we will configure our Gitlab
instance to use Let’s Encrypt SSL for secure connections.
Let ’ s Encrypt 是一个免费的安全证书,由 Let ’ s Encrypt 授权,可以加密您的网站。GitLab 配置支持 Let s Encrypt,在这一步中,我们将配置我们的 GitLab 实例使用 Let s Encrypt SSL 进行安全连接。
编辑 gitlab.rb 文件
$ sudo vim /etc/gitlab/gitlab.rb
编辑如下参数:
letsencrypt['enable'] = true
letsencrypt['auto_renew'] = true
第一行允许配置 Let s Encrypt,第二行设置自动更新证书
除此之外,您还可以定义每月的自动续订时间和日期,如下所示
letsencrypt['auto_renew_hour'] = 5
letsencrypt['auto_renew_day_of_month'] = "*/6"
将 URL 设置为 HTTPS 协议而不是 HTTP 协议
external_url 'https://crazytechgeek.info'
保存修改并退出配置文件,再次运行以下命令
$ sudo gitlab-ctl reconfigure
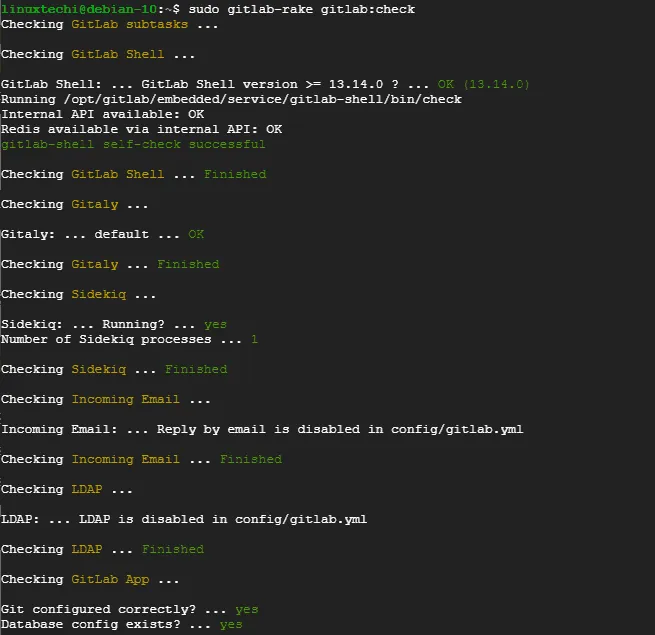
要验证一切都按计划进行,请调用该命令
$ sudo gitlab-rake gitlab:check
重新加载浏览器,可以看到 Let ’ s Encrypt SSL 证书已经生效。
我的开源项目