首先使用 conda 创建新的虚拟环境,然后激活这个环境
conda create -n myenv python=3.8
activate myenv
使用 git 克隆代码,或者直接下载源码压缩包解压,安装依赖(我使用的豆瓣源)
git clone https://github.com/Rudrabha/Wav2Lip.git
cd Wav2Lip
pip install -r requirements.txt -i http://pypi.douban.com/simple/ --trusted-host pypi.douban.com
我修改过后的 requirements.txt 依赖如下:
librosa==0.7.0
numpy==1.17.3
opencv-contrib-python>=4.2.0.34
opencv-python==4.1.2.30
torch==1.8.0
torchvision==0.9.0
tqdm==4.45.0
numba==0.48
接下来需要安装 ffmpeg,这是音视频处理的神器,ubuntu 版本使用 apt 安装
sudo apt install ffmpeg
我是 windows 版本,需手动下载安装,安装地址:ffmpeg
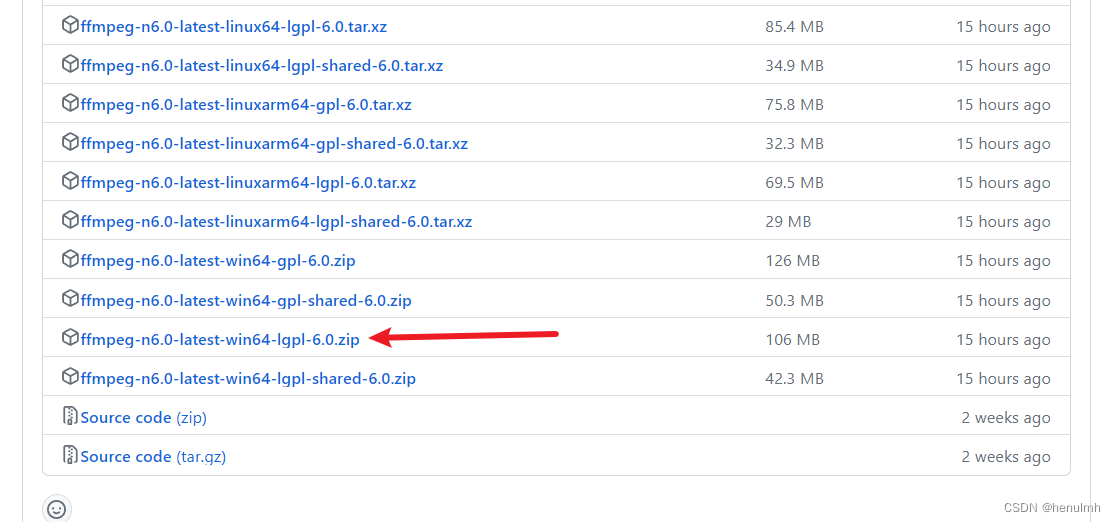
我这里下载的是 6.0 版本。
解压后将 bin 对应的路径添加到系统环境变量 PATH 中。添加过后需重启电脑使 ffmpeg 生效。
然后下载视频材料:game.mp4
音频材料我是自己找的2s的 mp3文件,命名为 2s.mp3
然后准备模型文件:
(1)脸部检测预训练模型,下载地址:脸部检测模型
放到 Wav2Lip下的 face_detection/detection/sfd 目录下,并重命名为 s3fd.pth。
(2)下载模型文件,我使用的是 Wav2Lip + GAN,下载地址:Wav2Lip + GAN
下载后放在项目根目录。
以上都配好后,执行命令:
python inference.py --checkpoint_path wav2lip_gan.pth --face game.mp4 --audio 2s.mp3
结果出现报错如下:
AttributeError: partially initialized module ‘cv2‘ has no attribute ‘gapi_wip_gst_GStreamerPipeli
解决办法:(这里安装我带上了本机代理、不带安装失败)
pip install opencv-python install "opencv-python-headless<4.3" --proxy http://127.0.0.1:7890
以上问题解决过之后,查看日志输出:

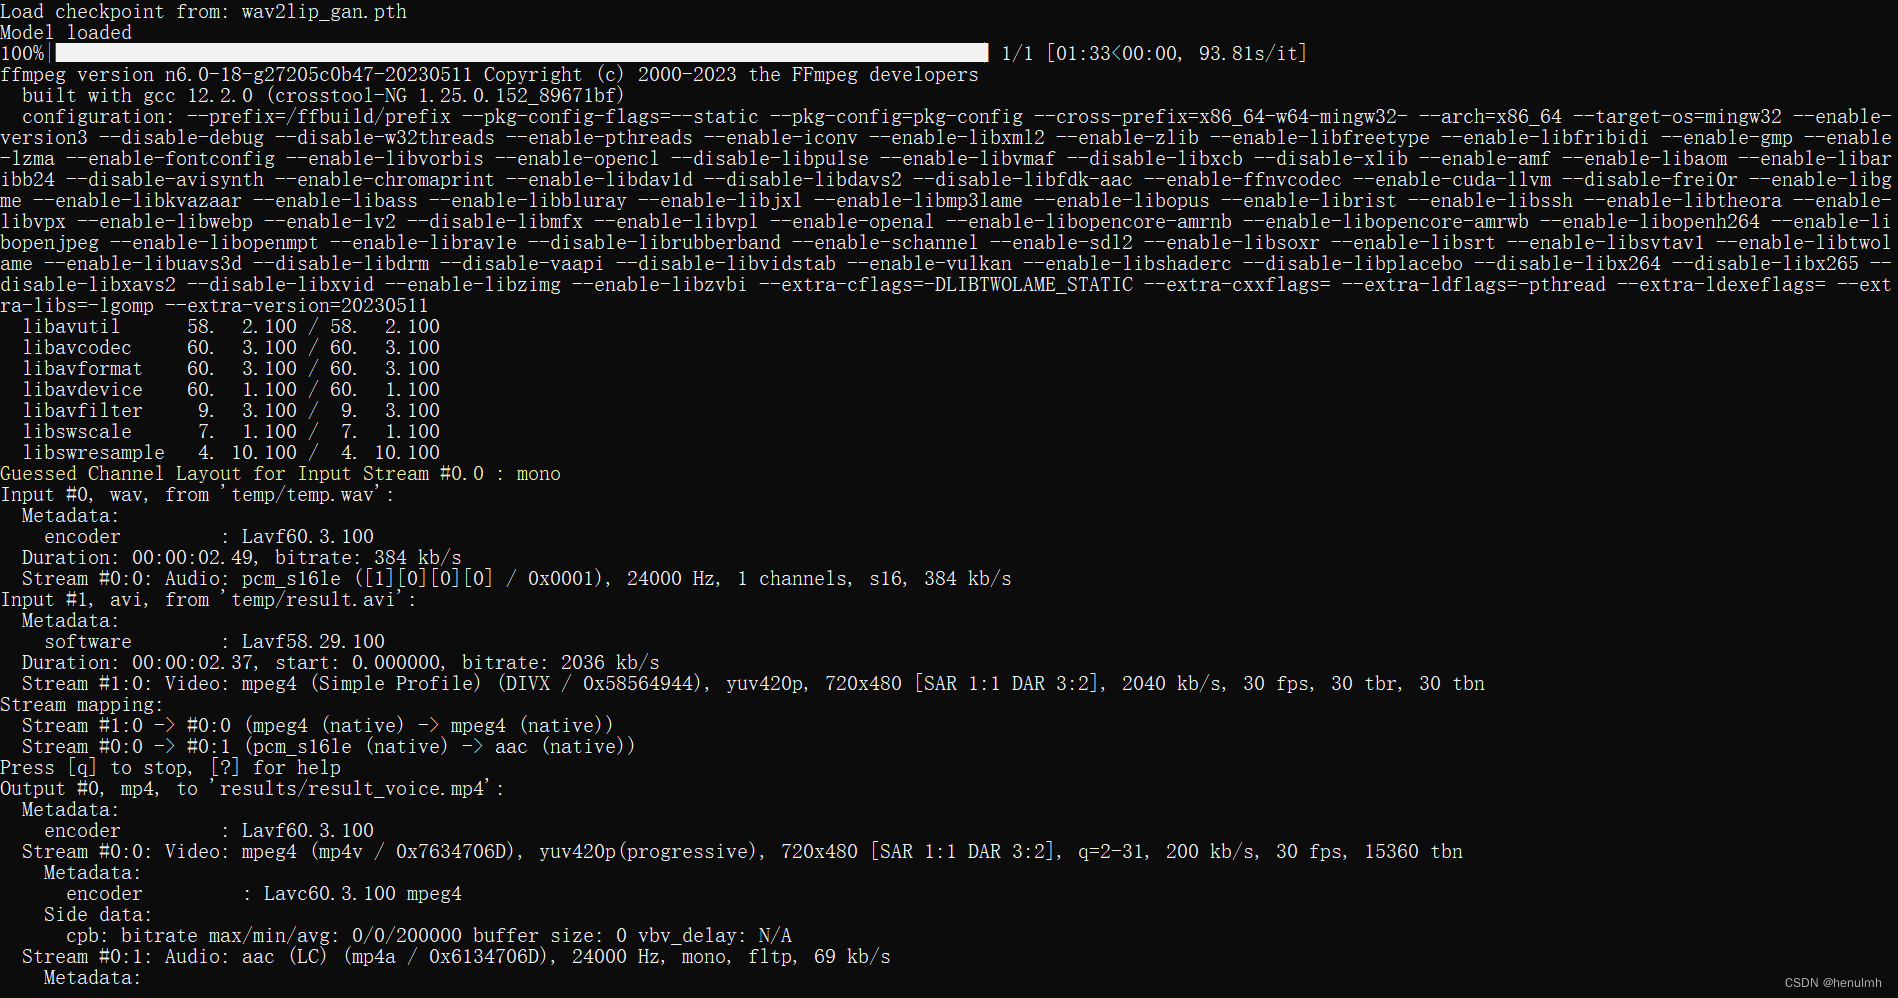

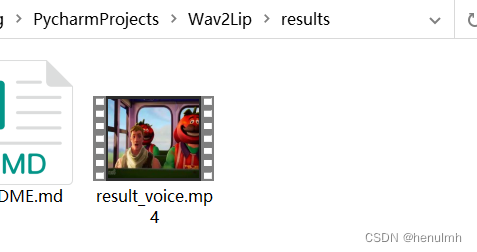
合成结果输出在 Wav2Lip 中的 results 下。