目录标题
虚拟目录
Alias 虚拟目录名称 真是目录路径
为了方便对于网站资源进行灵活管理,还可以把这些文件存放在本地计算机的其他文件夹中或者其它计算机的共享文件夹中,然后再把这个文件映射到网站主目录中的一个目录上,这个文件夹被称为“虚拟目录”。
每个虚拟目录都有一个别名,这样用户就可以通过这个虚拟目录的别名来访问与之对应的真实文件夹的资源了。虚拟目录的好处是在不需要改变别名的情况下,可以随时改变其对应的文件夹。
配置文件
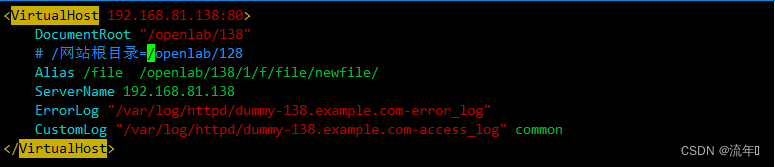
[root@localhost ~]# vim /etc/httpd/conf.d/vhosts.conf
将下面的代码写进去:
创建配置文件对应的目录资源
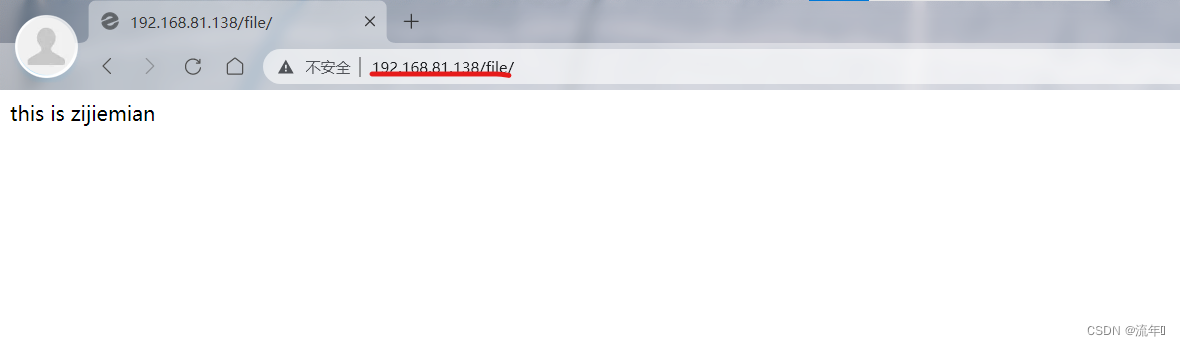
[root@localhost ~]# mkdir -pv  /openlab/128/1/f/file/newfile/
[root@localhost ~]# echo this is zijiemian > /openlab/128/1/f/file/newfile/index.html
[root@localhost ~]# systemctl restart httpd
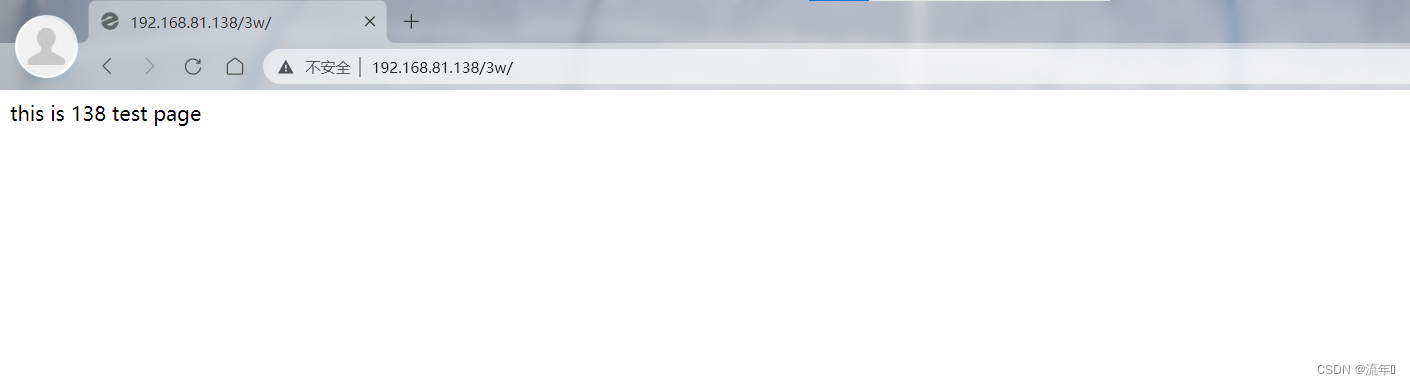
在创建一个虚拟目录的配置文件
[root@localhost ~]# vim /etc/httpd/conf.d/vhosts.conf
将下列画圈代码写入:
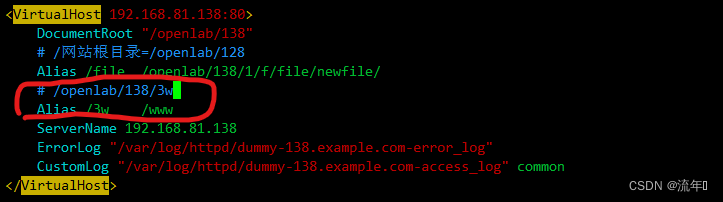
[root@localhost ~]# systemctl restart httpd
用户访问控制+虚拟目录
Apache官方手册:
http://httpd.apache.org/docs/2.4/
创建用户访问控制权限
[root@localhost ~]# vim /etc/httpd/conf.d/vhosts.conf
将下面代码写入:
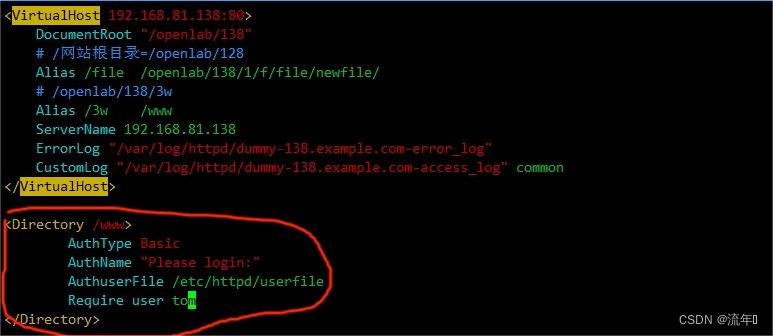
创建配置文件中的用户资源
[root@localhost www]# htpasswd -c /etc/httpd/userfile tom
New password:
Re-type new password:
Adding password for user tom
[root@localhost www]# htpasswd /etc/httpd/userfile zhangsan
New password:
Re-type new password:
Adding password for user zhangsan
[root@localhost www]# vim /etc/httpd/userfile 查看添加用户信息
[root@localhost www]# systemctl restart httpd
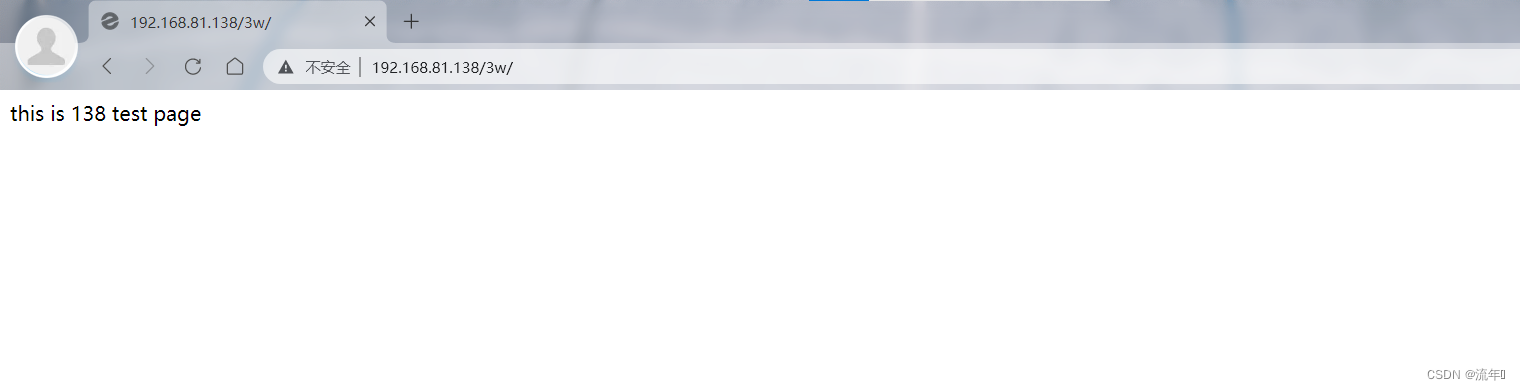
测试tom用户

验证成功就能进入子页面
测试zhangsan用户
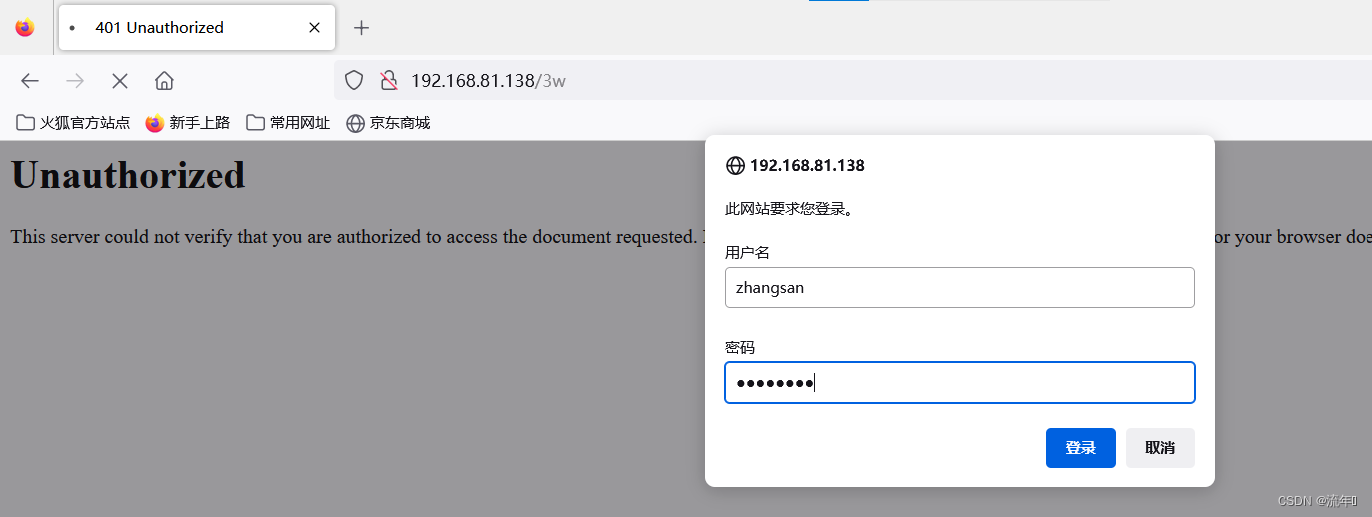
发现我们不是密码错了,而是zhangsan这个用户没有访问权限。