为什么使用ImageMagick
经常会遇到图片的格式转换、裁剪等批量操作,当然有许多软件可以使用,考虑到功能不太全面,且需要多个软件
作为一个程序员使用命令行进行操作应该会更方便点,而且不需要下载其它软件等
这里只需要安装一个ImageMagick即可
ImageMagick是一款免费开源的图片编辑软件。既可以通过命令行使用,也可以通过C/C++、Perl、Java、PHP、Python或Ruby调用库编程来完成。ImageMagic的主要精力集中在性能,减少bug以及提供稳定的API和ABI上。
ImageMagick下载地址
https://imagemagick.org/script/download.php#windows
ImageMagick安装方法及使用方法
安装方法:
https://www.cnblogs.com/lfri/p/11601211.html
使用方法:
Anatomy of the Command-line
Examples of ImageMagick Usage
注意的问题:
1.默认安装在c盘,自动配置环境变量,如果想安装到其它盘,需要手动配置环境变量,这里安装到我的D盘
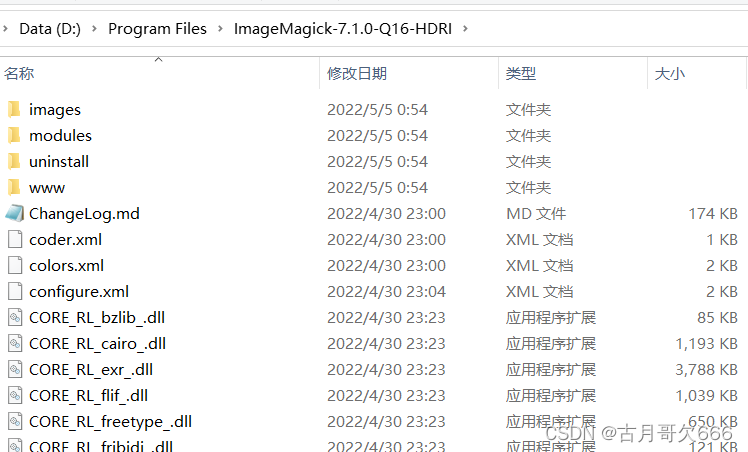
复制D:\Program Files\ImageMagick-7.1.0-Q16-HDRI添加到环境变量path中即可
2.使用方法:可以直接在命令行cd到图片目录下就可以直接进行操作,这里注意现在官网下载的新版版已经是7.0+了,学习官网使用命令时,需要在命令前添加magick:也可以在python代码中运用
例如:
import numpy as np
import matplotlib.pyplot as plt
import matplotlib.animation as animation

fig = plt.figure(figsize=(6, 6))
ax = plt.gca()
ax.grid()
ln1, = ax.plot([], [], '-', lw=2)
ln2, = ax.plot([], [], '-', color='r', lw=2)
theta = np.linspace(0, 2*np.pi, 100)
r_out = 1
r_in = 0.5

def init():
    ax.set_xlim(-2, 2)
    ax.set_ylim(-2, 2)
    x_out = [r_out*np.cos(theta[i]) for i in range(len(theta))]
    y_out = [r_out*np.sin(theta[i]) for i in range(len(theta))]
    ln1.set_data(x_out, y_out)
    return ln1,

def update(i):
    x_in = [(r_out-r_in)*np.cos(theta[i])+r_in*np.cos(theta[j]) for j in range(len(theta))]
    y_in = [(r_out-r_in)*np.sin(theta[i])+r_in*np.sin(theta[j]) for j in range(len(theta))]
    ln2.set_data(x_in, y_in)
    return ln2,

ani = animation.FuncAnimation(fig, update, range(len(theta)), init_func=init, interval=30)
ani.save('roll.gif', writer='imagemagick', fps=100)

plt.show()
运行得到如下,可以保存为.gif格式
常用的命令行操作:
1.图片格式转换
格式:
magicx convert (options) input_image output_image
“convert 也可以去掉”
单个图片
magick convert 1.jpg 2.png
多个图片
magick convert 1.jpg 2.jpg 3.jpg book.png
#或者通过通配符批量处理
magick  convert *.png  b.jpg
2.压缩图片
magick convert -resize 400 b-1.jpg b-3.jpg
3.合并图片
#b-4.jpg是合并的图片
magick convert -append b-1.jpg b-2.jpg b-4.jpg
4.裁剪图片
#从b-1.jpg的(1700,500)为起点,截取宽200像素,长210像素的的区域为b-5.jpg
magick convert  -crop 200x210+1700+500  b-1.jpg  b-5.jpg
5.图片加边框
magick 1.jpg -bordercolor blue -border 5% 2.jpg
6.图片滤镜
#-monochrome没有相关的配置选项;
#但是-charcoal需要设置一个相关因子,1左右能实现类似炭笔绘画的效果
magick convert monochrome .jpg -monochrome monochrome_example.jpg
magick convert charcoal .jpg -charcoal 1.2 charcoal _example.jpg
7.图片上加文字
magick mogrify -font "Microsoft-YaHei-&-Microsoft-YaHei-UI" -pointsize 60 -fill blue -weight bolder -annotate +300+100 "我是一个小可爱" b-3.jpg

magick convert -background lightblue -fill blue -font Candice -pointsize 72 label:Anthony label.gif
此时运行出现,虽然能显示图片,但是字体由于系统没有,
convert: unable to read font `Candice' @ warning/annotate.c/RenderType/1005.
需要下载字体:地址 到图片目录中,且Candice需要改为Candice.ttf
magick convert -background lightblue -fill blue -font Candice.ttf -pointsize 72 label:Anthony label.gif
可以得到

写到这里基本操作学的差不多了,现在提供一个更快捷的图片格式批量转换方法
教程
同样首先下载安装ImageMagick,配置环境变量
然后在python编译软件编写代码程序
import os
import subprocess

directory = '.'
dist_path = os.path.join(directory, '转换后图片')
if not os.path.exists(dist_path):
    os.makedirs(dist_path)
infile = os.getcwd()
outfile = os.path.join(infile, '转换后图片')
for filename in os.listdir(directory):
    if filename.lower().endswith(('.bmp', '.dib', '.gif', '.png',
                                  '.jpeg', '.pbm', '.pgm', '.ppm', '.tif', '.tiff', '.heic')):
        print('Converting %s...' % os.path.join(directory, filename))
        if '.' in filename:
            suffix = filename.split('.')[-1]
            name = filename.replace(('.' + suffix), '')
        subprocess.run(["magick", "%s" % filename, "%s" % (outfile + '\\' + name + '.jpg')])
        continue
方法是将编写好的代码(自己根据需要可以更改)利用打包软件进行打包.exe 格式 便于window系统打开,这里需要在项目环境中安装pyinstaller
pip install pyinstaller
最后在编译软件(例如vs code终端,保证激活项目的python环境)输入
pyinstaller -F -i ico.ico img_to_jpg.py
ico.ico设置的程序图标(可以利用自己的图片制作ico) , img_to_jpg.py是编写的代码名字
运行代码之后在项目目录里dist里exe后缀的文件就是所需的程序,将其复制到需要转换图片格式的文件里

每次使用时,你可能需要复制此文件到对应图片目录里,双击即可,相当于自动运行代码
其它问题:
如果遇到pdf转其它格式出错,可以按照以下教程安装ghostscript