之前经常用nodejs启动http的本地服务调试接口,今天因为需要调试websocket所以使用nodejs启动了本地服务,分享一个本地使用nodejs启动websocket服务的方法!
启动本地的websocket服务需要使用到nodejs-websocket,所以我们先初始化一个node项目!
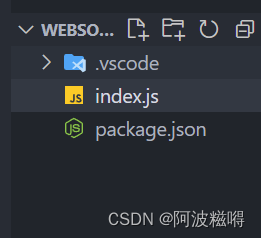
1、打开终端,先创建一个js文件,然后使用npm init -y 初始化包管理。就会得到一个这样的文件夹。
2、安装nodejs-websocket:npm install nodejs-websocket
3、在index.js中写入代码
// 引入nodejs-websocket
const ws = require('nodejs-websocket');
// 定义监听的host地址跟port端口
const host = '127.0.0.1',
    port = 8000;
// 创建ws服务
const service = ws.createServer((conn) => {


    // 定义测试数据
    const data = ['消息1', '消息2', '消息3'];
    conn.on('text', (message) => {


        // 当收到消息的时候就开始定时推送
        console.log('message', message);
        setInterval(() => {


            // 随机推送message里的内容
            conn.sendText(data[(Math.random() * 2).toFixed(0)]);
        }, 5 * 1000);
    });
}).listen(port, host, () => {


    console.log('service---connection---');
});
4、写一个html页面测试是否成功
<script>
window.onload = () => {
if ('WebSocket' in window) {
// 创建websocket连接
let ws = new WebSocket('ws://127.0.0.1:8000');
// 成功连接的时候推送一条消息,此时服务端就可以开始推送数据了
ws.onopen = () => {
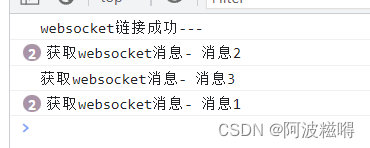
console.log('websocket链接成功---');
ws.send('success');
}
ws.onmessage = (message) => {
let data = message.data;
console.log('获取websocket消息-', data);
}
ws.onerror = () => {
console.error('websocket链接失败');
}
} else {
console.error('当前设备不支持websocket');
};
};
</script>
5、在终端输入node index.js我们的服务就启动了,然后再打开index.html页面就可以看到连接成功,并且开始接收消息了。