零、阿里云学习地址
https://help.aliyun.com/document_detail/462614.html#section-jni-etn-tvr
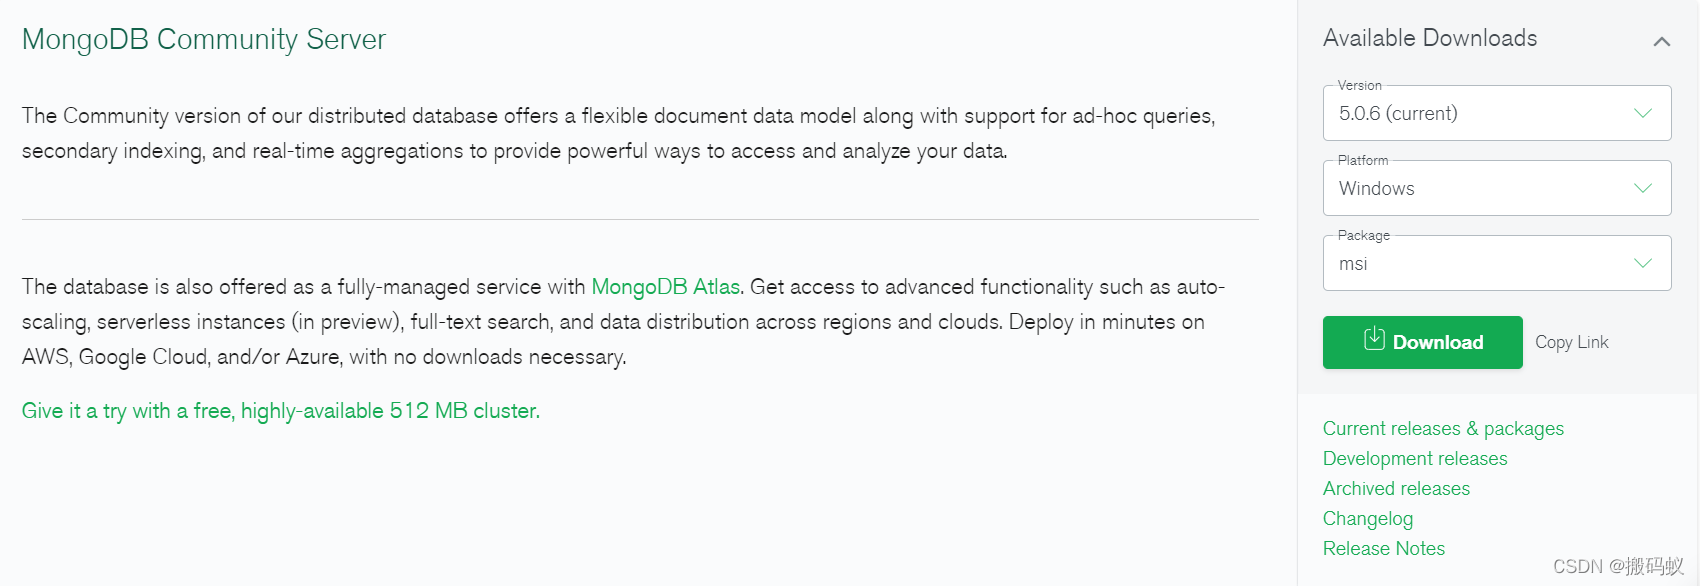
一、下载地址
https://www.mongodb.com/download-center/community
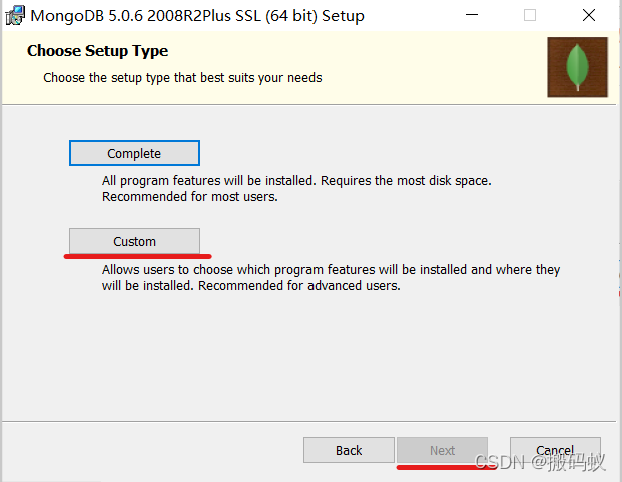
二、安装流程
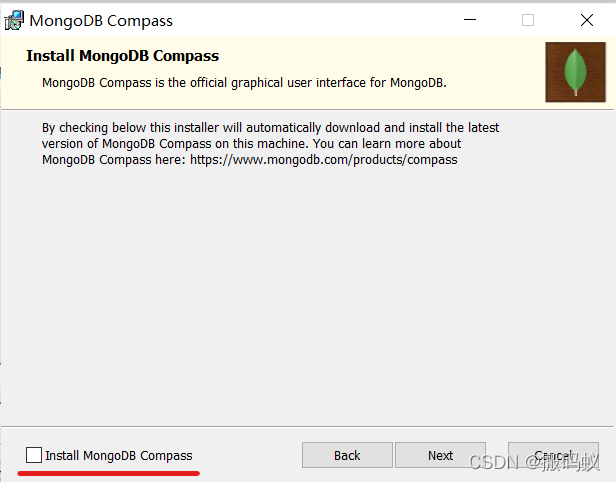
一直next(注意:需要自定义安装路径和取消可视化面板)
自定义安装目录
取消可视化面板
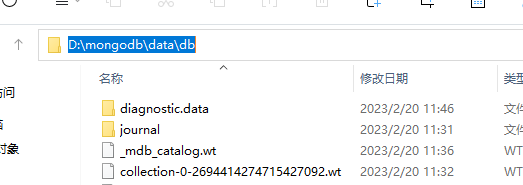
三、配置
data目录下新建一个db文件夹。
在MongoDB的安装路径下创建conf文件夹并新建mongod.cfg配置文件。
(也可以把bin目录下的同名文件复制到这个文件夹进行后续的修改)

# mongod.conf

# for documentation of all options, see:
#   http://docs.mongodb.org/manual/reference/configuration-options/

# Where and how to store data.
storage:
# 指定数据路径
  dbPath: D:\mongodb\data\db
  journal:
    enabled: true
#  engine:
#  wiredTiger:

# where to write logging data.
systemLog:
  destination: file
  logAppend: true
# 指定日志文件
  path:  D:\mongodb\log\mongod.log

# network interfaces
net:
  port: 27017
  bindIp: 127.0.0.1


#processManagement:

#security:

#operationProfiling:

#replication:

#sharding:

## Enterprise-Only Options:

#auditLog:

#snmp:
更多详细配置,请查看官方配置案例
https://www.mongodb.com/docs/manual/reference/configuration-options/#windows-service-options
四、启动测试
mongod --config D:\mongodb\config\mongod.cfg安装bin目录下执行

打开浏览器访问地址: http://localhost:27017

五、创建用户
(一般创建两种,一个root用户,一个对应数据库的user用户[就是我们平时用来连接,操作数据的,只支持操作当前数据库])
1、重新打开一个cmd窗口
2、在bin目录下执行mongo或mongo --host 127.0.0.1 --port 27017免密登录mongodb
3、执行use admin,切换到admin库
4、创建root用户(命令是什么,网上搜)
5、创建user用户(命令是什么,网上搜)
六、开启安全认证
mongod.cfg新增如下配置
# 副本集(用于副本集,要想单体项目也支持事务,也得设置这个属性)
replication:
  replSetName: rs0

#开启授权认证 (副本集还需要指定keyFile,用于内部通信)
security:
  keyFile: D:\mongodb\Mongo.Key
  authorization: enabled
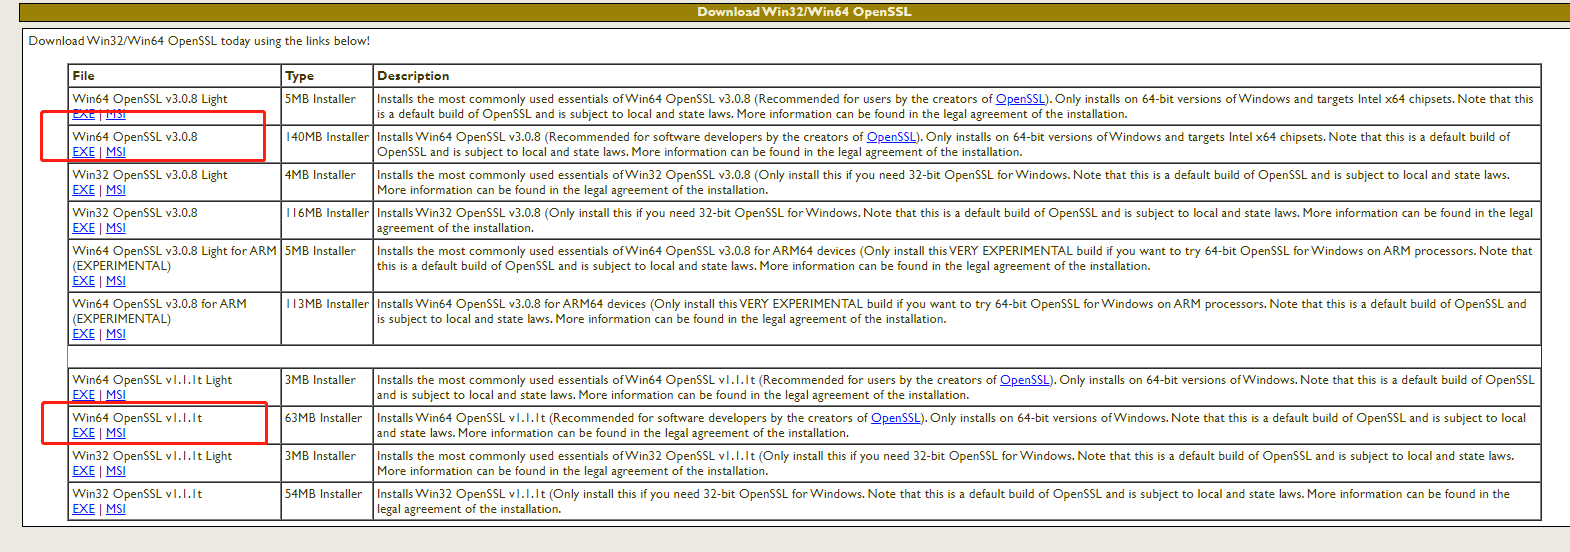
openssl快速安装地址,下载下来,一路next,然后配置环境变量,最后执行openssl version查看环境变量是否配置成功(怎么配,网上搜)
https://slproweb.com/products/Win32OpenSSL.html
创建Mongo.key
openssl rand -base64 756 > D:\mongodb\Mongo.Key
openssl rand -base64 756 > D:\mongodb\Mongo.Key七、重新启动
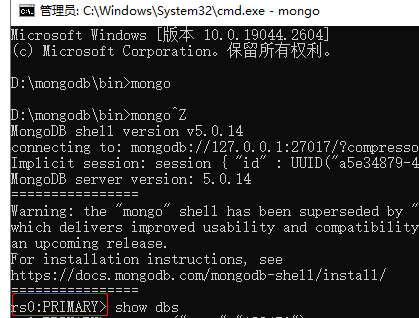
mongod --config D:\mongodb\config\mongod.cfg注意这次启动后如果立马进入mongodb会很慢,因为此时mongodb在进行内部选举。要稍等一会儿,选举成功就会变成这个界面
然后执行db.auth("","")进行认证,就能看到该用户所能操作的数据库了

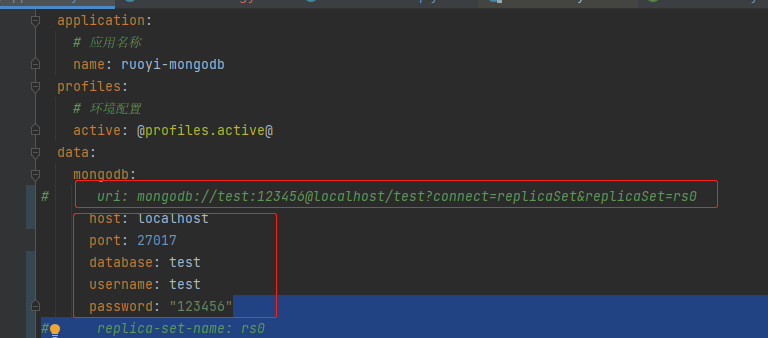
八、springboot yml配置
两种,url那种(可配置多个结点地址)。非url那种我还没了解怎么配置多个结点,可能像mysql那种主从配置一样
九、事务测试
另一篇博客讲了怎么实现事务
https://blog.csdn.net/qq_41369135/article/details/129204920
@Transactional(value = "mongoTransactionManager")
@Override
public void testMongoDBTransactional() {
// LambdaUpdateWrapper<DevMc> wrapper = getLamUpdateWrapper();
// wrapper.set(DevMc::getMcUid,"999").eq(DevMc::getId,82839);
// update(wrapper);
Student shanghai = new Student();
shanghai.setUsername("chongqing");
Student beijing = new Student();
beijing.setUsername("beijing");
mongoTemplate.insert(shanghai, "student");
System.out.println(1/0);
// mongoTemplate.insert(beijing, "student");
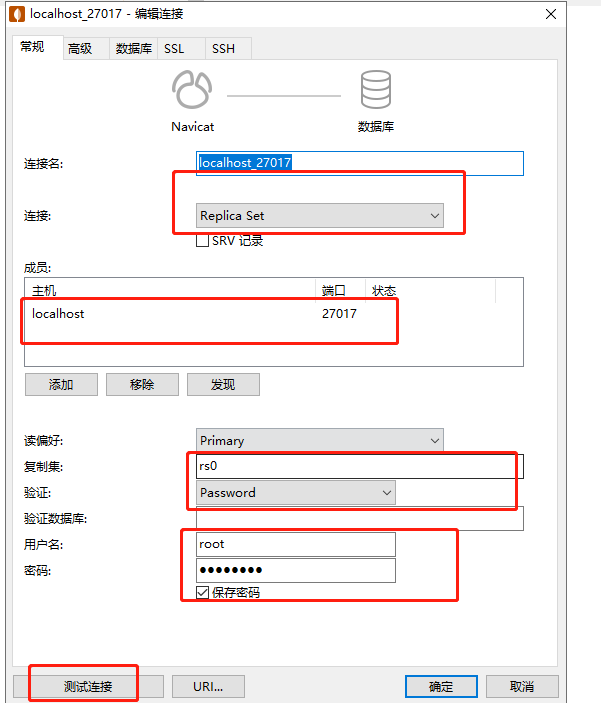
}十、连接navicat(方便建立索引、查看修改数据)
root用户连接
test用户连接
