说明
- 操作系统:CentOS Linux release 7.9.2009 (Core)
- docker版本:20.10.17
- 主机ip地址:172.16.100.106
- 使用gitlab.com而不是gitlab.cn官网,如果访问不了gitlab.com,下载安装过程可以参考gitlab.cn,gitlab.cn官网安装过程也非常的详细,配置文件部分可以参考本教程
- gitlab.cn官网安装教程:GitLab最新版下载安装_GitLab中文免费版-极狐GitLab中文官方网站
准备
进入官网找到合适的下载版本,地址:gitlab - Repositories · packages.gitlab.com
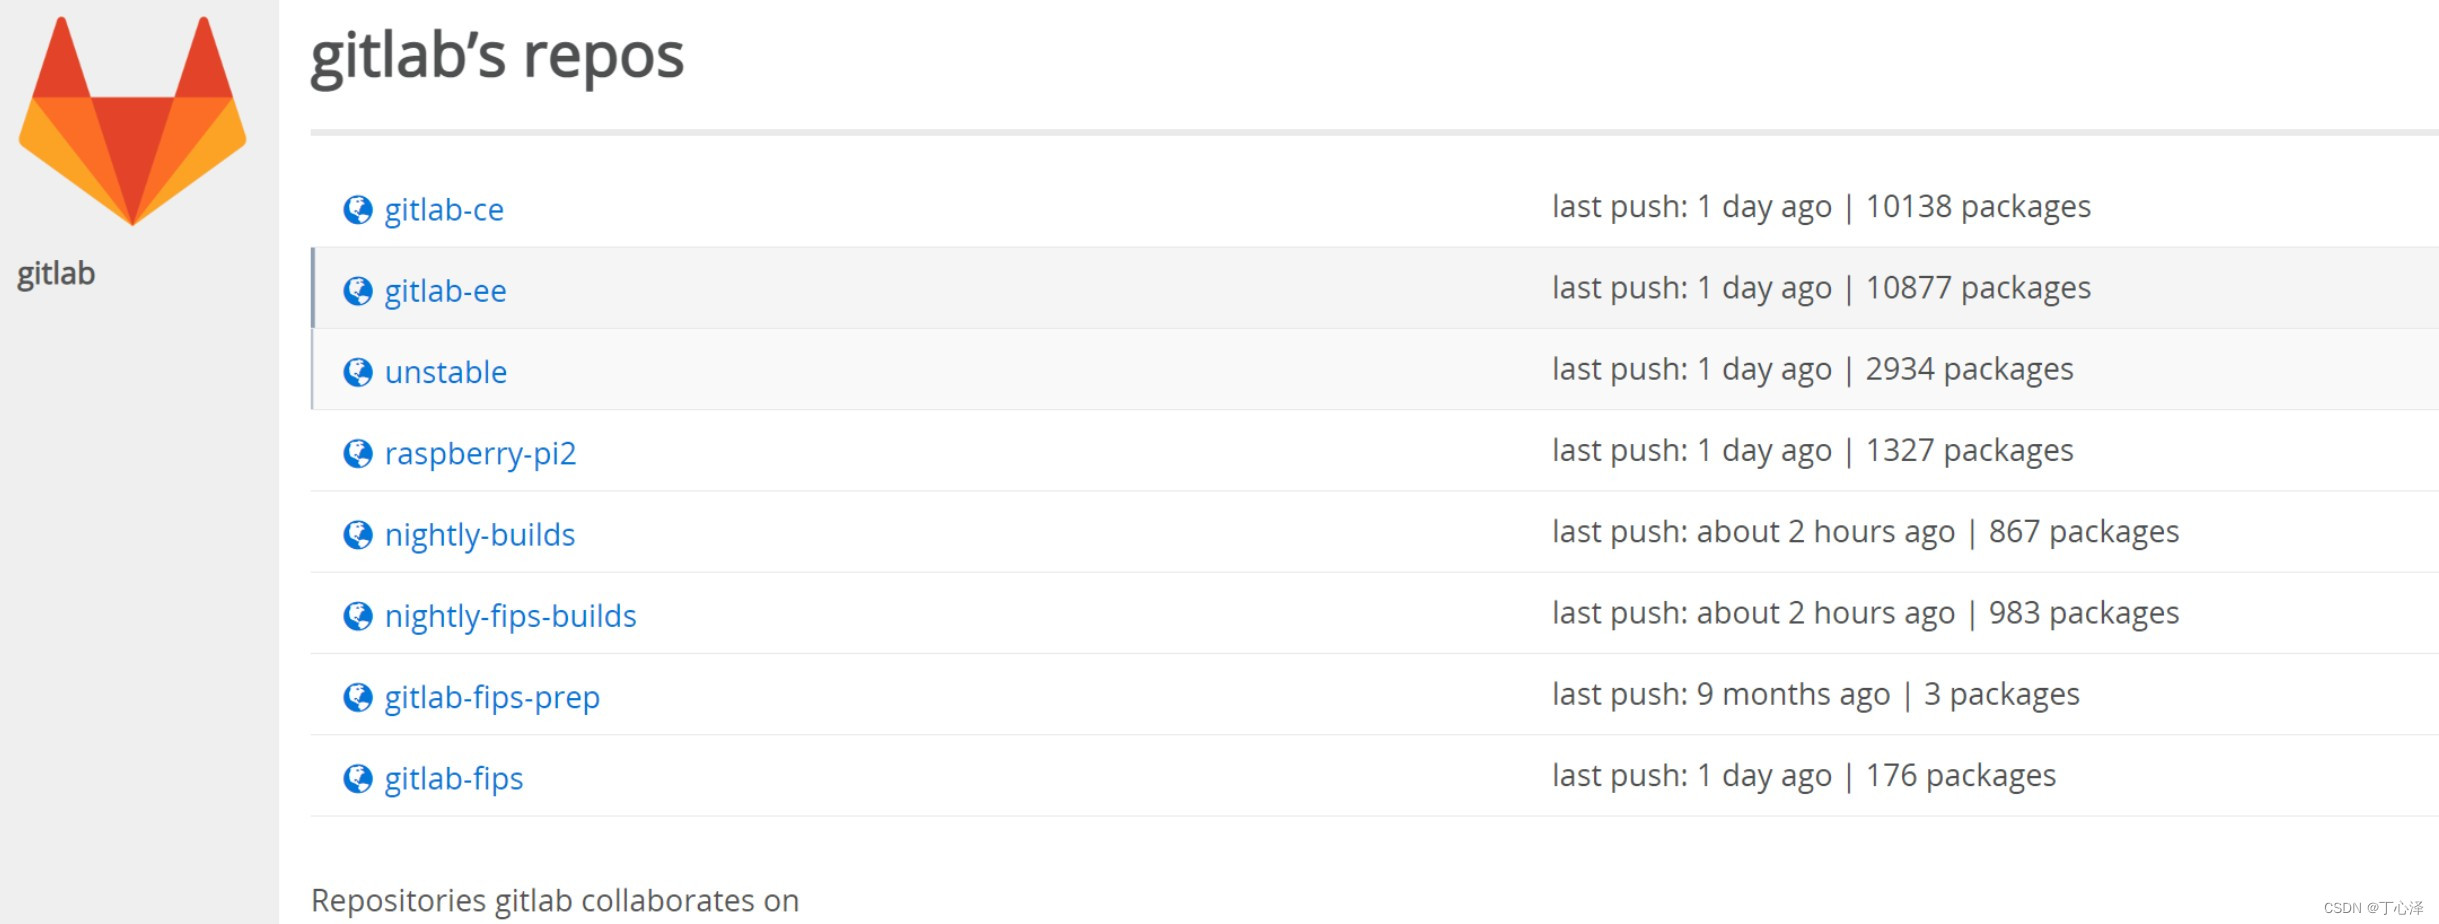
这里我们需要选择ce版本,因为ee版本就收费的版本
gitlab/gitlab-ce - Packages · packages.gitlab.com
我们选择合适的版本,点击链接进入

推荐使用官方yum仓库安装

安装
1. yum仓库安装方式
curl -s https://packages.gitlab.com/install/repositories/gitlab/gitlab-ce/script.rpm.sh | sudo bash sudo yum install gitlab-ce-15.5.7-ce.0.el7.x86_64也可以使用rpm进行安装,需要下载rpm包,然后使用rpm或者yum本地安装命令,这里使用上面命令安装yum仓库方式安装.
2. rpm包安装方式
wget --content-disposition https://packages.gitlab.com/gitlab/gitlab-ce/packages/el/7/gitlab-ce-15.5.7-ce.0.el7.x86_64.rpm/download.rpm执行完成1方式后,会自动安装gitlab-ce,此时一定要注意Thank you for installing GitLab!这段话:
Running transaction check
Running transaction test
Transaction test succeeded
Running transaction
  正在安装    : setools-libs-3.3.8-4.el7.x86_64                                                                                               1/8
  正在安装    : libcgroup-0.41-21.el7.x86_64                                                                                                  2/8
  正在安装    : audit-libs-python-2.8.5-4.el7.x86_64                                                                                          3/8
  正在安装    : python-IPy-0.75-6.el7.noarch                                                                                                  4/8
  正在安装    : libsemanage-python-2.5-14.el7.x86_64                                                                                          5/8
  正在安装    : checkpolicy-2.5-8.el7.x86_64                                                                                                  6/8
  正在安装    : policycoreutils-python-2.5-34.el7.x86_64                                                                                      7/8
  正在安装    : gitlab-ce-15.7.2-ce.0.el7.x86_64                                                                                              8/8
It looks like GitLab has not been configured yet; skipping the upgrade script.

       *.                  *.
      ***                 ***
     *****               *****
    .******             *******
    ********            ********
   ,,,,,,,,,***********,,,,,,,,,
  ,,,,,,,,,,,*********,,,,,,,,,,,
  .,,,,,,,,,,,*******,,,,,,,,,,,,
      ,,,,,,,,,*****,,,,,,,,,.
         ,,,,,,,****,,,,,,
            .,,,***,,,,
                ,*,.


     _______ __  __          __
    / ____(_) /_/ /   ____ _/ /_
   / / __/ / __/ /   / __ `/ __ \
  / /_/ / / /_/ /___/ /_/ / /_/ /
  \____/_/\__/_____/\__,_/_.___/


Thank you for installing GitLab!
GitLab was unable to detect a valid hostname for your instance.
Please configure a URL for your GitLab instance by setting `external_url`
configuration in /etc/gitlab/gitlab.rb file.
Then, you can start your GitLab instance by running the following command:
  sudo gitlab-ctl reconfigure

For a comprehensive list of configuration options please see the Omnibus GitLab readme
https://gitlab.com/gitlab-org/omnibus-gitlab/blob/master/README.md

Help us improve the installation experience, let us know how we did with a 1 minute survey:
https://gitlab.fra1.qualtrics.com/jfe/form/SV_6kVqZANThUQ1bZb?installation=omnibus&release=15-7

  验证中      : checkpolicy-2.5-8.el7.x86_64                                                                                                  1/8
  验证中      : libsemanage-python-2.5-14.el7.x86_64                                                                                          2/8
  验证中      : python-IPy-0.75-6.el7.noarch                                                                                                  3/8
  验证中      : policycoreutils-python-2.5-34.el7.x86_64                                                                                      4/8
  验证中      : gitlab-ce-15.7.2-ce.0.el7.x86_64                                                                                              5/8
  验证中      : audit-libs-python-2.8.5-4.el7.x86_64                                                                                          6/8
  验证中      : libcgroup-0.41-21.el7.x86_64                                                                                                  7/8
  验证中      : setools-libs-3.3.8-4.el7.x86_64                                                                                               8/8
感谢您安装 GitLab!
GitLab 无法检测到您的实例的有效主机名。
请通过设置/etc/gitlab/gitlab.rb 文件中的external_url 为您的 GitLab 实例配置 URL。
然后,您可以通过运行以下命令来启动您的 GitLab 实例:
sudo gitlab-ctl 重新配置
配置
使用vim编辑器修改/etc/gitlab/gitlab.rb文件,找到如下配置.注意:需要放开注释grafana['enable'] = false
external_url 'http://172.168.100.106'
gitlab_rails['time_zone'] = 'Asia/Shanghai'
nginx['listen_port'] = 80
grafana['enable'] = false
如果nginx配置的不是80端口(也不是443),需要external_url加入端口号,例如:
external_url 'http://172.168.100.106:8008'
编辑完成后,保存退出.
重新配置
命令行执行下面的命令:
gitlab-ctl reconfigure输入这条命令后需要等待一会儿
最后输出下面这段话代表成功,而且下面这段话非常重要
Notes:
Default admin account has been configured with following details:
Username: root
Password: You didn't opt-in to print initial root password to STDOUT.
Password stored to /etc/gitlab/initial_root_password. This file will be cleaned up in first reconfigure run after 24 hours.

NOTE: Because these credentials might be present in your log files in plain text, it is highly recommended to reset the password following https:/                                                                                                                                           /docs.gitlab.com/ee/security/reset_user_password.html#reset-your-root-password.

gitlab Reconfigured!
默认管理员帐户已配置以下详细信息:
用户名:root
密码:您没有选择将初始 root 密码打印到 STDOUT。
密码存储到 /etc/gitlab/initial_root_password。 该文件将在 24 小时后的第一次重新配置运行中被清除。
注意:由于这些凭据可能以纯文本形式存在于您的日志文件中,因此强烈建议按照 https://docs.gitlab.com/ee/security/reset_user_password.html#reset-your-root-password 重置密码 .
gitlab 重新配置!存储密码的文件将在24h之后被删除!!!!,所以我们须要在24小时之内保存这个密码,最好安装完就登录一次.
我们查看密码文件
[root@dhl106 ~]# cat /etc/gitlab/initial_root_password
# WARNING: This value is valid only in the following conditions
#          1. If provided manually (either via `GITLAB_ROOT_PASSWORD` environment variable or via `gitlab_rails['initial_root_password']` setting                                                                                                                                            in `gitlab.rb`, it was provided before database was seeded for the first time (usually, the first reconfigure run).
#          2. Password hasn't been changed manually, either via UI or via command line.
#
#          If the password shown here doesn't work, you must reset the admin password following https://docs.gitlab.com/ee/security/reset_user_pas                                                                                                                                           sword.html#reset-your-root-password.

Password: 6/8avtotLNvYrtyPr1bbKf1Xr0KmaxNOMc1gcFAynSY=

# NOTE: This file will be automatically deleted in the first reconfigure run after 24 hours.
登录
用户名:root
密码: 6/8avtotLNvYrtyPr1bbKf1Xr0KmaxNOMc1gcFAynSY=
注意:你的密码和我的不一样!!!!!,请用上面的命令查看
警告
登录后我们会看到一个警告框
Check your sign-up restrictions Your GitLab instance allows anyone to register for an account, which is a security risk on public-facing GitLab instances. You should deactivate new sign ups if public users aren't expected to register for an account.
检查您的注册限制 您的GitLab实例允许任何人注册帐户,这对面向公共的GitLab示例来说是一个安全风险。如果公众用户不需要注册帐户,您应该停用新注册。
也就是不须要注册的话应该关闭注册.这个根据实际情况开关吧.