一、手把手教你搭建SpringCloud项目(一)图文详解,傻瓜式操作
二、手把手教你搭建SpringCloud项目(二)生产者与消费者
三、手把手教你搭建SpringCloud项目(三)集成Eureka服务注册中心
四、手把手教你搭建SpringCloud项目(四)Eureka集群版搭建
五、手把手教你搭建SpringCloud项目(五)生产者集群版搭建
六、手把手教你搭建SpringCloud项目(六)Eureka实现服务发现
七、手把手教你搭建SpringCloud项目(七)集成Consul服务注册中心
八、手把手教你搭建SpringCloud项目(八)集成Ribbon负载均衡器
九、手把手教你搭建SpringCloud项目(九)集成OpenFeign服务接口调用
十、手把手教你搭建SpringCloud项目(十)集成Hystrix之服务降级

十一、手把手教你搭建SpringCloud项目(十一)集成Hystrix之服务熔断
十二、手把手教你搭建SpringCloud项目(十二 )集成Hystrix之图形化Dashboard实时监控
十三、手把手教你搭建SpringCloud项目(十三 )集成Gateway新一代网关
十四、手把手教你搭建SpringCloud项目(十四 )集成Config分布式配置中心
十五、手把手教你搭建SpringCloud项目(十五)集成Bus消息总线
十六、手把手教你搭建SpringCloud项目(十六)集成Stream消息驱动
十七、手把手教你搭建SpringCloud项目(十七)集成Sleuth分布式链路跟踪
继续更新中,欢迎点赞关注!
我们首先了解 Eureka:官方介绍
一、了解Eureka
1、什么是服务治理?
Springcloud 封装了Netfix公司开发的Eureka模块来实现服务治理。在传统的RPC远程调用中,管理每个服务于服务之间依赖关系复杂,管理复杂,所以需要使用服务治理,管理服务于服务之间依赖关系,可以实现服务调用、负载均衡、容错等,实现服务发现与注册。
2、什么是服务注册与发现?
Eureka采用了CS的设计架构,Eureka Server服务端作为服务注册功能的服务器,它是服务注册中心。而系统中的其他微服务,使用Eureka Client客户端连接到Eureka Server服务端并维持心跳的连接,这样系统的维护人员就可以通过ureka Server来监控系统中的各个微服务是否正常运行。
在服务注册与发现中,有一个注册中心。当服务器启动的时候,会把当前自己服务器的的信息,比如:服务地址通讯等以别名方式注册到注册中心上,另一方(消费者|生产者)以该别名的方式去注册中心上获取到实际的服务通讯地址,然后再实现本地RPC调用和RPC远程调用框架核心设计思想。这里的重点就是注册中心,因为注册中心管理每个服务于服务之间的依赖关系。在任何的RPC框架中,都会有一个注册中心,存放服务地址相关信息,也就是接口地址。
下图为Eureka的架构图:

二、搭建Eureka服务端服务
新建一个module,是Eureka的服务。步骤和之前新建module是一样的,该module名称:cloud-eureka-server。参考前两篇文章。这里从修改pom文件开始贴代码。注意:主要就是添加eureka-server依赖。
<?xml version="1.0" encoding="UTF-8"?>
<project xmlns="http://maven.apache.org/POM/4.0.0"
         xmlns:xsi="http://www.w3.org/2001/XMLSchema-instance"
         xsi:schemaLocation="http://maven.apache.org/POM/4.0.0 http://maven.apache.org/xsd/maven-4.0.0.xsd">
    <parent>
        <groupId>com.study.springcloud</groupId>
        <artifactId>mcroservice</artifactId>
        <version>1.0-SNAPSHOT</version>
    </parent>
    <modelVersion>4.0.0</modelVersion>

    <artifactId>cloud-eureka-server</artifactId>
    <dependencies>
        <!--eureka-server-->
        <dependency>
            <groupId>org.springframework.cloud</groupId>
            <artifactId>spring-cloud-starter-netflix-eureka-server</artifactId>
        </dependency>
        <!-- 引入自己定义的api通用包,可以使用Payment支付Entity -->
        <dependency>
            <groupId>com.study.springcloud</groupId>
            <artifactId>cloud-api-commons</artifactId>
            <version>${project.version}</version>
        </dependency>
        <!--boot web actuator-->
        <dependency>
            <groupId>org.springframework.boot</groupId>
            <artifactId>spring-boot-starter-web</artifactId>
        </dependency>
        <dependency>
            <groupId>org.springframework.boot</groupId>
            <artifactId>spring-boot-starter-actuator</artifactId>
        </dependency>
        <!--一般通用配置-->
        <dependency>
            <groupId>org.projectlombok</groupId>
            <artifactId>lombok</artifactId>
        </dependency>
        <dependency>
            <groupId>org.springframework.boot</groupId>
            <artifactId>spring-boot-starter-test</artifactId>
            <scope>test</scope>
        </dependency>
        <dependency>
            <groupId>junit</groupId>
            <artifactId>junit</artifactId>
        </dependency>
    </dependencies>

</project>
配置yml文件
server:
  port: 7001
eureka:
  instance:
    hostname: eureka7001.com #eureka服务端的实例名称
  client:
    register-with-eureka: false     #false表示不向注册中心注册自己。
    fetch-registry: false     #false表示自己端就是注册中心,我的职责就是维护服务实例,并不需要去检索服务
    service-url:
      #设置与eureka  server交互的地址和注册服务都需要依赖这个地址
      defaultZone: http://eureka7001.com:7001/eureka/  #单机就是指向自己
主启动类:因为是Eureka的服务端,所以要加该注解@EnableEurekaServer
package com.buba.springcloud.eureka;

import org.springframework.boot.SpringApplication;
import org.springframework.boot.autoconfigure.SpringBootApplication;
import org.springframework.cloud.netflix.eureka.server.EnableEurekaServer;


@SpringBootApplication
@EnableEurekaServer
public class EurekaMain {


    public static void main(String[] args) {


        SpringApplication.run(EurekaMain.class,args);
    }
}
启动该项目,我们直接访问该地址http://localhost:7001/,端口7001就是改服务的端口,出现如下界面,说明启动成功。
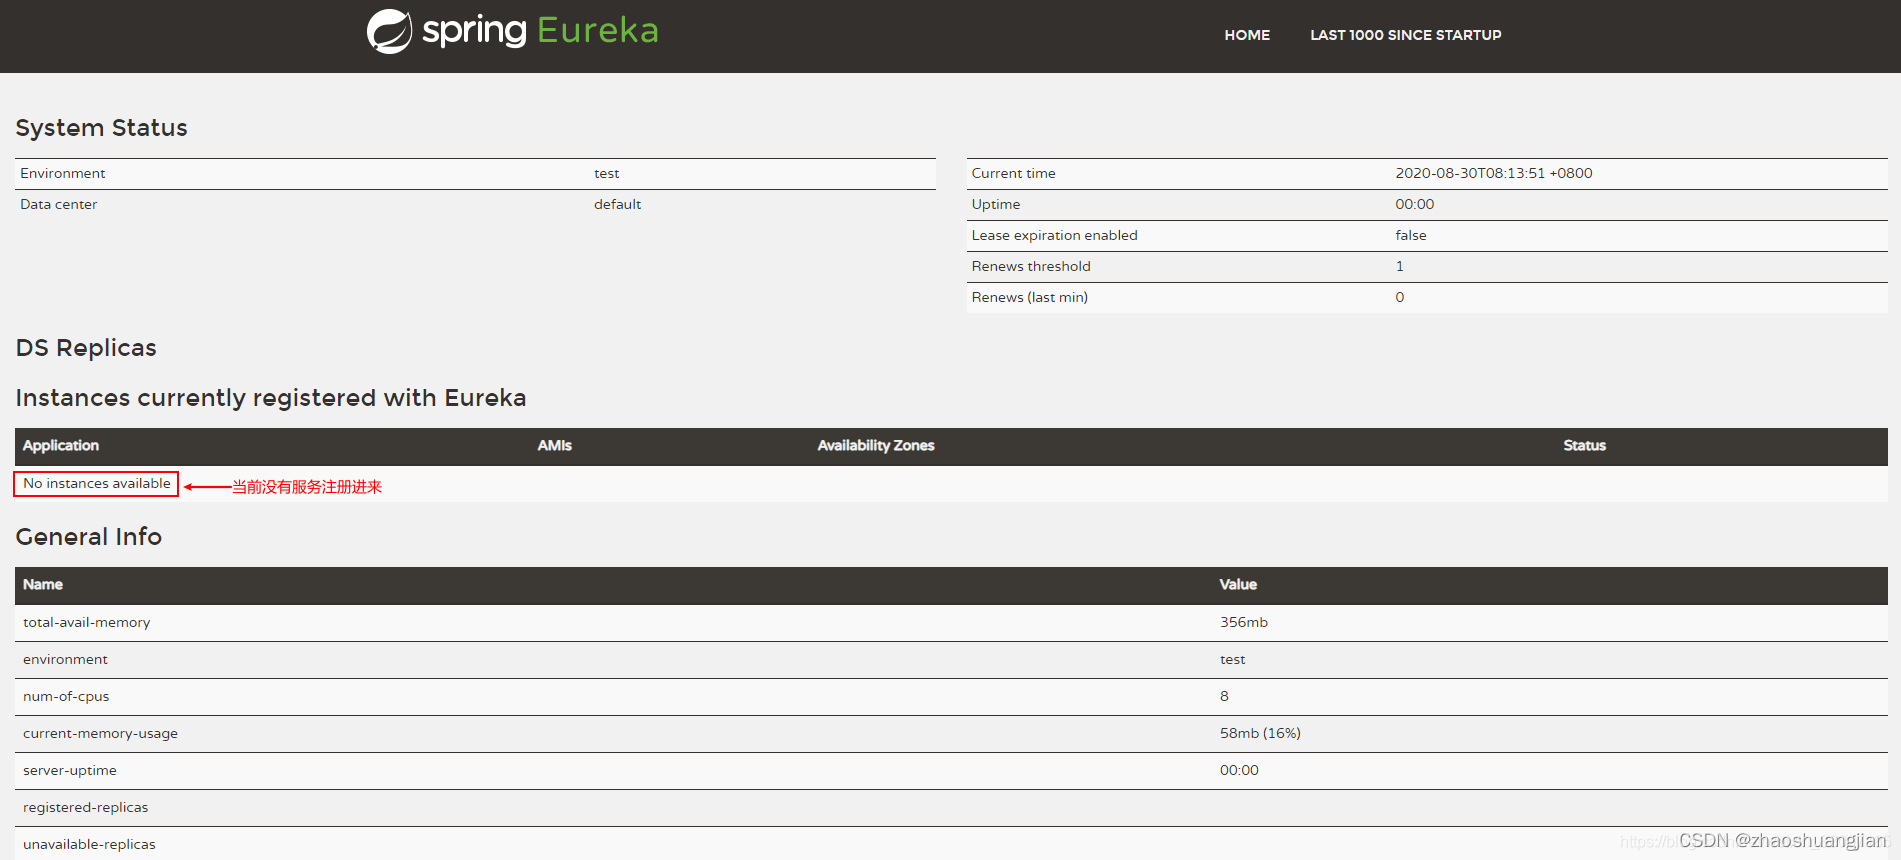
现在Erueka的服务端已经启动成功,那我们现在就将我们的订单的生产者和消费者注册到我们Erueka的注册中心。
三、将生产者注册到Erueka服务中
首先我们修改的是cloud-provide-payment服务中的pom文件。只需要新增eureka-client的依赖。
<!--   添加eureka客户端的依赖     -->
 <dependency>
      <groupId>org.springframework.cloud</groupId>
       <artifactId>spring-cloud-starter-netflix-eureka-client</artifactId>
 </dependency>
接下来就是修改yml文件,在yml文件中新增如下配置。
#eureka配置
eureka:
  client:
    #表示是否将自己注册进eureka  默认为true
    register-with-eureka: true
    #是否从EurekaServer中抓取已有的注册信息,默认为true,单点无所谓,集群必须设置true才能和ribbon使用负载均衡
    fetch-registry: true
    service-url:
      #单机配置
      defaultZone: http://localhost:7001/eureka
然后修改主启动类,要加该注解@EnableEurekaClient
@SpringBootApplication
@EnableEurekaClient
public class PayMentMain {


    public static void main(String[] args) {


        SpringApplication.run(PayMentMain.class,args);
    }
}
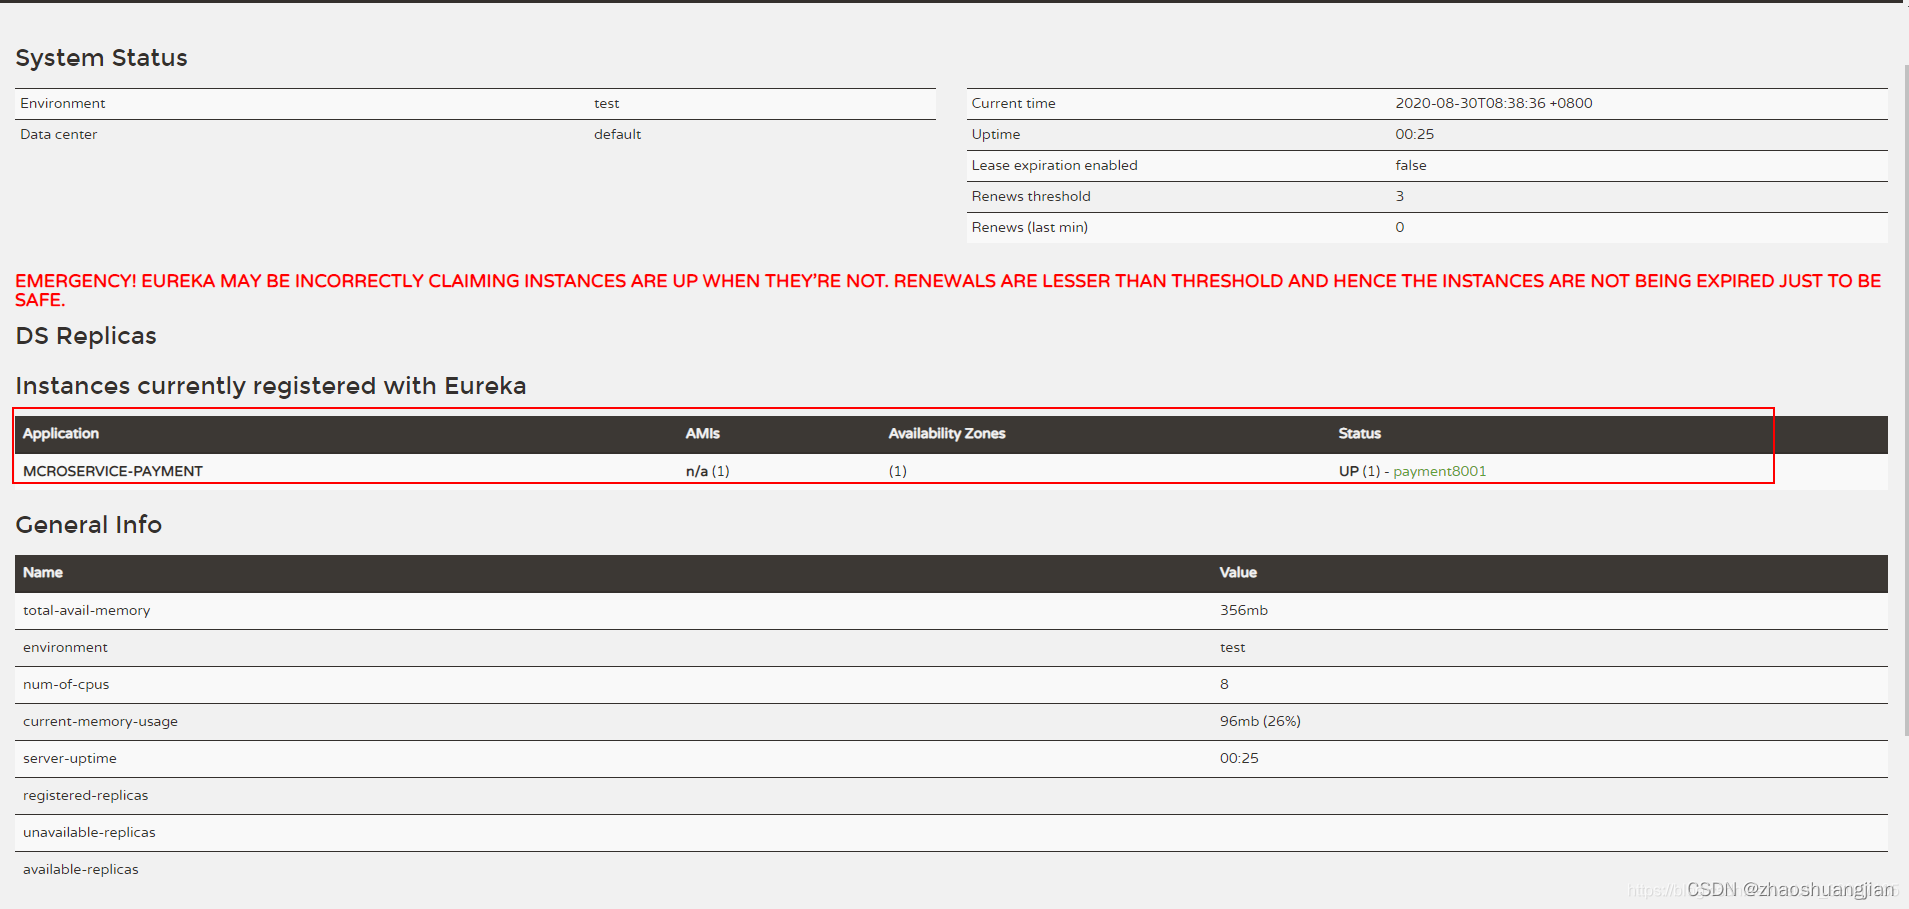
最后我们要先启动Eureka服务端的服务,然后再启动生产者。然后在访问:http://localhost:7001/,会出现如下的界面,我们可以看到服务列表中有就了mcroservice-payment这个服务
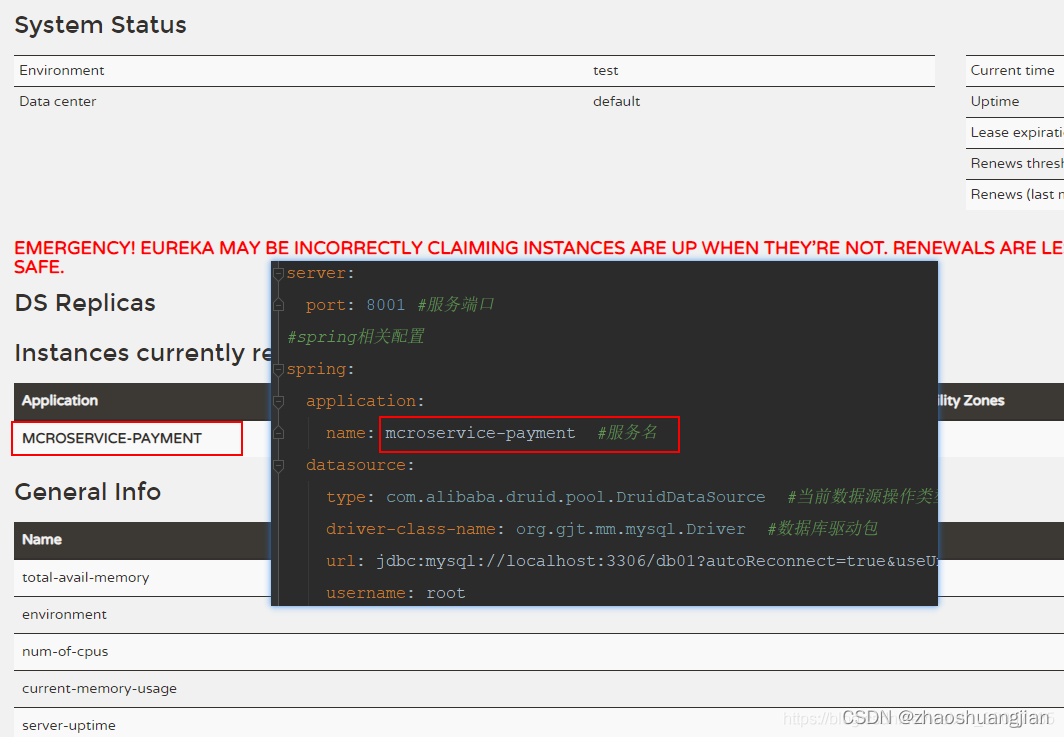
服务列表中的mcroservice-payment这个服务名称是我们在mcroservice-payment这个服务中yml文件中配置的,如下图:
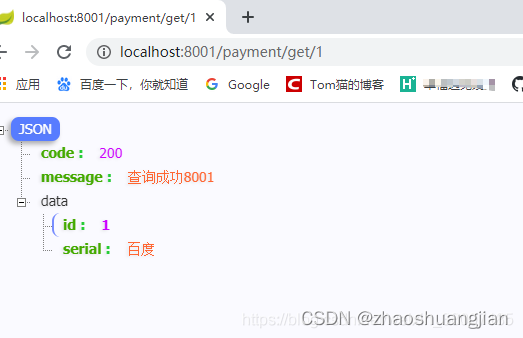
我们访问一下之前的接口看看是否能访问成功。输入http://localhost:8001/payment/get/1,可以成功访问,如下图。
四、将消费服务注册到Erueka服务中
具体的修改步骤跟我们上边的服务差不多,在cloud-consumer-order微服务项目中,只需要新增eureka-client的依赖。
<!--   添加eureka客户端的依赖     -->
 <dependency>
      <groupId>org.springframework.cloud</groupId>
       <artifactId>spring-cloud-starter-netflix-eureka-client</artifactId>
 </dependency>
接下来就是修改yml文件,在yml文件中新增如下配置。
#eureka配置
eureka:
  client:
    #表示是否将自己注册进eureka  默认为true
    register-with-eureka: true
    #是否从EurekaServer中抓取已有的注册信息,默认为true,单点无所谓,集群必须设置true才能和ribbon使用负载均衡
    fetch-registry: true
    service-url:
      #单机配置
      defaultZone: http://localhost:7001/eureka
然后修改主启动类,要加该注解@EnableEurekaClient
@SpringBootApplication
@EnableEurekaClient
public class OrderMain {


    public static void main(String[] args) {


        SpringApplication.run(OrderMain.class,args);
    }
最后我们要先启动Eureka服务端的服务,然后再启动消费者服务。然后在访问:http://localhost:7001/,会出现如下的界面,我们可以看到服务列表中有除了有mcroservice-payment这个服务外,还新增了mcroservice-order这个服务。
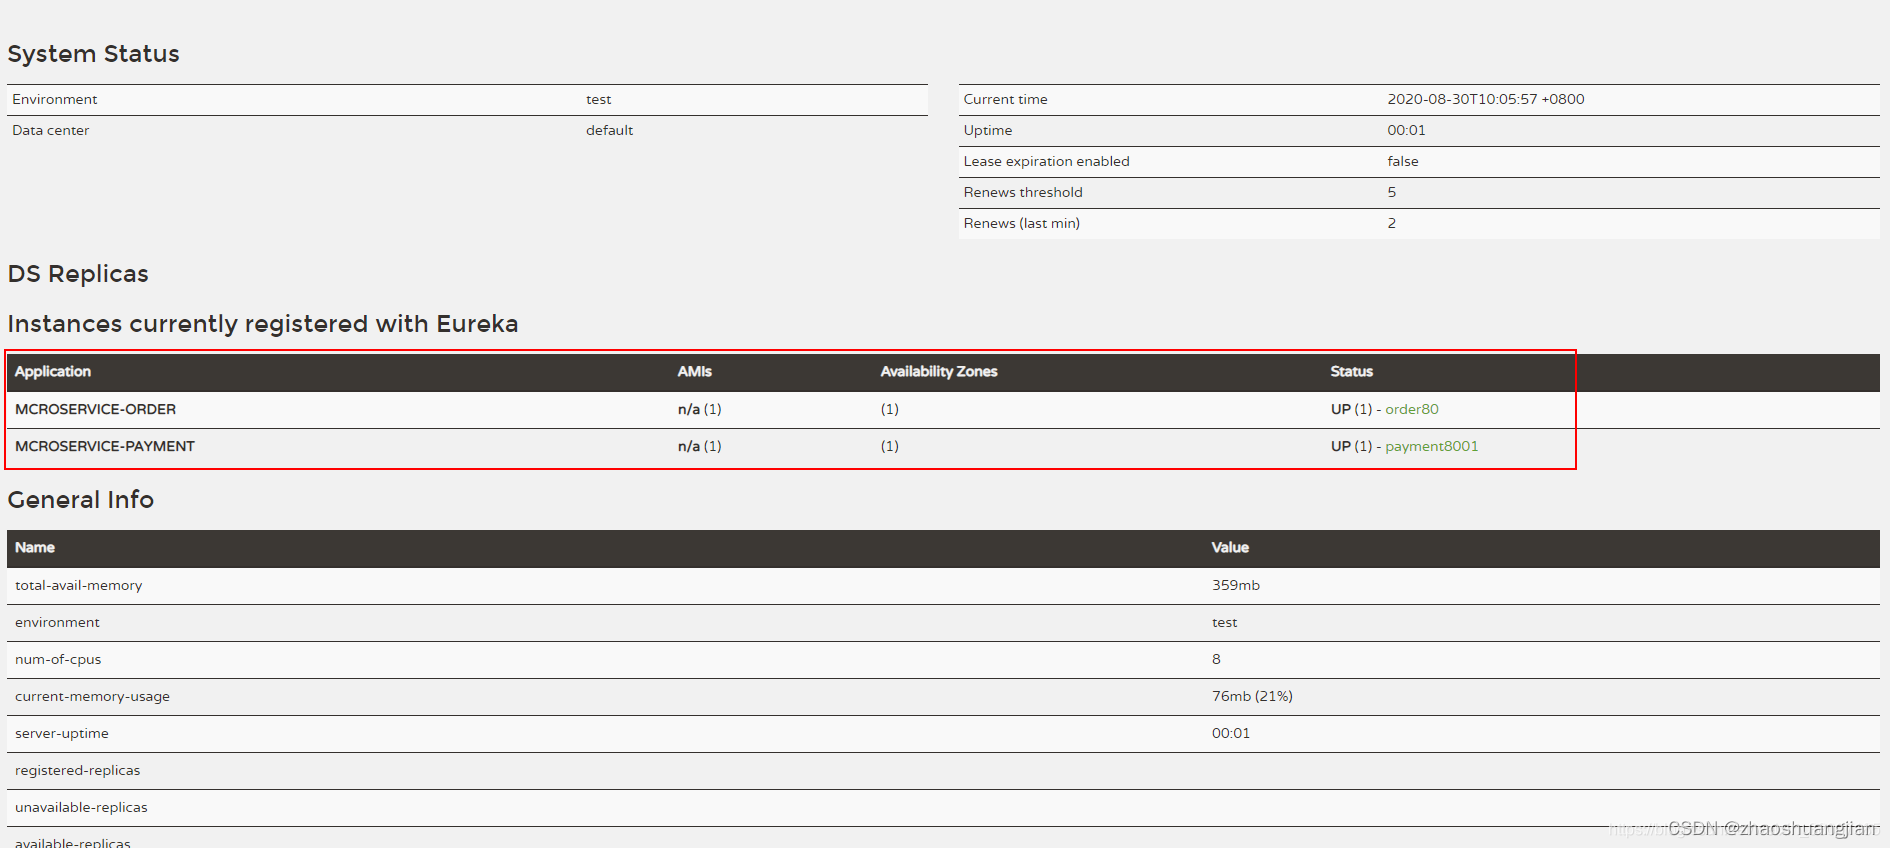
现在生产者服务和消费者服务都已经成功注册到我们Eureka的注册中心, 下面测试一下消费者服务,是否可以成功访问。输入http://localhost/consumer/payment/get/1,访问成功,如下图:
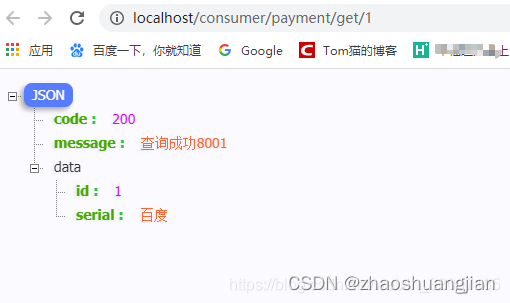
我们成功的将生产者和消费者成功注册到了注册中心, 也可以通过接口获取信息。so easy。

下一篇文章继续搭建集群版的Eureka,持续关注、点赞。我们持续更新中。