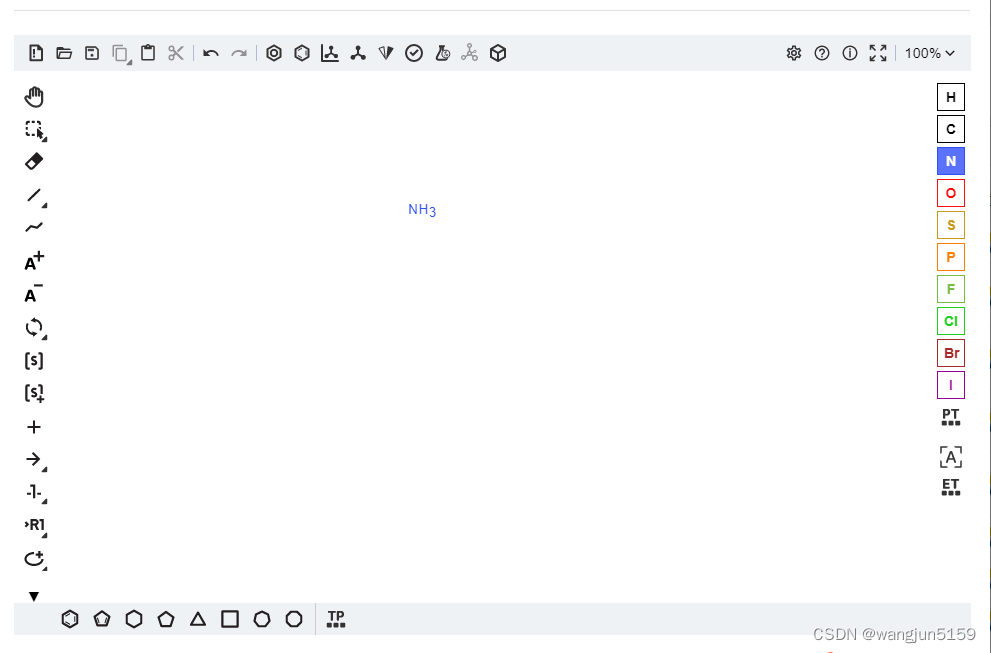
ketcher是一个化学结构式编辑器(github地址),ketcher插件提供了传统的html standalone版、npm包react版,并没有npm包vue版,集成到vue的原理是将standalone版嵌到iframe中,通过拿到iframe中的ketcher对象,从而获取到化学式。
预期ketcher组件功能
ketcher组件可以被引用,是个按钮,点击后,弹出对话框,输入化学式后,可获取到化学式的molfile,点击确定可返回给父组件所选化学式的molfile。
下载ketcher
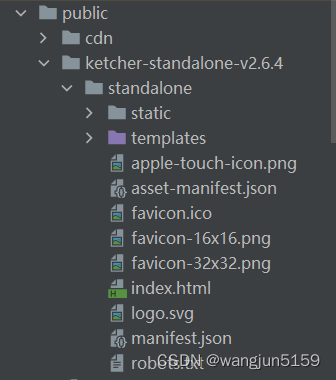
为了稳定,没有下载最新的2.8.0,而是下载了Ketcher 2.6.4 standalone,下载后解压放到vue项目中的public目录下,如下图
创建化学式组件
在组件目录内创建化学式组件src/components/chemical-structure-editor/index.vue,
<!--化学式结构搜索编辑器-->
<template>
  <div>
    <el-button  icon="el-icon-search" @click="searchChemicalStructure">结构式查询</el-button>
    <el-dialog class="dialog-custom-class"
               :close-on-click-modal="false"
               width="70%"
               :append-to-body="true"
               :visible.sync="showEditor">
      <div class="molecule">
        <div>
          <div class="right_content">
            <el-button type="primary" @click="confirmed">确定</el-button>
            <el-divider/>
          </div>
          <div>
            <iframe class="frame" id="idKetcher"
                    src="/ketcher-standalone-v2.6.4/standalone/index.html"
                    width="100%" height="600" style="display: block;margin: 0 auto;border:0;"/>
          </div>

        </div>
      </div>
    </el-dialog>
  </div>


</template>

<script>


export default {
  name: 'index',
  components: {},

  watch:{
    showEditor(newVal){
      this.innerShowEditor=newVal
    }
  },
  data() {
    return {
      showEditor: false,
      ketcher: null

    }
  },
  methods: {
    searchChemicalStructure() {
      this.showEditor = true
      this.ketcher = null
    },
    /**
     * 确定
     */
    async confirmed() {
      //拿到molfile
      const molfile = await this.getMolfile()
      console.log("molfile", molfile)

      //获取到的molfile返回给父组件,关闭对话框
      this.$emit("confirmed", molfile)
      this.showEditor=false
    },
    /**
    获取molfile
    */
    getMolfile(){
    //在用到Ketcher时,再获取反而更加可靠。
      this.initKetcher()
      return this.ketcher.getMolfile()
    },


    initKetcher() {
      if(this.ketcher){
        return
      }
      let ketcherFrame = document.getElementById('idKetcher')
      let ketcher = null
      if (ketcherFrame && 'contentDocument' in ketcherFrame) {
        ketcher = ketcherFrame.contentWindow.ketcher
      } else {
        ketcher = document.frames['idKetcher'].window.ketcher
      }
      if(!ketcher){
        this.$message({
          showClose: true,
          message: 'ketcher控件未初始化完毕',
          type: 'warning'
        });
        return
      }
      this.ketcher = ketcher
    },

  },
  created() {
   //因为网络加载时机问题,初始化控件方法initKetcher()并没有放到created()里,
   //在用到时,再获取反而更加可靠。
    console.log("化学式结构编辑器控件,初始化")
  }
}
</script>

<style scoped >
.molecule {
  padding: 10px;
}
.dialog-custom-class ::v-deep .el-dialog__header{
  padding: 0;
}
.dialog-custom-class ::v-deep .el-dialog__body{
  padding:10px;
}


</style>
相应的只读组件
除了可编辑的化学式组件,通常还会有个只读的化学式组件,以图片的形式显示分子式,创建化学式只读组件src/components/chemical-structure-editor/read-only.vue,简单来说就是根据父组件传过来的smiles生成图片对象URL。
先安装两个npm依赖,这里的版本号一定要搭配使用。
npm install [email protected]
npm install [email protected]
<!--化学式的只读模式-->
<template>
  <div>
    <img v-if="imgUrl" :src="imgUrl" style="width: 100%;height: 100%;">
  </div>
</template>

<script>
import { StandaloneStructService } from 'ketcher-standalone'
import { Ketcher } from 'ketcher-core'
let structService = new StandaloneStructService()
let ketcher = new Ketcher({}, structService, {})
export default {
  name: "read-only",
  props: {
    /**
     * smiles
     */
    smiles: {
      type: String
    }
  },
  data(){
    return {
      imgUrl:""
    }
  },
  created() {
    this.generateImgUrl()

  },
  watch:{
    smiles(newVal,oldVal){
      console.log("smiles变了新值是:",newVal)
      this.imgUrl = null
      this.generateImgUrl()
    }
  },
  methods:{
    generateImgUrl(){
      if(this.smiles){
        ketcher.generateImage(this.smiles, {
          outputFormat: "svg",                        // 生成图片的类型,可以是"svg"或"png"
          backgroundColor: "255, 255, 255"            // 背景颜色
        }).then(res => {
          this.imgUrl = window.URL.createObjectURL(res); // res是blob类型,用该方法转为url后可以在用img展示
        })
      }else{
        this.imgUrl=null
      }
    }
  }
}
</script>

<style scoped>

</style>