目录
前言
开发者使用uniCloud的云存储,无需再像传统模式那样单独去购买存储空间、CDN映射、流量采购等,本篇文章主要讲解如何使用uni-app实现上传文件至云存储的三种方式。
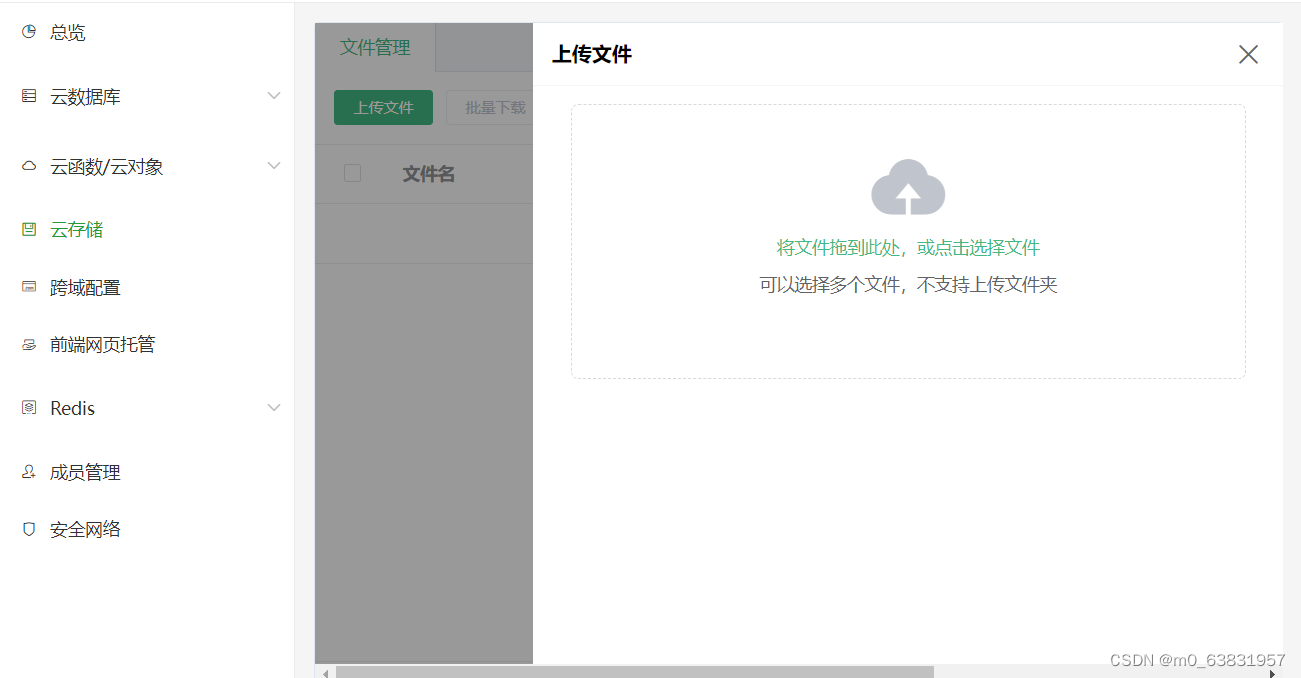
1.在uniCloud WEB控制台中可以直接上传文件
2.客户端api上传或者组件
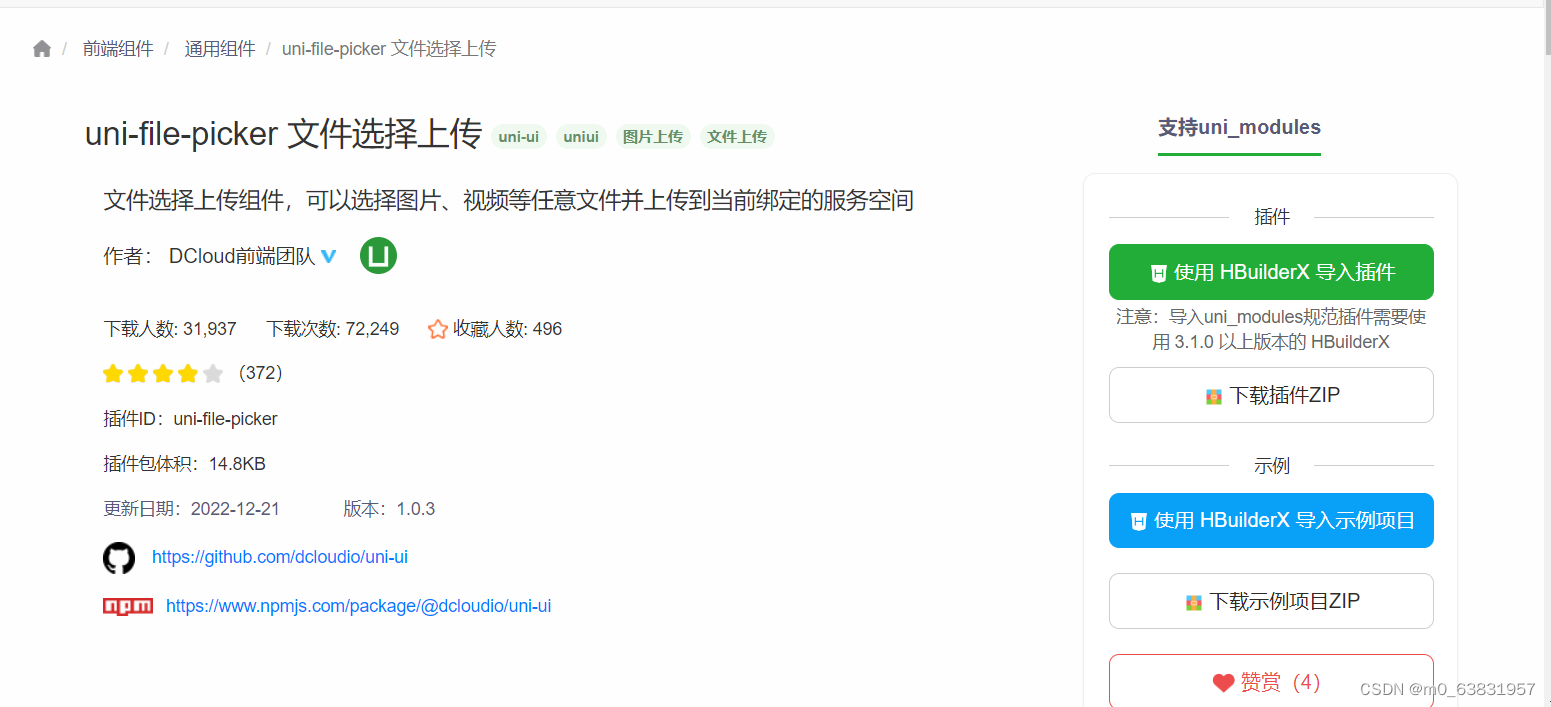
组件上传
直接使用uni ui的FilePicker组件通过 HBuilder X 直接导入,这种方法最简洁
客户端手动api上传
这种方法相对于组件的优势就在于能够自定义样式
首先是静态布局
<template>
	<view class="setFile">
		<view class="upload">
			<!-- 已经选择的图片循环遍历出来 -->
			<view class="box" v-for="(item,index) in Flies" :key="index">
				<image mode="aspectFill" @click="onPreview(index)" :src="item.url"></image>
				<view class="dele" @click="onDelectFlie(index)">x</view>
			</view>
			<!-- 加号的按钮,限制其图片最多为9张  -->
			<view class="box add" @click="addFile()" v-show="Flies.length<9">+</view>
		</view>
		<!-- 图片上传按钮 -->
		<button type="primary" @click="onToImage()">图片上传</button>
	</view>
</template>
css
<style lang="scss" scoped>
	.upload{
		padding: 30rpx;
		display: flex;
		flex-wrap: wrap;
		.box{
			width: 200rpx;
			height: 200rpx;
			background-color: #eee;
			padding: 2rpx;
			position: relative;
			image{
				width: 100%;
				height: 100%;
			}
			.dele{
				position: absolute;
				font-size: 60rpx;
				top: -10rpx;
				left: 160rpx;
				color: #c5c5c5;
			}
		}
		.add{
			 font-size: 60rpx;
			 display: flex;
			 justify-content: center;
			 align-items: center;
		}
	}
</style>
然后是填写上传加号的回调
这里调用uni.chooseImage方法,会选择图片进行上传到临时文件中
// 添加图片的临时回调
            addFile(){
				// 调用图库或者相机选择图片到零时路径
				uni.chooseImage({
					count:9,
					success:res=>{
                       //通过map函数对返回的数据进行过滤,返回自己选择的文件临时地址和名称
						let items = res.tempFilePaths.map((item,index)=>{
							return {
								url:item,
								name:res.tempFiles[index].name
							}
						})
						this.Flies.push(...items);
					    let numFile =  this.Flies.slice(0,9);
						this.Flies = numFile;
					}
				})
			},
选择之后就是上传了
由于一次可能上传多个文件,但是api中一次上传单个文件所以需要封装方法
itemToImage(item){
				// 返回一个Promise对象
				return  uniCloud.uploadFile({
                     //临时目录文件
					 filePath:item.url,
                    //当前选择的文件名称
					 cloudPath:item.name
				})
			},
然后是编写上传函数
// 图片上传
			onToImage(){
				// 使用map函数异步等待item的数据返回
				let newArr = this.Flies.map(async item=>{
                   //调用函数上传文件
					return await this.itemToImage(item)
				})
				// 监听一组Promise对象,然后then对成功的结果进行处理
				Promise.all(newArr).then(res=>{
					let arr = res.map(item=>{
						return item.fileID
					})
					this.picArr =arr;
					console.log(this.picArr)
				})

			},
3. 云函数上传文件到云存储
即在云函数js中编写uniCloud.uploadFile,客户端上传文件到云函数、云函数再上传文件到云存储,这样的过程会导致文件流量带宽耗费较大。所以一般上传文件都是客户端直传。整体流程和在客户端上传类似。
总结
以上就是今天要讲的内容,本文介绍了在uni-app中实现上传文件至云存储的三种方式,在三种方式中更加推荐使用客户端api直接上传。