1、 安装
# debian ubuntu
apt-get install ufw
# centos
yum install ufw
2、 相关命令
#查看防火墙规则 以及相关开启端口
ufw status
#开启防火墙
ufw enable
#关闭防火墙
ufw disable
#重启防火墙
ufw reload
#开启指定tcp或者udp端口
ufw allow 22/tcp

#同时开启tcp与udp端口
ufw allow 445

#删除53端口
ufw delete allow 53

#拒绝指定tcp或者udp端口
allow/deny 20/tcp
allow/deny 20/udp

#ip访问所有端口
sudo ufw allow from 192.168.8.8

#开启指定范围端口
ufw allow proto tcp from any to any port 16300:32768

#删除指定范围端口
ufw delete allow proto udp from any to any port 16384:32768

#禁止某项规则
sudo ufw deny smtp

#删除某项规则
sudo ufw delete allow smtp

#外来访问默认允许
ufw default allow/deny

#允许HTTP流量(端口80 )
sudo ufw allow in on eth0 to any port 80

#允许MySQL数据库服务器(端口3306 )
sudo ufw allow in on eth1 to any port 3306
3、配置端口转发
3.1、修改配置文件
vim /etc/ufw/sysctl.conf
将圈出来的主食去掉
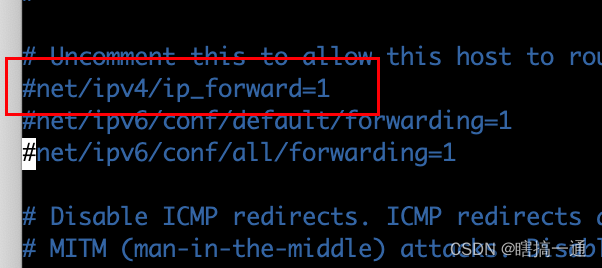
如下
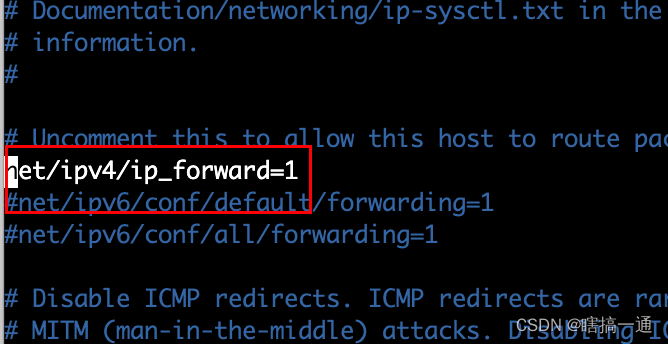
执行命令使其生效
sysctl -p
3.2 本地端口转发配置
修改规则,
vim /etc/ufw/before.rules
在 *filter 之前,加入以下这段
*nat
:PREROUTING ACCEPT [0:0]
-A PREROUTING -p tcp -m tcp -d from_ip --dport from_port -j DNAT --to-destination to_ip:to_port
-A POSTROUTING -j MASQUERADE
COMMIT
请把 from_ip、from_port、to_ip 和 to_port 变量修改为实际值。
若有不懂请自行参考iptables相关文档。
如下
*nat
:PREROUTING ACCEPT [0:0]

-A PREROUTING -p tcp --dport 8022 -j REDIRECT --to-port 22


-A PREROUTING -p tcp --dport 13389 -j DNAT --to-destination 192.168.199.185:3389
# PREROUTING链:在进行路由选择前处理数据包(做目标地址转换)
# 去往跳板机机 13389 端口的流量 转发 到内网的3389端口


-A POSTROUTING -p tcp -d 192.168.199.185 --dport 3389 -j SNAT --to-source 192.168.199.247
# POSTROUTING链:在进行路由选择后处理数据包(对数据链进行源地址修改转换)
# 去往内网 3389 端口的流量 修改源IP是跳板机

-A POSTROUTING -j MASQUERADE
COMMIT
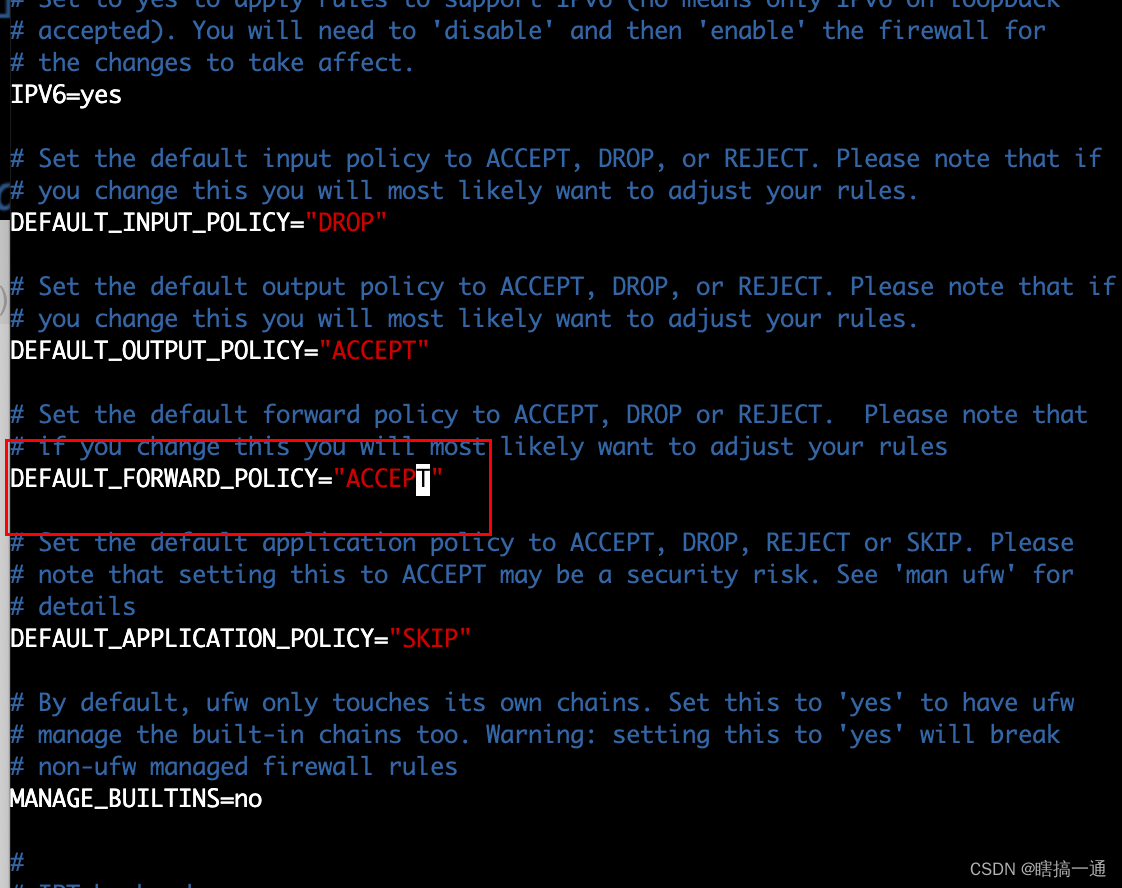
3.3 远程端口转发配置
修改为圈出部分
3.4 启动
ufw enable

service ufw start

service ufw restart

service ufw status
注意,记得开启相关端口