首先我先贴上我的三个配置文件
application.yml:
spring:
  profiles:
    active: dev
application-dev.yml:
server:
  port: 8080
  servlet:
    path: /zzf
cupSize: B
age: 18
sex: 男
content: "cupSize: ${cupSize},age: ${age}"
girl:
  cupSize: B
  age: 18
  sex: 男
application-prod.yml:
server:
  port: 8888
  servlet:
    path: /zzf
cupSize: B
age: 18
sex: 男
content: "cupSize: ${cupSize},age: ${age}"
girl:
  cupSize: B
  age: 18
  sex: 男
其中application-prod.yml与application-dev.yml的差别只有端口号
下面我先介绍两种属性注入方式:
方式一:
girl:
  cupSize: B
  age: 18
  sex: 男
然后注册一个类:
@Component//表示为组件
@ConfigurationProperties(prefix = "girl")//对应的就是配置文件中的girl
public class GirlProperties {

    private String cupSize;

    private Integer age;

    private String sex;

    public String getCupSize() {
        return cupSize;
    }

    public void setCupSize(String cupSize) {
        this.cupSize = cupSize;
    }

    public Integer getAge() {
        return age;
    }

    public void setAge(Integer age) {
        this.age = age;
    }

    public String getSex() {
        return sex;
    }

    public void setSex(String sex) {
        this.sex = sex;
    }
}
然后在Controller类进行依赖注入
@RestController
public class HelloController {
@Autowired//依赖注入
GirlProperties girlProperties;
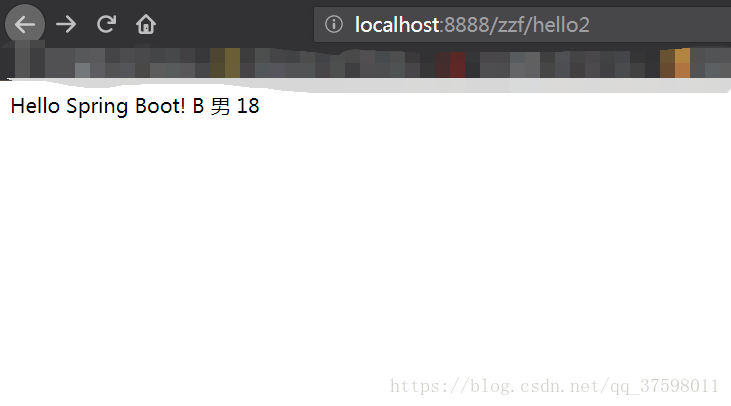
@RequestMapping(value = "hello2",method = RequestMethod.GET)
public String say2(){
return "Hello Spring Boot!\n"+girlProperties.getCupSize()+"\n"+girlProperties.getSex()+"\n"+"\n"+girlProperties.getAge()+"\n";
}
}
方式二(通过@value方式):
cupSize: B
age: 18
sex: 男
content: "cupSize: ${cupSize},age: ${age}"
@RestController
public class HelloController {
@Value("${cupSize}")//
private String cupSize;
@Value("${sex}")
private String sex;
@Value("${age}")
private Integer age;
@Value("${content}")
private String content;
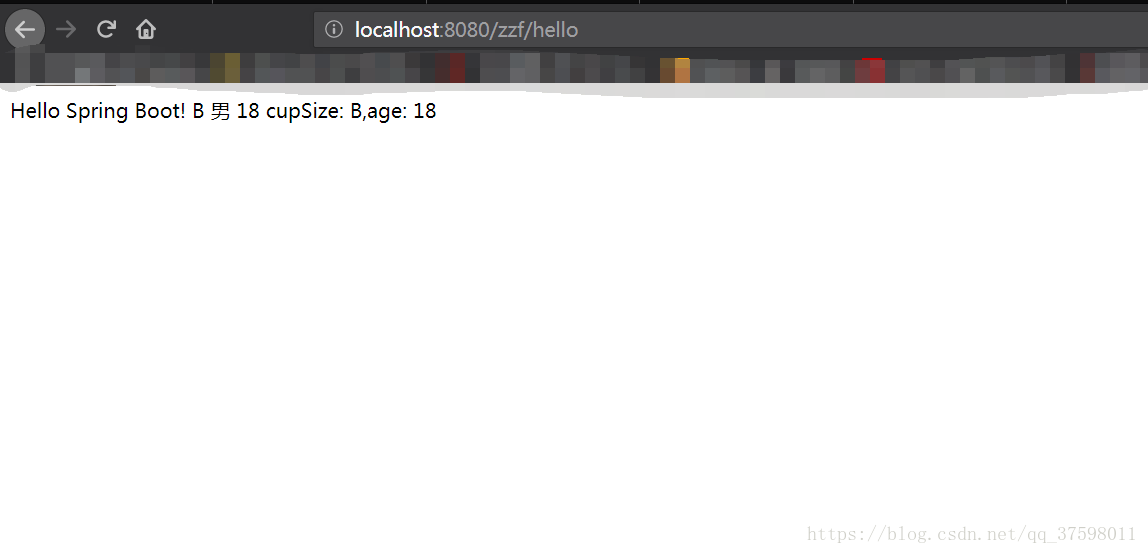
@RequestMapping(value = "hello",method = RequestMethod.GET)
public String say(){
return "Hello Spring Boot!\n"+cupSize+"\n"+sex+"\n"+"\n"+age+"\n"+content;
}
}
这就是两种配置设值方式。推荐第一种。
下面说一下怎么同时使用两种配置进行启动springboot。
1.用cmd方式启动第一个配置
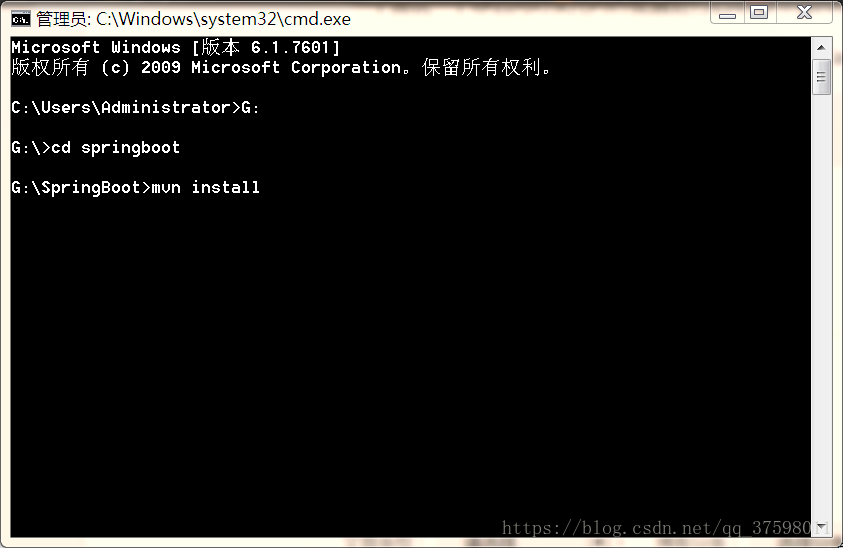
进入项目然后编译
G:\SpringBoot>java -jar target/girl-0.0.1-SNAPSHOT.jar --spring.profiles.active=
prod(表示启动的是application-prod.yml)它的端口是8888
2.用idea启动(application-prod.yml中端口为8080)
在application.yml中配置为
spring:
  profiles:
    active: dev
然后运行
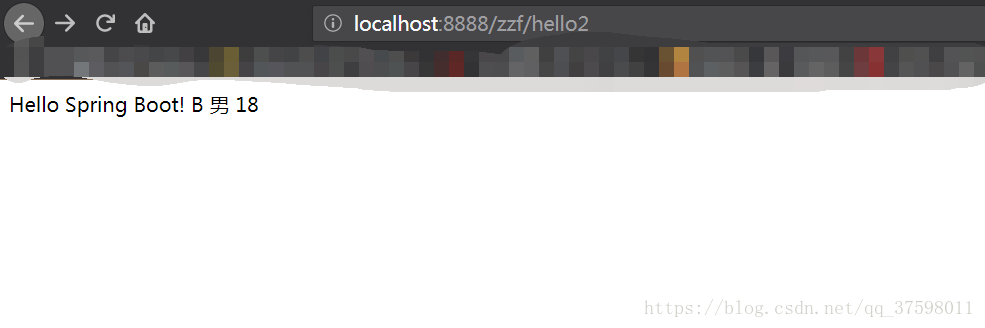

可以看到我用两个配置启动了同一个springboot(在测试配置和正式配置中很有用)