本篇为中篇,后面还有两篇,从本篇开始,知识点会增加,难度会一丢丢的一次递增。
本章知识点
文章目录
1、上节内容知识点回顾
- Pytest安装
- Pytest Exist Code含义
- Pytest命令常见用法
- Pytest如何执行测试
这几个知识点如果大家能够从脑海里回忆起来,并且能够大致写出来,那说明上一节的内容你是掌握的非常不错。
我们就来学习新的知识点吧。
2、Pytest的前置后置操作
用例函数的前置后置,模块中定义:setup,teardown
- setup_method或setup : 在每个用例函数执行之前都会执行
- teardown_method或teardown : 在每个用例函数执行之后都会执行
用例类的前置后置,测试类中定义:setup_class,teardown_class
-
setup_class : 在每个用例类执行之前都会执行
-
teardown_class : 在每个用例类执行之后都会执行
用例模块的前置后置,测试类中定义:setup_module,teardown_module (用的少)
-
setup_module: 在每个模块执行之前都会执行
-
teardown_module: 在每个模块执行之后都会执行
新建test_c.py文件,编写如下代码:
class Test_C():

    def setup_class(self):
        print("我是Test_C下的用例类前置函数setup_class")

    def setup(self):
        print("我是Test_C下的用例方法前置函数setup")

    def test_001(self):
        print("我是Test_C下的test_001函数")

    def test_002(self):
        print("我是Test_C下的test_002函数")

    def teardown(self):
        print("我是Test_C下的用例方法后置函数teardown")

    def teardown_class(self):
        print("我是Test_C下的用例类后置函数teardown_class")
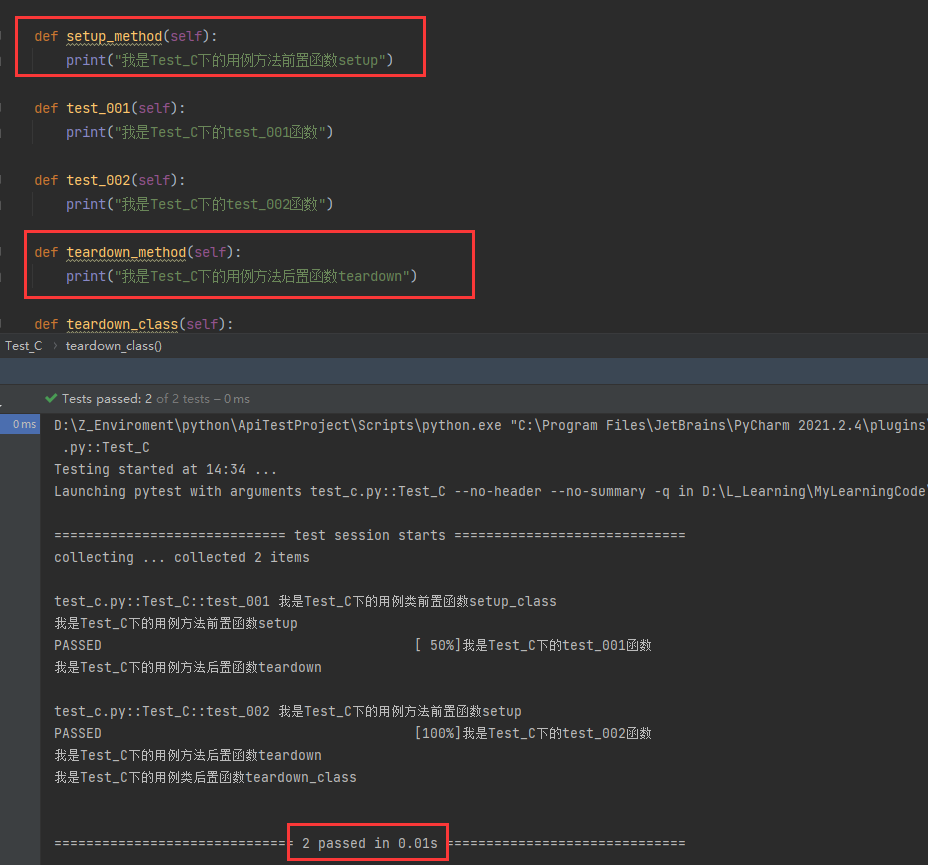
执行结果如下
============================= test session starts =============================
collecting ... collected 2 items

test_c.py::Test_C::test_001 我是Test_C下的用例类前置函数setup_class
我是Test_C下的用例方法前置函数setup
PASSED                                       [ 50%]我是Test_C下的test_001函数
我是Test_C下的用例方法后置函数teardown

test_c.py::Test_C::test_002 我是Test_C下的用例方法前置函数setup
PASSED                                       [100%]我是Test_C下的test_002函数
我是Test_C下的用例方法后置函数teardown
我是Test_C下的用例类后置函数teardown_class


======================== 2 passed, 4 warnings in 0.01s ========================

Process finished with exit code 0
我们发现运行结果中,出现了 4 warnings,通过排查我发现 warnings的信息如下:
============================== warnings summary ===============================
test_c.py::Test_C::test_001
  D:\Z_Enviroment\python\ApiTestProject\lib\site-packages\_pytest\fixtures.py:901: PytestRemovedIn8Warning: Support for nose tests is deprecated and will be removed in a future release.
  test_c.py::Test_C::test_001 is using nose-specific method: `setup(self)`
  To remove this warning, rename it to `setup_method(self)`
  See docs: https://docs.pytest.org/en/stable/deprecations.html#support-for-tests-written-for-nose
    fixture_result = next(generator)

test_c.py::Test_C::test_001
  D:\Z_Enviroment\python\ApiTestProject\lib\site-packages\_pytest\fixtures.py:917: PytestRemovedIn8Warning: Support for nose tests is deprecated and will be removed in a future release.
  test_c.py::Test_C::test_001 is using nose-specific method: `teardown(self)`
  To remove this warning, rename it to `teardown_method(self)`
  See docs: https://docs.pytest.org/en/stable/deprecations.html#support-for-tests-written-for-nose
    next(it)

test_c.py::Test_C::test_002
  D:\Z_Enviroment\python\ApiTestProject\lib\site-packages\_pytest\fixtures.py:901: PytestRemovedIn8Warning: Support for nose tests is deprecated and will be removed in a future release.
  test_c.py::Test_C::test_002 is using nose-specific method: `setup(self)`
  To remove this warning, rename it to `setup_method(self)`
  See docs: https://docs.pytest.org/en/stable/deprecations.html#support-for-tests-written-for-nose
    fixture_result = next(generator)

test_c.py::Test_C::test_002
  D:\Z_Enviroment\python\ApiTestProject\lib\site-packages\_pytest\fixtures.py:917: PytestRemovedIn8Warning: Support for nose tests is deprecated and will be removed in a future release.
  test_c.py::Test_C::test_002 is using nose-specific method: `teardown(self)`
  To remove this warning, rename it to `teardown_method(self)`
  See docs: https://docs.pytest.org/en/stable/deprecations.html#support-for-tests-written-for-nose
    next(it)

-- Docs: https://docs.pytest.org/en/stable/how-to/capture-warnings.html
通过阅读官网我们可以发现,setup和teardown并不是pytest的原生用法,在pytest中的原生用法应该是setup_method和teardown_method
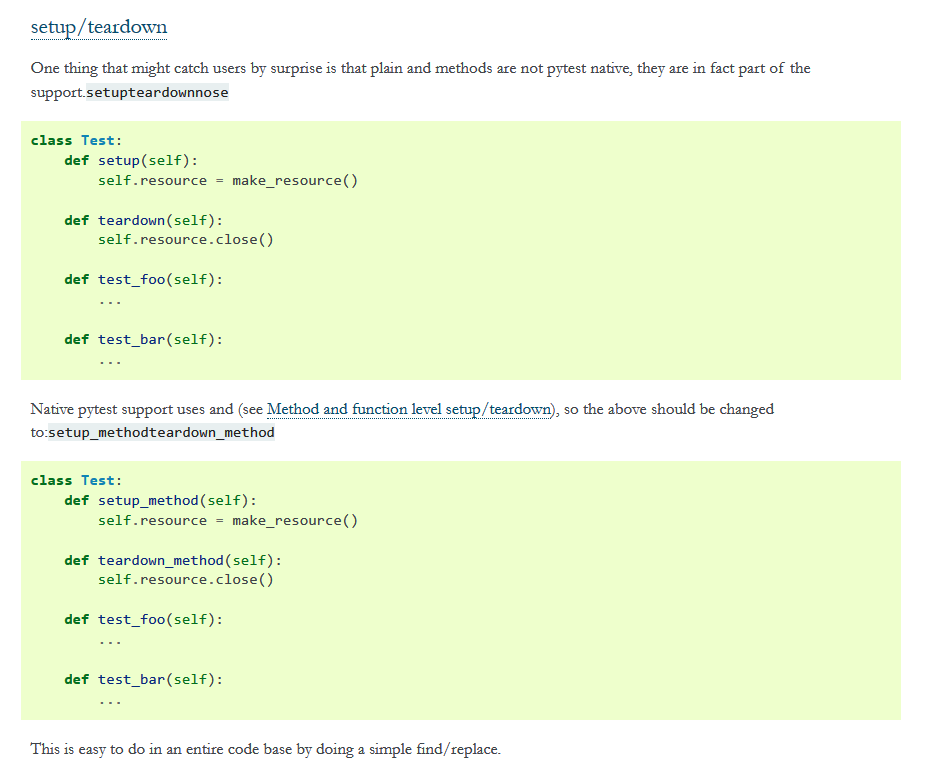
修改后运行,就没有warnings了
学东西,我们要知其然,更要知其所以然!
3、断言assert
参考博客:https://blog.csdn.net/kafu0/article/details/125180417
1.与unittest不同,pytest使用的是python自带的assert关键字来进行断言
2.assert关键字后面可以接一个表达式,只要表达式的最终结果为True,那么断言通过,用例执行成功,否则用例执行失败
常用断言汇总
pytest 里面断言实际上就是 python 里面的 assert 断言方法,常用的有以下几种
assert xx :判断 xx 为真
assert not xx :判断 xx 不为真
assert a in b :判断 b 包含 a
assert a == b :判断 a 等于 b
assert a != b :判断 a 不等于 b
新建test_d.py文件,编写如下代码:
def test001():
    print("我是test_d下的test001")
    assert 1 == 1

def test002():
    print("我是test_d下的test002")
    assert 1 == 2
运行结果如下:
============================= test session starts =============================
collecting ... collected 2 items

test_d.py::test001 PASSED                                                [ 50%]我是test_d下的test001

test_d.py::test002 FAILED                                                [100%]我是test_d下的test002

test_d.py:15 (test002)
1 != 2

Expected :2
Actual   :1
<Click to see difference>

def test002():
        print("我是test_d下的test002")
>       assert 1 == 2
E       assert 1 == 2

test_d.py:18: AssertionError


========================= 1 failed, 1 passed in 0.06s =========================
4、运行和报告
命令行执行
1. Pytest/test.py(终端,命令⾏,pycharm都⾏,可配置pycharm使⽤pytest⽅式执⾏)
	❖ Pytest –v (最⾼级别信息—verbose)
	❖ pytest -v -s ⽂件名 (s是带控制台输出结果,也是输出详细)

2. pytest将在当前⽬录及其⼦⽬录中运⾏test_*.py或*_test.py形式的所有⽂件。

3. 以test_开头的函数,以Test开头的类,以test_开头的⽅法。所有包package都要有__init__.py⽂件。

4. Pytest可以执⾏unittest框架写的⽤例和⽅法
如上章节3.3所示,我们可以在根目下建main.py文件,导入pytest进行用例收集执行,和命令行效果一样。
如何添加参数:
import pytest

pytest.main(["-s","-v"])
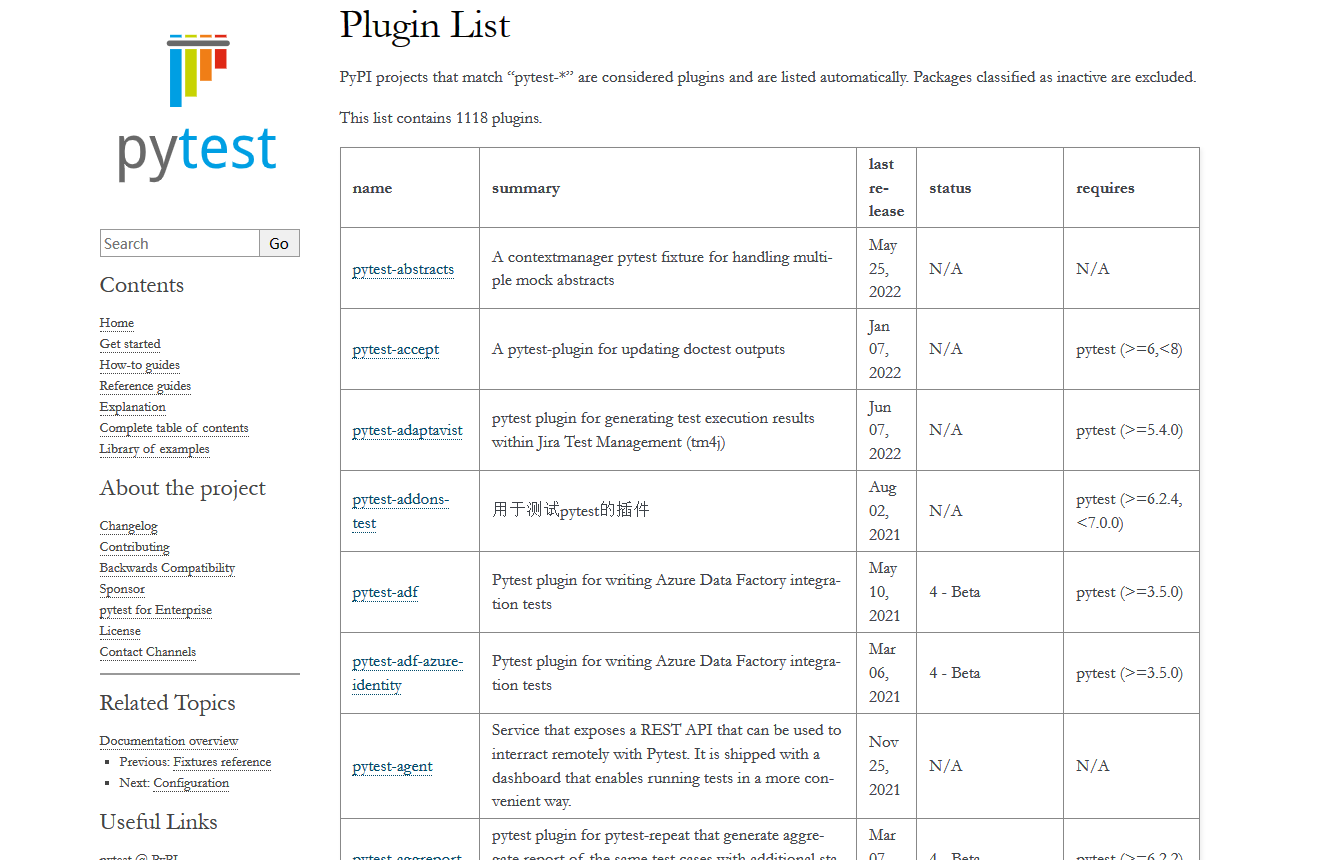
相关插件
官方插件列表,截止到目前,已经有1100多插件了。
Pytest-html : 生成可视化报告

Pytest-rerunfailures : 失败重跑—reruns n, n是重复次数

Pytest-assume :多条断言有失败也都运行

Pytest-allure : 高大上精美报告

Pytest-xdist : 只支持多进程, pytest -n 2 在2个cpu上运行测试  —-looponfail标志,它将自动重新运行你的失败测试(不支持多线程)

Pytest-parallel :   1、同时支持多线程、多进程两种方式执行测试用例-workers=n
                    2、指定运行的进程数为 n,默认为1,windows系统中只能为1
                    3、--tests-per-worker=m        指定运行的线程数为 m
                    4、若两个参数都指定,则表示启动n个进程,每个进程最多启动m线程执行,总线程数 = 进程数 * 线程数
                    5、windows系统中不支持 --workers 取其他值,即只能为1,mac或linux系统中可取其他值

Pytest-sugar : 改变pytest的默认外观,增加进度条,安装后即可

Pytest-picked : 运行基于你已修改但尚未提交给git的代码的测试。

Pytest-instafail : 修改默认行为,以立即显示失败和错误,而不是等到pytest完成每个测试运行。

Pytest-django : 开发web

Pytest-selenium : pytest提供运行支持selenium为基础
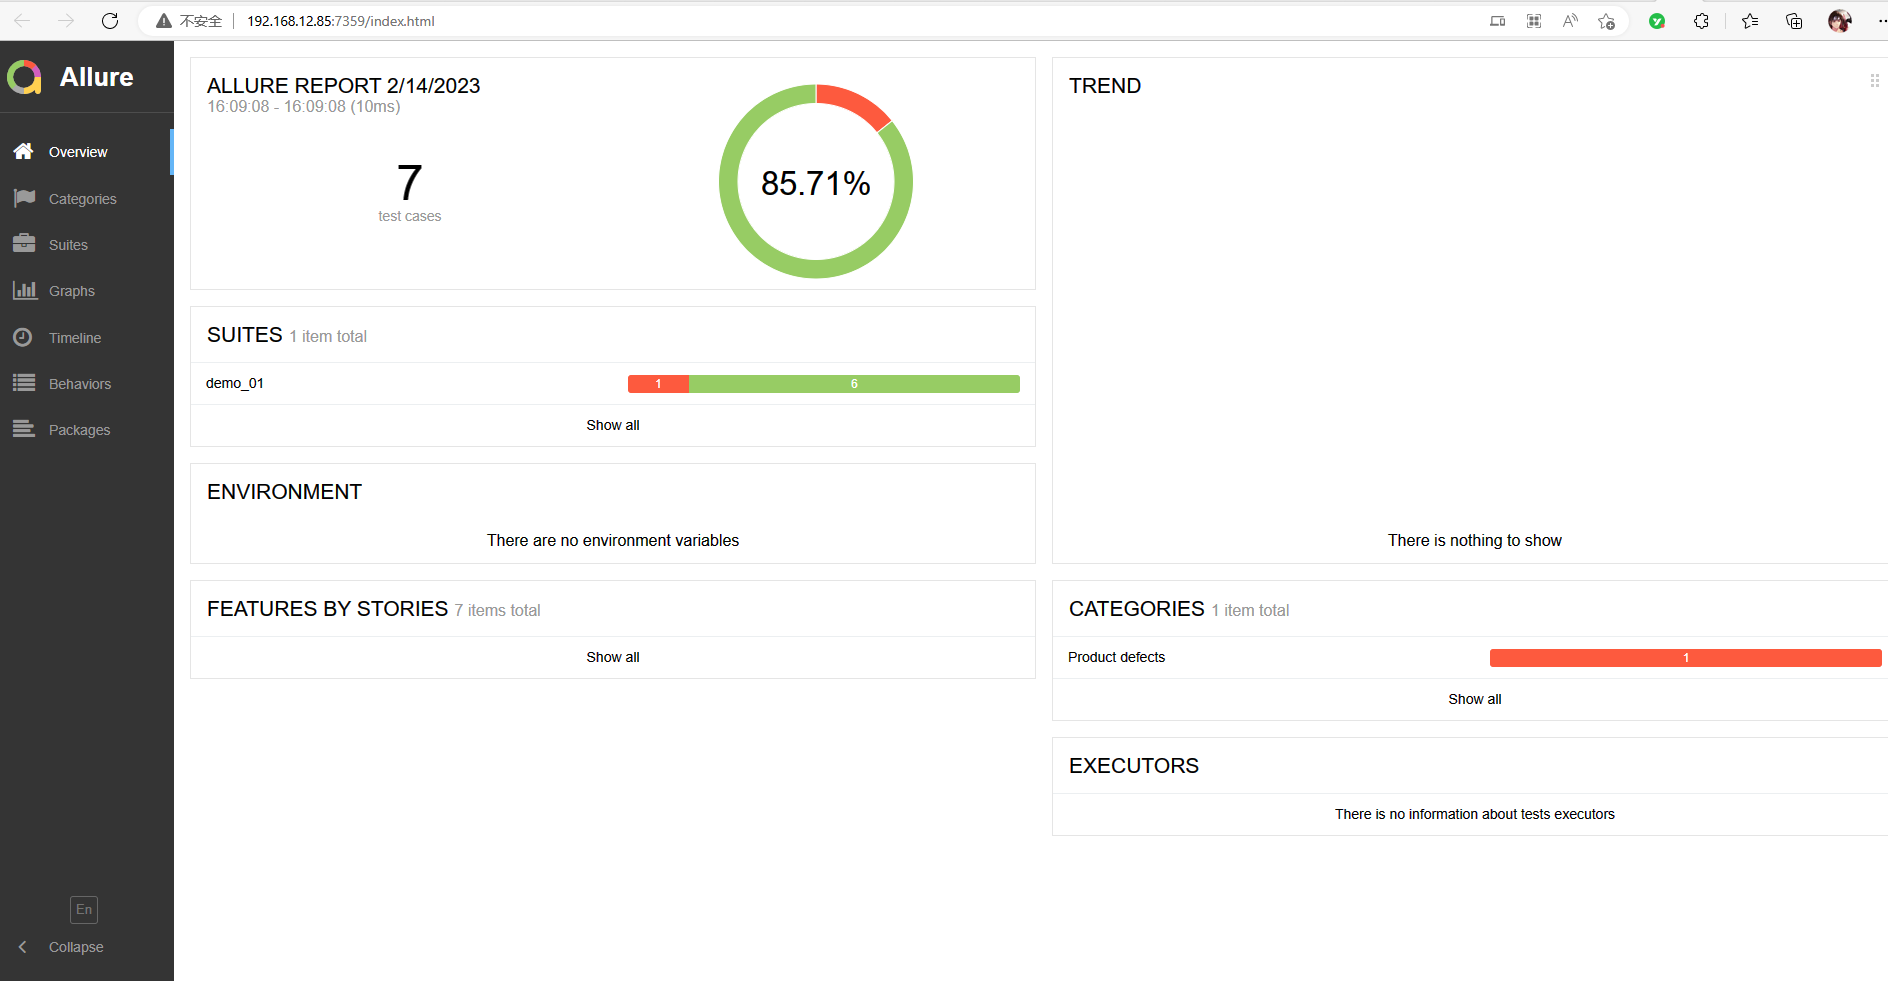
allure报告
这个展现的测试报告比较全面,也做的比较好,官网,python、java、JavaScript等语言都支持。
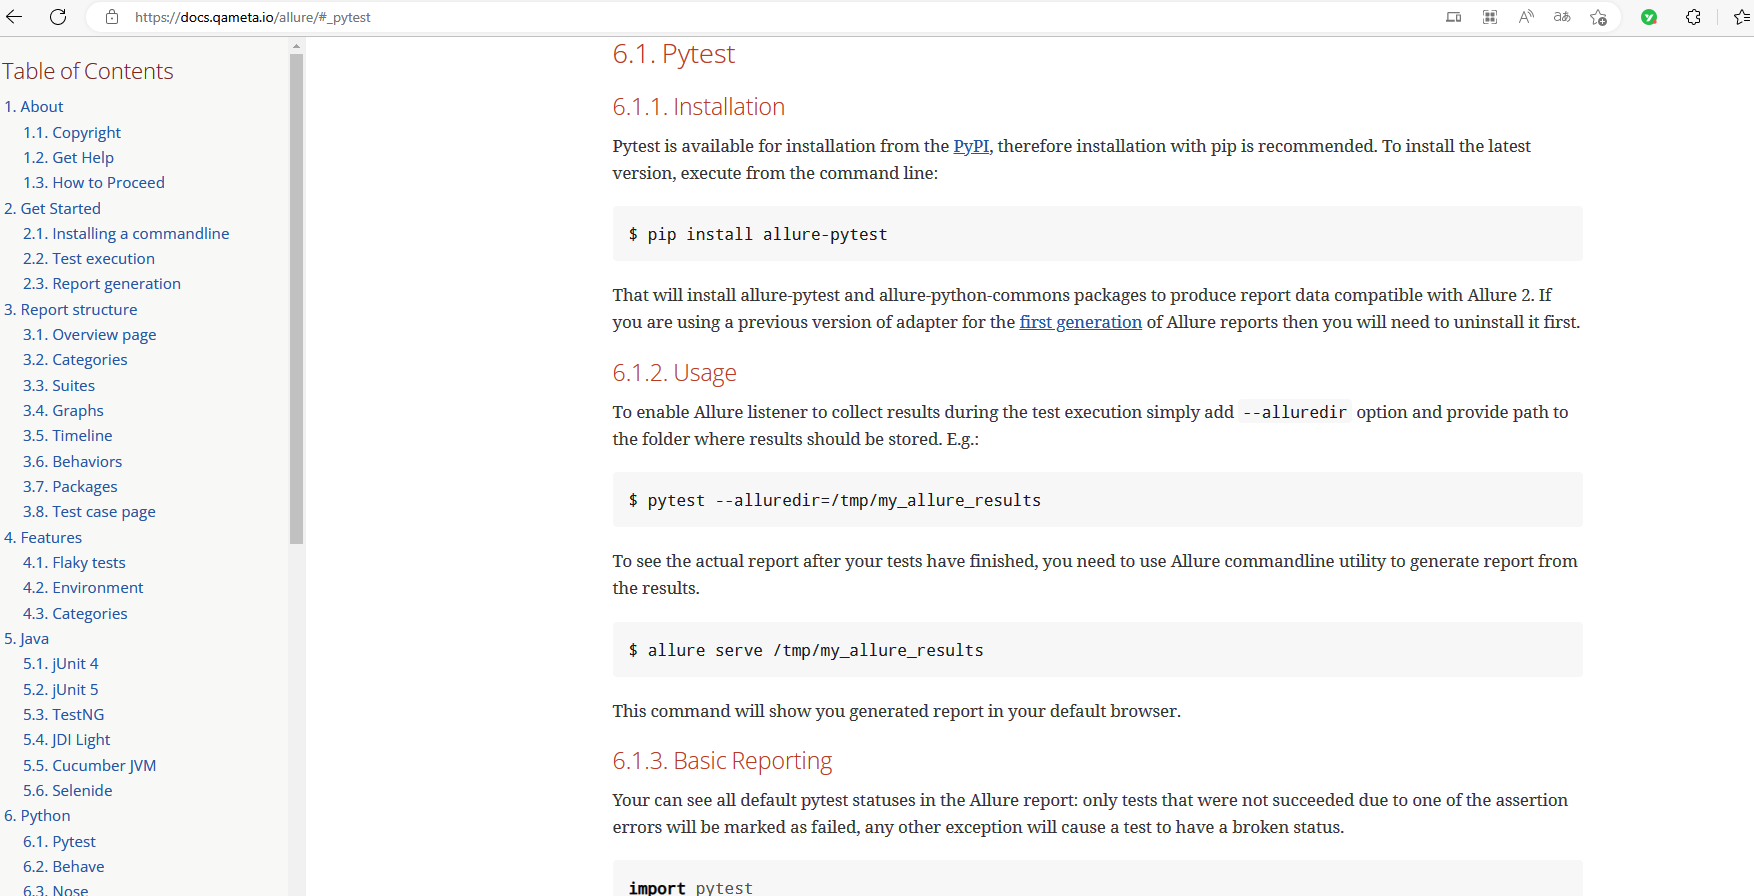
安装pytest-allure
pip install allure-pytest
如何使用
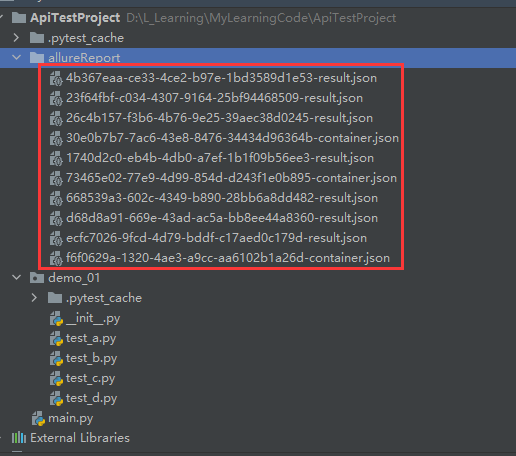
在main.py的根目录下新建一个allureReport文件夹,填写的路径是相对路径。
命令执行
pytest --alluredir=allureReport
py文件中执行
import pytest

pytest.main(["-s","-v","--alluredir=allureReport"]) # 填如的是相对路径
运行之后会发现在allureReport有一堆json文件
通过allure命令生成报告
要在测试结束后查看实际报告,需要使用Allure命令行实用程序从结果生成报告。
allure serve allureReport
这里需要用到allure命令,我们需要安装相关的工具。
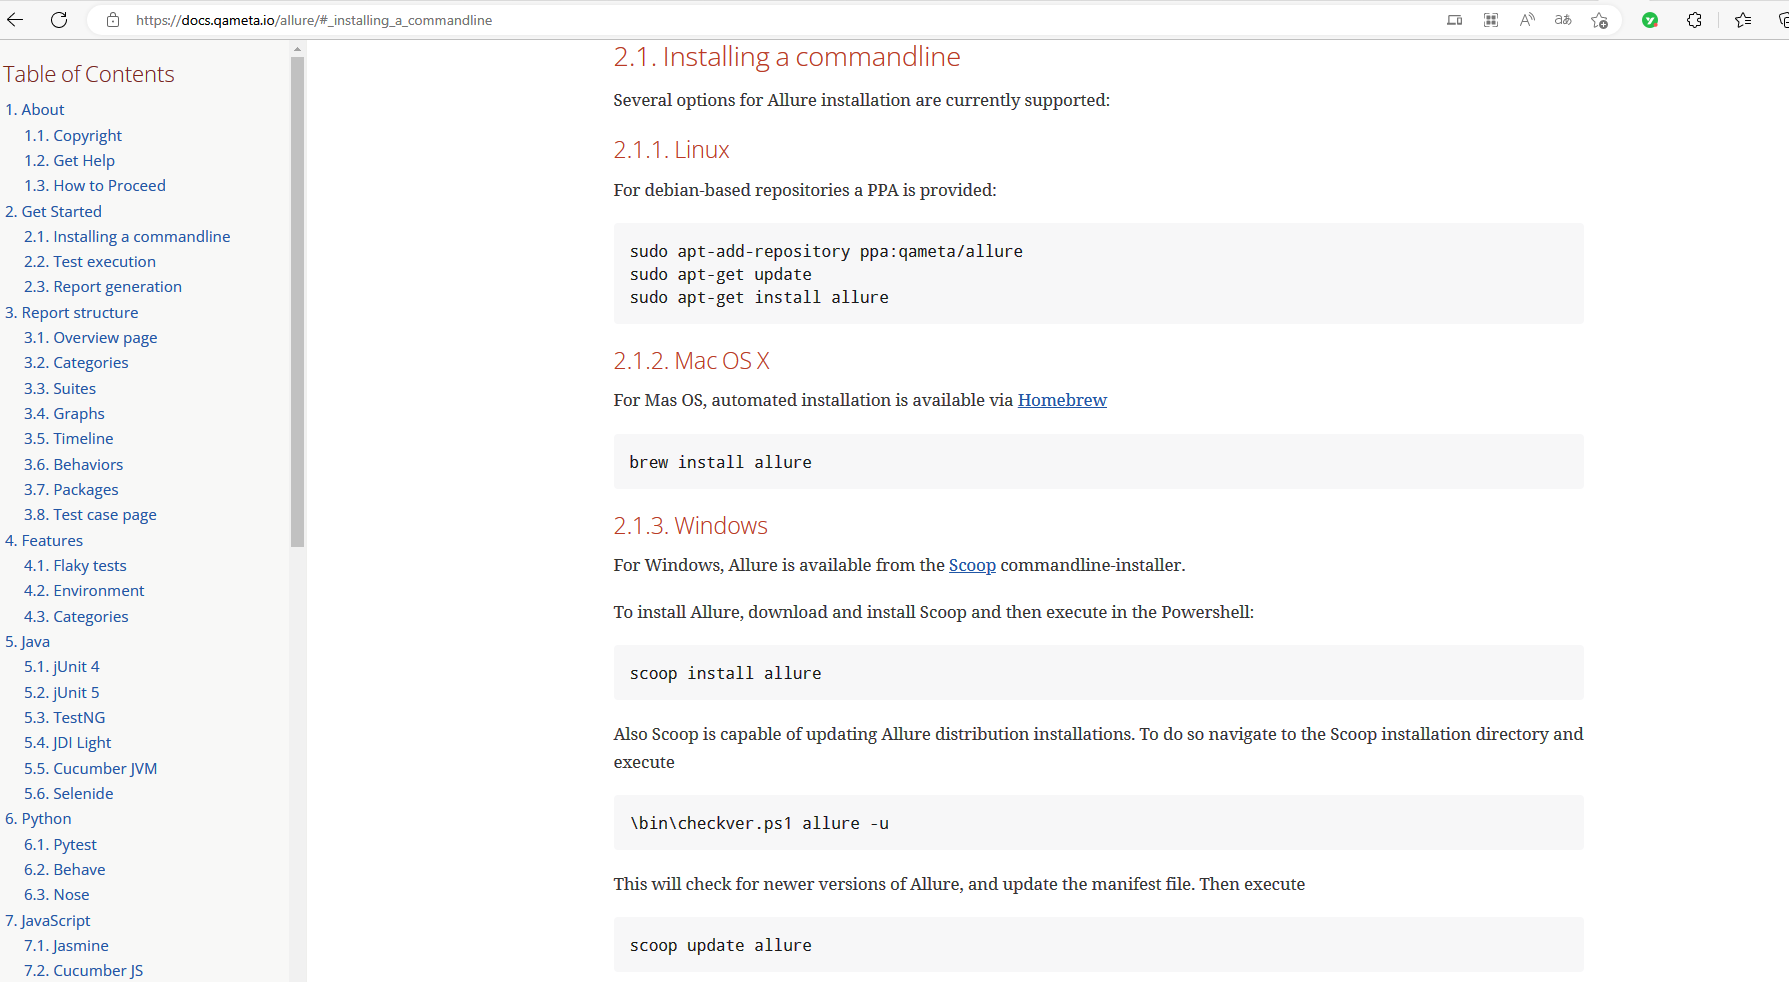
往下滑动找到Manual installation手动安装,下载地址Central Repository: io/qameta/allure/allure-commandline (apache.org)
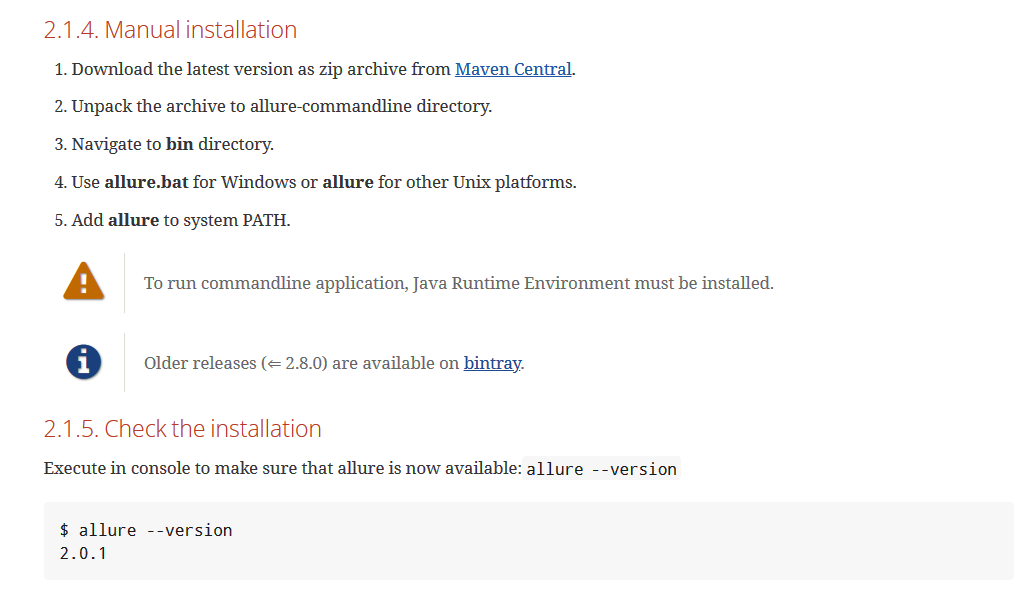
安装好之后需要把allure配置到环境变量中。
验证是否安装并配置成功。allure --version

在cmd窗口cd到项目文件根目录下,执行allure serve allureReport
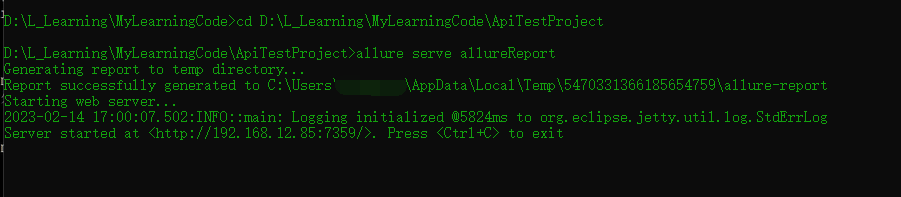
根据提示,报告生成在C:\Users\xiaozai\AppData\Local\Temp\5470331366185654759\allure-report,网页自动在http://192.168.12.85:7359地址打开了报告。
左下角可以切换语言。
到这里,你已经对pytest已经掌握了基本使用了。