一 AndroidStudio创建项目
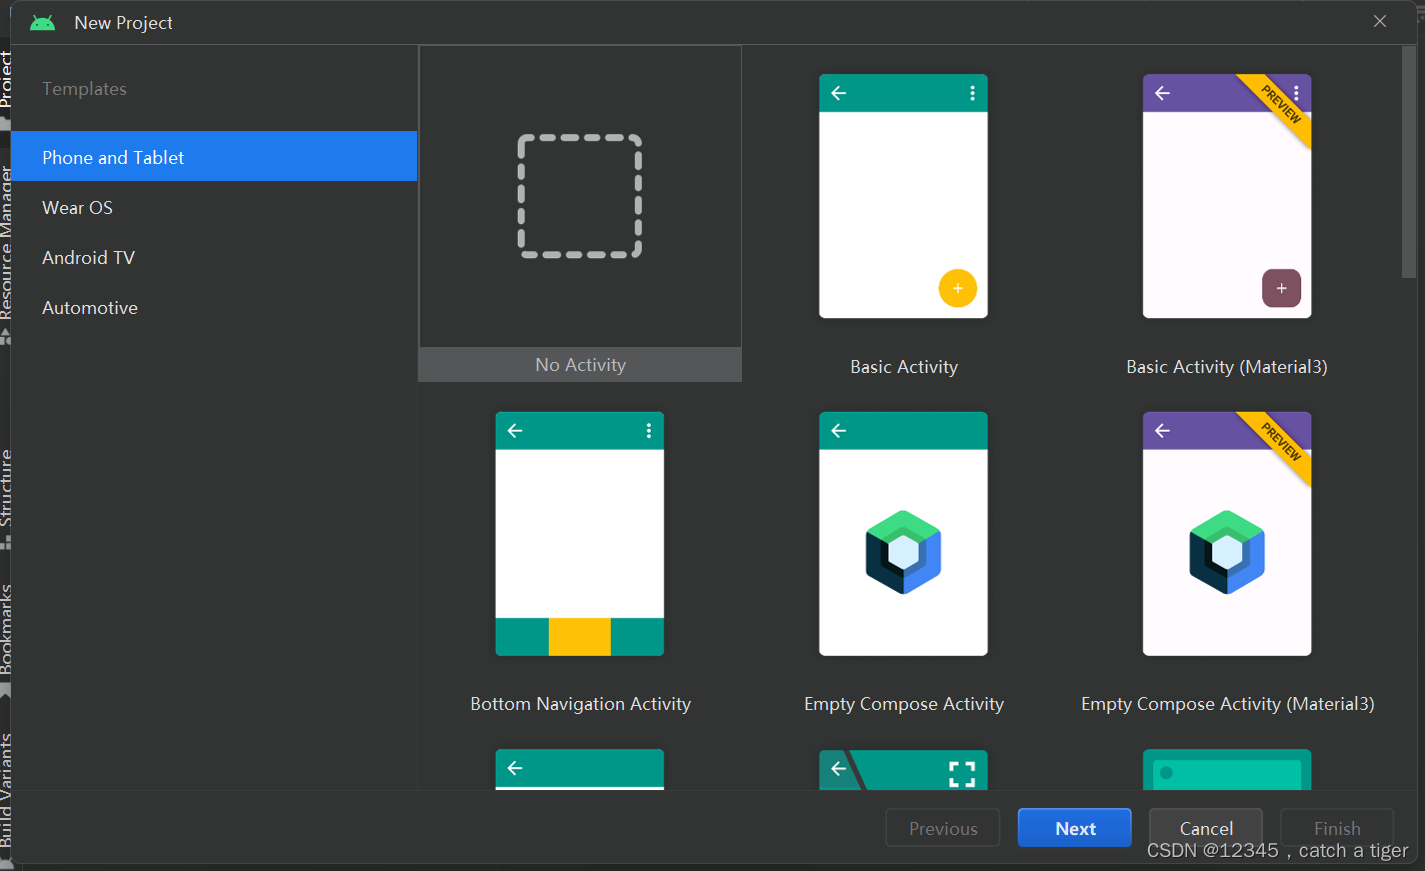
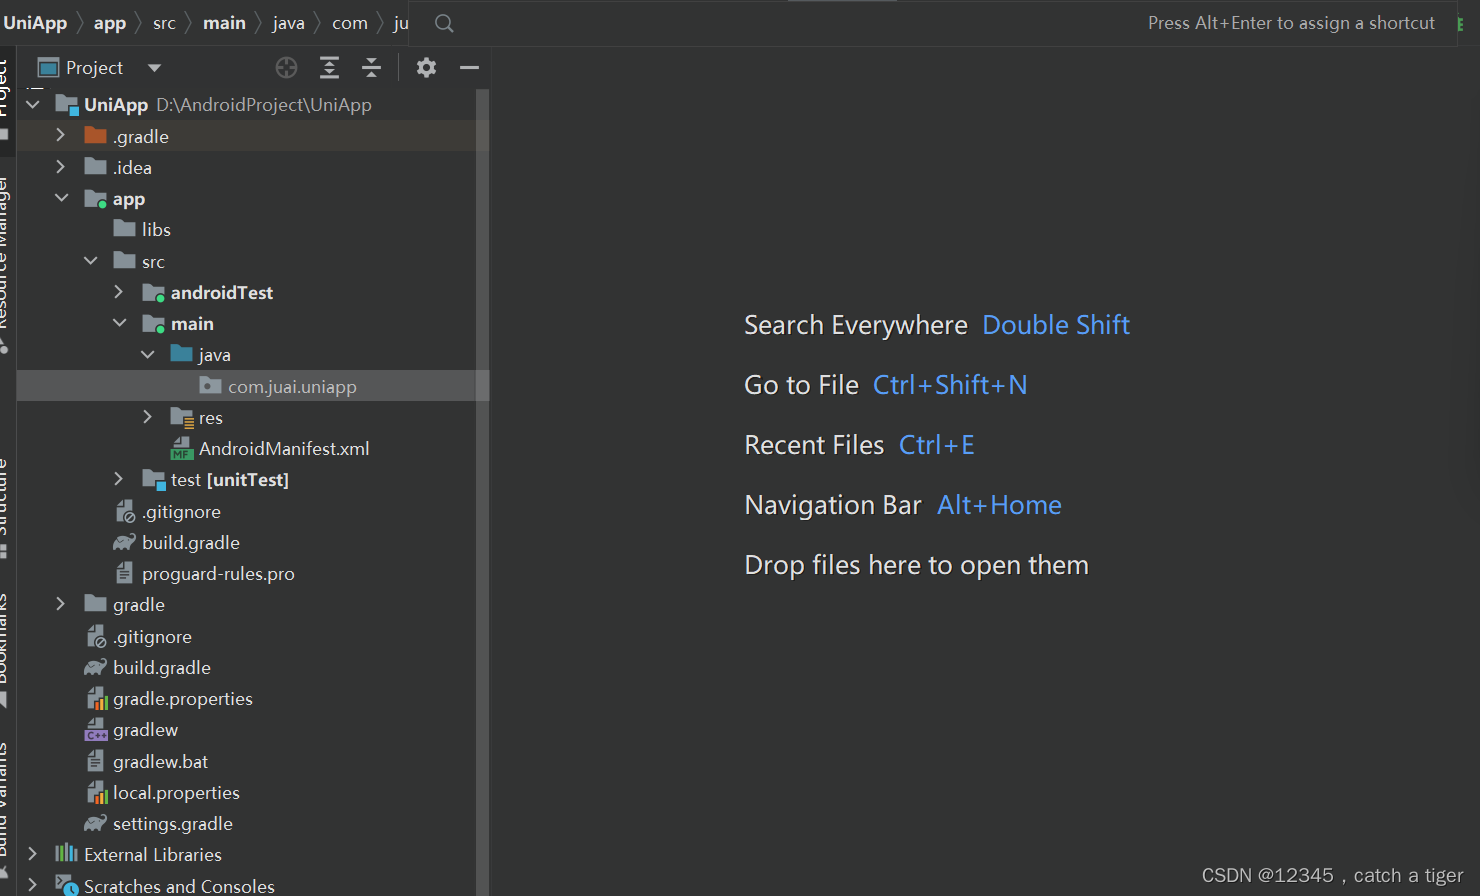
1.1,上一节演示了uni-app云打包,下面演示怎样androidStudio离线打包。在AndroidStudio里面新建空项目
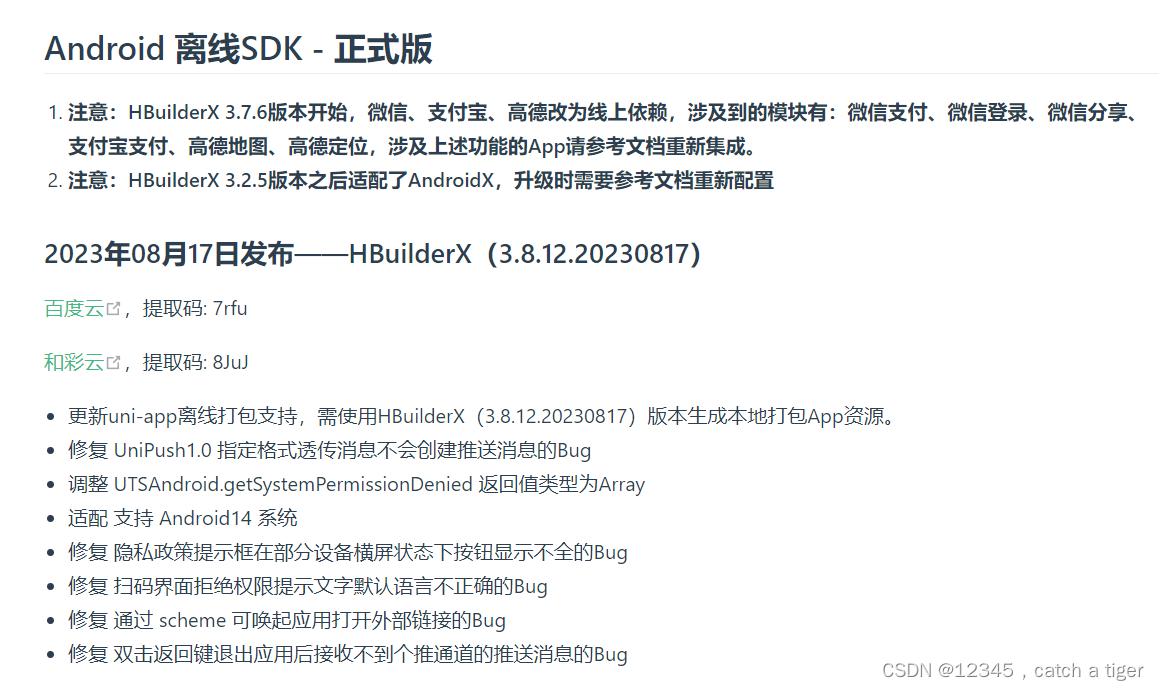
1.2,下载uni-app离线SDK,离线SDK主要用于App本地离线打包及扩展原生能力,SDK下载链接https://nativesupport.dcloud.net.cn/AppDocs/download/android.html#
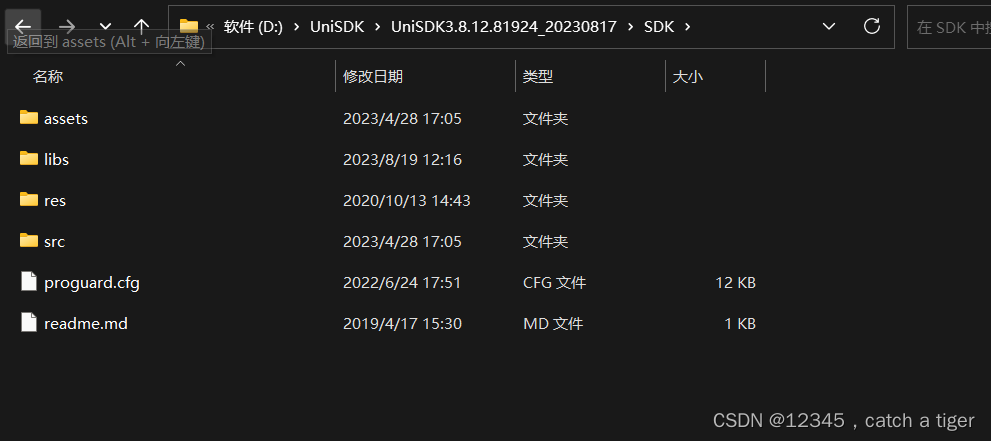
1.3,SDK目录说明
|-- HBuilder-Hello App离线打包演示应用
|-- HBuilder-Integrate-AS 集成uni-app的最简示例
|-- SDK SDK库文件目录
|-- Feature-Android.xls Android平台各扩展Feature API对应的详细配置
|-- Readme.txt 版本说明文件及注意事项
|-- UniPlugin-Hello-AS uni原生插件开发示例
1.4,SDK目录,后面androidStudio需要用到SDK里面资源
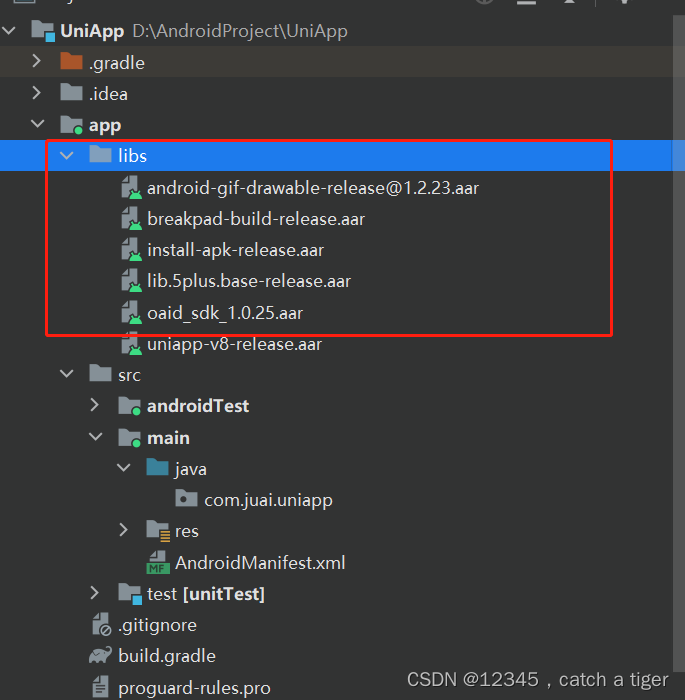
1.5, AndroidStudio配置uni-sdk,将uni-sdk基础arr包复制到AndroidStudio的libs目录下

lib.5plus.base-release.aar
uniapp-v8-release.aar
oaid_sdk_1.0.25.aar
install-apk-release.aar
breakpad-build-release.aar
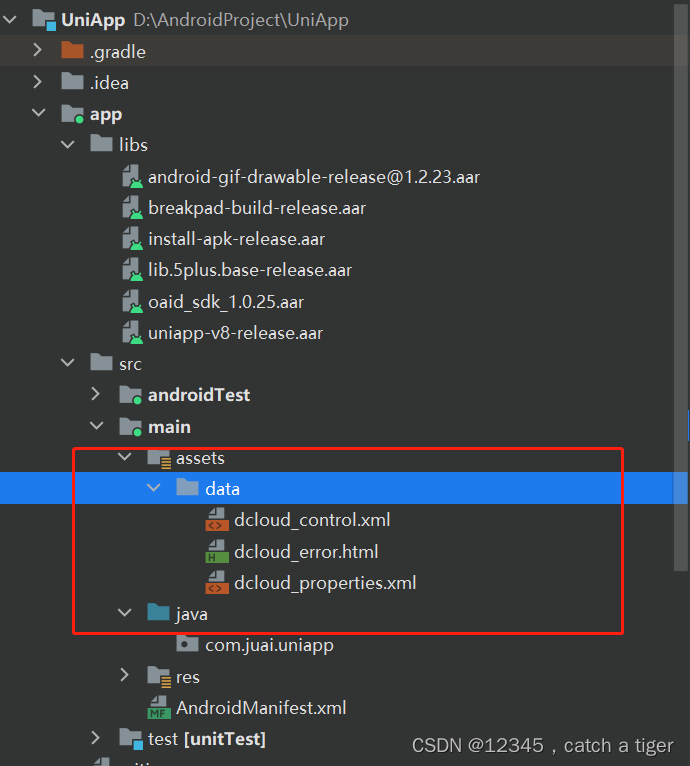
1.6,拷贝assets里面的data目录,到androidStudio里面的assets里面
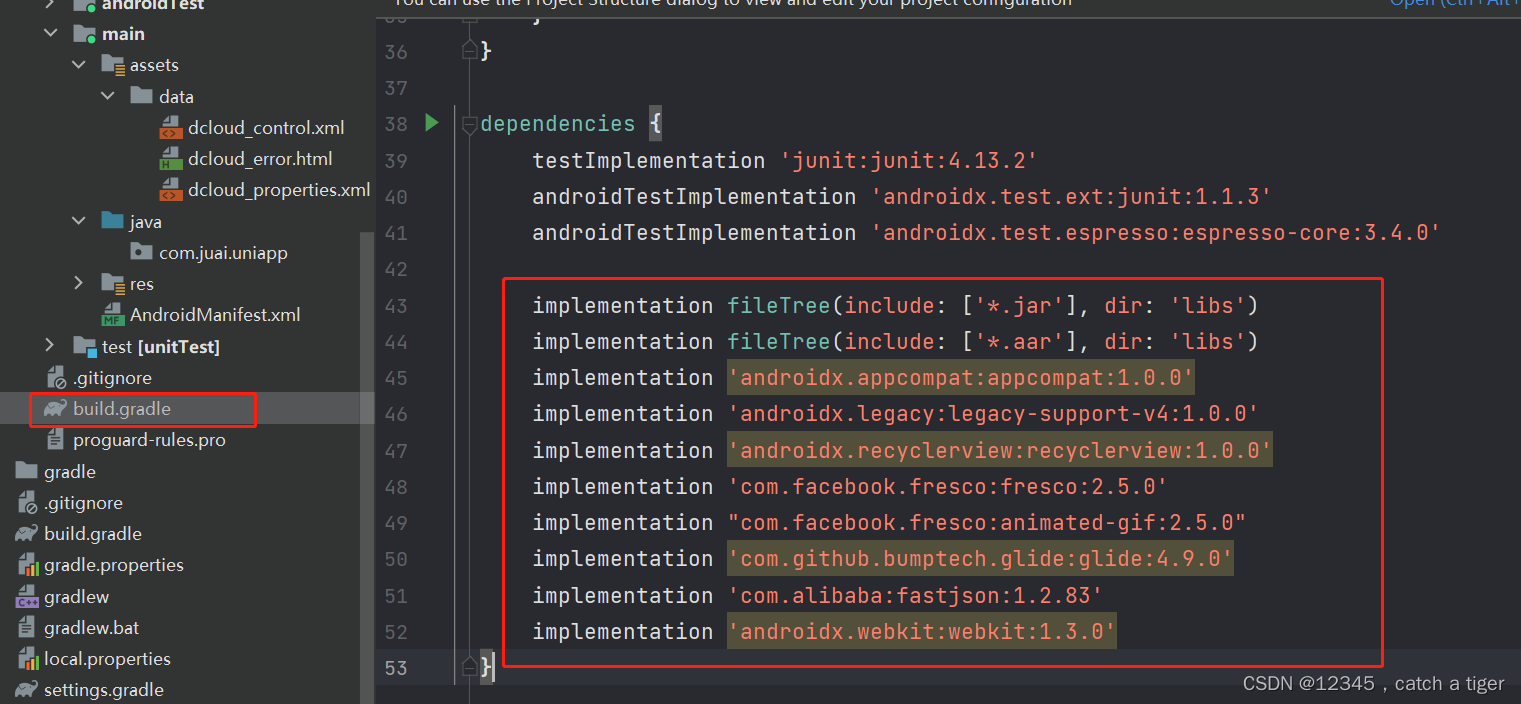
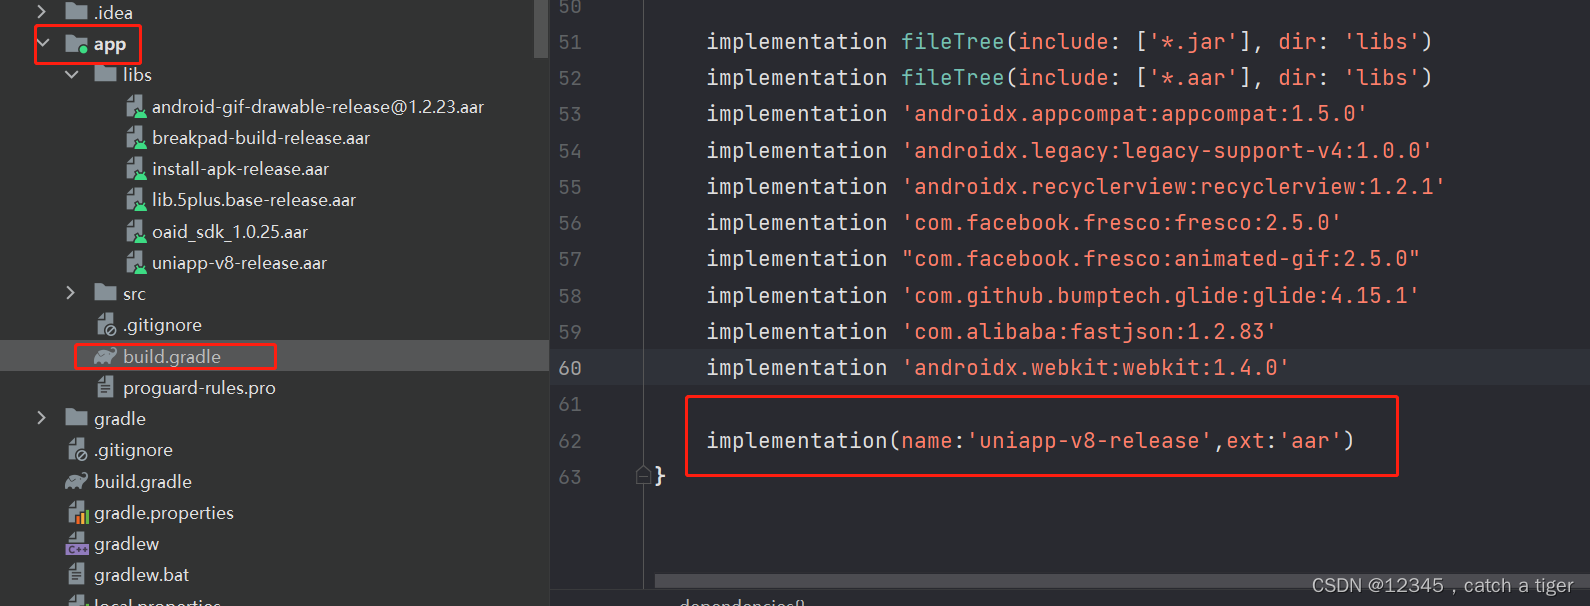
1.7,app目录的build.gradle配置项目依赖dependencies,AndroidX版本需添加如下资源
implementation fileTree(include: ['*.jar'], dir: 'libs')
implementation fileTree(include: ['*.aar'], dir: 'libs')
implementation 'androidx.appcompat:appcompat:1.0.0'
implementation 'androidx.legacy:legacy-support-v4:1.0.0'
implementation 'androidx.recyclerview:recyclerview:1.0.0'
implementation 'com.facebook.fresco:fresco:2.5.0'
implementation "com.facebook.fresco:animated-gif:2.5.0"
implementation 'com.github.bumptech.glide:glide:4.9.0'
implementation 'com.alibaba:fastjson:1.2.83'
implementation 'androidx.webkit:webkit:1.3.0'
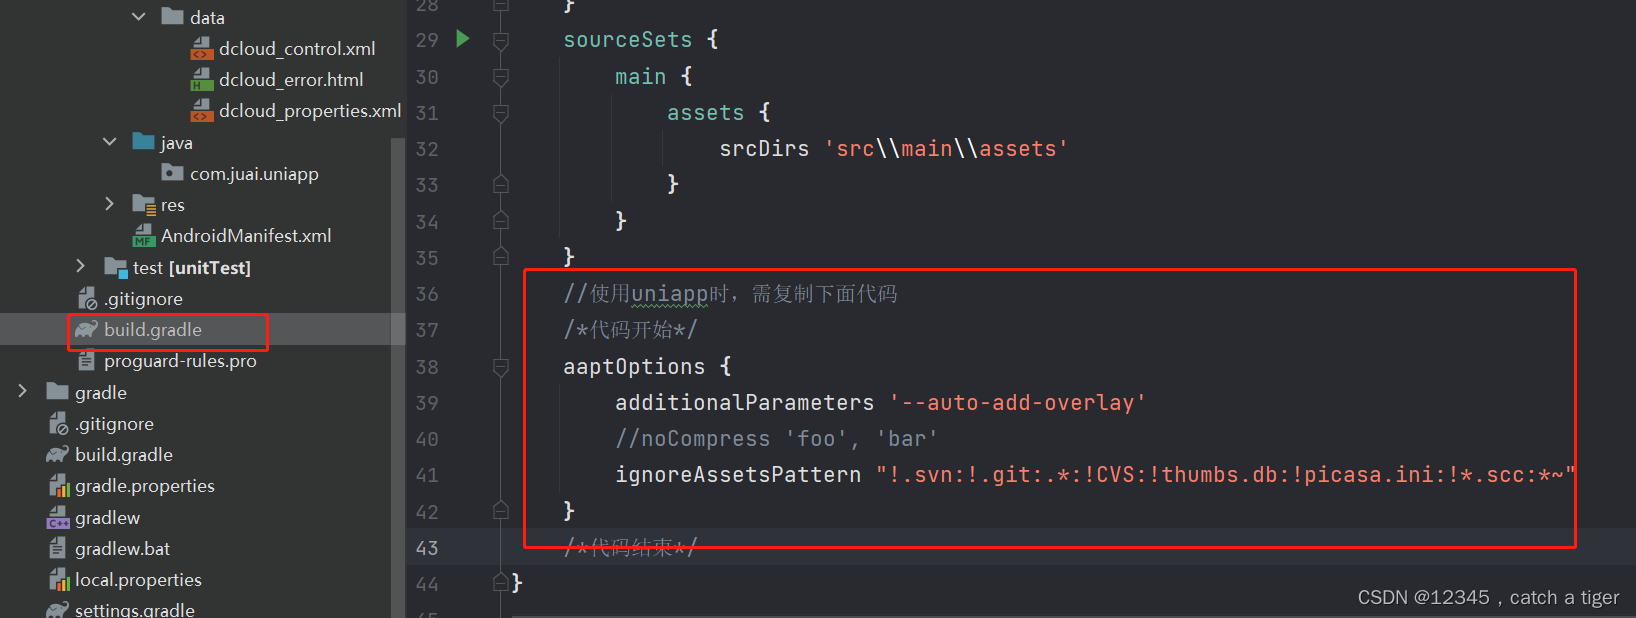
1.8, uni-app配置时需要在build.gradle中添加aaptOptions配置
aaptOptions {
additionalParameters '--auto-add-overlay'
ignoreAssetsPattern "!.svn:!.git:.*:!CVS:!thumbs.db:!picasa.ini:!*.scc:*~"
}
1.9, androidStudio配置支持aar加载,新老gradle构建工具aar配置有所变化
老版本在app的build.gradle中配置

新版本在仓库级别里面配置,项目根目录里面的build.gradle或者settings.gradle

1.10,在app的build.gradle中引用aar
二,uni-app项目打包app资源
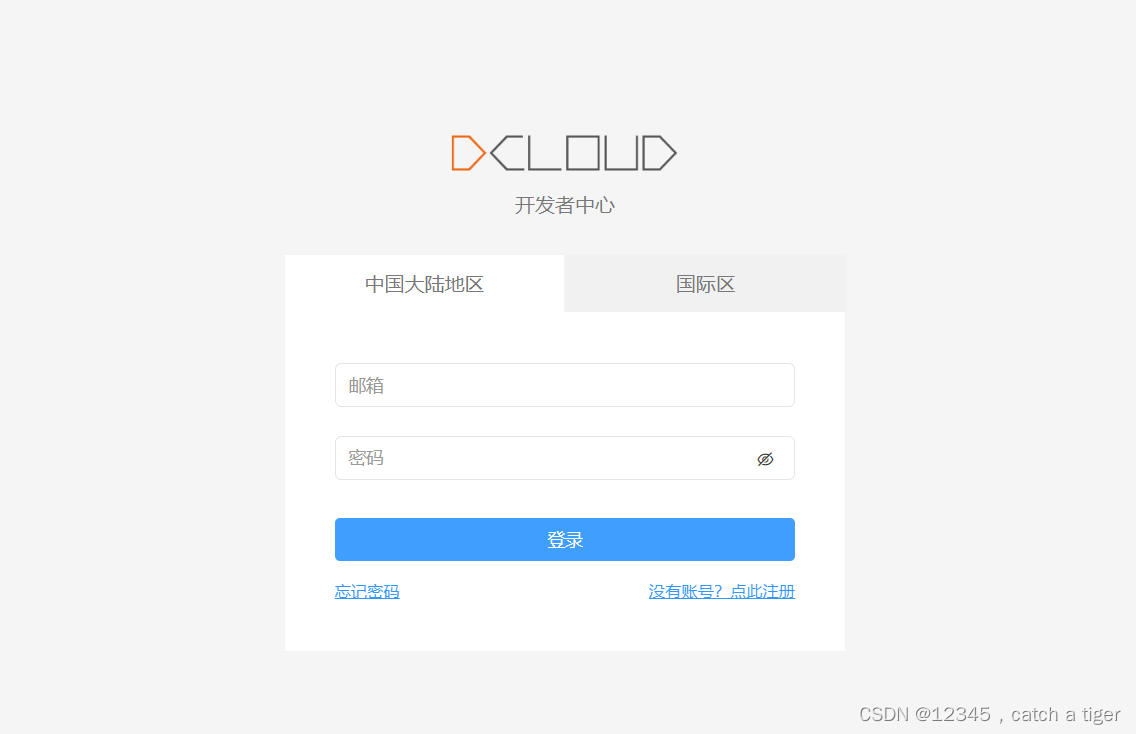
2.1 获取appkey,登录开发者平台注册为开发者,https://dev.dcloud.net.cn/
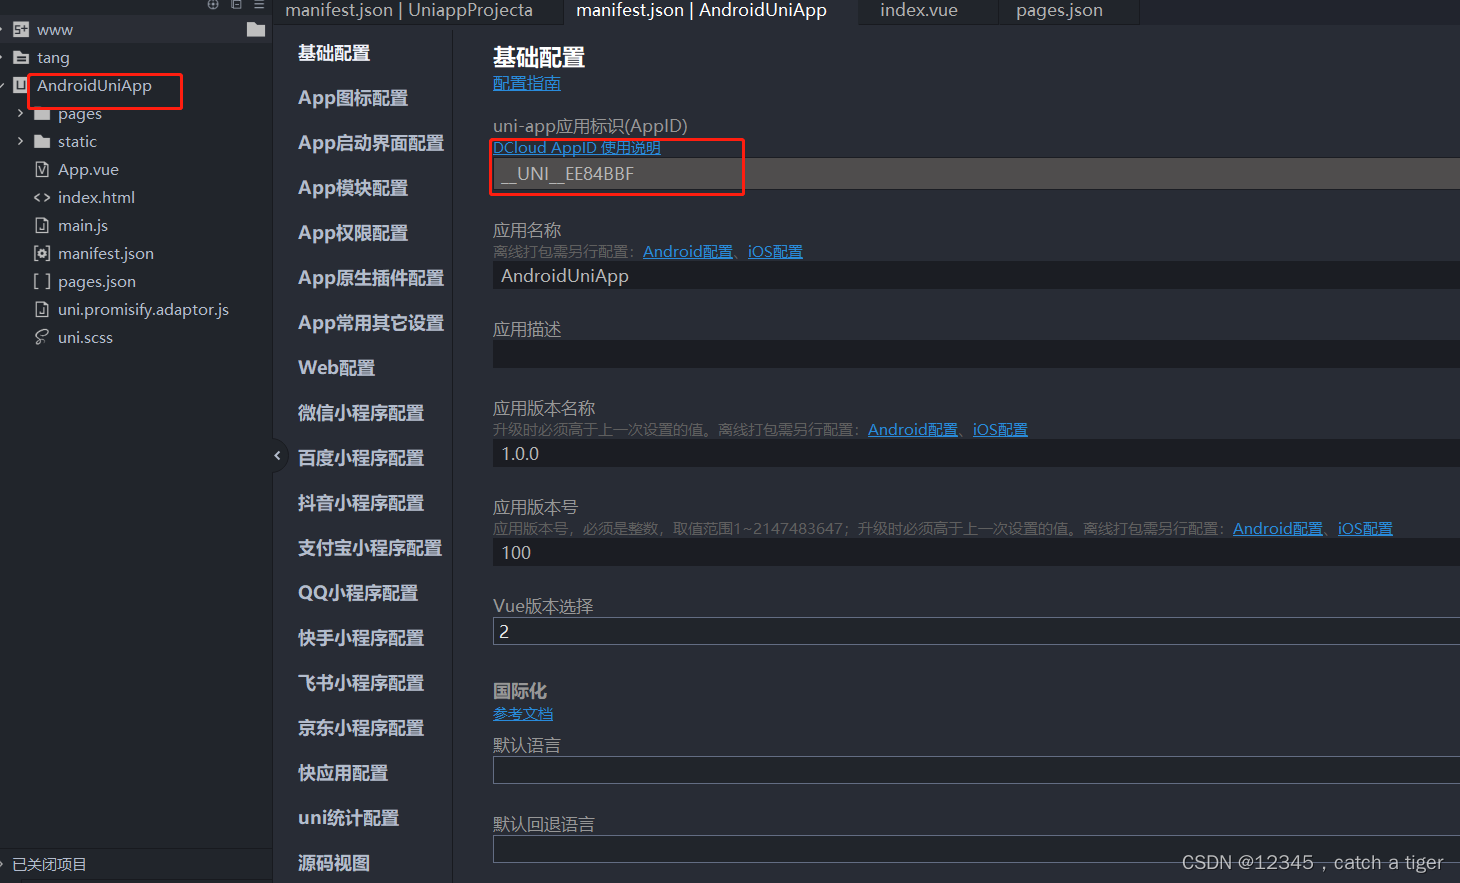
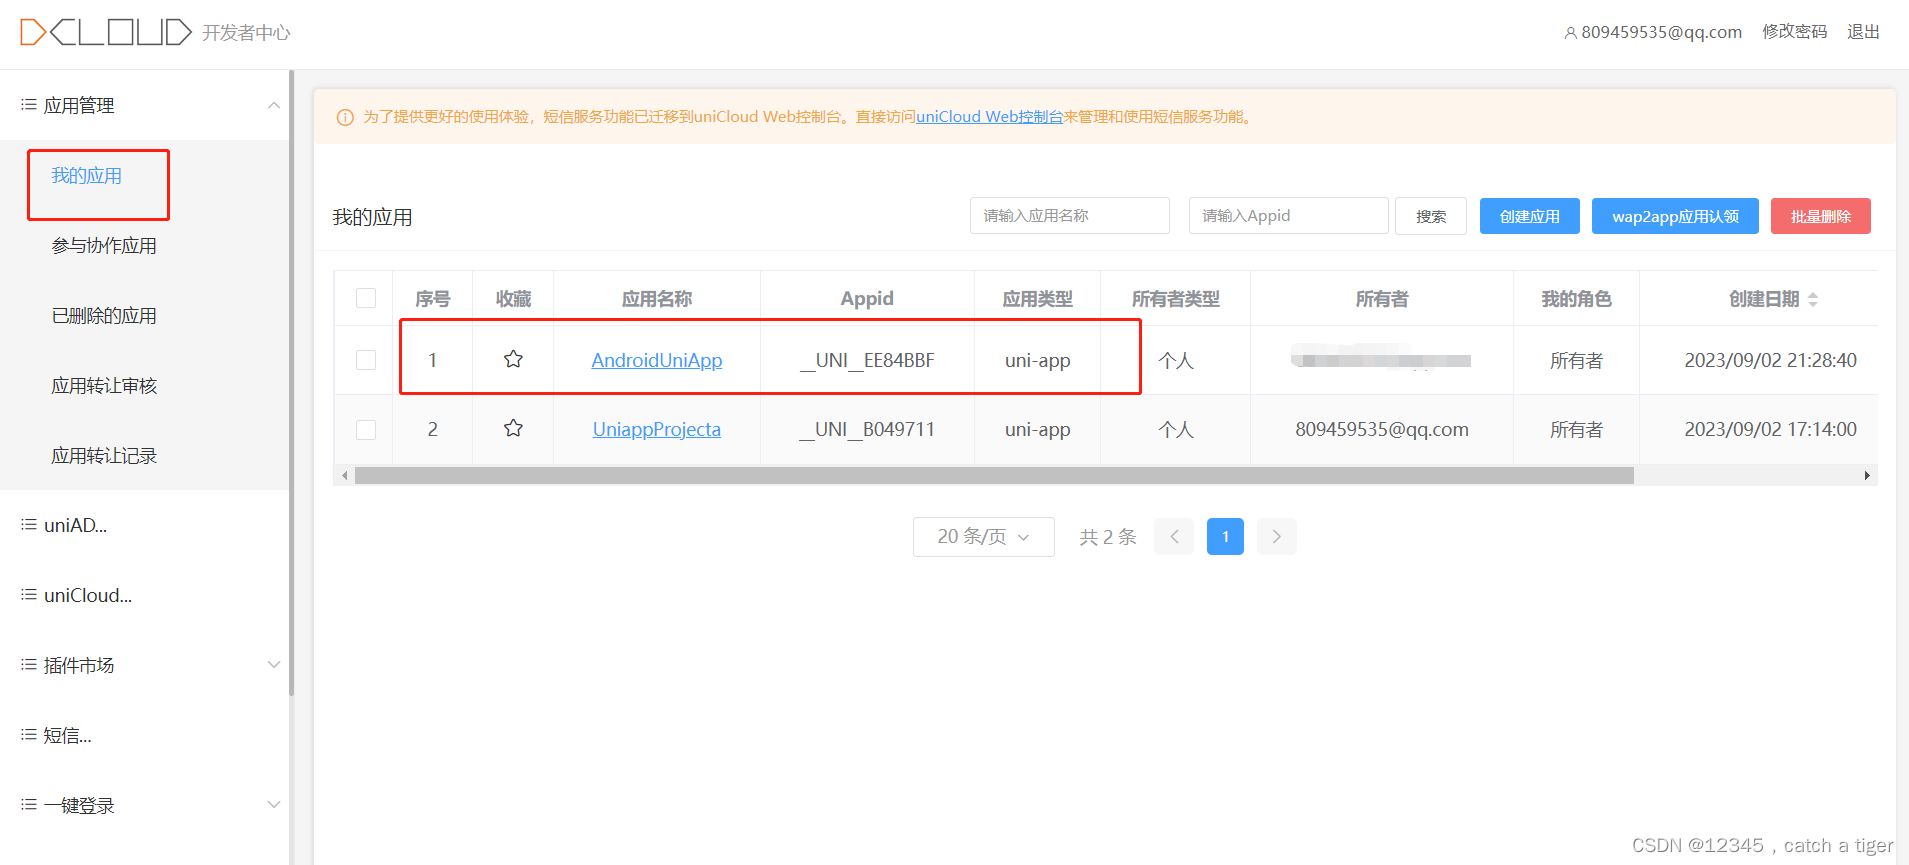
2.2 找到刚创建的uni-app项目
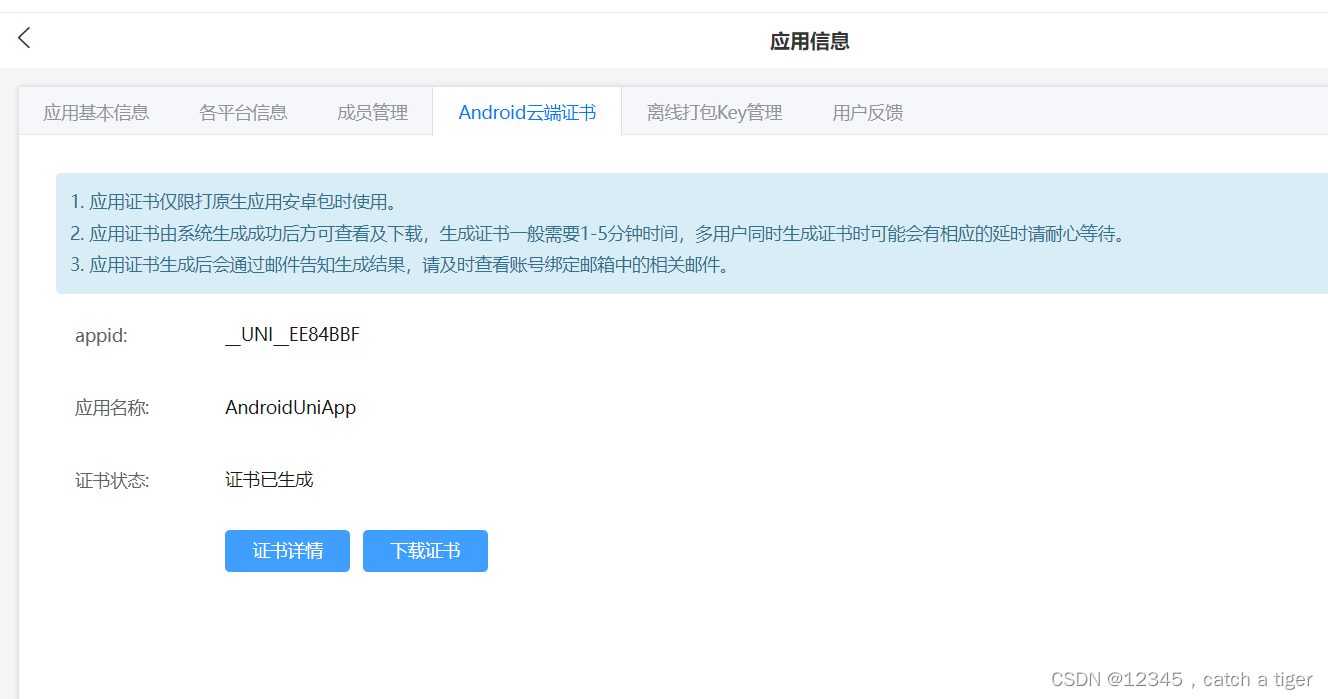
 2.3 创建证书
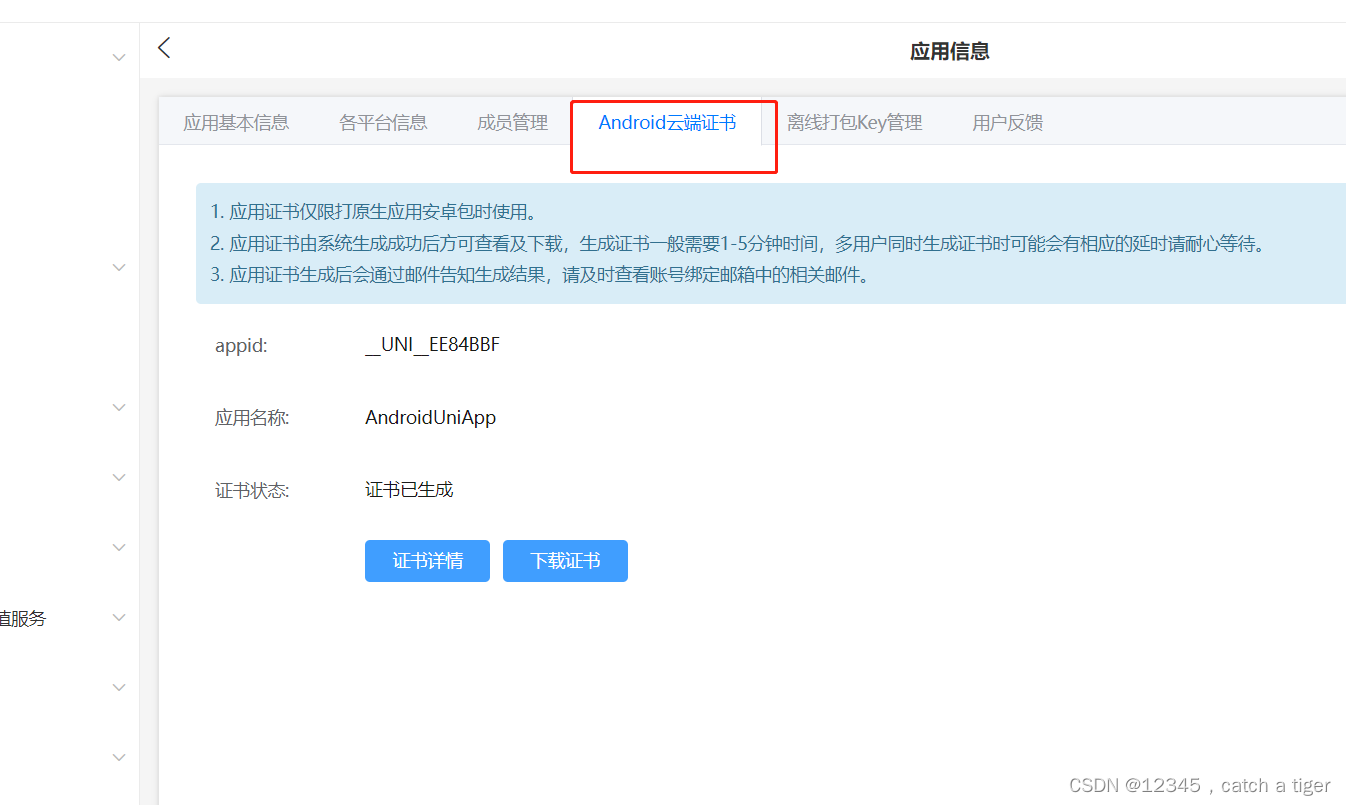
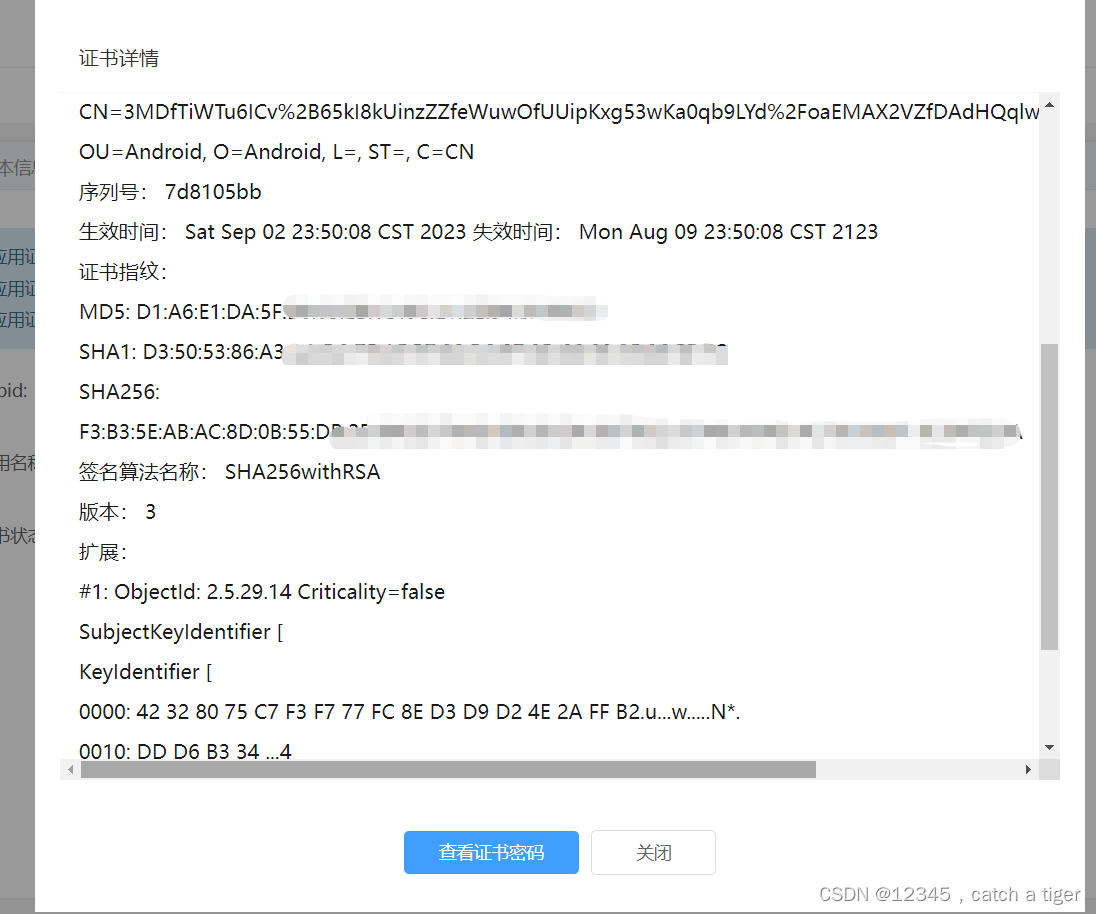
2.3 查看证书并复制sha1值,离线打包key会用到
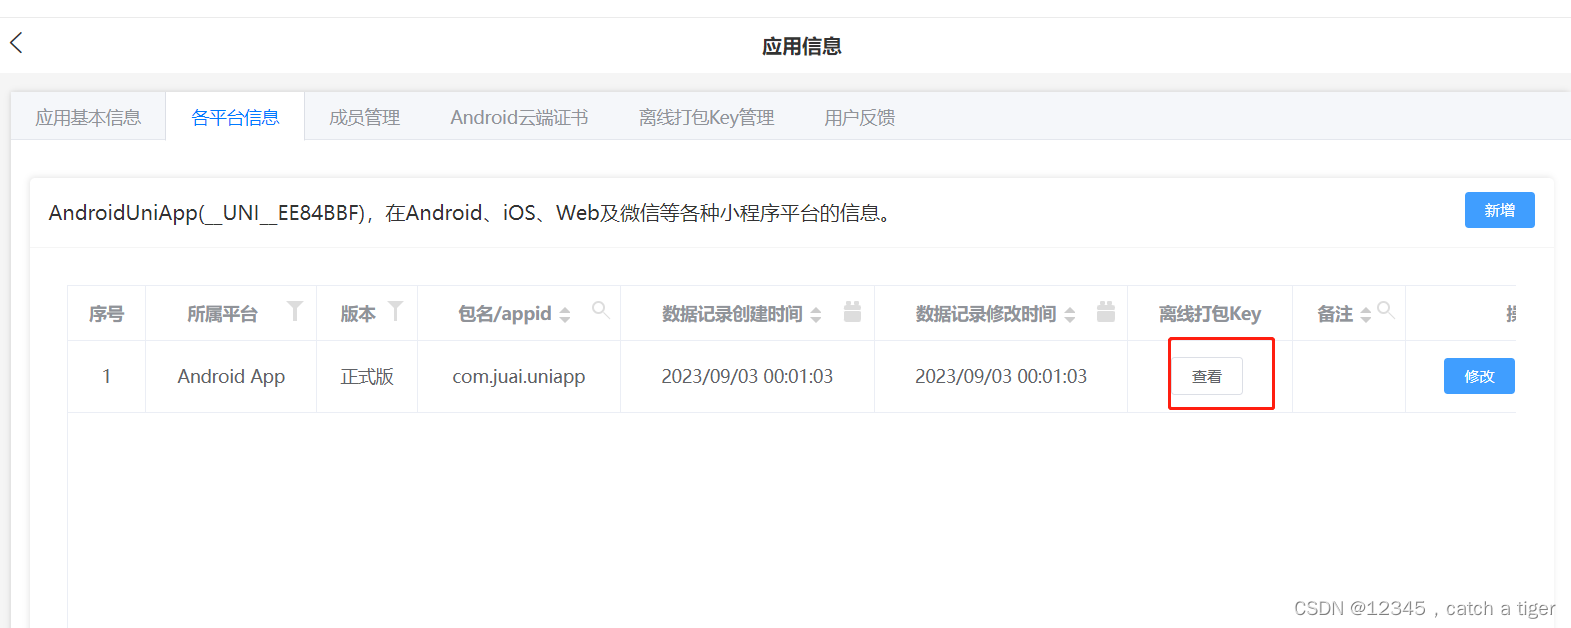
2.4 点击离线打包key管理,会跳到各平台信息配置,配置sha1,MD5,SHA256和包名
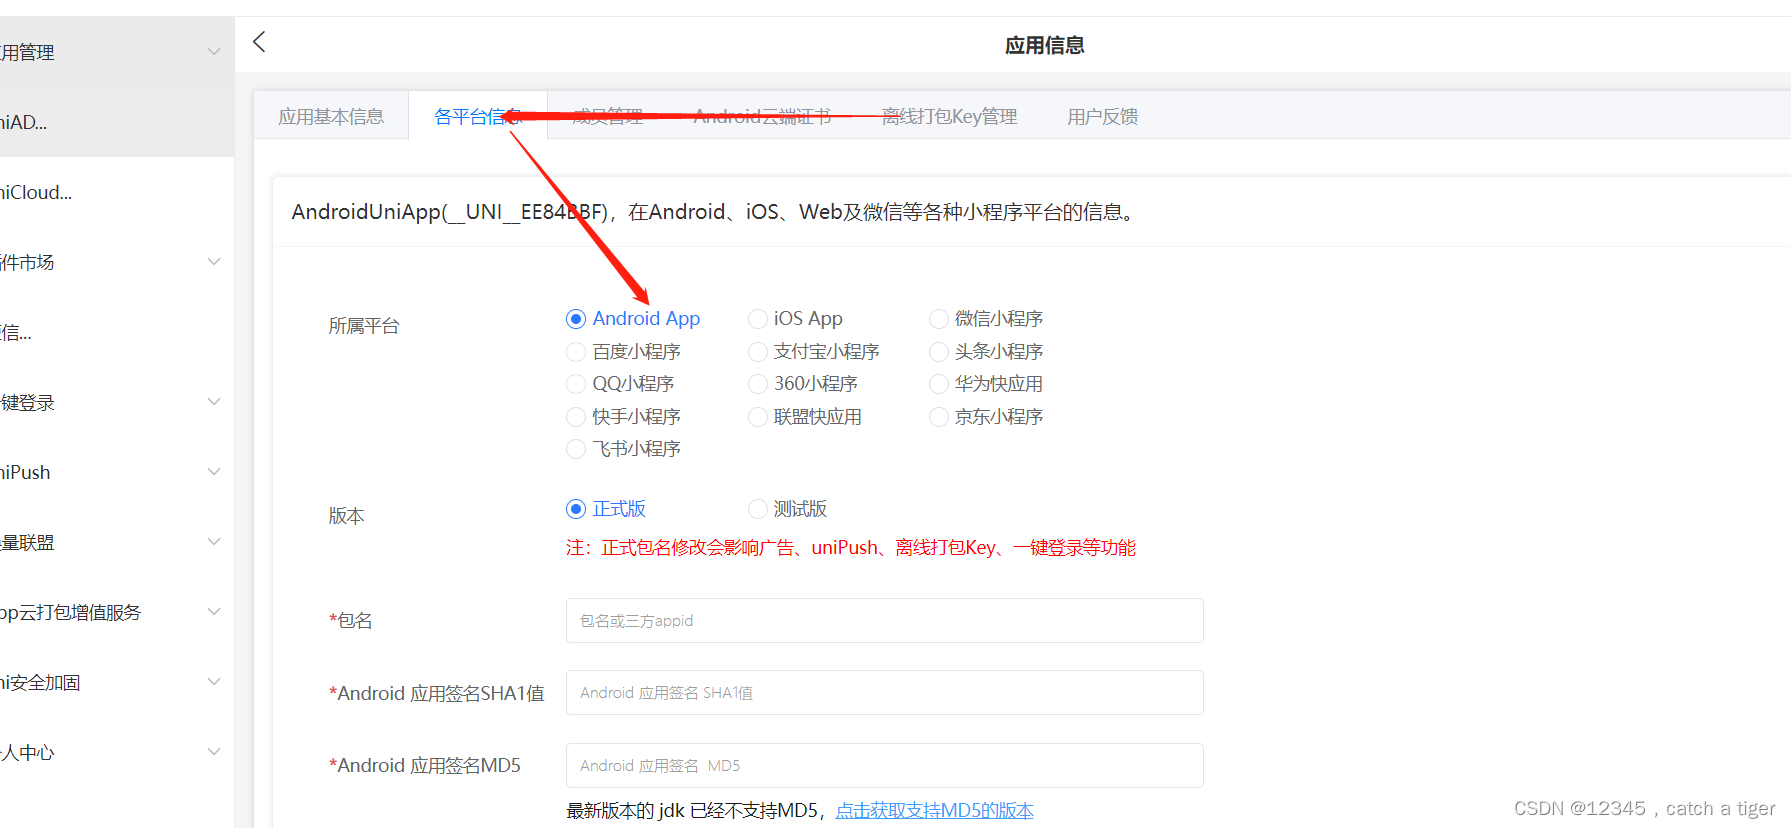
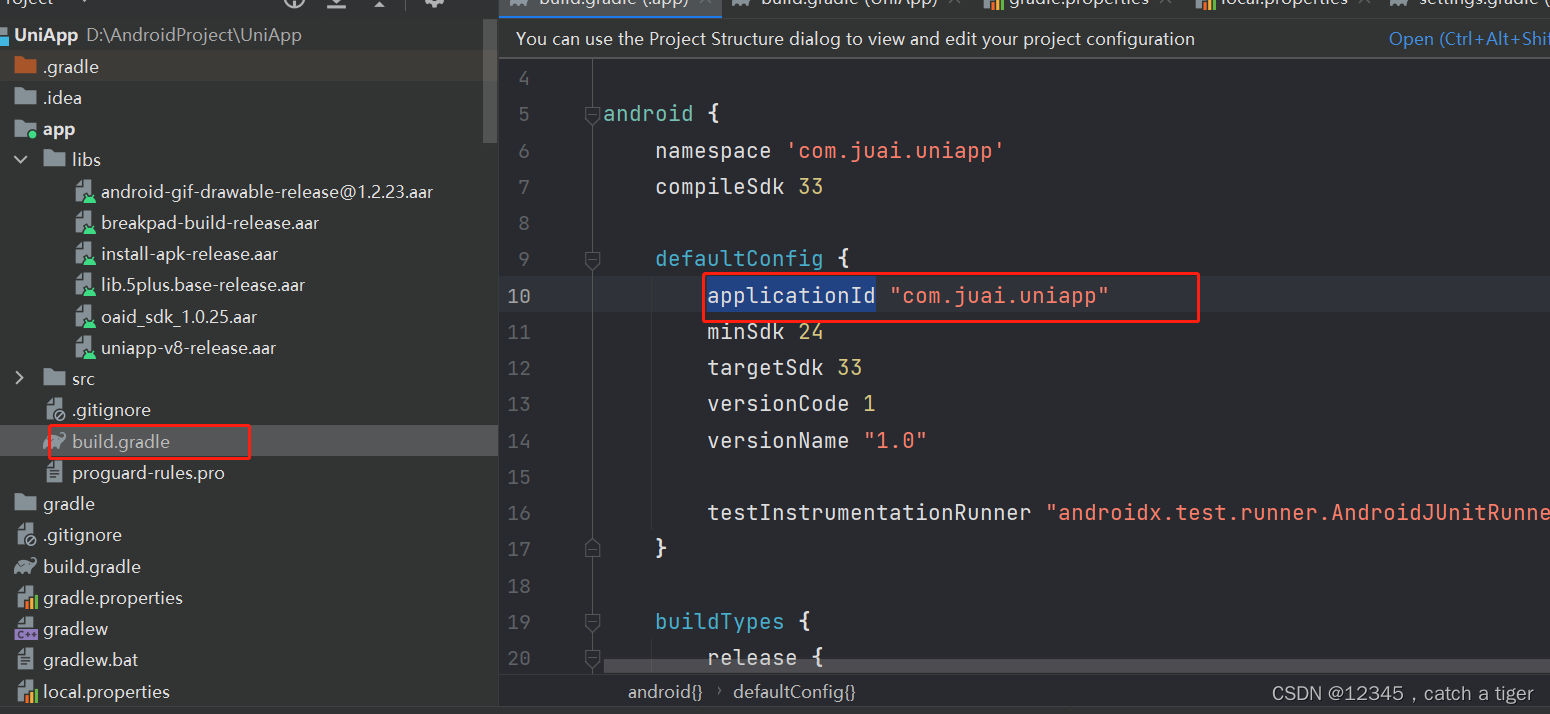
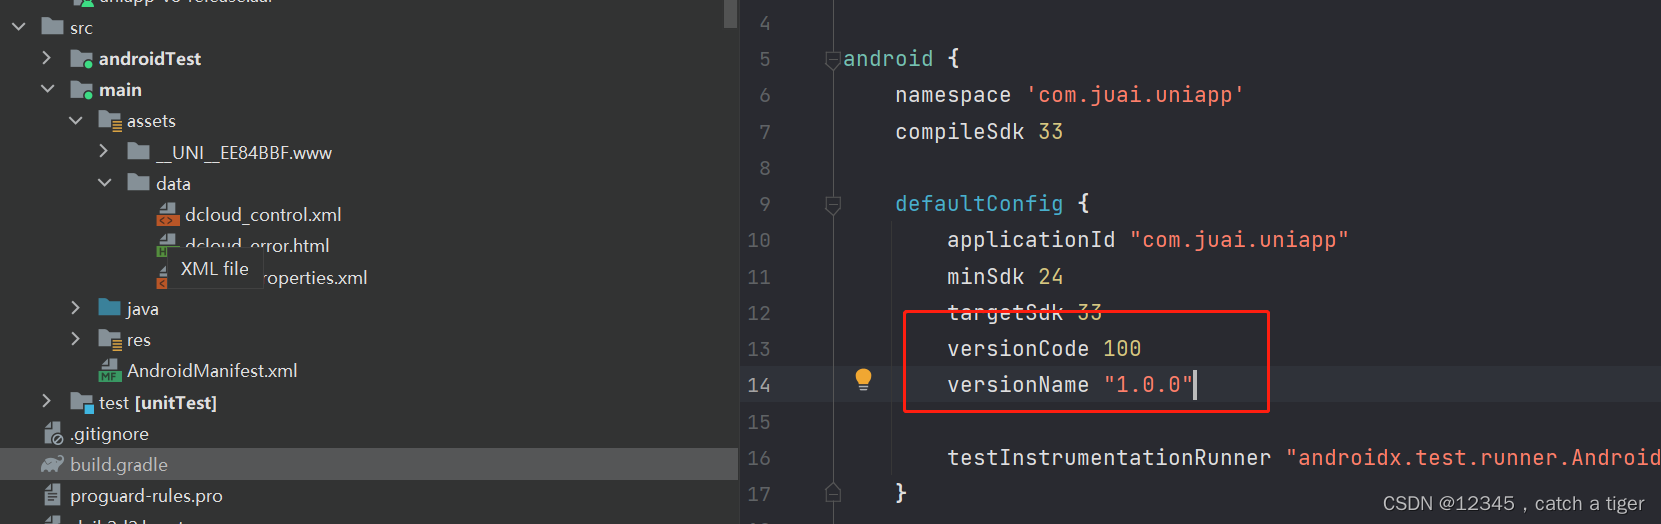
appid就是androidStudio项目里面的applicationId
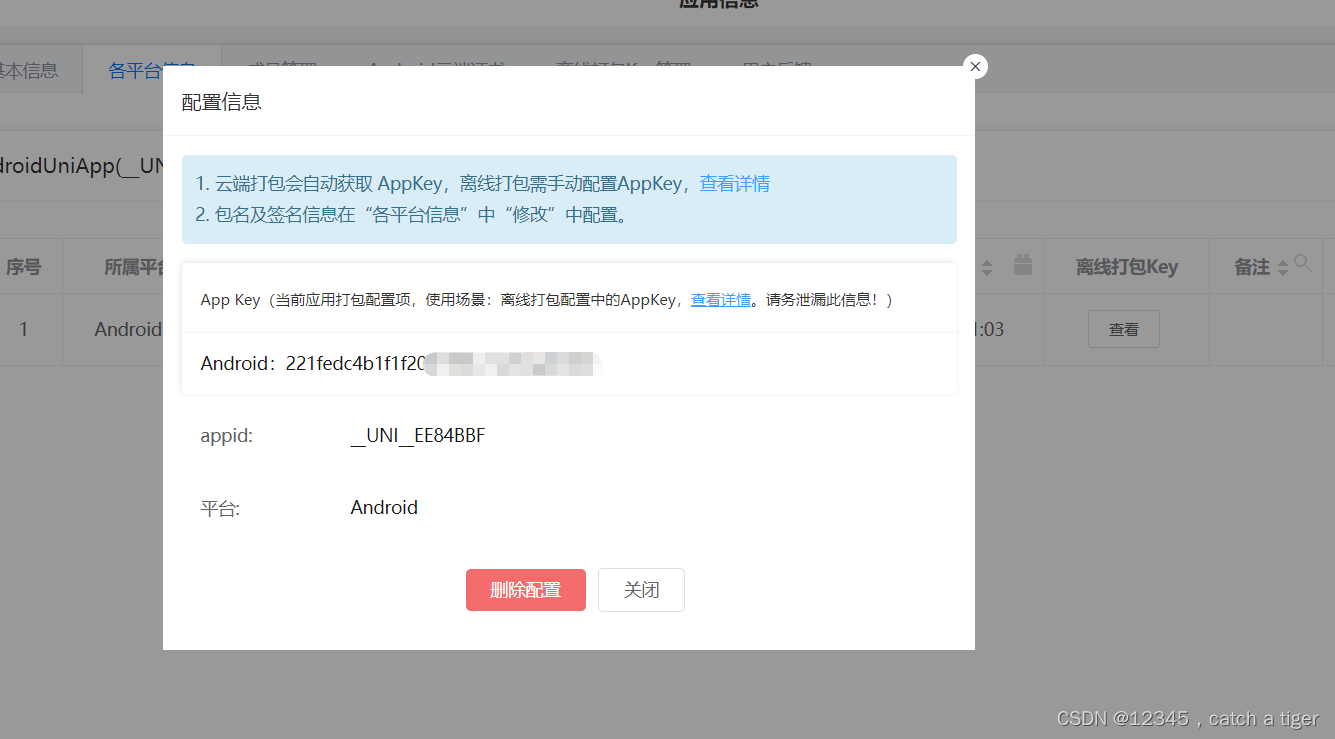
2.5 平台信息提交之后就可以创建key了

创建之后进行查看,AppKey不区分debug和release模式,Andorid如需要调试需要使用申请AppKey时的证书
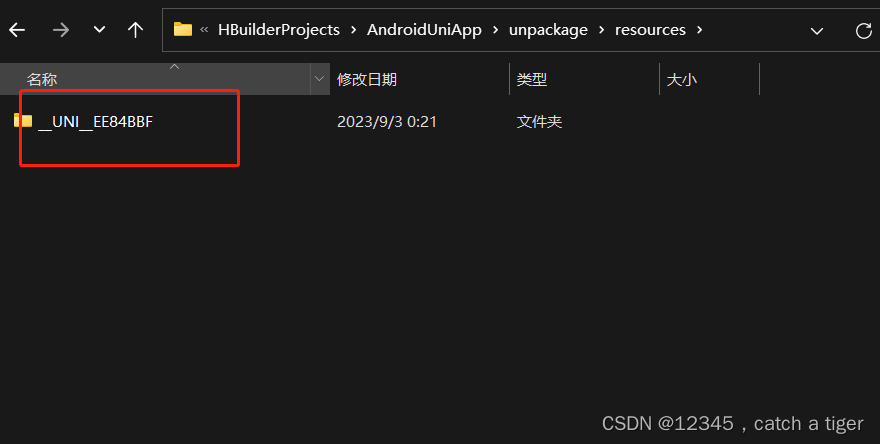
2.6 打包uni-app资源包,发行-原生app本地打包-生成app资源
 控制台打包进度,成功后打开目录,将ID级的整个目录复制

2.7 androidStudio的assets创建一个apps的目录,将app资源包拷贝到androidStudio项目的assets目录里面,注意:dcloud_control.xml里面的appid要改为对应的id。
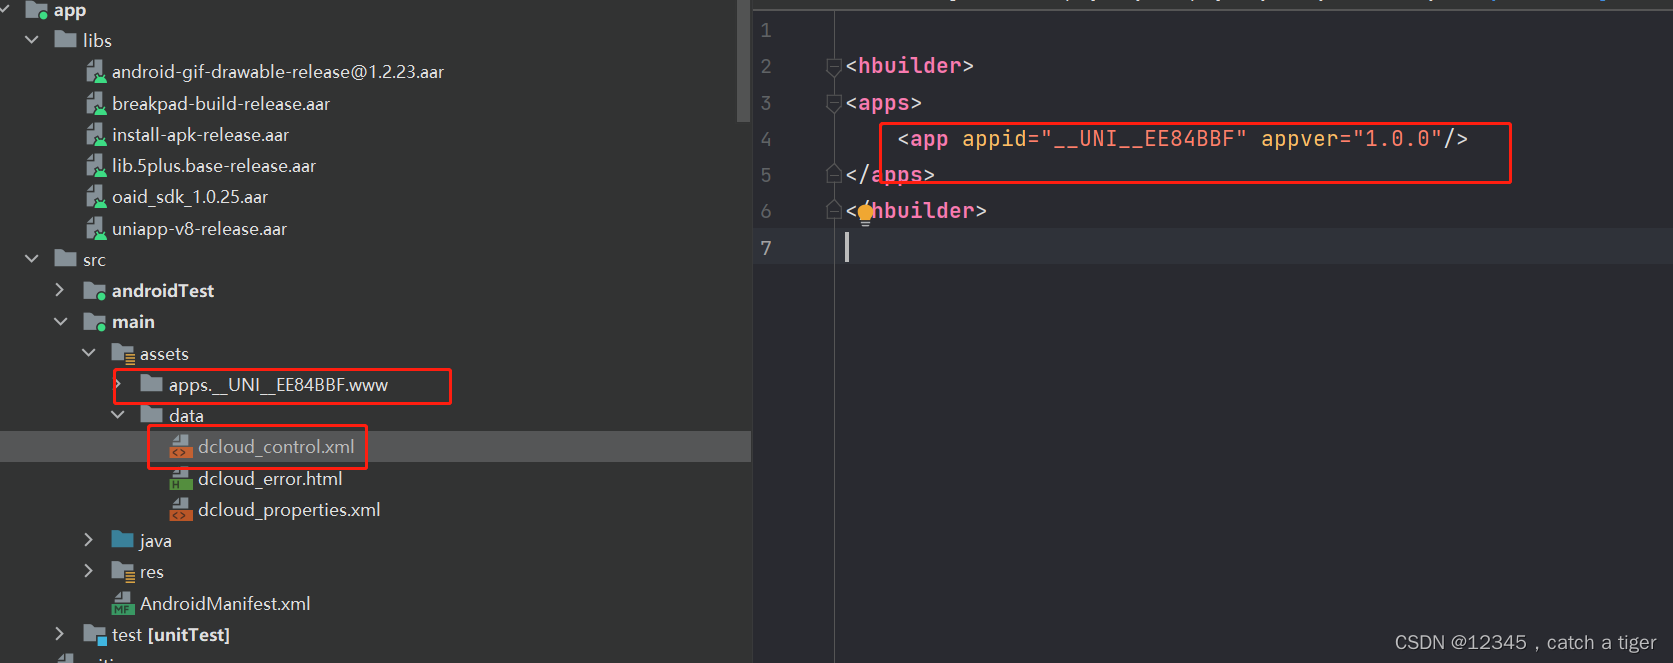
2.8 androidStudio项目的app-build.gradle 里面也改为对应的版本
三,androidStudio配置key
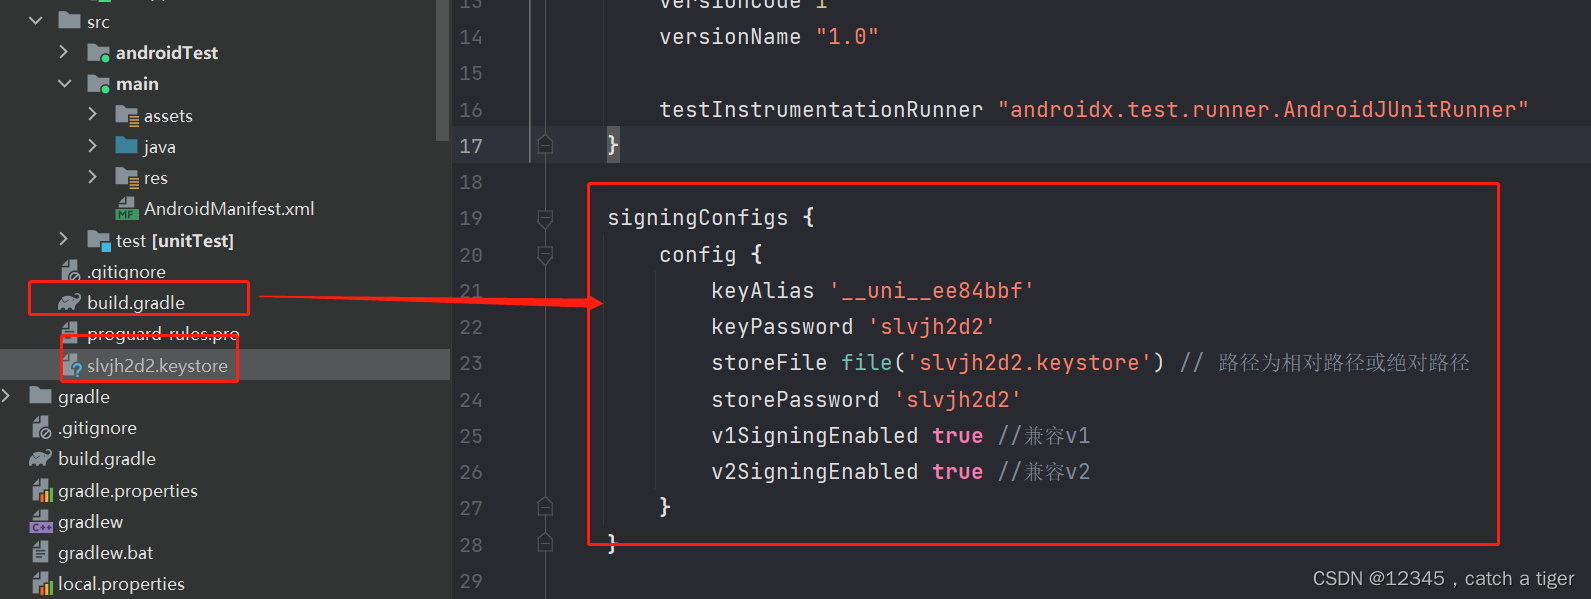
3.1 主APP的build.gradle文件的android节点下配置应用的签名信息,先下载证书
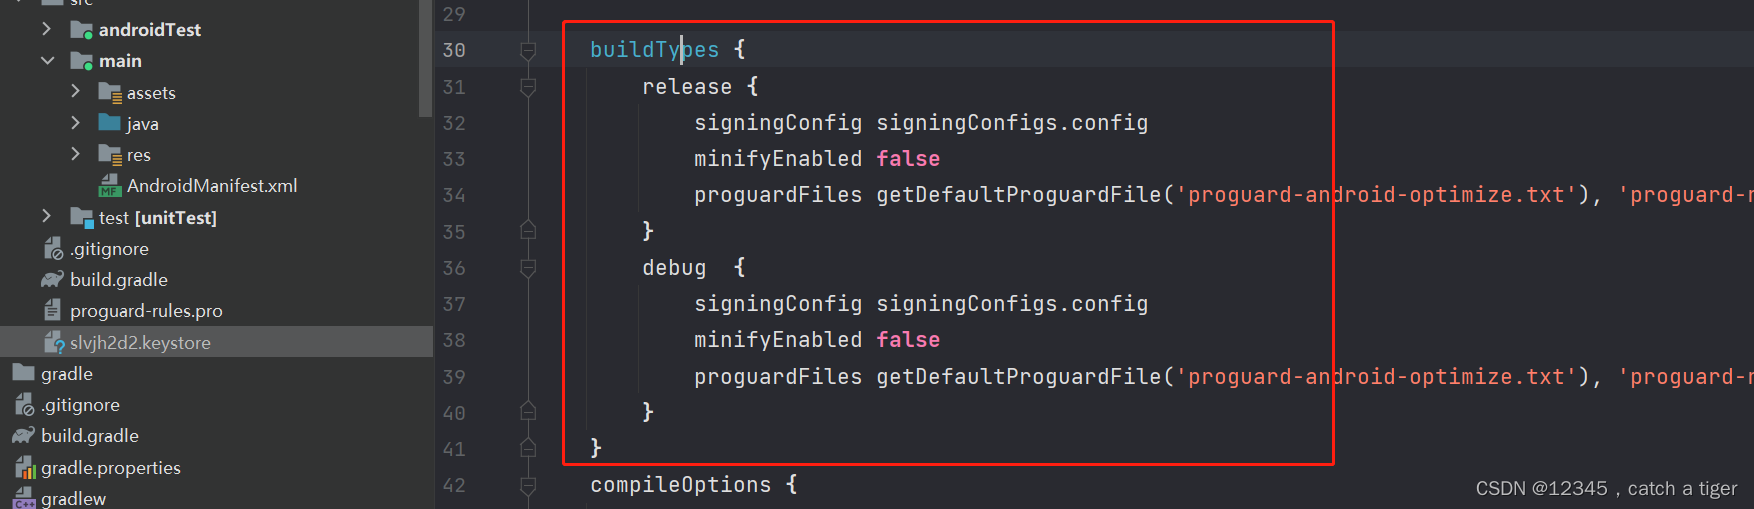
3.2 配置正式签名和调试签名
signingConfigs {
config {
keyAlias '__uni__ee84bbf'
keyPassword 'slvjh2d2'
storeFile file('slvjh2d2.keystore') // 路径为相对路径或绝对路径
storePassword 'slvjh2d2'
v1SigningEnabled true //兼容v1
v2SigningEnabled true //兼容v2
}
}
buildTypes {
release {
signingConfig signingConfigs.config
minifyEnabled false
proguardFiles getDefaultProguardFile('proguard-android-optimize.txt'), 'proguard-rules.pro'
}
debug {
signingConfig signingConfigs.config
minifyEnabled false
proguardFiles getDefaultProguardFile('proguard-android-optimize.txt'), 'proguard-rules.pro'
}
}
 3.3 Androidmanifest.xml配置key
<?xml version="1.0" encoding="utf-8"?>
<manifest xmlns:android="http://schemas.android.com/apk/res/android"
xmlns:tools="http://schemas.android.com/tools"><application
...>
<meta-data
android:name="dcloud_appkey"
android:value="替换为自己申请的Appkey" />
</manifest>

3.4 配置清单的application和应用入口,直接用unisdk的资源就行
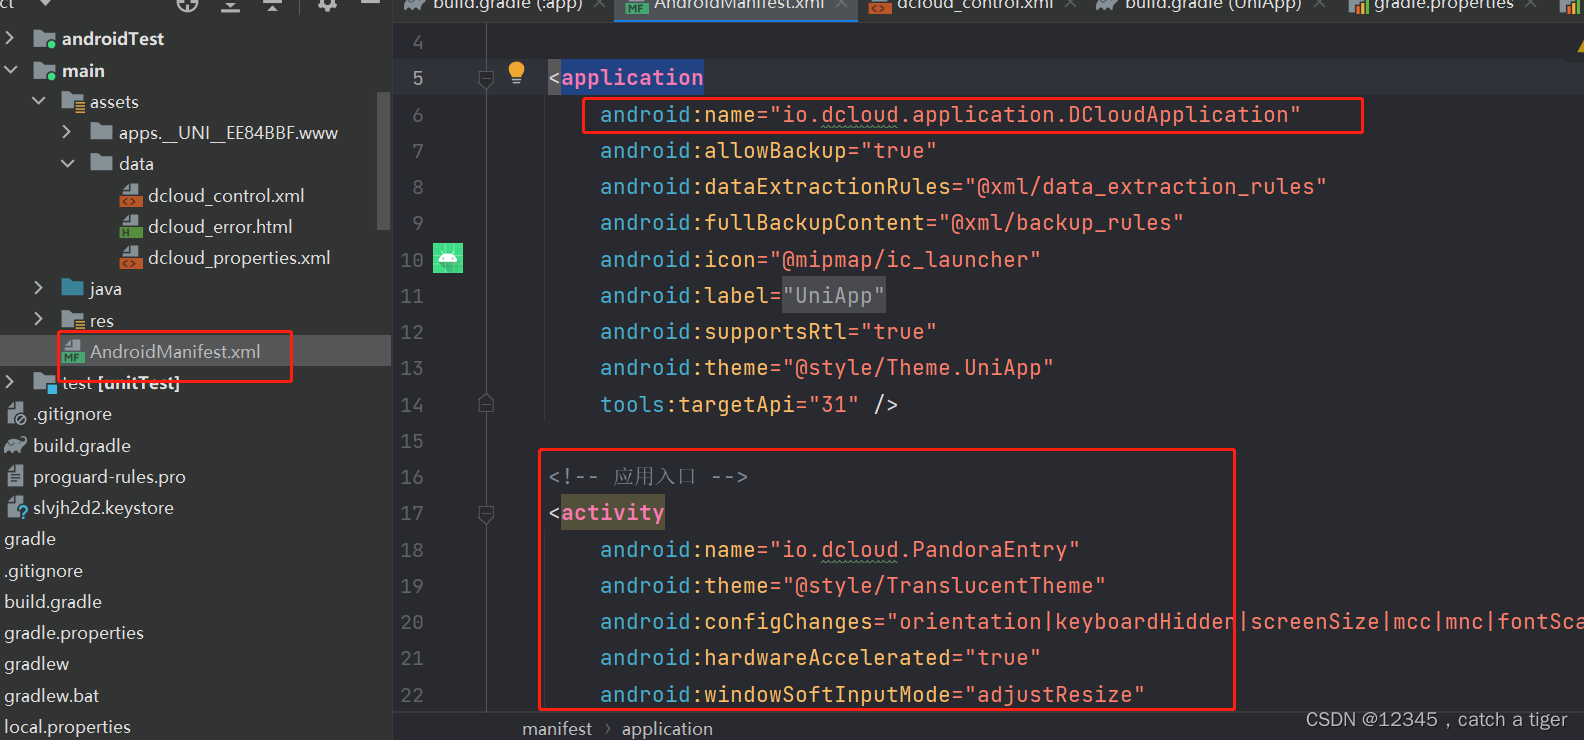
整个清单文件如下:
<?xml version="1.0" encoding="utf-8"?>
<manifest xmlns:android="http://schemas.android.com/apk/res/android"
    xmlns:tools="http://schemas.android.com/tools">

    <application
        android:name="io.dcloud.application.DCloudApplication"
        android:allowBackup="true"
        android:dataExtractionRules="@xml/data_extraction_rules"
        android:fullBackupContent="@xml/backup_rules"
        android:icon="@mipmap/ic_launcher"
        android:label="@string/app_name"
        android:supportsRtl="true"
        android:theme="@style/Theme.UniApp"
        tools:targetApi="31">

        <!-- 应用入口 -->
        <activity
            android:name="io.dcloud.PandoraEntry"
            android:configChanges="orientation|keyboardHidden|screenSize|mcc|mnc|fontScale"
            android:exported="true"
            android:hardwareAccelerated="true"
            android:theme="@style/TranslucentTheme"
            android:windowSoftInputMode="adjustResize"
            tools:ignore="WrongManifestParent">
            <intent-filter>
                <data android:scheme="hbuilder" />
                <action android:name="android.intent.action.VIEW" />

                <category android:name="android.intent.category.DEFAULT" />
                <category android:name="android.intent.category.BROWSABLE" />
            </intent-filter>
            <intent-filter>
                <data android:mimeType="image/*" />
                <action android:name="android.intent.action.SEND" />
                <category android:name="android.intent.category.DEFAULT" />
            </intent-filter>
            <intent-filter>
                <action android:name="android.intent.action.MAIN" />
                <category android:name="android.intent.category.LAUNCHER" />
            </intent-filter>
        </activity>

        <meta-data
            android:name="dcloud_appkey"
            android:value="221fedc4b1f1f2087f96c7120ca8d3b9" />
    </application>
</manifest>
四 调试运行和打包
4.1 出现主题冲突错误
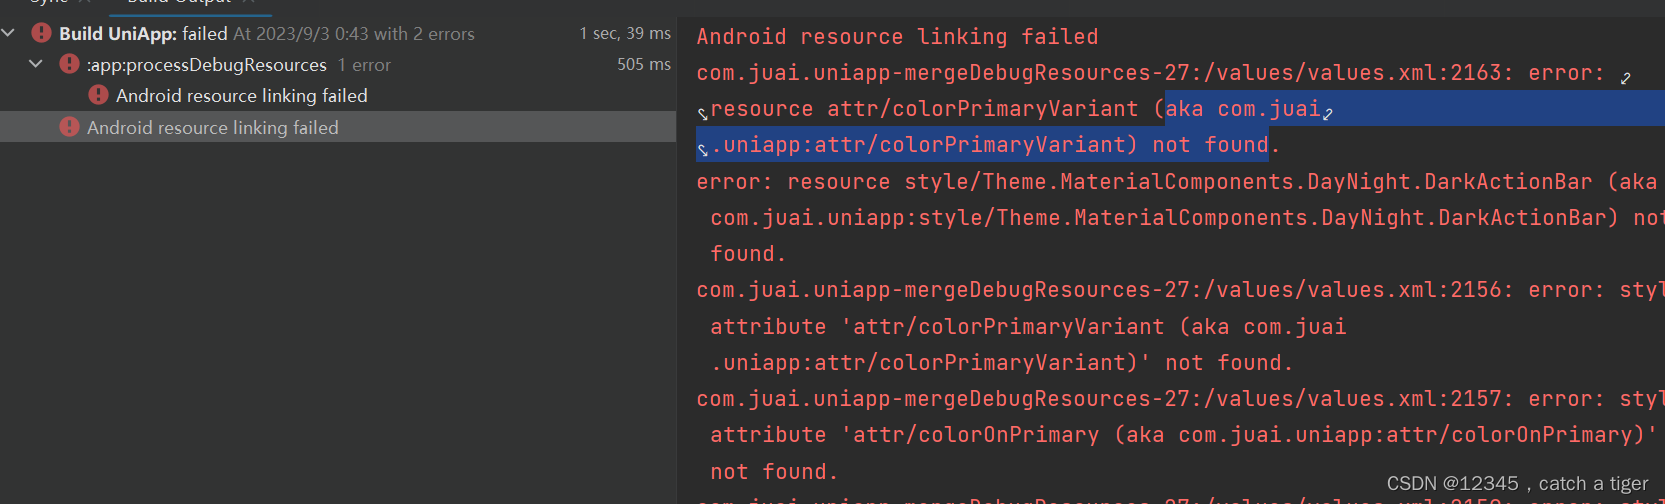
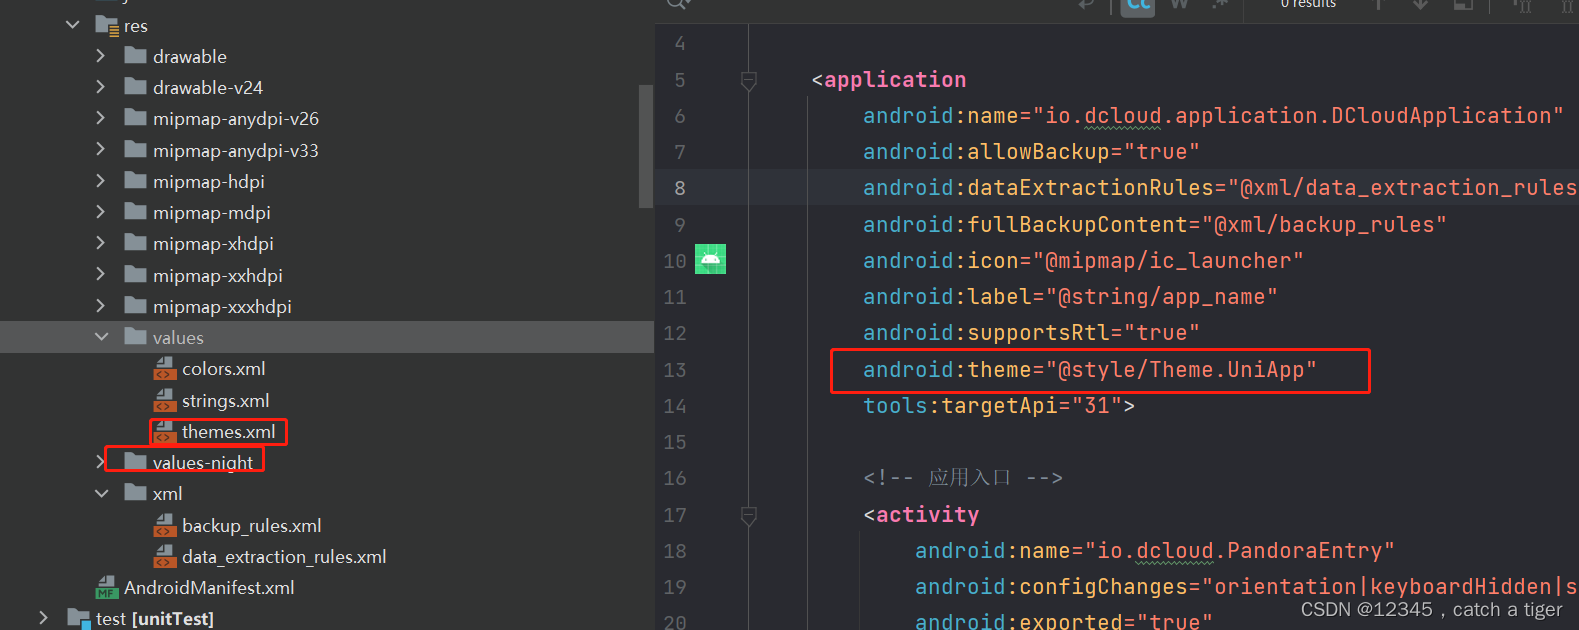
那就删掉项目中的style.xml ,同时清单文件里面的application的主题也更换为透明主题
修改前
修改后
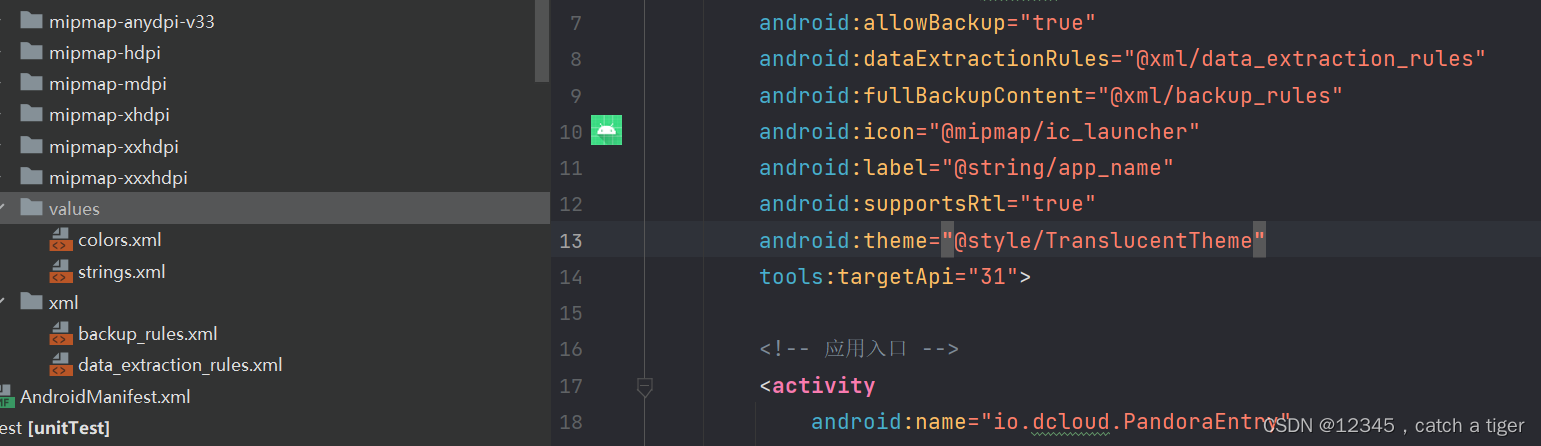
再次运行可以安装成功了
4.2 安装后但运行失败,报找不到activity类错误
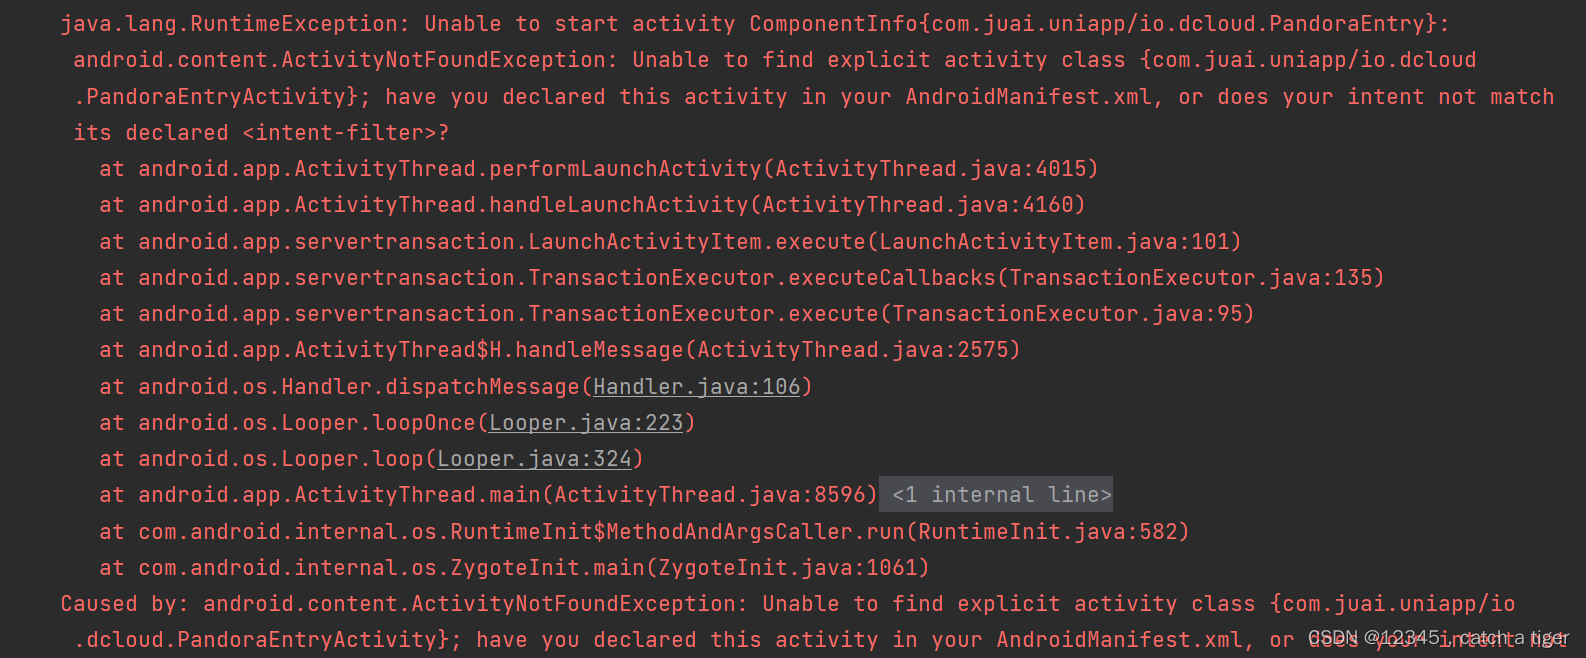
然后对比了下SDK的清单,发现确实少注册了一个类,那就注册上
<activity
	android:name="io.dcloud.PandoraEntryActivity"
	android:launchMode="singleTask"
	android:configChanges="orientation|keyboardHidden|screenSize|mcc|mnc|fontScale|keyboard|smallestScreenSize|screenLayout|screenSize|uiMode"
	android:hardwareAccelerated="true"
	android:permission="com.miui.securitycenter.permission.AppPermissionsEditor"
	android:screenOrientation="user"
	android:theme="@style/DCloudTheme"
	android:windowSoftInputMode="adjustResize"
	android:exported="true">

	<intent-filter>

		<category
			android:name="android.intent.category.DEFAULT" />

		<category
			android:name="android.intent.category.BROWSABLE" />

		<action
			android:name="android.intent.action.VIEW" />

		<data
			android:scheme=" " />
	</intent-filter>
</activity>
4.3 再次运行发现可以成功了跑起来了

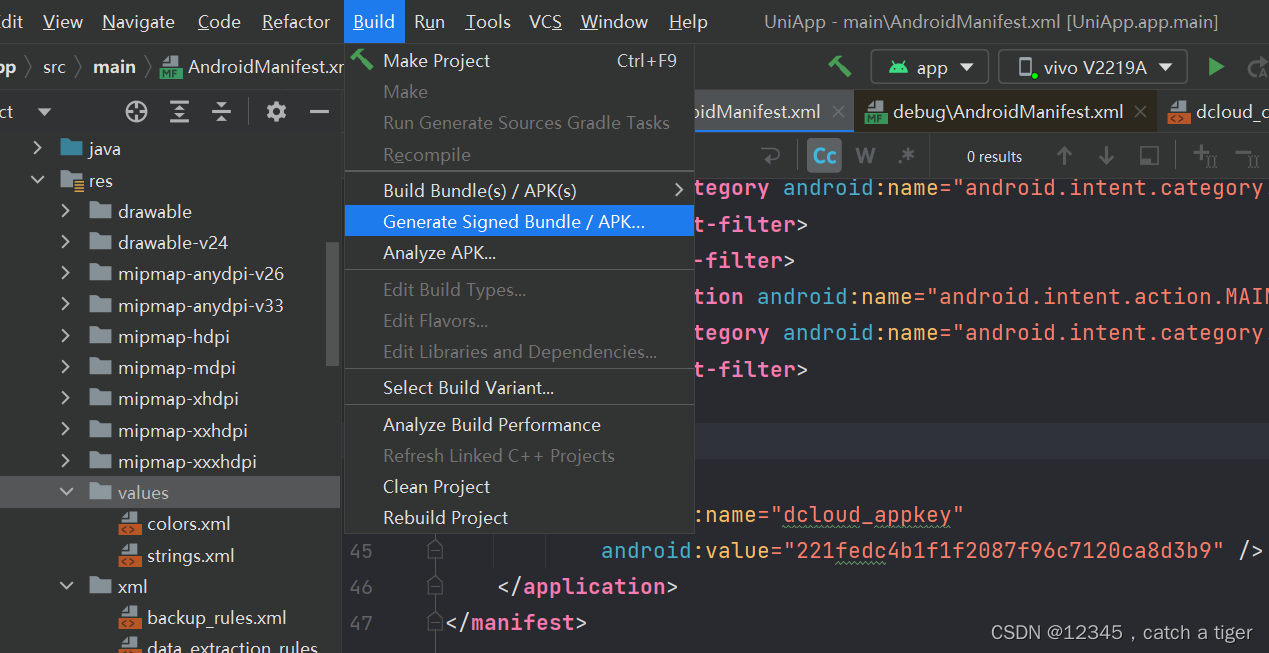
4.4 androidStudio选择build-generate signed bundle//Apk,打包apk
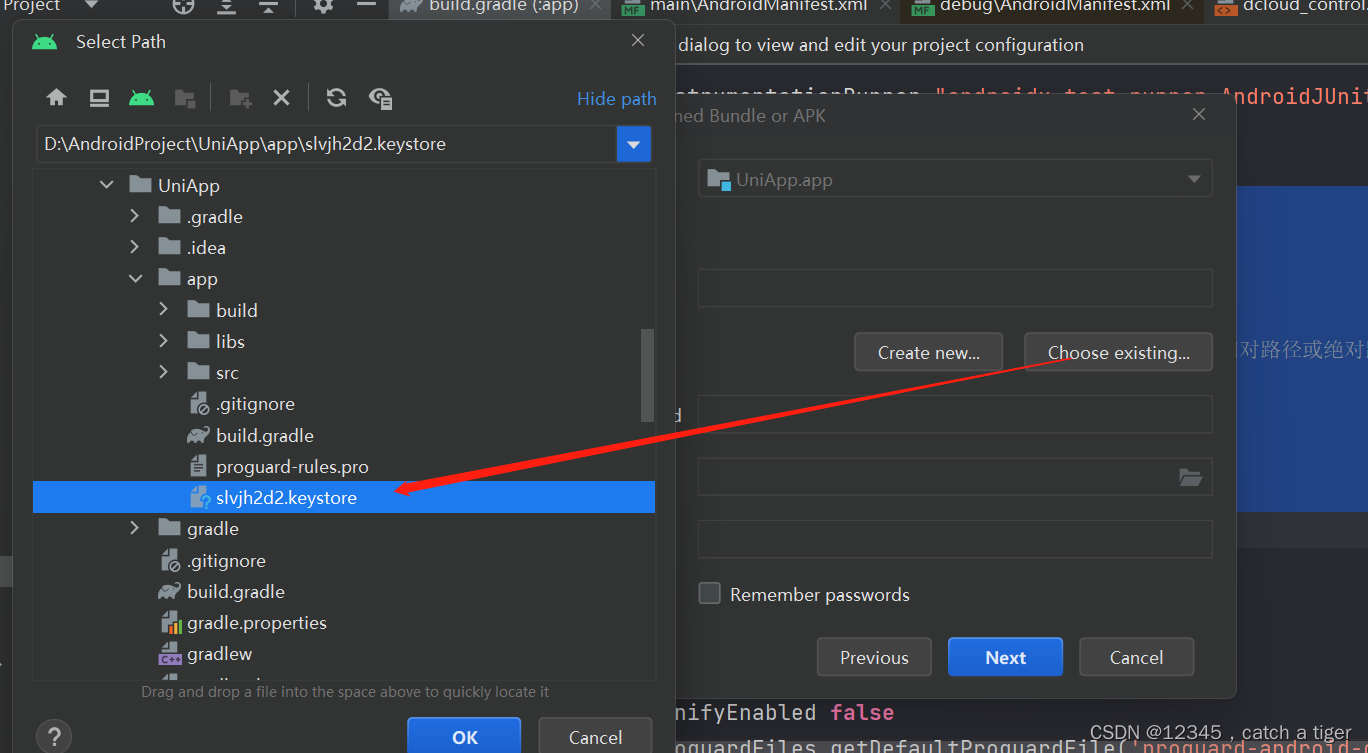
 4.5 选择证书密钥
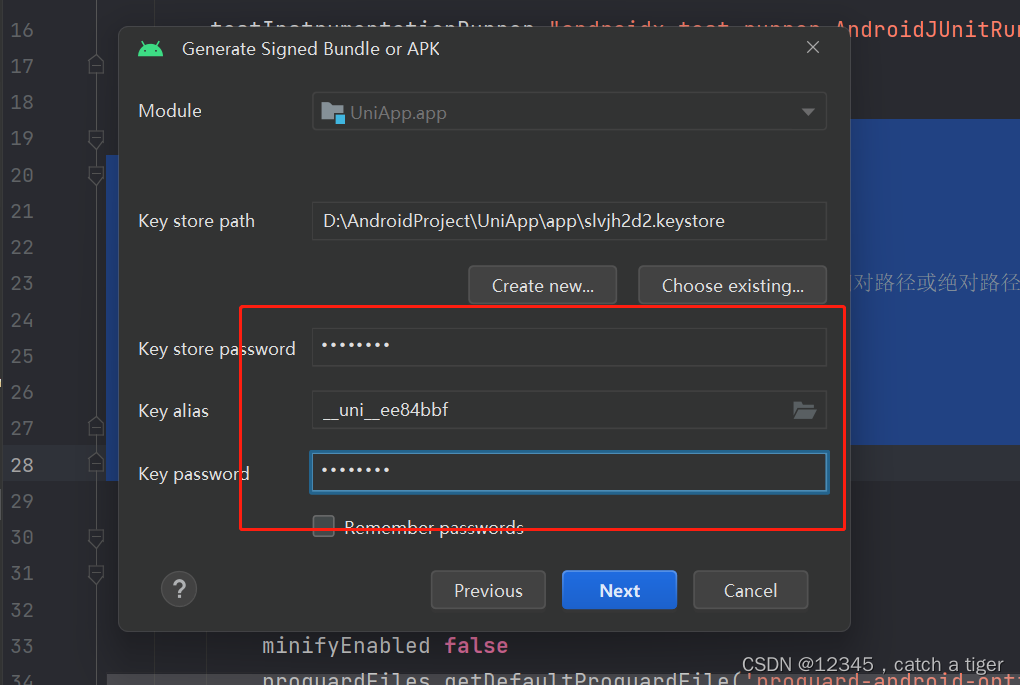
4.6 填写签名信息
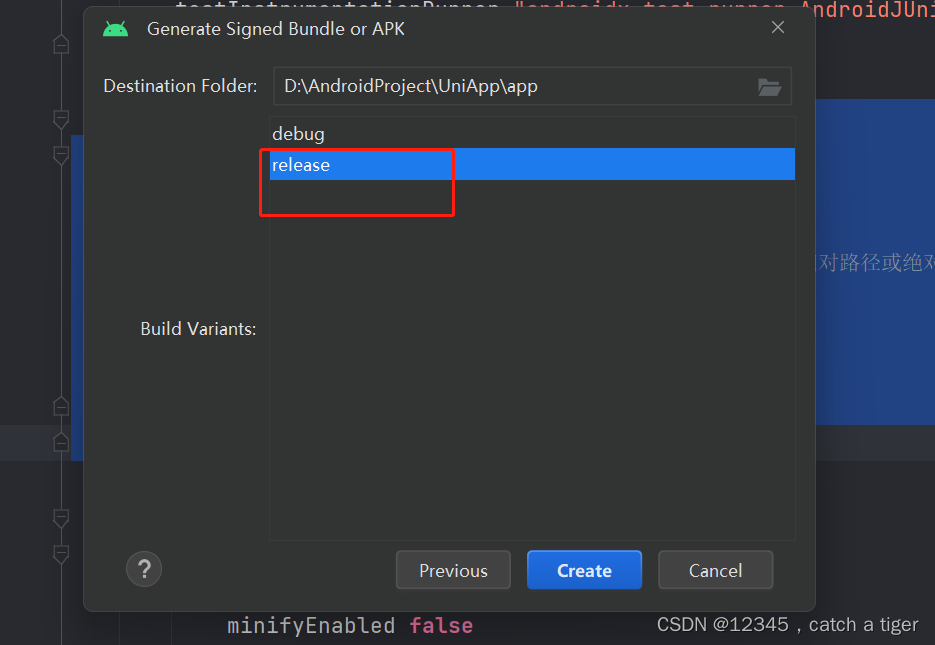
4.7 选择创建正式包
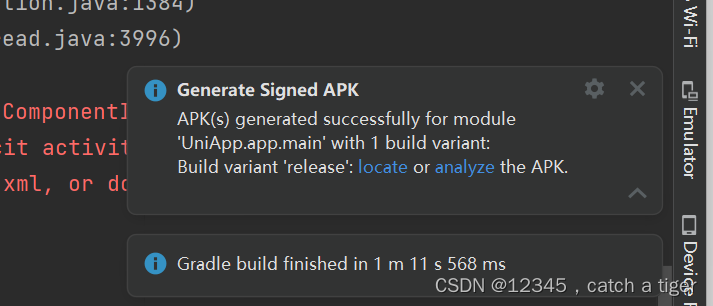
 4.8 OK,打包成功
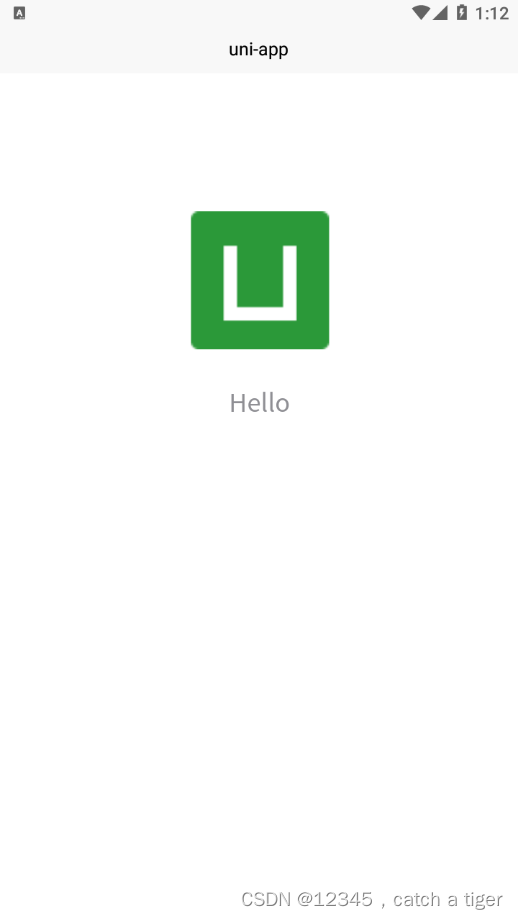
 4.9 正式apk安装到手机也可以运行成功,离线打包就完成了
4.10 主要步骤
- 新建uni项目生成uni-appid
- 开发者平台生成密钥证书并生成appkey
- 导出uni项目的app资源
- 新建androidStudio项目,拷贝aar,新建assets的data
- 拷贝app资源到androidStudio的apps目录
- androidStudio项目清单文件配置入口和appkey,并统一appid和版本
- 调试打包生成正式apk