传统算法或者深度学习在进行图像处理之前,总是会首先进行图像的采集,也就是所谓的拉流。解决拉流的方式有两种,一个是直接使用opencv进行取流,另一个是使用ffmpeg进行取流,如下分别介绍这两种方式进行拉流处理。
1、opencv直接取流
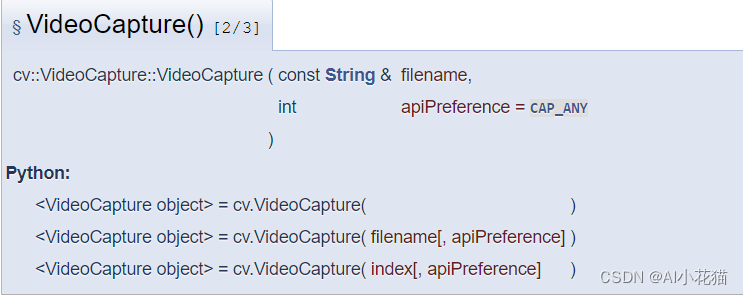
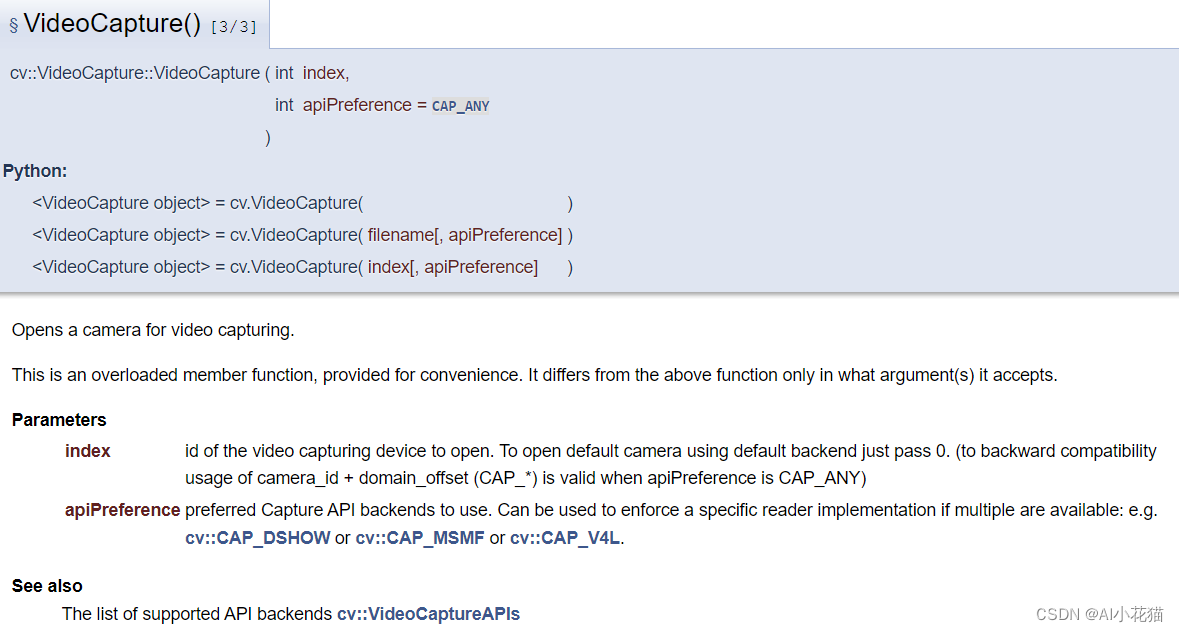
opencv的取流方式主要是利用VideoCapture类进行处理的。VideoCapture提供了一整套的读取视频流信息的方案,主要的函数如下:
VideoCapture有三个构造函数:
- 不带任何参数的构造函数
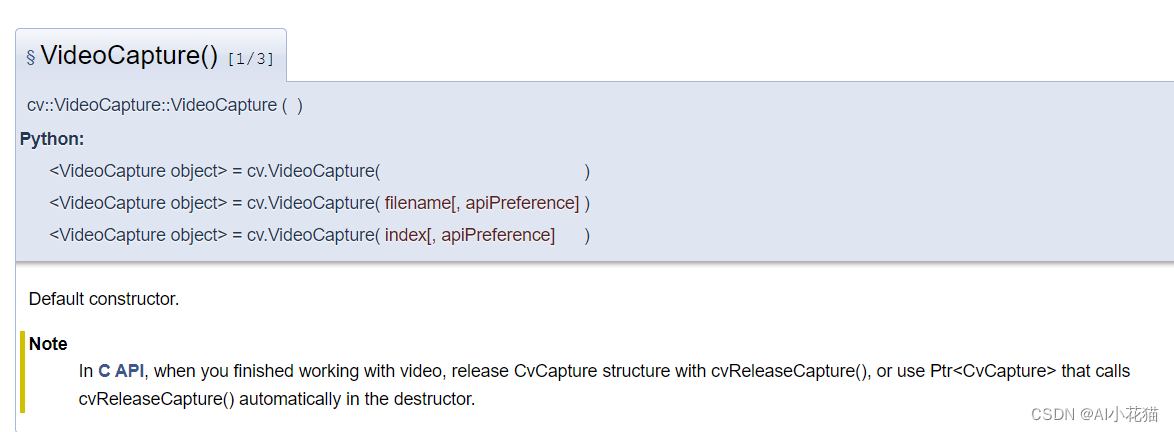
- 带有一个视频流地址的构造函数
- 带有一个视频index的构造函数
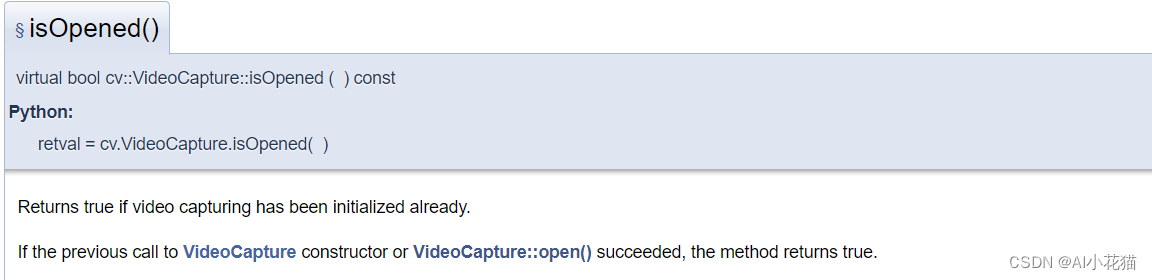
isOpened()函数主要是判定是否成功打开流地址
read()读取视频数据

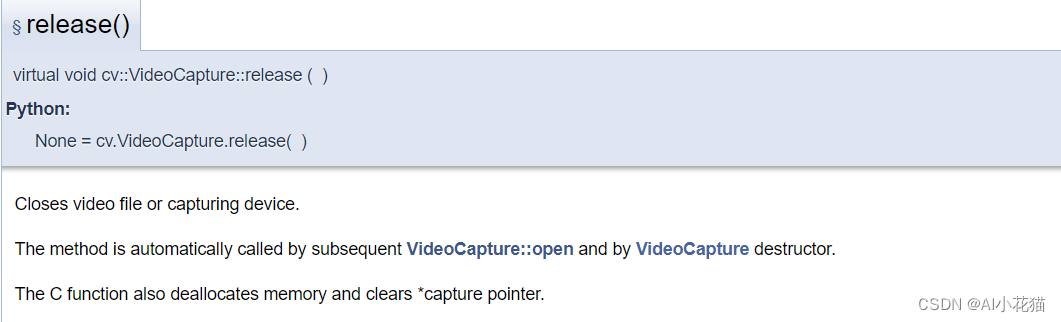
release()函数用于释放类对象
具体参考地址:https://docs.opencv.org/4.0.0/d8/dfe/classcv_1_1VideoCapture.html
1.1 python拉流
主要流程为分为以下几步:
- 通过流的地址实例化VideoCapture类
- 判断是否成功打开流地址
- 循环读取每一帧流数据并处理
- 释放实例化的对象
- 释放cv
def vedio2Img(vedio_path, save_path):
    cap = cv2.VideoCapture(vedio_path)
    fps = int(cap.get(cv2.CAP_PROP_FPS))
    total_count = cap.get(cv2.CAP_PROP_FRAME_COUNT)
    count = 0
    img_idx = 0
    if not cap.isOpened():
        return
    while True:
        success, frame = cap.read()
        if success:
            try:
                count += 1
                if count % fps == 0:
                    img_idx += 1
                    name = save_path.split('\\')[-1]
                    save_path1 = os.path.join(save_path, '{}_vedio_{}.jpg'.format(name, str(img_idx)))
                    save_img(save_path1, frame)
                    print('finish number {} img save'.format(img_idx))
                    cv2.waitKey(1)
            except:
                print('encounter some wrong')
                continue
    cap.release()
    cv2.destroyAllWindows()
1.2 C++ opencv拉流
c++的使用opencv拉流的方式和opencv基本一致(ps:python的底层应该是C++实现的),因此其实现格式如下所示:
	std::string vedio_path = "rtsp://admin:[email protected]/Streaming/Channels/11000";
	cv::VideoCapture cap;
	cap.open(vedio_path);
	if (!cap.isOpened()) {


		std::cout << "error about cap" << std::endl;
	}
	VideoFrameDecode videoframe;
	cv::Mat frame;
	while (cap.read(frame))
	{


		if (frame.empty()) {


			break;
		}
		int w = frame.size().width;
		int h = frame.size().height;
		printf("h=%i,w=%i", h, w);
		unsigned char* buffer = frame.data;
		size_t stride = frame.step;
		cv::Mat img = cv::Mat(h, w, CV_8UC3, (void*)buffer, stride);
		cv::namedWindow("demo", cv::WINDOW_NORMAL);
		cv::imshow("demo", img);
		cv::waitKey(0);

	}
	cap.release();
	cv::destroyAllWindows();
2、ffmpeg拉流(C++实现)
-
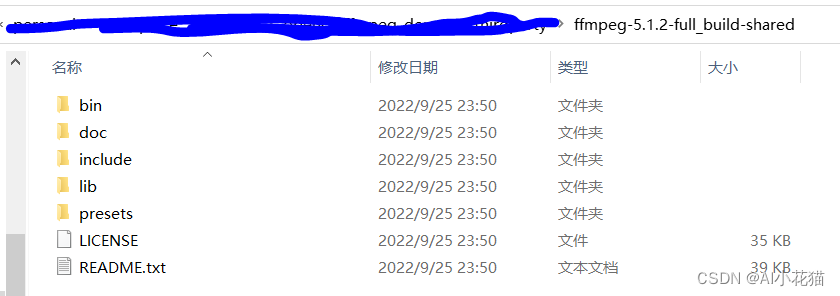
下载ffmpeg包的
ffmpeg包下载地址
博主下载的5.1.2版本
-
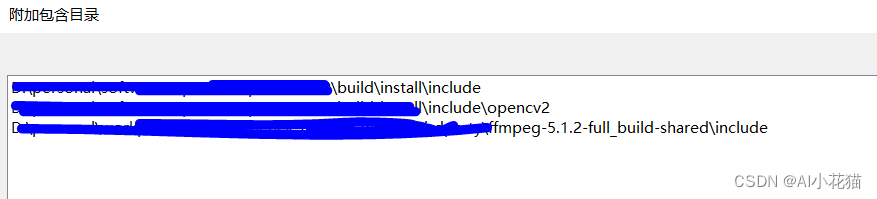
vs2022配置使用
在C/C+±>附加包含目录中添加新下载的ffmpeg包的include路径
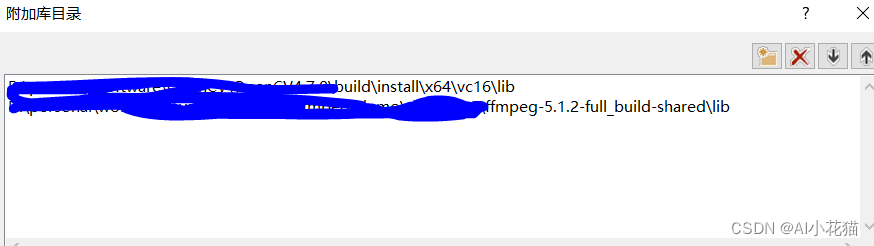
在链接器->附加库目录中添加ffmpeg包的lib文件路径
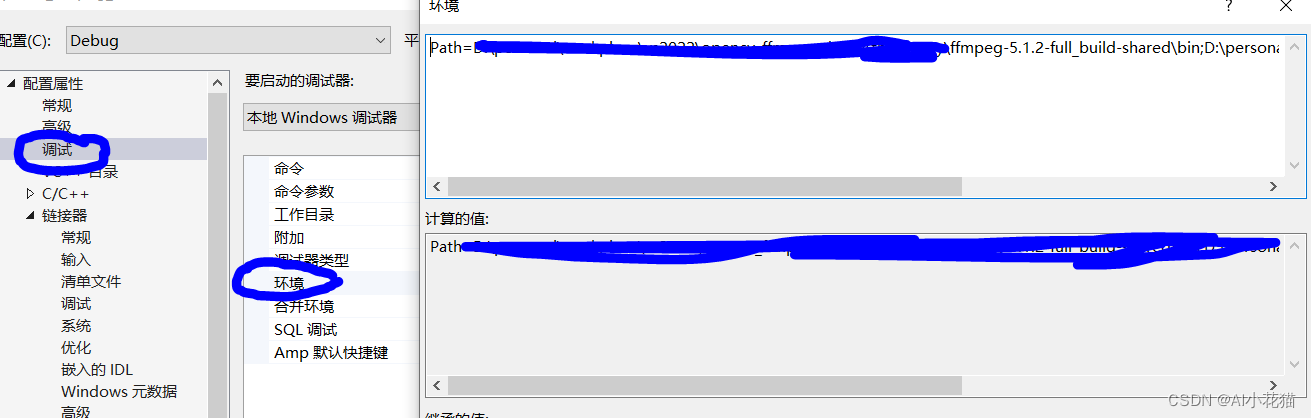
在链接器->输入->附加依赖项中加入所需要的lib库目录,整理如下:avcodec.lib avdevice.lib avfilter.lib avformat.lib avutil.lib swresample.lib swscale.lib如果不想在环境变量中配置ffmpeg中bin文件的目录,可以使用如下方式临时配置:
在调试->环境中使用Path=D:\ffmpeg\bin;%PATH即可临时使用
博主将拉流方式封装为一个类,主要代码如下所示:
ffmpeg.h文件如下:
#ifndef __FFMPEG_DECODE_H__
#define __FFMPEG_DECODE_H__

// Opencv
#include <opencv2/core/core.hpp>
#include <opencv2/highgui/highgui.hpp>
#include <opencv2/imgproc/imgproc.hpp>
extern "C"
{


#include<libavutil/avutil.h>
#include<libavutil/imgutils.h>
#include <libavcodec/avcodec.h>
#include <libavformat/avformat.h>
#include <libswscale/swscale.h>
#include<libavdevice/avdevice.h>
};

struct VideoFrameDecode {


	void* buffer;		//֡帧的buffer指针(仅支持RGB格式)
	int pitch;			//图像一行的宽度
};

class ReadFfmpeg
{


public:
	ReadFfmpeg(char* rtsppath);
	~ReadFfmpeg();
	void processOneFrame(cv::Mat &img);

private:
	AVFormatContext* formatContext = nullptr;
	int ret = -1;
	int videoStreamIndex = -1;
	AVCodecParameters* codecParameters = nullptr;
	const AVCodec* codec = nullptr;
	AVCodecContext* codecContext = nullptr;
	AVPacket packet;

	AVFrame* pFrameRGB;
	uint8_t* buffer;
	SwsContext* sws_ctx;

};
#endif
其中具体实现的ffmpeg.cpp文件如下所示
#include "ReadFfmpeg.h"
#include <iostream>
#include<chrono>
#include<thread>
using namespace std;

ReadFfmpeg::ReadFfmpeg(char* rtsppath)
{


	avformat_network_init();
	AVDictionary* formatOptions = nullptr;
	av_dict_set_int(&formatOptions, "buffer_size", 2 << 20, 0);
	av_dict_set(&formatOptions, "rtsp_transport", "tcp", 0); //默认使用udp协议进行传输,会出现max delay reached. need to consume packet
	av_dict_set_int(&formatOptions, "timeout", 5000000, 0);

	formatContext = avformat_alloc_context();
	ret = avformat_open_input(&formatContext, rtsppath, nullptr, &formatOptions);
	if (ret != 0) {


		std::cerr << "Failed to open RTSP stream." << std::endl;
	}
	ret = avformat_find_stream_info(formatContext, nullptr);
	if (ret < 0) {


		std::cerr << "Failed to find stream info." << std::endl;
	}

	for (unsigned int i = 0; i < formatContext->nb_streams; ++i) {


		if (formatContext->streams[i]->codecpar->codec_type == AVMEDIA_TYPE_VIDEO) {


			videoStreamIndex = i;
			break;
		}
	}
	if (videoStreamIndex == -1) {


		std::cerr << "Failed to find video stream." << std::endl;
	}
	codecParameters = formatContext->streams[videoStreamIndex]->codecpar;

	codec = avcodec_find_decoder(codecParameters->codec_id);

	if (codec == nullptr) {


		std::cerr << "Failed to find video decoder." << std::endl;
	}
	codecContext = avcodec_alloc_context3(codec);
	if (avcodec_parameters_to_context(codecContext, codecParameters) < 0) {


		std::cerr << "Failed to allocate codec context." << std::endl;
	}
	ret = avcodec_open2(codecContext, codec, nullptr);
	if (ret < 0) {


		std::cerr << "Failed to open codec." << std::endl;
	}
	pFrameRGB = av_frame_alloc();

	buffer = (uint8_t*)av_malloc(av_image_get_buffer_size(AV_PIX_FMT_RGB24, codecContext->width, codecContext->height, 1));
	av_image_fill_arrays(pFrameRGB->data, pFrameRGB->linesize, buffer, AV_PIX_FMT_RGB24, codecContext->width, codecContext->height, 1);

	sws_ctx = sws_getContext(codecContext->width, codecContext->height, codecContext->pix_fmt,
		codecContext->width, codecContext->height, AV_PIX_FMT_RGB24,
		SWS_BILINEAR, nullptr, nullptr, nullptr);
	ret = av_read_frame(formatContext, &packet);
	if (ret < 0) {


		std::cerr << "Failed to open packet." << std::endl;
	}
}

ReadFfmpeg::~ReadFfmpeg()
{


	avformat_network_deinit();
	avcodec_free_context(&codecContext);
	sws_freeContext(sws_ctx);
	av_free(pFrameRGB);
	av_free(buffer);
	av_free(codecParameters);
	avformat_close_input(&formatContext);
}

void ReadFfmpeg::processOneFrame(cv::Mat& img)
{


	if (img.empty())
	{


		img = cv::Mat(codecContext->height, codecContext->width, CV_8UC3);
	}
	int ret = av_read_frame(formatContext, &packet);
	if (ret >= 0) {


		if (packet.stream_index == videoStreamIndex) {


			avcodec_send_packet(codecContext, &packet);
			AVFrame* avFrame = av_frame_alloc();
			int res = avcodec_receive_frame(codecContext, avFrame);
			if (res == 0) {


				// Convert frame to RGB
				sws_scale(sws_ctx, avFrame->data, avFrame->linesize, 0, codecContext->height, pFrameRGB->data, pFrameRGB->linesize);
				img.data = pFrameRGB->data[0];
			}
			av_frame_free(&avFrame);
		}
	}
	av_packet_unref(&packet);
}

void test() {


	char* filename = (char*)"rtsp://admin:[email protected]:10000/Streaming/Channels/10000";
	ReadFfmpeg* fmpeg = new ReadFfmpeg(filename);
	cv::Mat img;
	int nFrame = 0;
	auto start = std::chrono::system_clock::now();
	for (;;)
	{


		nFrame++;
		fmpeg->processOneFrame(img);
		if (nFrame % 100==0) {


			nFrame = 0;
			auto end = std::chrono::system_clock::now();
			auto duration = std::chrono::duration_cast<std::chrono::milliseconds>(end - start);
			std::cout << "the fps is: " << static_cast<float>(100 / (duration.count() / 1000.0)) << std::endl;
			start = end;
		}
		// Display frame
		cv::namedWindow("RTSP Stream", cv::WINDOW_NORMAL);
		cv::imshow("RTSP Stream", img);
		cv::waitKey(1);
	}
	delete fmpeg;

}
以上是一个非常简单的拉流方式,仅可以用作一个demo,实现流的读取,如果想达到实时状态的取流和处理,需要使用多线程的方式,实现一个读取流数据的线程,将数据放入队列,同时实现一个读取流数据的线程,从队列读取数据,同时运行。
附录
实际上opencv也是可以使用ffmpeg的方式进行拉流的,只不过需要在编译opencv的时候,指定ffmpeg版本。