1.首先我们得有AndroidStudio编译工具如果没有,可以在官网下载:https://developer.android.google.cn/studio/index.html
2.AndroidStudio中要有Kotlin插件如图: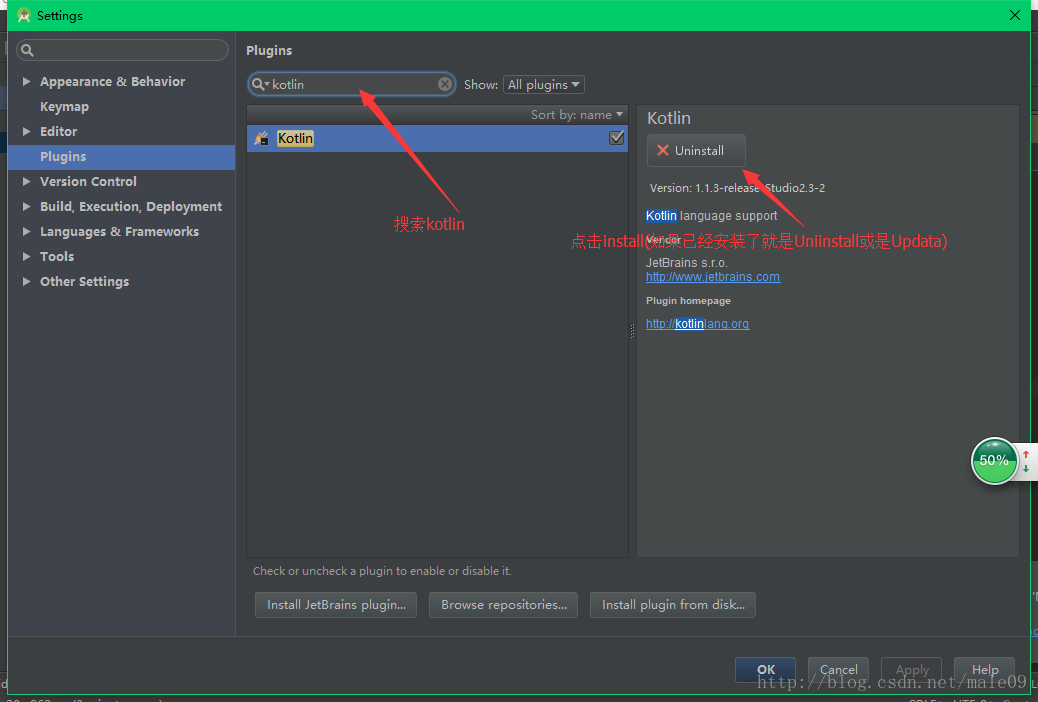
如果还有不会下在插件的同学们请查看我前面的博客:Android Studio安装插件– http://blog.csdn.net/male09/article/details/68952350
或者还想了解更多的插件请查看我的:Android Studio插件整理–
http://blog.csdn.net/male09/article/details/68952466
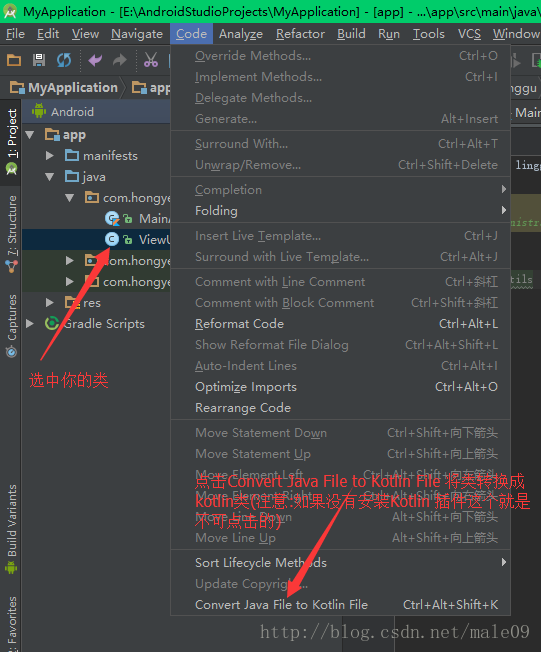
3.有了插件我们就得把我的的Activity转换成Kotlin
如图:
4.配置Kotlin:
自动配置有这几个方法:
a.如果是第一次工具会提示你是否需要配置 如图:
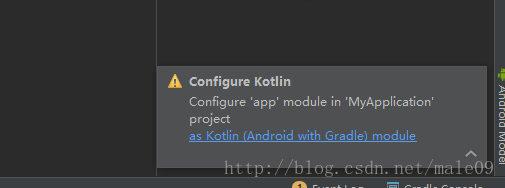
你可以点击配置:
b.双击Shift配置Kotlin:

手动配置Kkotlin:
a.在工程的build.gradle中配置
1.ext.kotlin_version = ‘你的kotlin配置版本’
2.classpath “org.jetbrains.kotlin:kotlin-gradle-plugin:$kotlin_version”
//你通过kotlin直接赋值到xml文件中要配置一下
3. classpath “org.jetbrains.kotlin:kotlin-android-extensions:$kotlin_version”
下面是我的所有配置仅供参考:
// Top-level build file where you can add configuration options common to all sub-projects/modules.

buildscript {
    ext.kotlin_version = '1.1.3-2'
    repositories {
        jcenter()
    }
    dependencies {
        classpath 'com.android.tools.build:gradle:2.3.3'
        classpath "org.jetbrains.kotlin:kotlin-gradle-plugin:$kotlin_version"
        classpath "org.jetbrains.kotlin:kotlin-android-extensions:$kotlin_version"
        // NOTE: Do not place your application dependencies here; they belong
        // in the individual module build.gradle files
    }
}

allprojects {
    repositories {
        jcenter()
    }
}

task clean(type: Delete) {
    delete rootProject.buildDir
}
b.在工程的build.gradle中配置
1.apply plugin: ‘kotlin-android’
2.apply plugin: ‘kotlin-android-extensions’
3.compile “org.jetbrains.kotlin:kotlin-stdlib-jre7:$kotlin_version”
下面的代码仅供参考:
apply plugin: 'com.android.application'
apply plugin: 'kotlin-android'
apply plugin: 'kotlin-android-extensions'

android {
    compileSdkVersion 26
    buildToolsVersion "26.0.0"
    defaultConfig {
        applicationId "com.hongye.linggu.myapplication"
        minSdkVersion 15
        targetSdkVersion 26
        versionCode 1
        versionName "1.0"
        testInstrumentationRunner "android.support.test.runner.AndroidJUnitRunner"
    }
    buildTypes {
        release {
            minifyEnabled false
            proguardFiles getDefaultProguardFile('proguard-android.txt'), 'proguard-rules.pro'
        }
    }
}

dependencies {
    compile fileTree(dir: 'libs', include: ['*.jar'])
    androidTestCompile('com.android.support.test.espresso:espresso-core:2.2.2', {
        exclude group: 'com.android.support', module: 'support-annotations'
    })
    compile 'com.android.support:appcompat-v7:26.+'
    compile 'com.android.support.constraint:constraint-layout:1.0.2'
    testCompile 'junit:junit:4.12'
    compile "org.jetbrains.kotlin:kotlin-stdlib-jre7:$kotlin_version"
}
repositories {
    mavenCentral()
}
注意:
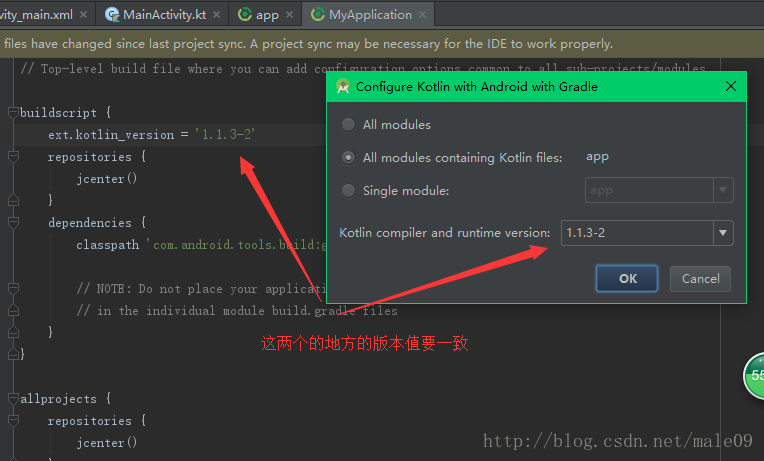
应该是一个意思,不是一致呵呵
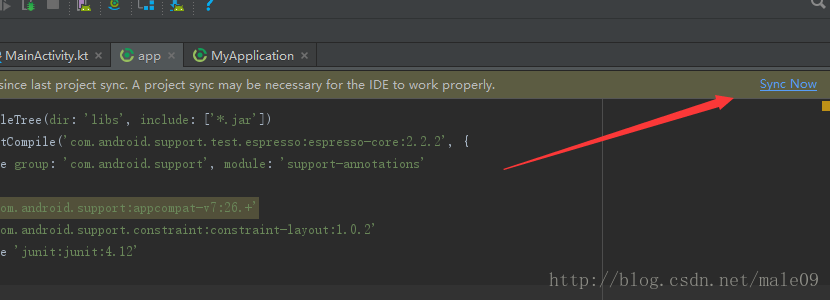
5.点击同步,或是使用快捷键:Control + Alt + Y 了解AndroidStudio快捷键请查看我的博客:官方定义AndroidStudio默认快捷键大全–
http://blog.csdn.net/male09/article/details/52004065
OK已经配置完成,可以放心编写代码:
实例:
import android.support.v7.app.AppCompatActivity
import android.os.Bundle
import android.widget.Toast
import kotlinx.android.synthetic.main.activity_main.*

class MainActivity : AppCompatActivity() {

    override fun onCreate(savedInstanceState: Bundle?) {
        super.onCreate(savedInstanceState)
        setContentView(R.layout.activity_main)

        //直接给TextVIEW赋值
        tv_main_kotlin.text = "Kotlin赋值成功"

        btn_main_kotlin.setOnClickListener {
            showText("测试成功");

        }
    }

    fun showText(text:String,timeLen:Int = Toast.LENGTH_SHORT){
        Toast.makeText(this,text,timeLen).show();
    }
}
运行试试:
是还是看不懂可以免费下载查看我上传的资源文件:http://download.csdn.net/detail/male09/9892383