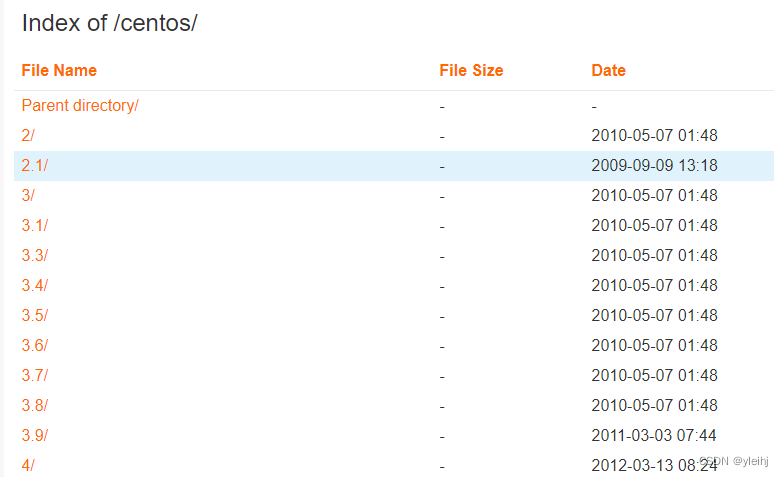
1:部署的目的是做一个类似下面开源镜像网站,把一些软件或者资料上传到服务器上面,减少用户在互联网上下载资料,提高效率,减少病毒。
2:使用下面的命令配置本机的IP地址主机名等信息。后期使用IP地址进行访问。
nmtui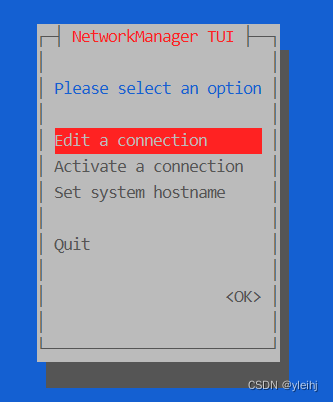
3:安装httpd。
yum install httpd -y
4:启动服务并加入开机自启。
 systemctl start httpd
 systemctl enable httpd
5:放行80端口。
firewall-cmd --permanent --add-port=80/tcp --zone=public
firewall-cmd --reload
或者关闭防火墙。
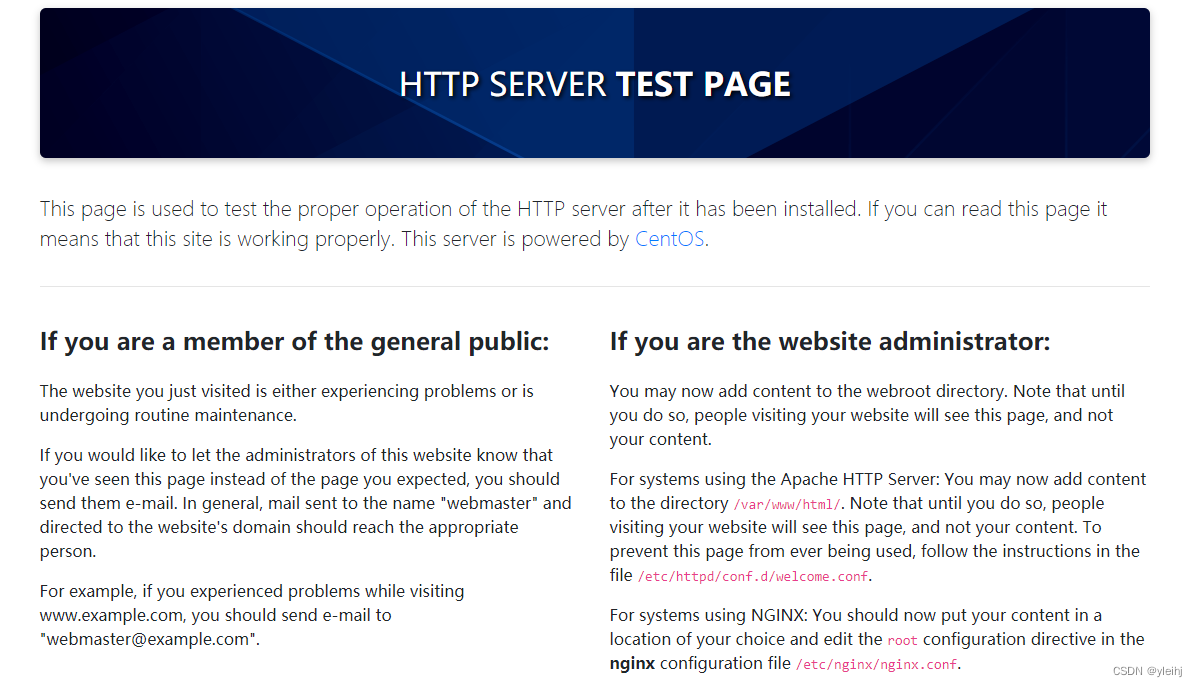
systemctl disable --now firewalld6:在浏览器中输入本机的IP地址,看到下面的网页说明安装已经成功。
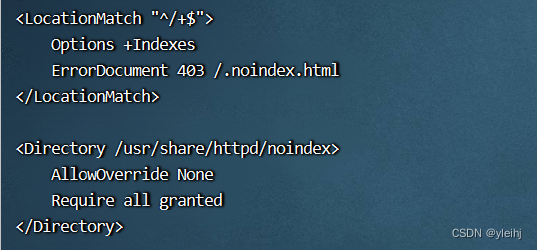
7:编辑配置文件,改成目录的方式。
vi /etc/httpd/conf.d/welcome.conf 8:把Indexes前面改成+号,表示如果没有indes.html文件的话,用目录的方式显示。
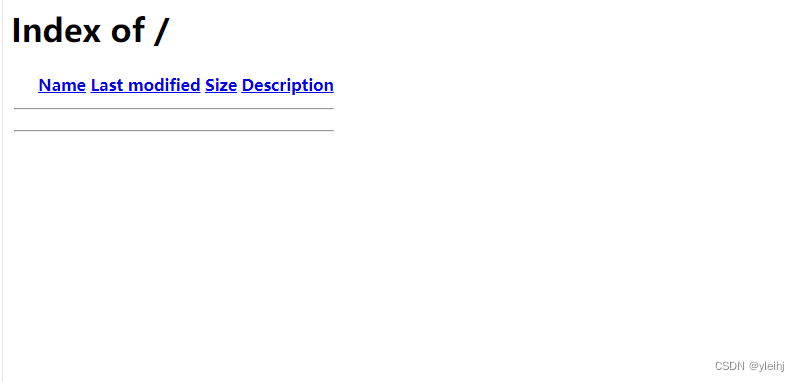
9:重启服务。
systemctl restart httpd10:再次访问网页,变成下面的页面。
11:编辑配置文件。
vi /etc/httpd/conf/httpd.conf 12:添加下面的代码,可以支持中文的名称。
IndexOptions Charset=UTF-8 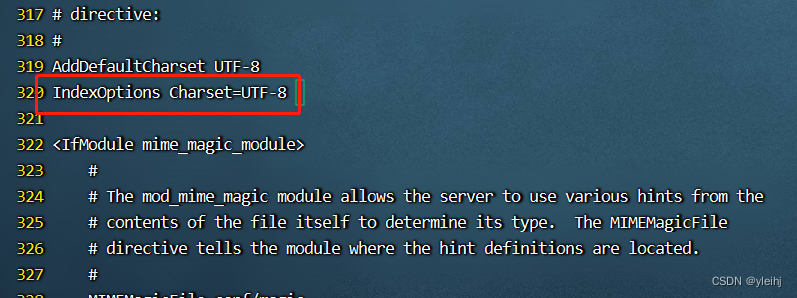
检查配置文件是否有错误。
httpd -t13:文件夹默认的位置是/var/www/html
cd /var/www/html
14:新建一个测试文件夹。
mkdir 测试
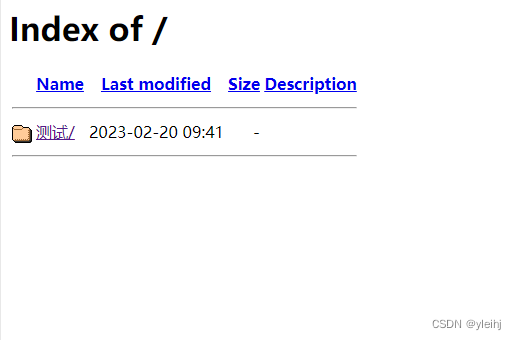
15:重启服务。
systemctl restart httpd16:再次访问网页,可以看到文件夹。
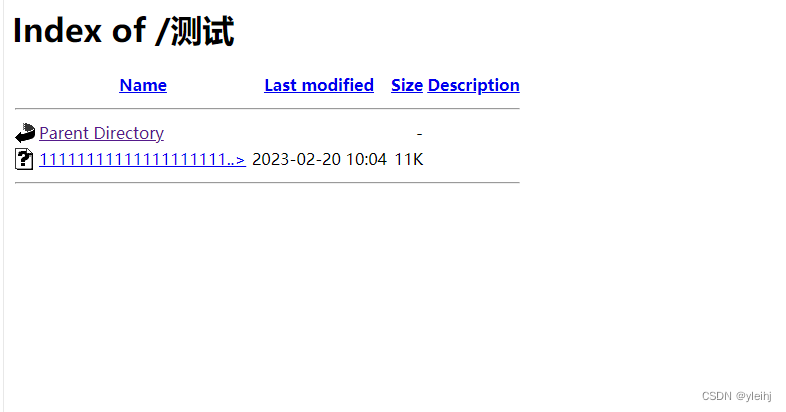
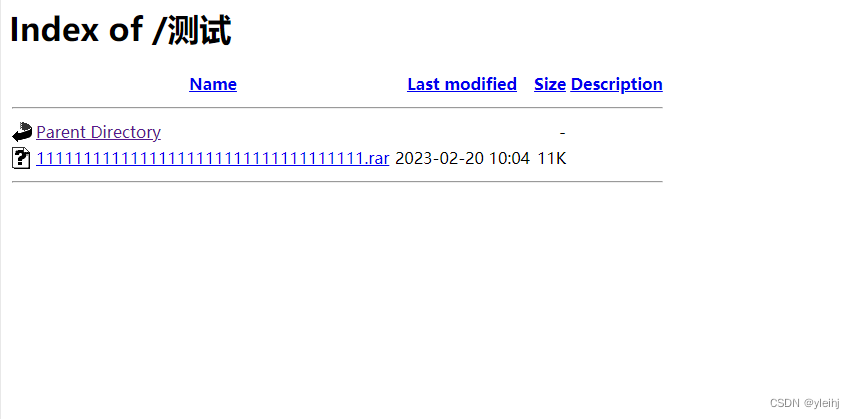
17:上传一个名字很长的文件进行测试,发现名称没有显示全。
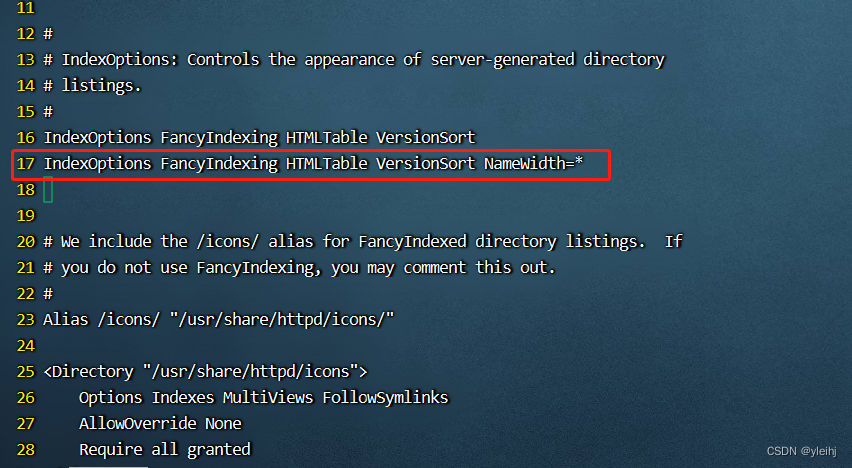
18:编辑配置文件autoindex.conf。
vi /etc/httpd/conf.d/autoindex.conf在配置文件中加入下面的代码。
IndexOptions FancyIndexing HTMLTable VersionSort NameWidth=*
19:再次重启服务。
systemctl restart httpd20:再次刷新网页,名称显示完全。
21:实际生产中有对于重要的文件夹需要加密才能访问的需求。
22:首先创建一个用户user1密码123456。创建在/etc/httpd/conf.d下面。
htpasswd -bc /etc/httpd/conf.d/.passwd user1 12345623: 之后创建用户不要加c,如果加c会删除之前创建的用户。
htpasswd -b /etc/httpd/conf.d/.passwd user2 123456
24:编辑配置文件httpd.conf。
vi /etc/httpd/conf/httpd.conf在最后加上下面的代码。
<Directory "/var/www/html/test">
	Options Indexes
	AllowOverride None
	AuthType basic
	AuthName "Please input name and password."
	AuthUserFile "/etc/httpd/conf.d/.passwd"
	Require user user1 user2
</Directory>
检查代码是否错误。
httpd -t25:在/var/www/html下面创建一个test文件夹。
mkdir /var/www/html/test26:重启服务。
systemctl restart httpd
27:在此访问网页ip/目录名的方式,会要求输入用户名和密码。
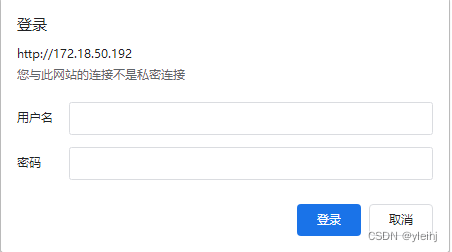
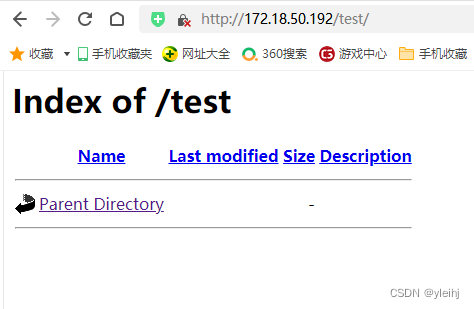
28:输入之前创建的用户名和密码,就可以进入目录了。
29:如果有问题可以访问日志查看,一个错误日志,一个是访问日志。
tail /etc/httpd/logs/error_log
tail /etc/httpd/logs/access_log