一 开启POP3/SMTP服务,生成授权码
1.1 在qq邮箱中的(设置-->账号)里面开启
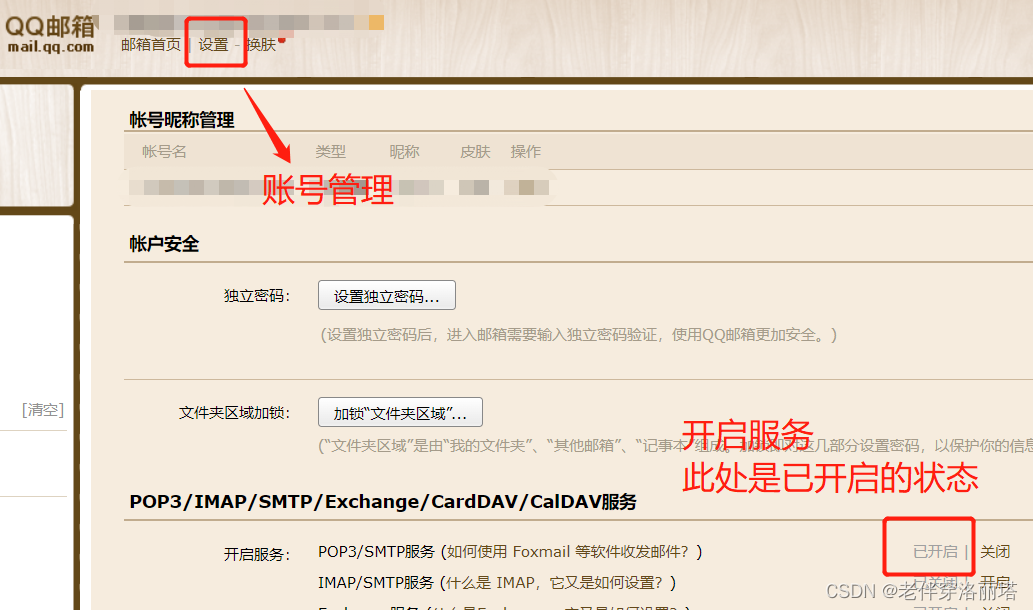
1.2 点击生成授权码(记得复制保存,待会要用到)

二 添加依赖和配置yml文件
2.1 添加依赖
<dependencies>
        <!--    邮箱    -->
        <dependency>
            <groupId>org.springframework.boot</groupId>
            <artifactId>spring-boot-starter-mail</artifactId>
        </dependency>

        <!-- redis依赖-->
        <dependency>
            <groupId>org.springframework.boot</groupId>
            <artifactId>spring-boot-starter-data-redis</artifactId>
            <version>2.6.4</version>
        </dependency>
</dependencies>
2.2 配置yml文件
spring:
  redis:
    # 改成自己redis的ip地址或服务器的ip
    host: 127.0.0.1
    port: 6379
    database: 0
    timeout: 1800000
    lettuce:
      pool:
        # 最大阻塞等待时间(负数表示没限制)
        max-active: 20
        max-wait: -1
  mail:
    #smtp服务主机
    host: smtp.qq.com
    #端口号
    port: 587
    #服务协议
    protocol: smtp
    # 编码集
    default-encoding: UTF-8
    #发送邮件的账户
    username: [email protected]
    #授权码,刚刚生成的授权码
    password: xxxxxxxxxx
    test-connection: true
    properties:
      mail:
        smtp:
          auth: true
          starttls:
            enable: true
            required: true
三 配置启动类、实体类、工具类
3.1 启动类
@SpringBootApplication(exclude = DataSourceAutoConfiguration.class)//取消数据源自动配置3.2 创建实体类ResultBean
//全局统一返回结果类
@Data
public class ResultBean<T> implements Serializable {
    private static final long serialVersionUID = 1L;

    private int code = ResponseStatus.OK.getCode();

    /**
     * 响应消息
     * */
    private String msg = ResponseStatus.OK.getMsg();
    /**
     * 响应中的数据
     * */
    private T data;

    private ResultBean() {

    }

    private ResultBean(ResponseStatus ResponseStatus) {
        this.code = ResponseStatus.getCode();;
        this.msg = ResponseStatus.getMsg();
    }

    private ResultBean(T data) {
        this.data = data;
    }

    /**
     * 业务处理成功,无数据返回
     * */
    public static ResultBean ok() {
        return new ResultBean();
    }

    /**
     * 业务处理成功,有数据返回
     * */
    public static <T> ResultBean ok(T data) {
        return new ResultBean(data);
    }

    /**
     * 未知异常
     * */
    public static ResultBean fail() {
        return new ResultBean(ResponseStatus.FAIL);
    }

    /**
     * 系统错误
     * */
    public static ResultBean error() {
        return new ResultBean(ResponseStatus.ERROR);
    }
}
3.3 创建实体类ResponseStatus
@Getter
@AllArgsConstructor
@NoArgsConstructor
public enum ResponseStatus {

        /**
         * 请求成功
         * */
        OK(200,"SUCCESS!"),

        /**
         * 未知异常
         * */
        FAIL(400,"未知异常!"),

        /**
             * 拒绝访问
             * */
        ERROR(500,"拒绝访问!");


    private int code;
    private String msg;
}
3.4 创建工具类EmailUtil
@Component
public class EmailUtil {
    @Value("${spring.mail.username}")
    private String from;
    @Autowired
    TemplateEngine templateEngine;
    @Autowired
    private JavaMailSender sender;

    public boolean sendMail(String to,String subject, String body){
        if (to.equals("")||to==null){
            return false;
        }
        //构建标准的简单邮件信息
        //发送人和xml保持一致
        SimpleMailMessage m=new SimpleMailMessage();
        //发送人
        m.setFrom(from);
        //接收人
        m.setTo(to);
        //邮件标题
        m.setSubject(subject);
        //内容
        m.setText(body);
        sender.send(m);//发送邮件
        System.out.println("发送成功!");
        return true;
    }


    //html太长,使用模板来发送复杂的邮件
    public void sendMail(String to, String subject, String templateName, Map<String,Object> params, List<File> files){
        Context context=new Context();
        context.setVariables(params);
        String htmlBody = templateEngine.process("mail.html", context);
        sendMail(to,subject,htmlBody,files);
    }
}
3.5 创建工具类RedisConfig
@Configuration
public class RedisConfig {
    @Bean(name = "redisTemplate")
    public RedisTemplate<String, Object> redisTemplate(RedisConnectionFactory redisConnectionFactory) {
        RedisTemplate<String, Object> template = new RedisTemplate<>();
        //申明template,设置connectionFactory为redisConnectionFactory
        template.setConnectionFactory(redisConnectionFactory);
        // jackson序列化所有的类
        Jackson2JsonRedisSerializer Jackson2JsonRedisSerializer = new Jackson2JsonRedisSerializer(Object.class);
        // jackson序列化的一些配置
        ObjectMapper om = new ObjectMapper();
        om.setVisibility(PropertyAccessor.ALL, JsonAutoDetect.Visibility.ANY);
        om.activateDefaultTyping(LaissezFaireSubTypeValidator.instance);
        Jackson2JsonRedisSerializer.setObjectMapper(om);
        // String的序列化
        StringRedisSerializer stringSerializer = new StringRedisSerializer();

        //key采用String的序列化方式
        template.setKeySerializer(stringSerializer);
        //hash的key也采用String的序列化方式
        template.setHashKeySerializer(stringSerializer);
        //value采用jackson序列化方式
        template.setValueSerializer(Jackson2JsonRedisSerializer);
        //hash的value也采用jackson序列化方式
        template.setHashValueSerializer(Jackson2JsonRedisSerializer);
        //afterPropertiesSet方法,初始化bean的时候执行,可以针对某个具体的bean进行配置
        template.afterPropertiesSet();
        return template;
    }
}
四 创建控制层EmailController
/**
* key 邮箱号 value 验证码
*/
@RestController
@RequestMapping("v1/demo/email")
public class MailController {
@Autowired
private EmailUtil emailUtil;
@Autowired
private RedisTemplate<String, String> redisTp;
//发送邮箱验证码
@GetMapping("send/{email}")
public ResultBean sendE(@PathVariable String email) {
//如果从redis获取不到,生成新的6位验证码
int code = (int) ((Math.random()*9+1)*100000);
System.out.println("后台生成的--code--:"+code);
//调用service方法,通过邮箱服务进行发送
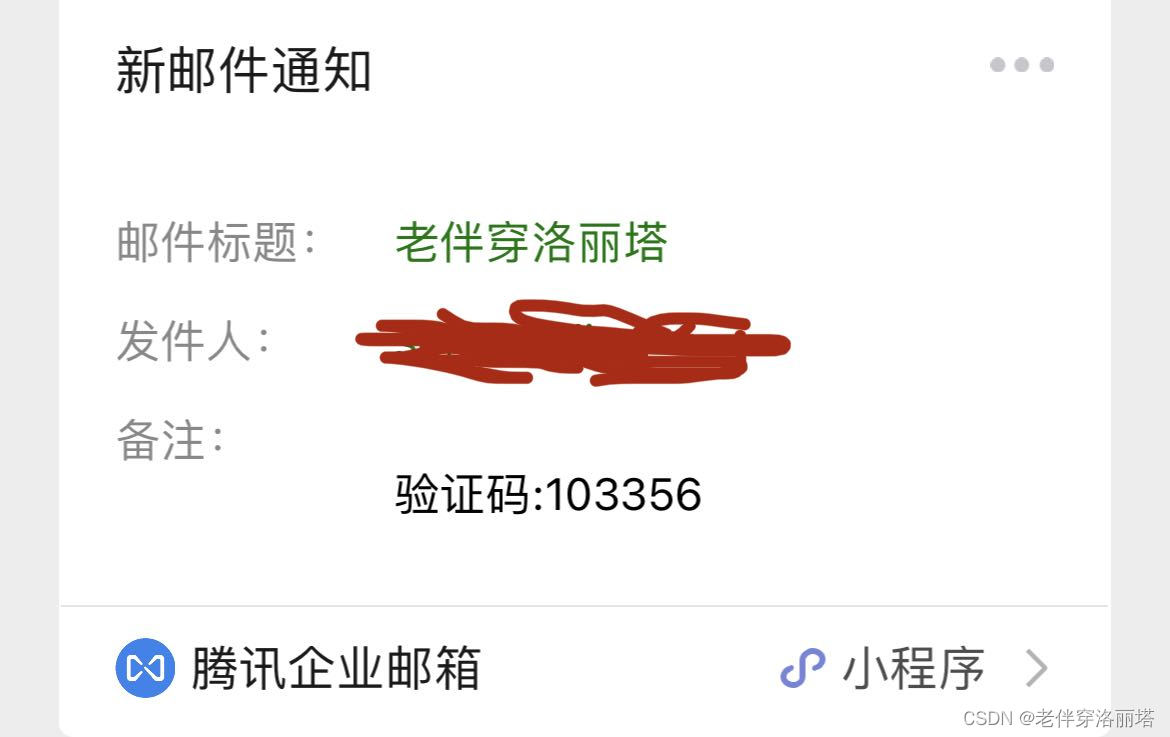
boolean res=emailUtil.sendMail(email,"老伴穿洛丽塔","验证码:"+code);
//生成验证码放到redis里面,设置有效时间为5分钟
if (res) {
redisTp.opsForValue().set(email, String.valueOf(code), 5, TimeUnit.MINUTES);
System.out.println("redis获取的--stand--:"+redisTp.opsForValue().get(email));
return ResultBean.ok(redisTp.opsForValue().get(email));
} else {
return ResultBean.error();
}
}
}
五 测试
5.1 请求路径
http://localhost:8080/v1/demo/email/send/[email protected]
5.2 返回的数据


5.3 接收到的邮件