sh1107和ssd1306是几乎一模一样的,直接看ssd1306的驱动示例即可(1107资料很少)
首先是参考官方设备树添加节点 - Sipeed Wiki
和博客:全志F1C100s使用记录:u-boot & linux & rootfs 编译与烧录测试(基于SD卡)_全志linux系统烧录_Naisu Xu的博客-CSDN博客
添加i2c的设备树,编译出来进行替换(SD卡中已经有系统的可能需要全部编译uboot,linux,buildroot然后重新写入SD分区中,参考上面的博客)
编译过程中可能会出现各种问题,我把我遇到的问题全记录下来了,可参考专栏的其他内容。
编译和写入SD卡后,启动系统,默认root,无密码。我们在连接好屏幕之后(具体引脚看设备树中添加的,我的sda是e12,scl是e11)
ls /dev/i2c*
如果有i2c***就说明添加好了,然后使用
i2cdetect -y -r 0# i2cdetect -y -r 0
0 1 2 3 4 5 6 7 8 9 a b c d e f
00: -- -- -- -- -- -- -- -- -- -- -- -- --
10: -- -- -- -- -- -- -- -- -- -- -- -- -- -- -- --
20: -- -- -- -- -- -- -- -- -- -- -- -- -- -- -- --
30: -- -- -- -- -- -- -- -- -- -- -- -- 3c -- -- --
40: -- -- -- -- -- -- -- -- -- -- -- -- -- -- -- --
50: -- -- -- -- -- -- -- -- -- -- -- -- -- -- -- --
60: -- -- -- -- -- -- -- -- -- -- -- -- -- -- -- --
70: -- -- -- -- -- -- -- --
最后的0就是dev下的i2c几
这里可以看到连接的设备地址是0x3c,后面我们写数据和命令就使用这个地址。
这里i2c发送数据使用的i2cset ,读取用i2cget(暂时用于测试)

i2cset -y 0 0x3c 0x00 0xff
i2cset -y 0 0x3c 0x40 0xff
第一句就是写 命令(第一个是设备地址,第二个是oled的命令或者数据寄存器,第三个就是要写的命令或者数据),第二句是写数据(00命令,0x40数据)
下面直接用shell运行一个初始化
vi oled.sh里面内容
i2cset -y 0 0x3c 0x00 0xae
i2cset -y 0 0x3c 0x00 0x00
i2cset -y 0 0x3c 0x00 0x10
i2cset -y 0 0x3c 0x00 0x20
i2cset -y 0 0x3c 0x00 0x81
i2cset -y 0 0x3c 0x00 0x6f
i2cset -y 0 0x3c 0x00 0xa0
i2cset -y 0 0x3c 0x00 0xc0
i2cset -y 0 0x3c 0x00 0xa4
i2cset -y 0 0x3c 0x00 0xa6
i2cset -y 0 0x3c 0x00 0xd5
i2cset -y 0 0x3c 0x00 0x91
i2cset -y 0 0x3c 0x00 0xd9
i2cset -y 0 0x3c 0x00 0x22
i2cset -y 0 0x3c 0x00 0xdb
i2cset -y 0 0x3c 0x00 0x3f
i2cset -y 0 0x3c 0x00 0xa8
i2cset -y 0 0x3c 0x00 0x4f
i2cset -y 0 0x3c 0x00 0xd3
i2cset -y 0 0x3c 0x00 0x68
i2cset -y 0 0x3c 0x00 0xdc
i2cset -y 0 0x3c 0x00 0x00
i2cset -y 0 0x3c 0x00 0xad
i2cset -y 0 0x3c 0x00 0x8a
i2cset -y 0 0x3c 0x00 0xaf
i2cset -y 0 0x3c 0x00 0xaf
具体命令参考32的程序
    OLED_WR_Byte(0xAE,OLED_CMD); /*display off*/
	OLED_WR_Byte(0x00,OLED_CMD); /*set lower column address*/
	OLED_WR_Byte(0x10,OLED_CMD); /*set higher column address*/
	OLED_WR_Byte(0x20,OLED_CMD); /* Set Memory addressing mode (0x20/0x21) */
	OLED_WR_Byte(0x81,OLED_CMD); /*contract control*/
	OLED_WR_Byte(0x6f,OLED_CMD); /*b0*/
	OLED_WR_Byte(0xA0,OLED_CMD); /*set segment remap*/
	OLED_WR_Byte(0xC0,OLED_CMD); /*Com scan direction*/
	OLED_WR_Byte(0xA4,OLED_CMD); /*Disable Entire Display On (0xA4/0xA5)*/
	OLED_WR_Byte(0xA6,OLED_CMD); /*normal / reverse*/
	OLED_WR_Byte(0xD5,OLED_CMD); /*set osc division*/
	OLED_WR_Byte(0x91,OLED_CMD);
	OLED_WR_Byte(0xD9,OLED_CMD); /*set pre-charge period*/
	OLED_WR_Byte(0x22,OLED_CMD);
	OLED_WR_Byte(0xdb,OLED_CMD); /*set vcomh*/
	OLED_WR_Byte(0x3f,OLED_CMD);
	OLED_WR_Byte(0xA8,OLED_CMD); /*multiplex ratio*/
	OLED_WR_Byte(0x4F,OLED_CMD); /*duty = 1/80*/
	OLED_WR_Byte(0xD3,OLED_CMD); /*set display offset*/
	OLED_WR_Byte(0x68,OLED_CMD); /*18*/
	OLED_WR_Byte(0xdc,OLED_CMD); /*Set Display Start Line*/
	OLED_WR_Byte(0x00,OLED_CMD);
	OLED_WR_Byte(0xad,OLED_CMD); /*set charge pump enable*/
	OLED_WR_Byte(0x8a,OLED_CMD); /*Set DC-DC enable (a=0:disable; a=1:enable) */
	OLED_WR_Byte(0xAF,OLED_CMD); /*display ON*/
然后保存退出,给与执行权限
chmod +x oled.sh,然后运行
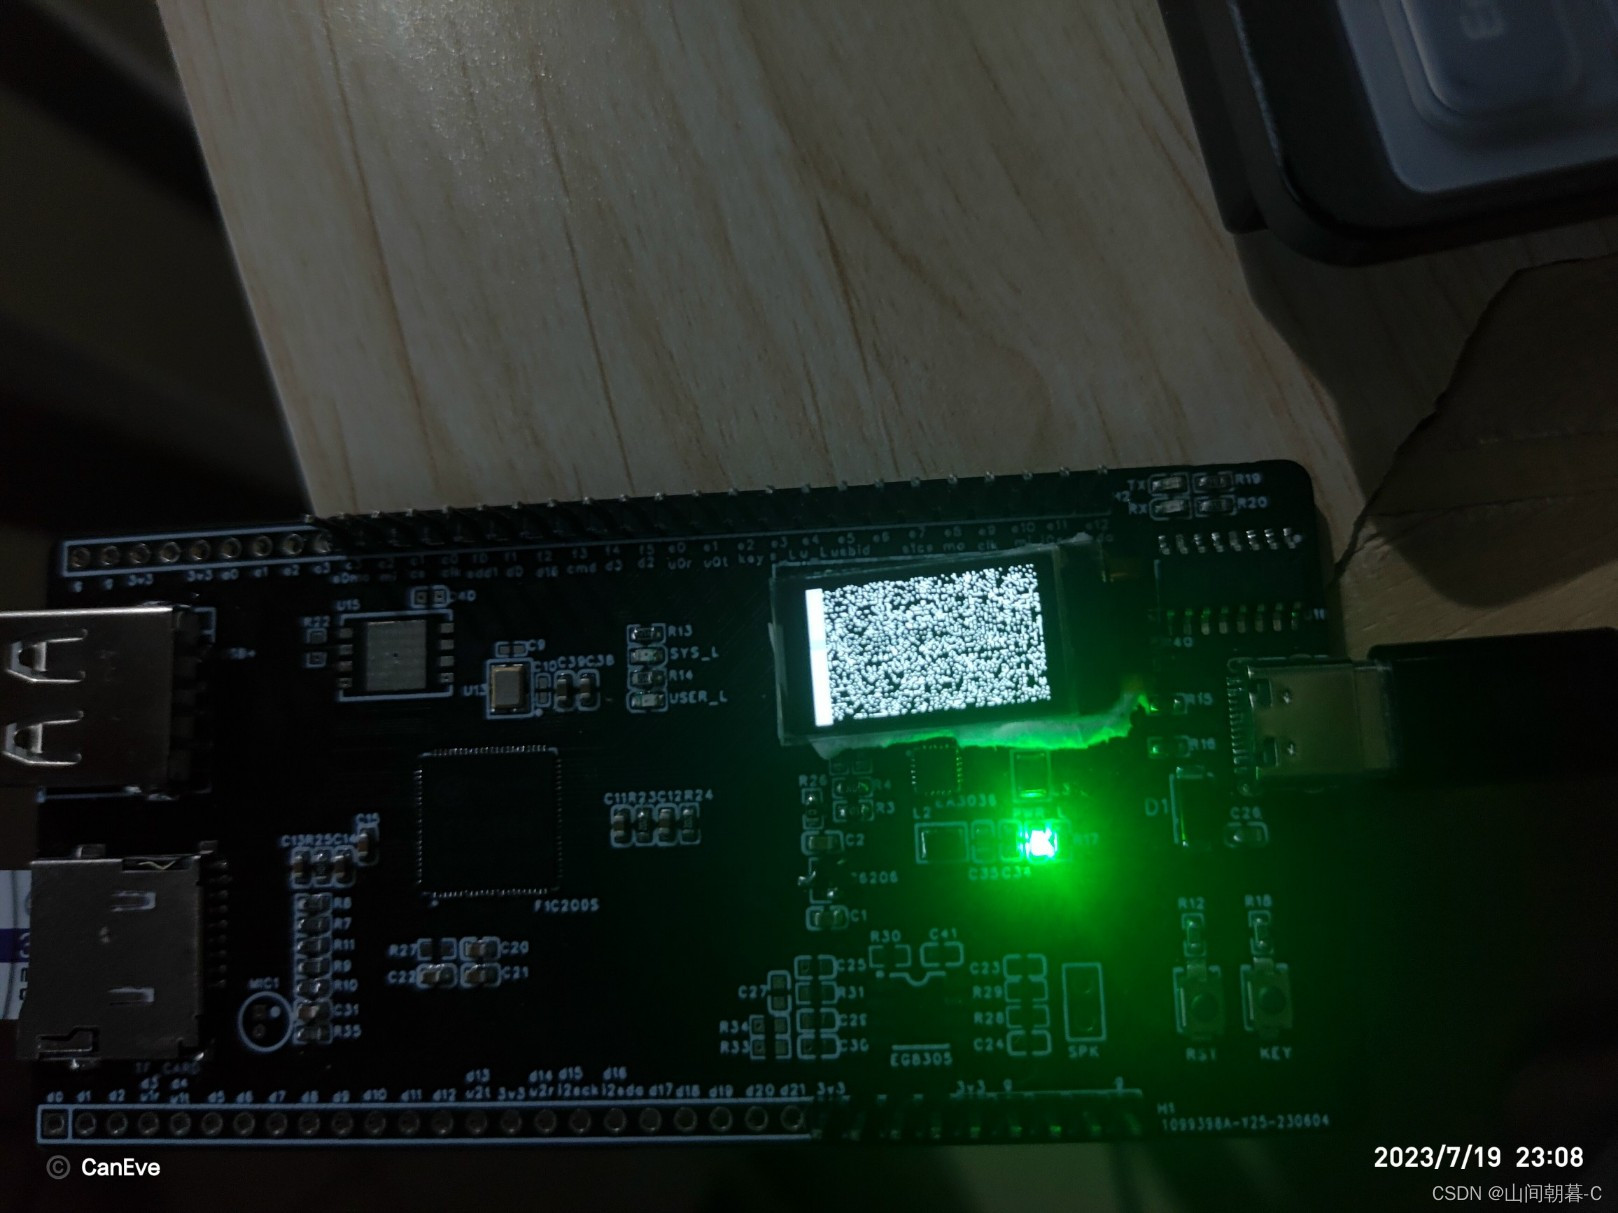
./oled.sh就可以看到oled屏幕点亮了,只是屏幕是画的,因为还没有给显示的数据,
参考stm32的程序
	for(i=0;i<8;i++)
	{
		OLED_WR_Byte (0xb0+i,OLED_CMD);    //设置页地址(0~7)
		OLED_WR_Byte (0x00,OLED_CMD);      //设置显示位置—列低地址
		OLED_WR_Byte (0x10,OLED_CMD);      //设置显示位置—列高地址
		for(n=0;n<128;n++)OLED_WR_Byte(0,OLED_DATA);
	} //更新显示
只需要设置好地址后,直接给数据就行,cmd就是
i2cset -y 0 0x3c 0x00 xxx 等等
data就是
i2cset -y 0 0x3c 0x40 0xff
0xff是白色,0就是黑色。
这里只是简单的将OLED点亮,但 并没有显示字符,显示字符就需要用C语言写显示程序了。