目录
一、前言
前提:IDEA、JDK
创建好Maven项目
二、修改pom.xml
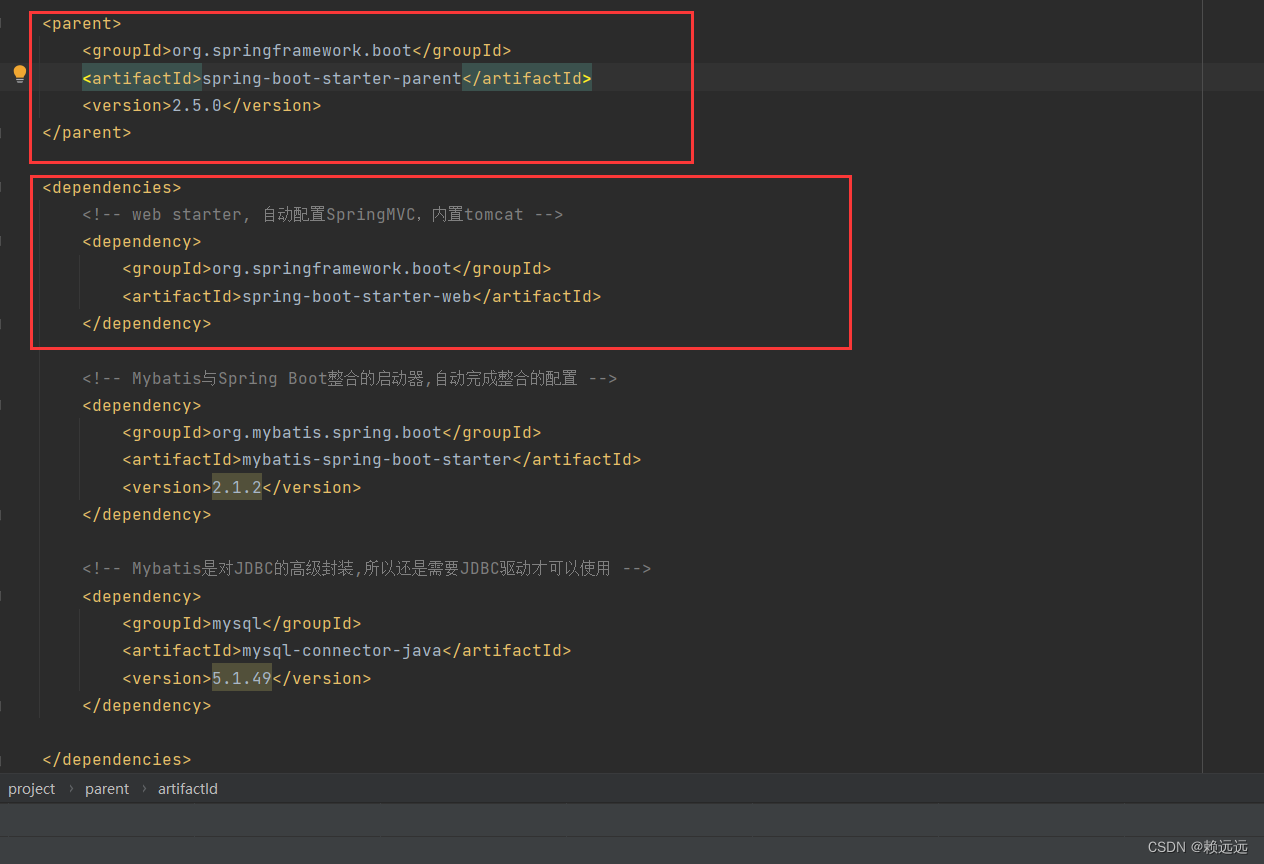
    <parent>
        <groupId>org.springframework.boot</groupId>
        <artifactId>spring-boot-starter-parent</artifactId>
        <version>2.5.0</version>
    </parent>


        <!-- web starter, 自动配置SpringMVC,内置tomcat -->
        <dependency>
            <groupId>org.springframework.boot</groupId>
            <artifactId>spring-boot-starter-web</artifactId>
        </dependency>
三、编写启动主程序
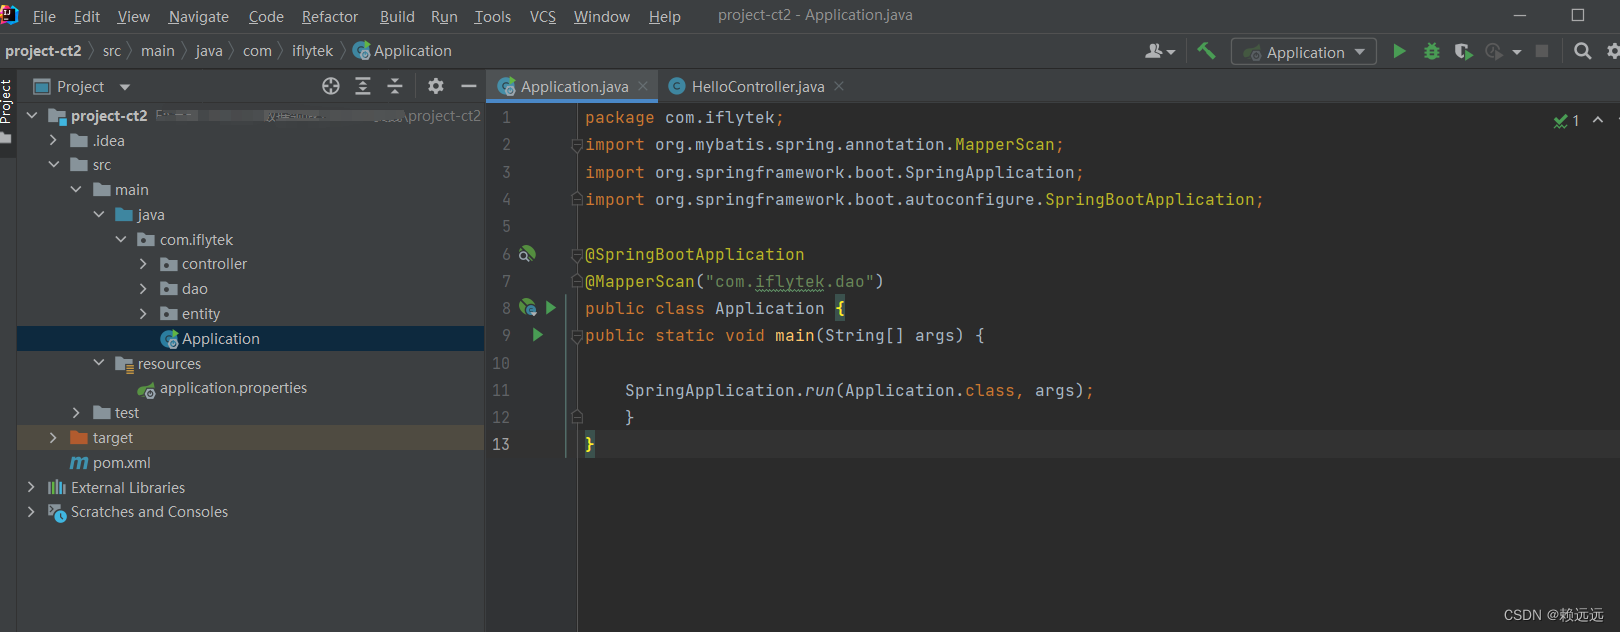
package com.iflytek;
import org.mybatis.spring.annotation.MapperScan;
import org.springframework.boot.SpringApplication;
import org.springframework.boot.autoconfigure.SpringBootApplication;
@SpringBootApplication
@MapperScan("com.iflytek.dao")
public class Application {
public static void main(String[] args) {
SpringApplication.run(Application.class, args);
}
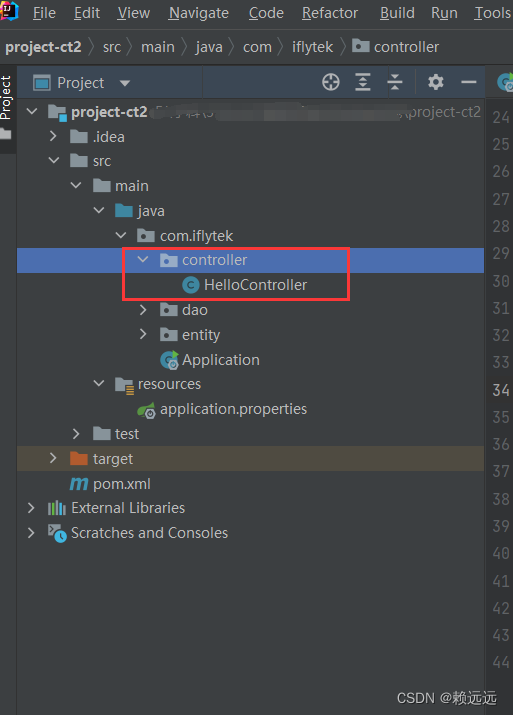
}四、创建Controller
package com.sodaopen.controller;
import org.springframework.web.bind.annotation.GetMapping;
import org.springframework.web.bind.annotation.RestController;
@RestController
public class HelloController {
@GetMapping("/hello")
public String sayHello(){
return "Hello, Spring Boot";
}
}
四、运行
1.运行主程序(效果图):
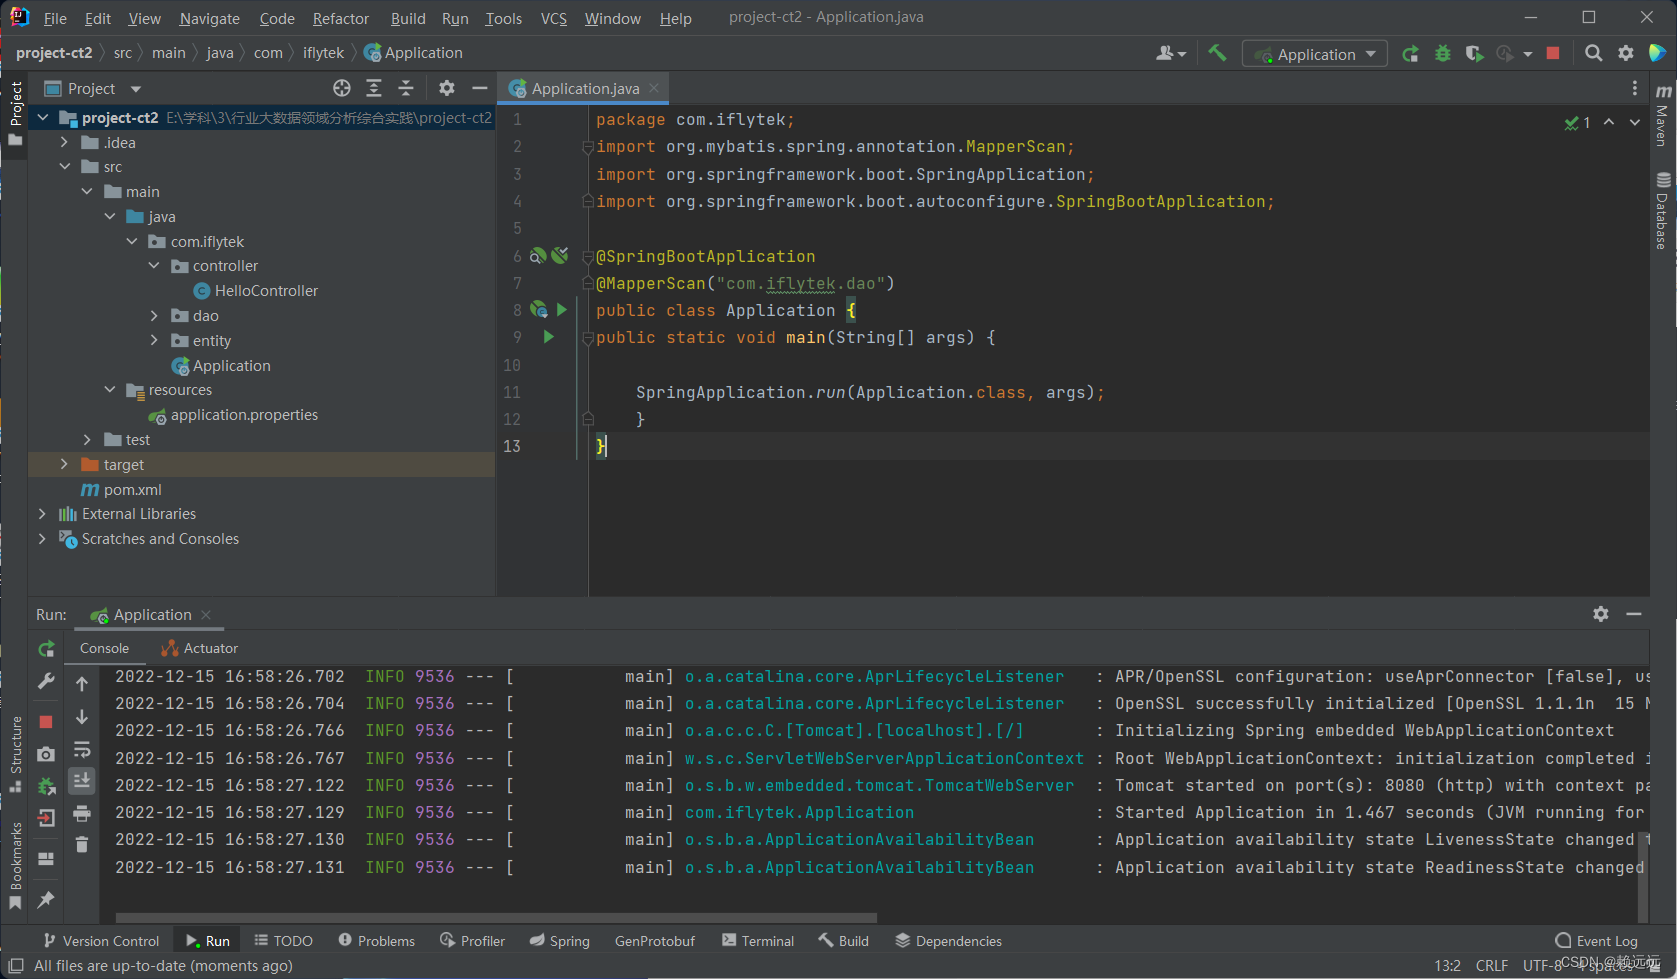
2.在浏览器中输入TomCat网址:
http://localhost:8080/hello最终运行效果:

总结
部署完成SpringBoot项目后,后续便可以继续构建更多Spring程序了。
SpringBoot项目在与其他的项目部署在一起时,SpringBoot主程序启动有可能会失败,常见的原因是在pom文件中的其他依赖可能会与SpringBoot的依赖冲突,解决方法:在新的项目重新部署Spring项目,或者将其他无关依赖先注释掉。