home
AirSim是一款基于虚幻引擎的无人机、汽车等模拟器(我们现在也有一个实验性的Unity版本)。它是开源的,跨平台的,支持使用流行的飞行控制器(如PX4和ArduPilot)进行软件在环模拟,并支持使用PX4进行物理和视觉逼真模拟的硬件在环模拟。它是作为一个虚幻插件开发的,可以简单地放入任何虚幻环境中。类似地,我们有一个Unity插件的实验版本。
我们的目标是将AirSim开发为人工智能研究的平台,以试验用于自动驾驶汽车的深度学习、计算机视觉和强化学习算法。为此,AirSim还公开了api,以平台独立的方式检索数据和控制车辆。
build环境
window(其他不做说明)
一、安装虚幻引擎,确保4.27为当前版本。
二、安装AirSim
- 安装Visual Studio 2022。确保选择Desktop Development with c++ and Windows 10 SDK 10.0.19041(默认选择),并在安装VS 2022时,在“个别组件”选项卡下选择最新的.NET Framework SDK
- 启动 Developer Command Prompt for VS 2022
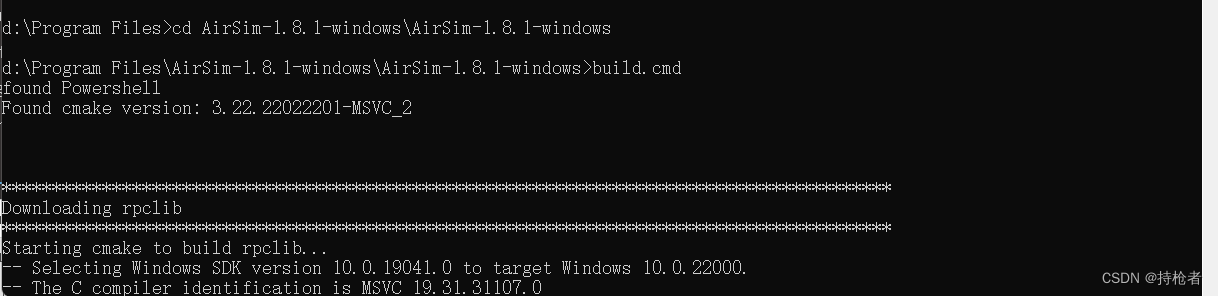
- 克隆repo: git克隆https://github.com/Microsoft/AirSim.git,通过cd AirSim进入AirSim目录
注意:在C盘中安装AirSim通常不是一个好主意。这可能会导致脚本失败,并且需要在管理模式下运行VS。相反,克隆在不同的驱动器,如D或E。
- 运行在cmd命令行build.cmd。这将在unreal\Plugins 文件夹下创建项目所需文件
三、创建虚幻项目
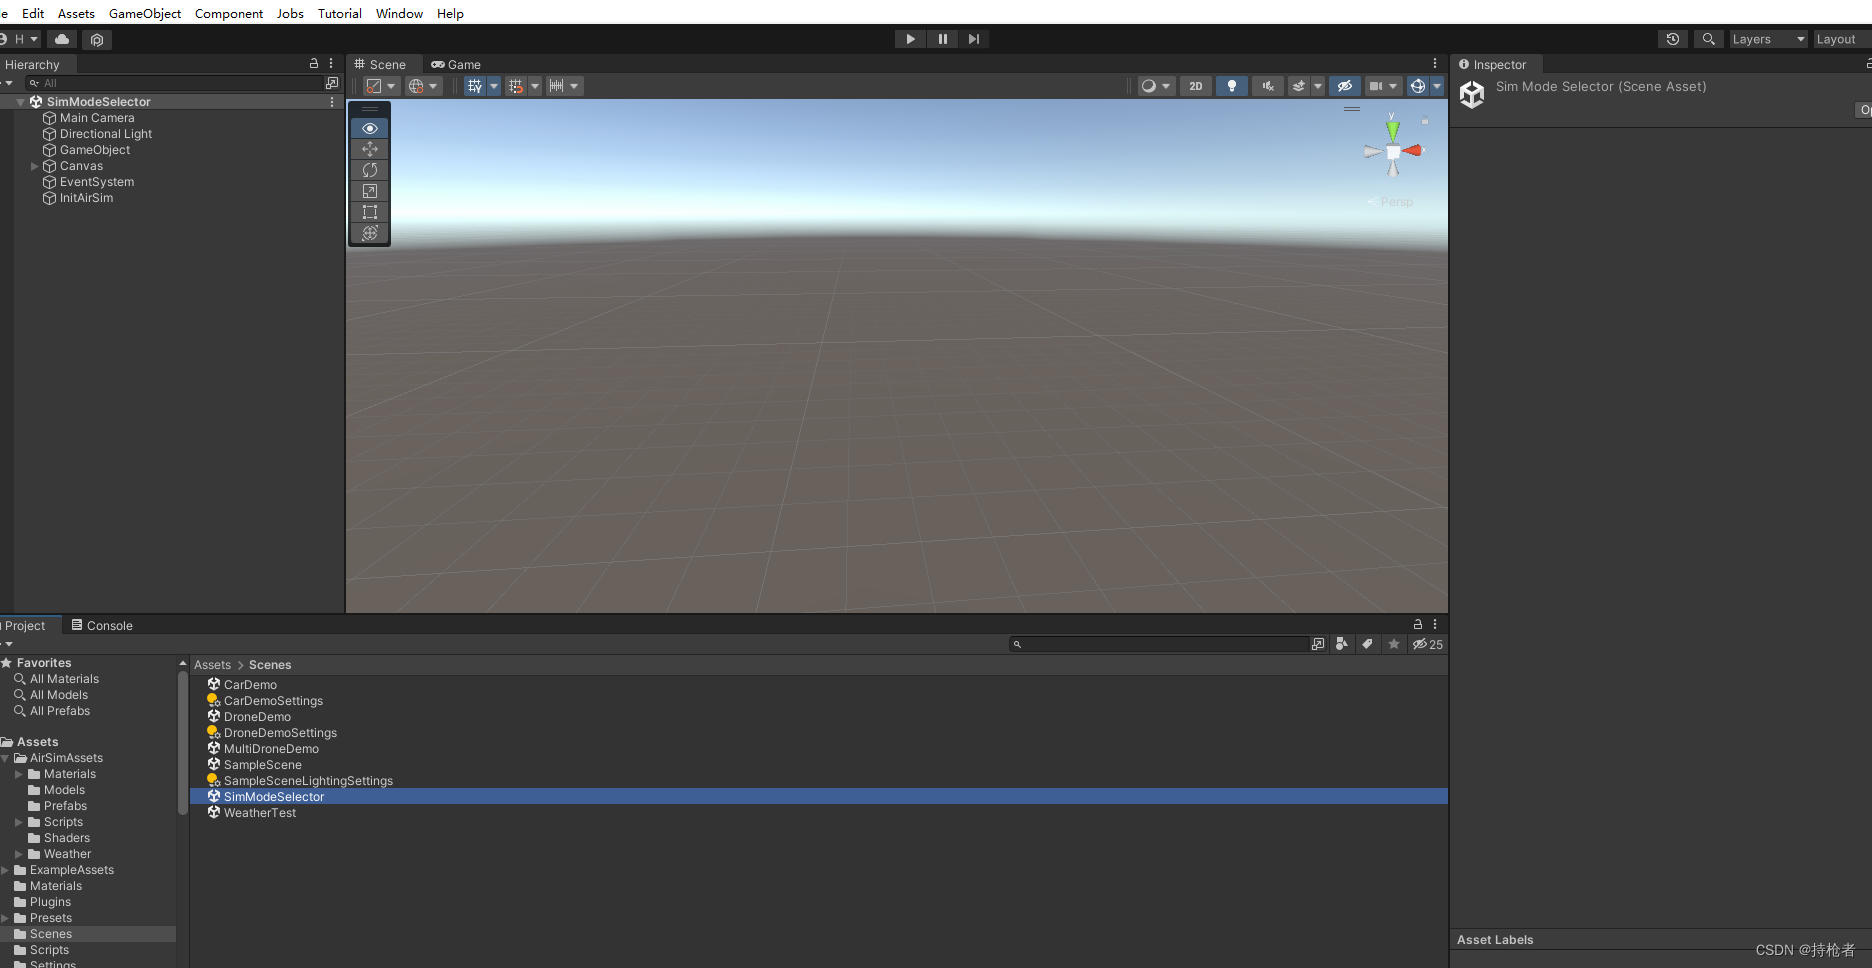
最后,您将需要一个虚幻项目,为您的工具托管环境。在构建你的第一个环境之前,如果你还没有这样做,请确保关闭并重新打开虚幻引擎和Epic Games启动器。重新启动Epic Games启动器后,它会要求您将项目文件扩展名与虚幻引擎关联,单击“立即修复”来修复它。AirSim有一个内置的“块环境”,你可以使用,或者你可以创建自己的。
四创建远程控制
如果你想手动飞行就需要一个远程控制,远程控制设置细节:
当然,你也可以使用api进行编程控制,或者使用所谓的计算机视觉模式来使用键盘移动。
1.RC设置默认配置
默认情况下,AirSim使用simple_flight作为它的飞行控制器,它通过USB端口连接到RC到你的电脑。
注意:简单飞行模式 是AirSim 有一个名为 simple_flight 的内置飞行控制器,它是默认使用的。您无需执行任何操作即可使用或配置它。AirSim 还支持PX4作为高级用户的另一个飞行控制器。未来,我们还计划支持ROSFlight和Hackflight。
详细说明及配置见:https://microsoft.github.io/AirSim/simple_flight/
你可以使用XBox控制器或FrSky Taranis X9D Plus。注意XBox 360的控制器不够精确,如果你想要更多真实世界的体验,不建议使用。
2. AirSim Api(使用遥控器条件不允许时)
AirSim 公开 API,因此您可以通过编程方式与模拟中的车辆进行交互。您可以使用这些 API 来检索图像、获取状态、控制车辆等。
注意:对于汽车官方文档中只有汽车的键盘控制,没有飞机键盘控制,如果想要飞机被控制,只能自己写套控制触发脚本,或者使用他给的python或者c++的api控制,进行模拟飞行。
主要介绍:Python方式
要求安装Anaconda 和Python 3.5 以上版本
在创建的虚拟环境下,安装两个库(或者在cmd进入虚拟环境中使用pip安装或者在pycharm引擎中安装)
pip install msgpack-rpc-python

pip install airsim
创建虚拟环境的过程可见虚拟环境创建文章
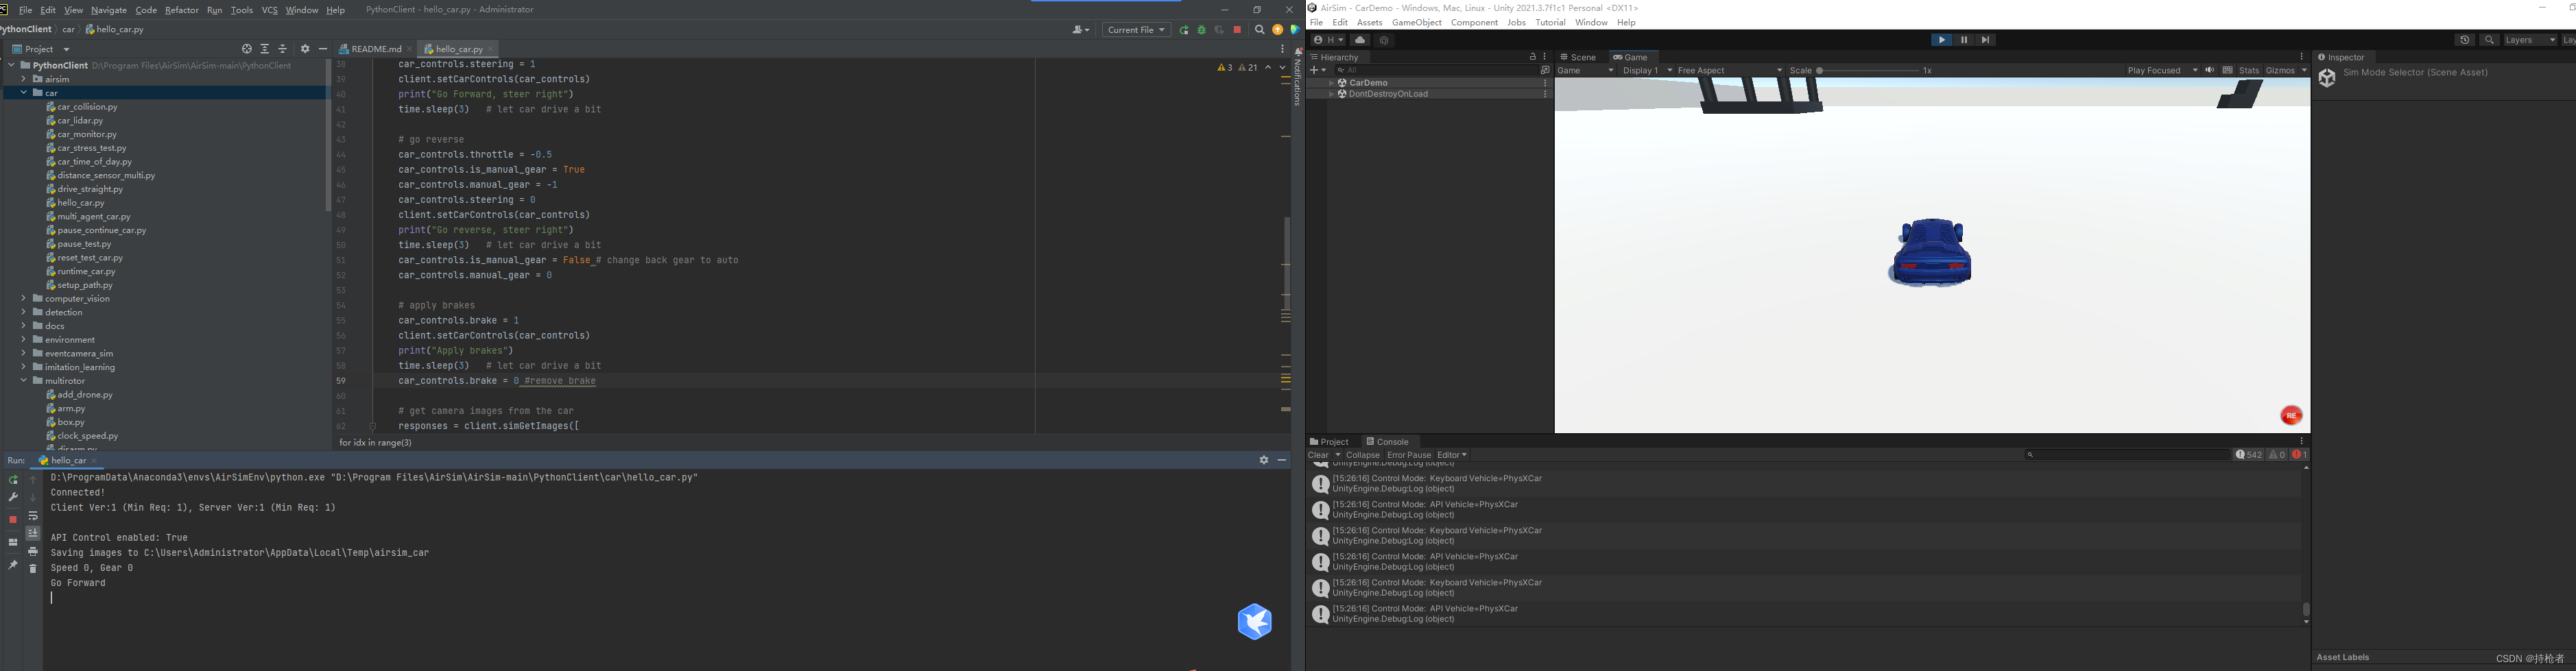
控制car的python脚本:
# ready to run example: PythonClient/car/hello_car.py
import airsim
import time

# connect to the AirSim simulator
client = airsim.CarClient()
client.confirmConnection()
client.enableApiControl(True)
car_controls = airsim.CarControls()

while True:
    # get state of the car
    car_state = client.getCarState()
    print("Speed %d, Gear %d" % (car_state.speed, car_state.gear))

    # set the controls for car
    car_controls.throttle = 1
    car_controls.steering = 1
    client.setCarControls(car_controls)

    # let car drive a bit
    time.sleep(1)

    # get camera images from the car
    responses = client.simGetImages([
        airsim.ImageRequest(0, airsim.ImageType.DepthVis),
        airsim.ImageRequest(1, airsim.ImageType.DepthPlanar, True)])
    print('Retrieved images: %d', len(responses))

    # do something with images
    for response in responses:
        if response.pixels_as_float:
            print("Type %d, size %d" % (response.image_type, len(response.image_data_float)))
            airsim.write_pfm('py1.pfm', airsim.get_pfm_array(response))
        else:
            print("Type %d, size %d" % (response.image_type, len(response.image_data_uint8)))
            airsim.write_file('py1.png', response.image_data_uint8)
控制模拟四旋翼飞行器
# ready to run example: PythonClient/multirotor/hello_drone.py
import airsim
import os

# connect to the AirSim simulator
client = airsim.MultirotorClient()
client.confirmConnection()
client.enableApiControl(True)
client.armDisarm(True)

# Async methods returns Future. Call join() to wait for task to complete.
client.takeoffAsync().join()
client.moveToPositionAsync(-10, 10, -10, 5).join()

# take images
responses = client.simGetImages([
    airsim.ImageRequest("0", airsim.ImageType.DepthVis),
    airsim.ImageRequest("1", airsim.ImageType.DepthPlanar, True)])
print('Retrieved images: %d', len(responses))

# do something with the images
for response in responses:
    if response.pixels_as_float:
        print("Type %d, size %d" % (response.image_type, len(response.image_data_float)))
        airsim.write_pfm(os.path.normpath('/temp/py1.pfm'), airsim.get_pfm_array(response))
    else:
        print("Type %d, size %d" % (response.image_type, len(response.image_data_uint8)))
        airsim.write_file(os.path.normpath('/temp/py1.png'), response.image_data_uint8)
五.在运行ue4或者unity插件后进行基本场景测试:
-
点击play
-
运行pycharm中的hello car.py模拟文件
-ue4或者unity中选择car,即可观察汽车被程序所控制
同理飞机的效果图如图:
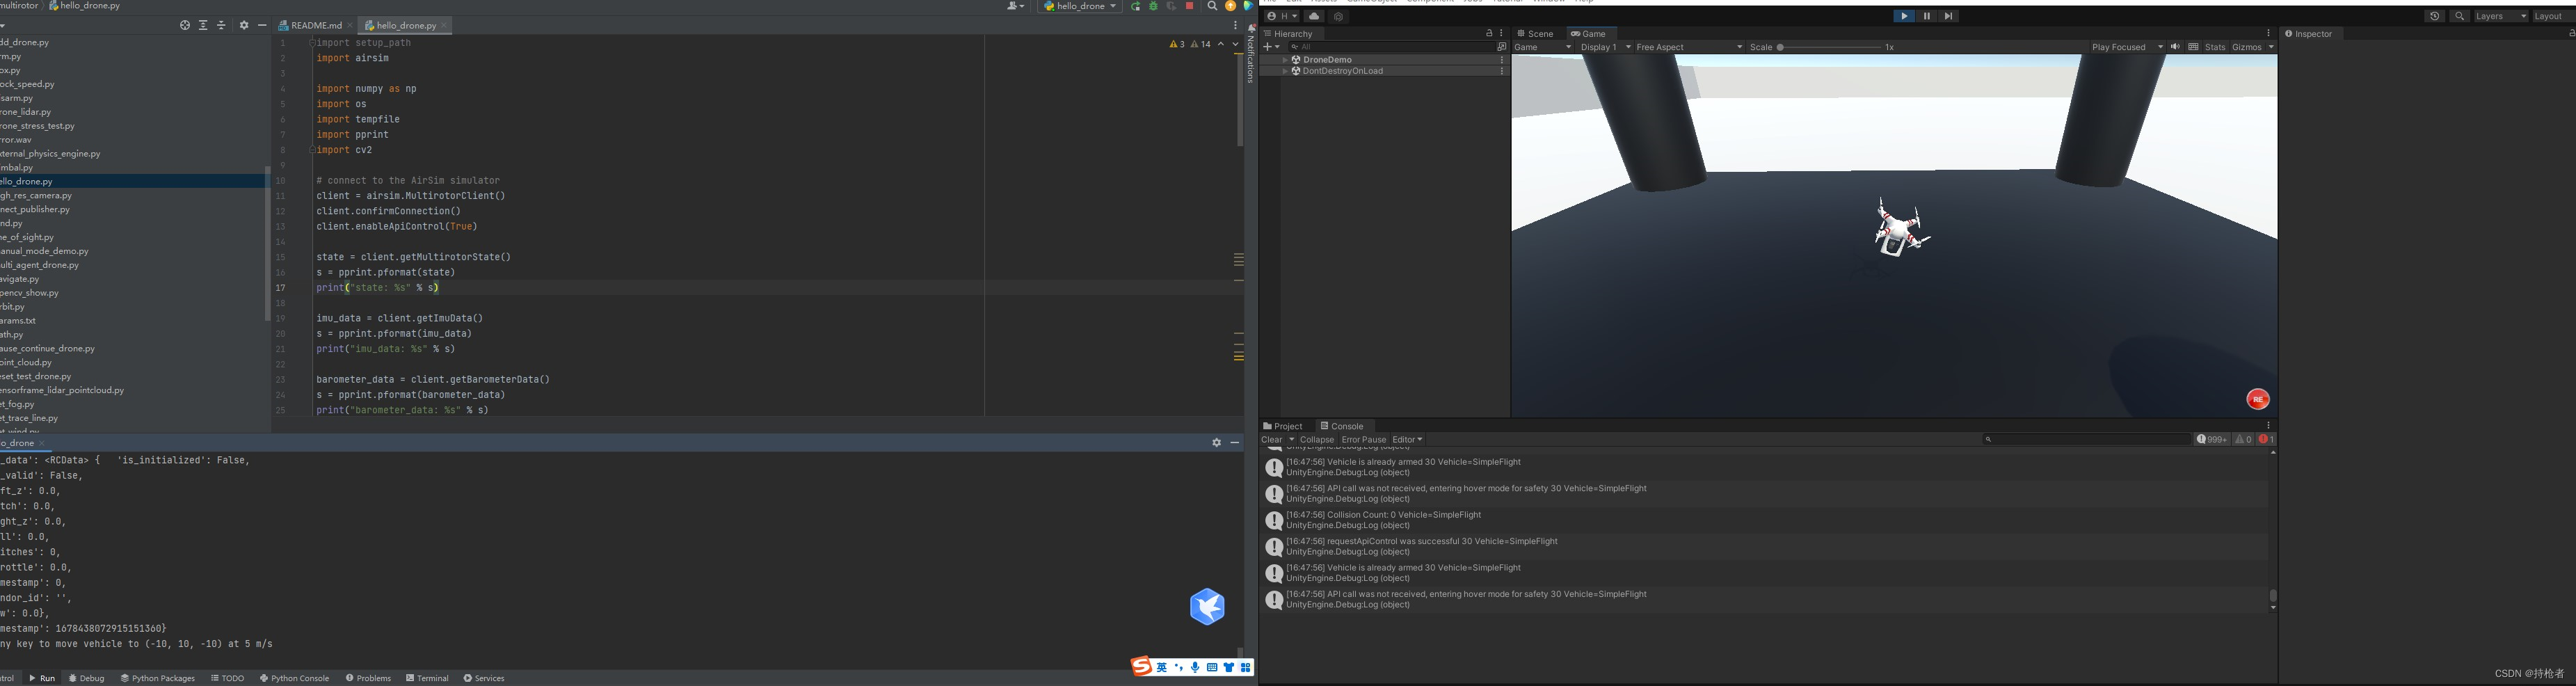
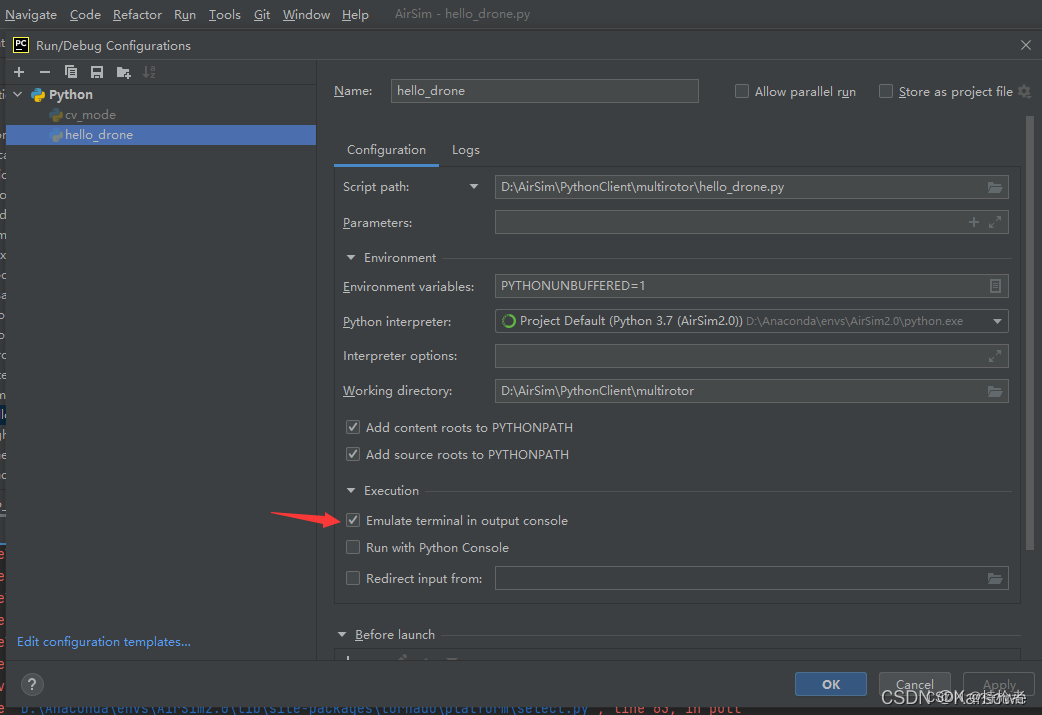
注意:hello_drone代码部分卡在airsim.wait_key(‘Press any key to takeoff’) 在pycharm中无法触发,需要进行如下图的配置,才能在run界面触发。

c++方式:略
总体官方案例能跑起来就是完成了第一步。
接下来会有很多章,来记录和解决诸多问题(此处主要用unity作为前端模拟器,ue后期转换问题会有统计)