主题模式
主题模式结构图:

主题模式实际上就是一种模糊匹配的模式,可以将routingKey以模糊匹配的方式去进行转发。
可以使用*或#来表示:
*:任意的一个单词。#:0个或多个单词。
-
定义配置类。
import org.springframework.amqp.core.Binding; import org.springframework.amqp.core.BindingBuilder; import org.springframework.amqp.core.Exchange; import org.springframework.amqp.core.ExchangeBuilder; import org.springframework.amqp.core.Queue; import org.springframework.beans.factory.annotation.Qualifier; import org.springframework.context.annotation.Bean; import org.springframework.context.annotation.Configuration; /** * RabbitMQ配置类 */ @Configuration public class RabbitMqConfig { /** * 定义交换机,可以很多个 * @return 交换机对象 */ @Bean public Exchange topicExchange(){ return ExchangeBuilder.topicExchange("amq.topic").build(); } /** * 定义消息队列 * @return 消息队列对象 */ @Bean public Queue topicQueue(){ return new Queue("topicQueue"); } /** * 定义绑定关系 * @return 绑定关系 */ @Bean public Binding binding(@Qualifier("topicExchange") Exchange exchange, @Qualifier("topicQueue") Queue queue){ // 将定义的交换机和队列进行绑定 return BindingBuilder // 绑定队列 .bind(queue) // 到交换机 .to(exchange) // 使用自定义的routingKey .with("*.test.#") // 不设置参数 .noargs(); } } -
定义消费者。
import org.springframework.amqp.rabbit.annotation.Queue; import org.springframework.amqp.rabbit.annotation.RabbitListener; import org.springframework.stereotype.Component; /** * 主题队列监听器 */ @Component public class TopicListener { /** * 监听主题队列消息 */ @RabbitListener(queuesToDeclare = {@Queue("topicQueue")}) public void receiver(String message) { System.out.println("主题队列接收到消息:" + message); } } -
定义生产者。
import org.junit.jupiter.api.Test; import org.springframework.amqp.rabbit.core.RabbitTemplate; import org.springframework.beans.factory.annotation.Autowired; import org.springframework.boot.test.context.SpringBootTest; @SpringBootTest class RabbitMqSpringBootTests { /** * RabbitTemplate封装了大量的RabbitMQ操作,已经由Starter提供,因此直接注入使用即可 */ @Autowired private RabbitTemplate rabbitTemplate; /** * 生产者 */ @Test void producer() { rabbitTemplate.convertAndSend("amq.topic", "test.1", "Hello World 1"); rabbitTemplate.convertAndSend("amq.topic", "1.test", "Hello World 2"); rabbitTemplate.convertAndSend("amq.topic", "1.test.1", "Hello World 3"); } } -
启动服务。

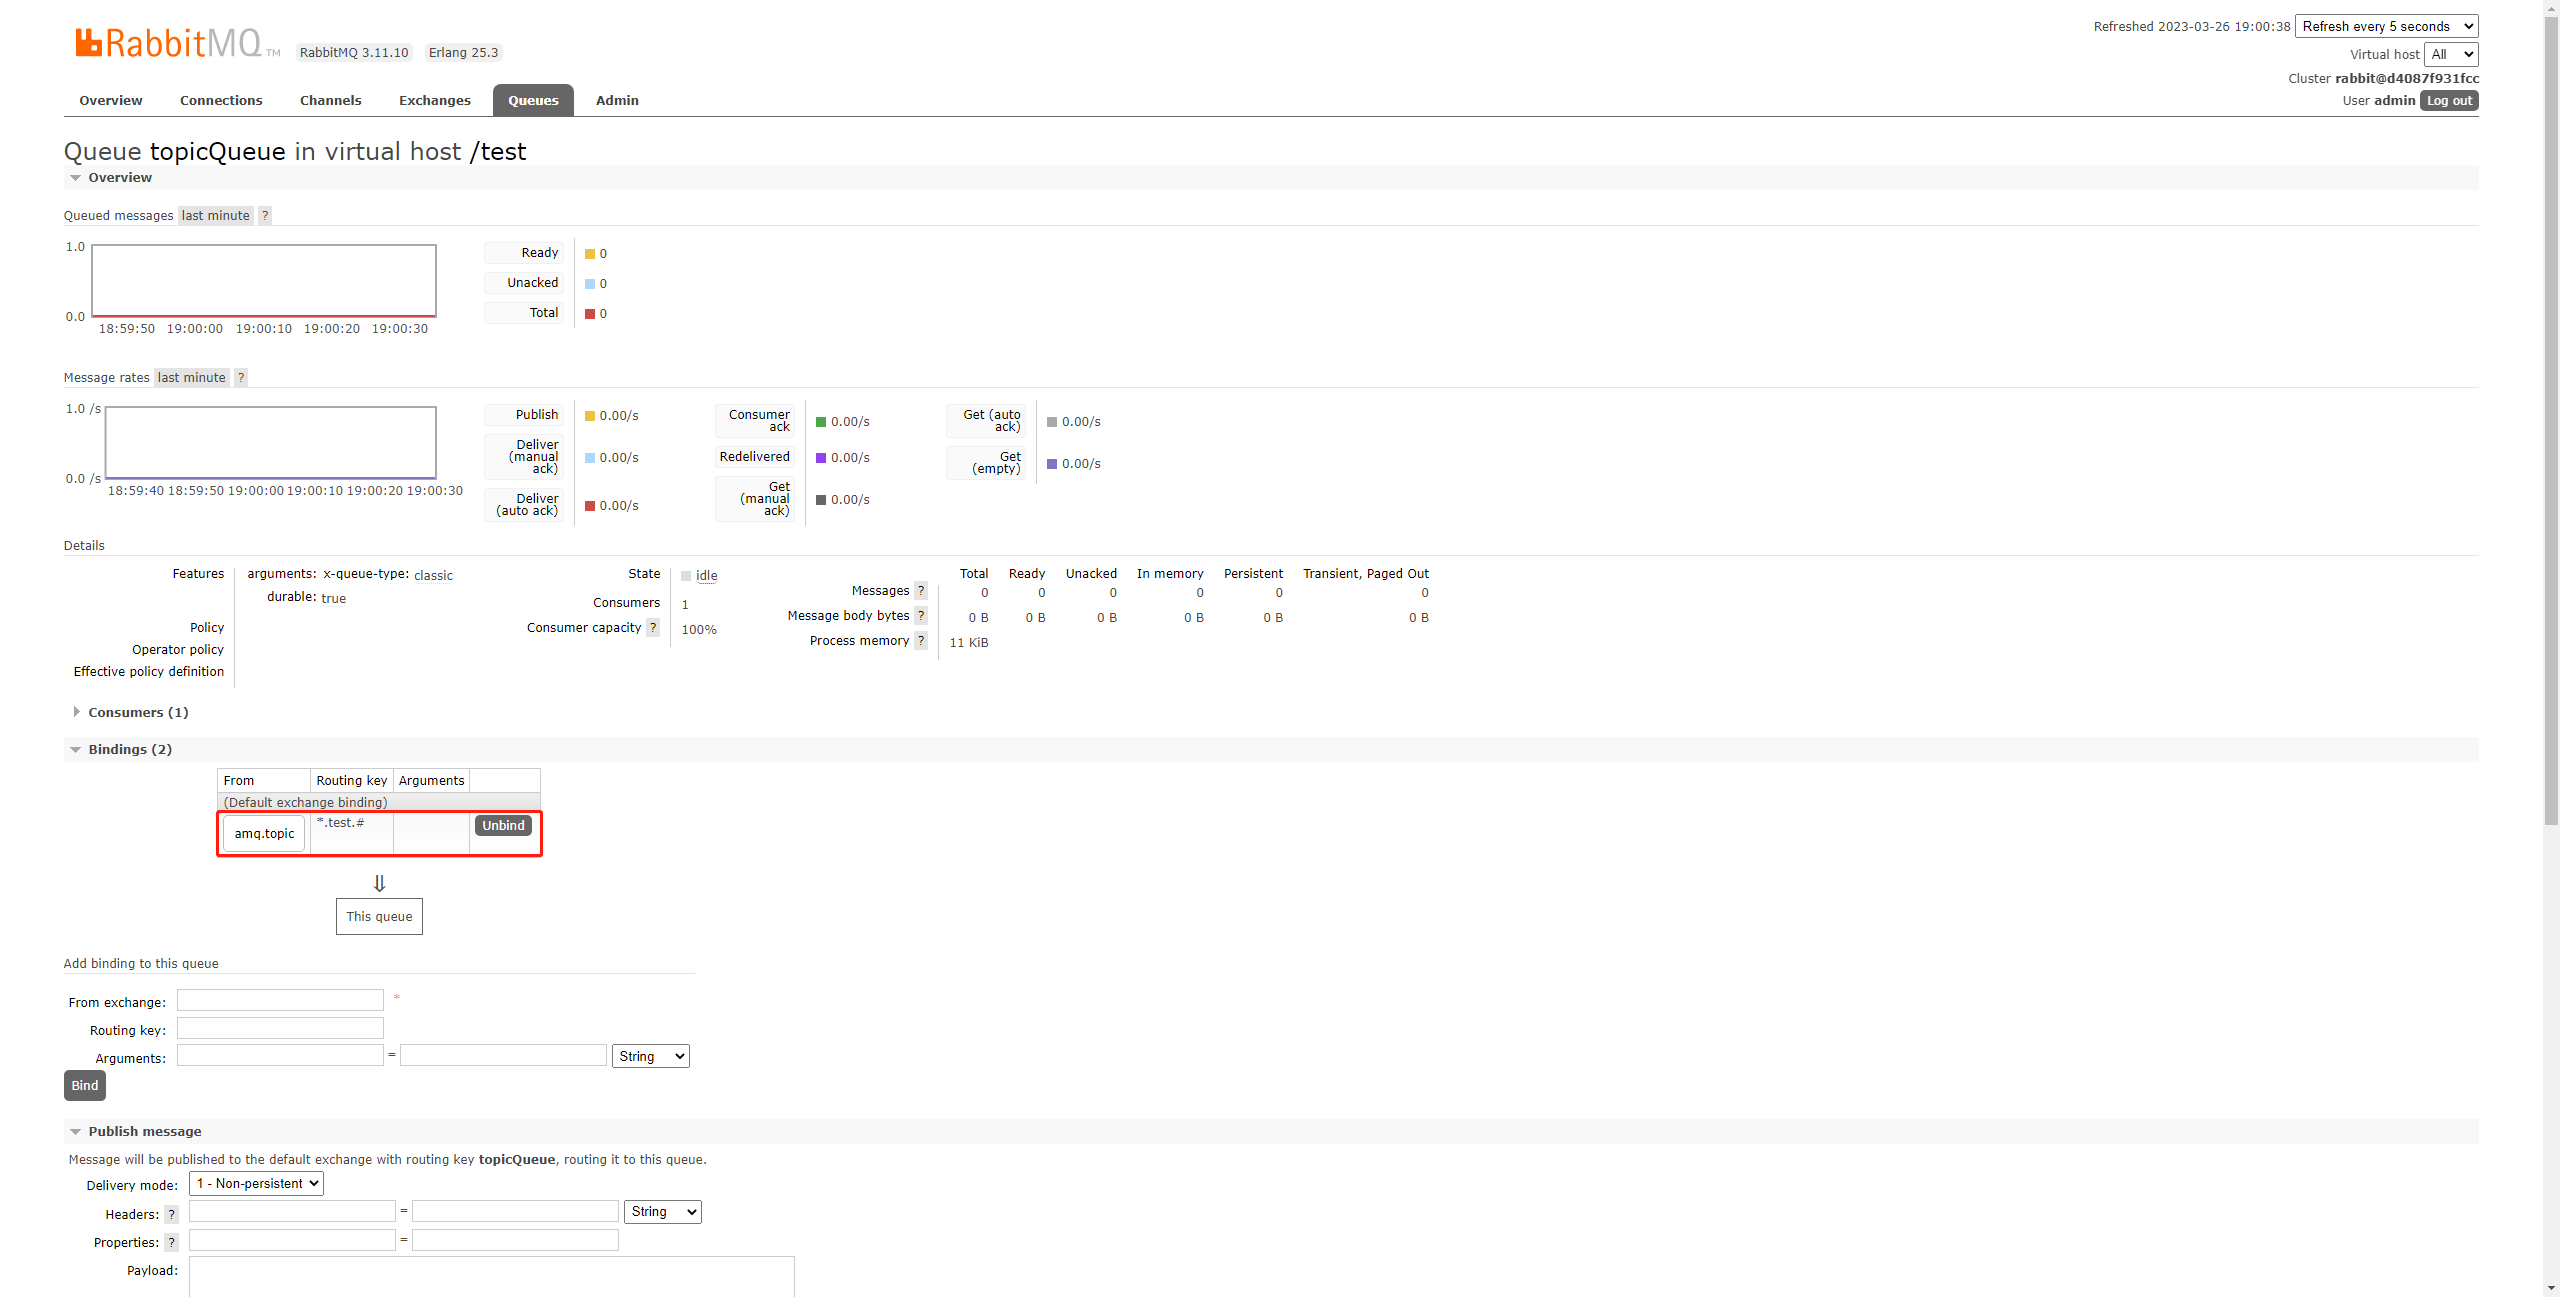
此时队列已创建。

绑定关系已设置。

启动生产者,发送消息。

可以看到,第一条消息的routingKey(
test.1)由于不匹配*.test.#而没有被队列接收到。
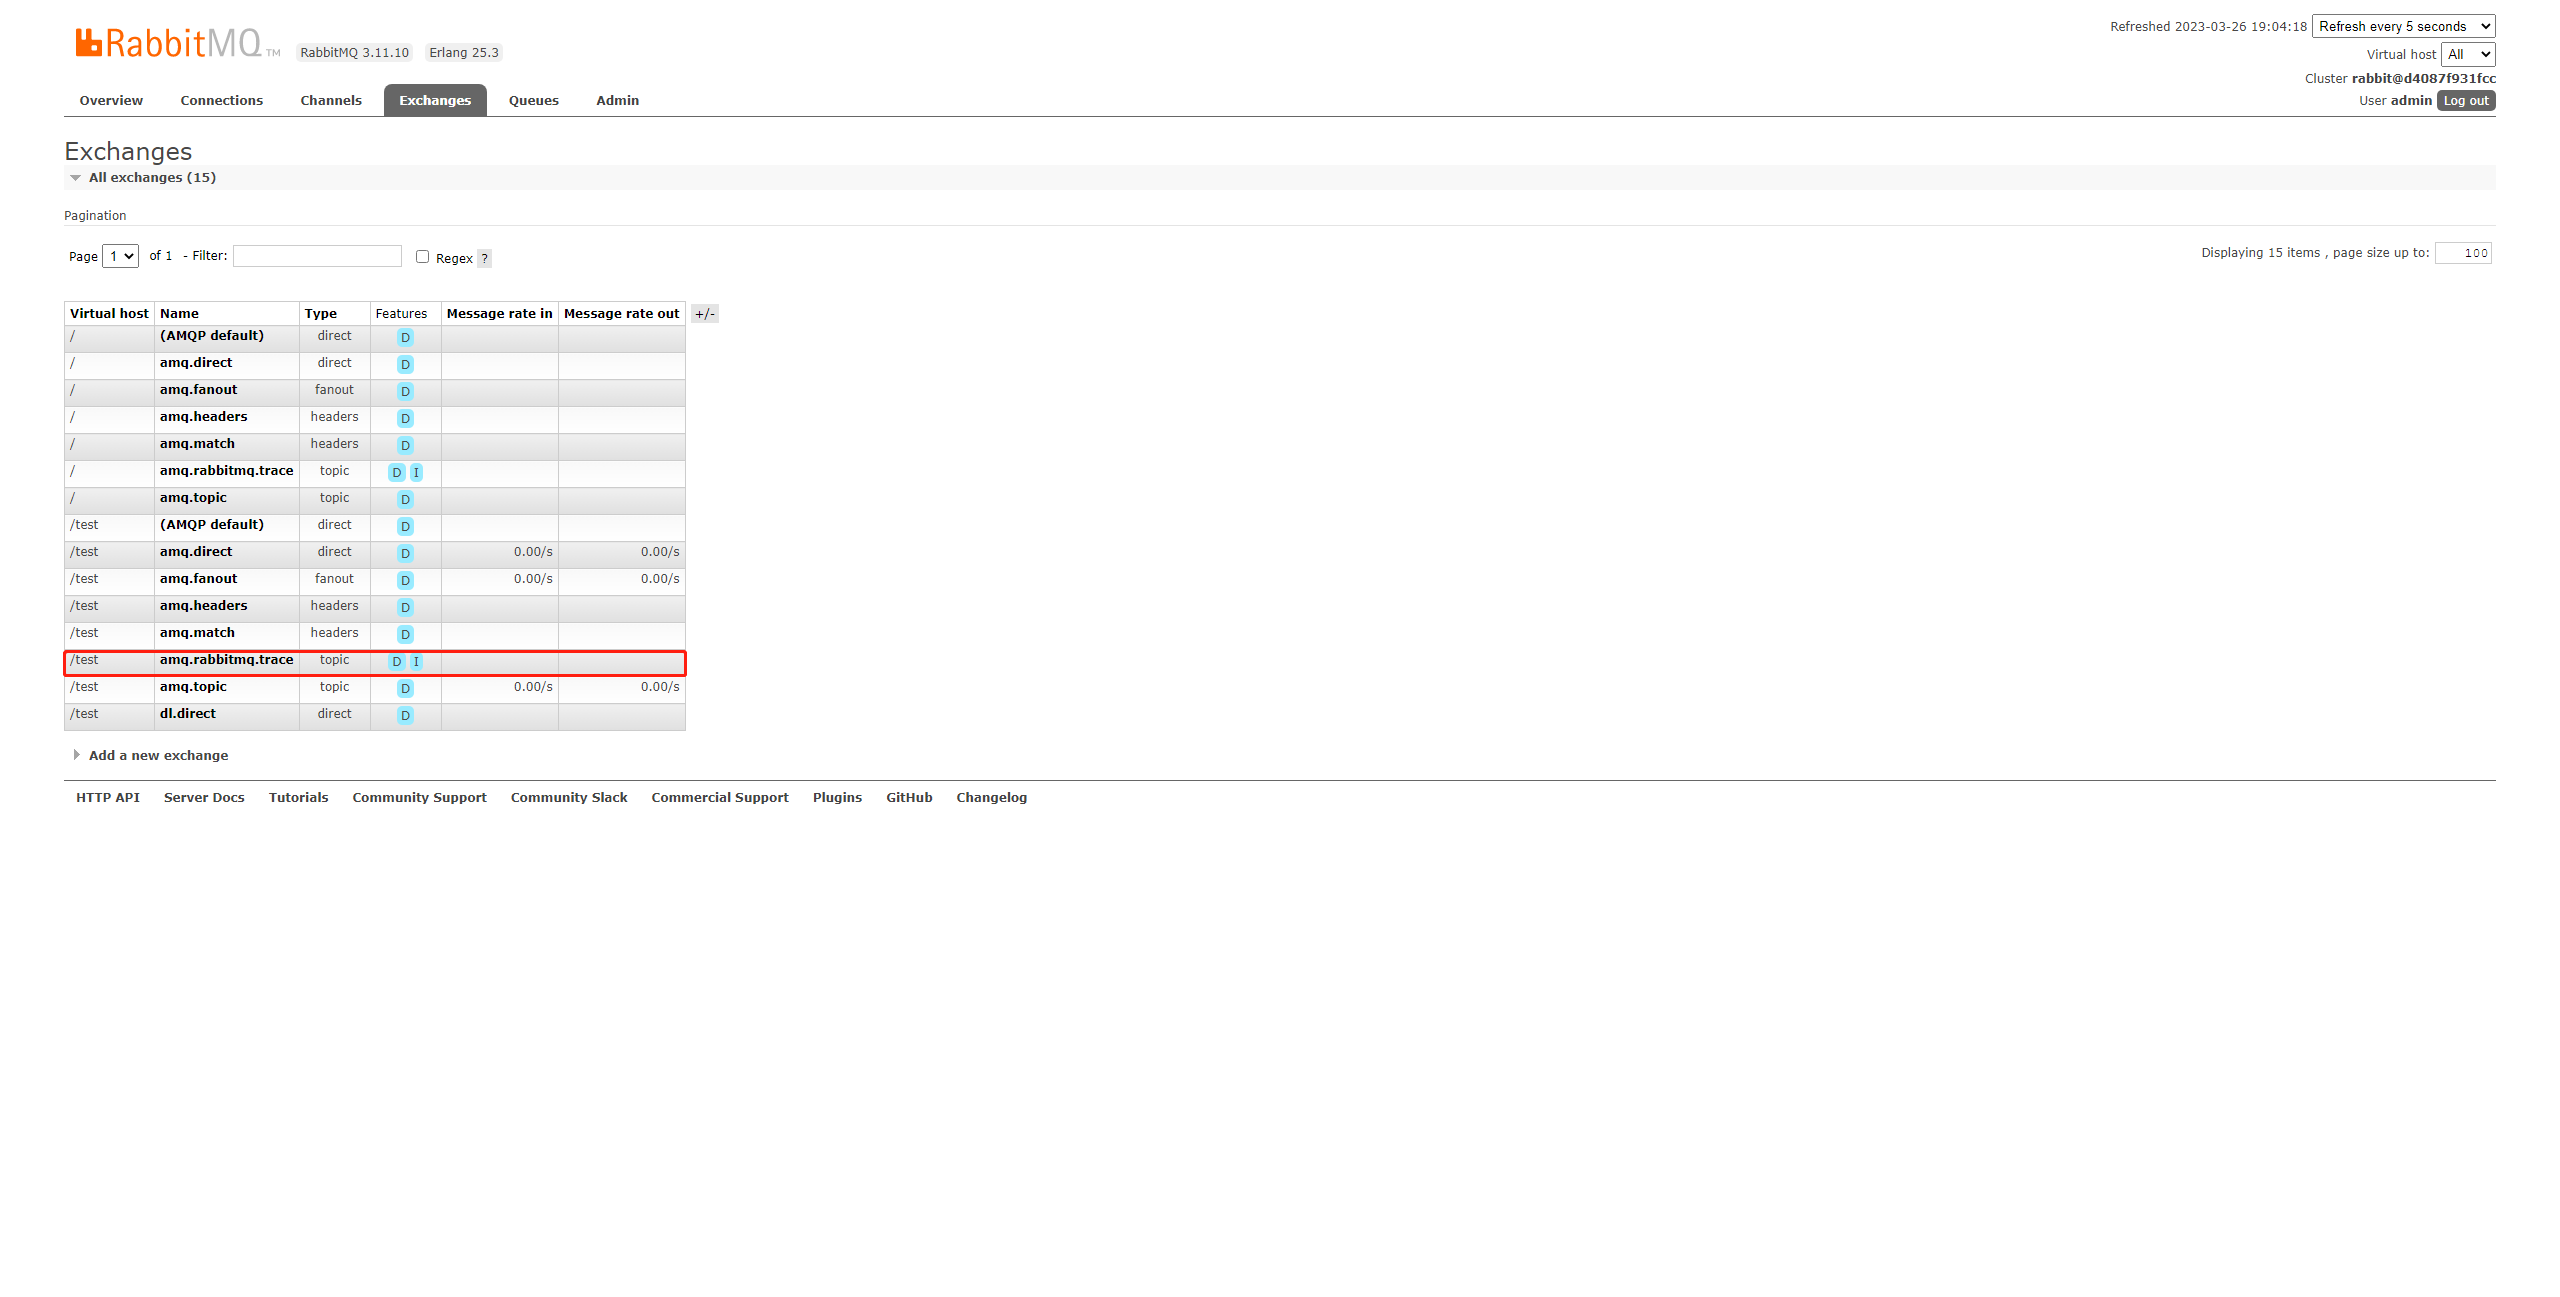
除了这里使用的默认主题交换机之外,还有一个叫做amq.rabbitmq.trace的交换机:

这是用于帮助记录和追踪生产者和消费者使用消息队列的交换机,它是一个内部的交换机,这里就不演示了。
- 环境
- JDK 17.0.6
- Maven 3.6.3
- SpringBoot 3.0.4
- spring-boot-starter-amqp 3.0.4
- 参考