16.1 修改index.html中表单跳转的地址
将action的地址改为user/login,意思是点击提交按钮后,就会跳转到user/login地址,然后只要用Controller类的@RequsetMapping去接这个地址就行了。
<body class="text-center">
		<form class="form-signin" th:action="@{user/login}">
			<img class="mb-4" th:src="@{/img/bootstrap-solid.svg}" alt="" width="72" height="72">
			<h1 class="h3 mb-3 font-weight-normal">Please sign in</h1>
			<label class="sr-only">Username</label>
			<input type="text" class="form-control" placeholder="Username" required="" autofocus="">
			<label class="sr-only">Password</label>
			<input type="password" class="form-control" placeholder="Password" required="">
			<div class="checkbox mb-3">
				<label>
          <input type="checkbox" value="remember-me"> Remember me
        </label>
			</div>
			<button class="btn btn-lg btn-primary btn-block" type="submit">Sign in</button>
			<p class="mt-5 mb-3 text-muted">© 2017-2018</p>
			<a class="btn btn-sm">中文</a>
			<a class="btn btn-sm">English</a>
		</form>

	</body>
16.2 controller类
当访问localhost:8080/user/login时,会返回在页面返回一字符串(本例是hello),@ResponseBody是作用在方法上的,@ResponseBody 表示该方法的返回结果直接写入 HTTP response body 中。
package jiang.com.springbootstudy.controller;

import org.springframework.stereotype.Controller;
import org.springframework.web.bind.annotation.RequestMapping;
import org.springframework.web.bind.annotation.ResponseBody;

@Controller
public class LoginController {
    @RequestMapping("/user/login")
    @ResponseBody
    public String login(){
        return "hello";
    }
}
以上代码只是简单实现了点击按钮后,访问请求,最后响应了一个字符串的过程。该项目中不需要使用ResponseBody注解,实现请求后的数据转发合页面跳转即可。注意,之前的表单中,input没有name属性,只有placeholder属性,改为name属性即可,然后相应的属性值改下,因为后面需要使用@RequestParm注解来接受表单数据,最终代码如下:
package jiang.com.springbootstudy.controller;
import org.springframework.stereotype.Controller;
import org.springframework.ui.Model;
import org.springframework.web.bind.annotation.RequestMapping;
import org.springframework.web.bind.annotation.RequestParam;
import org.thymeleaf.util.StringUtils;

@Controller
public class LoginController {
    @RequestMapping("/user/login")
    public String login(@RequestParam("username") String username,
                        @RequestParam("password") String password,
                        Model model){
        if (!StringUtils.isEmpty(username)&&"123456".equals(password)){
            return "redirect:/main.html";
        }else {
            model.addAttribute("msg","用户名或密码错误!");
            return "index";
        }

    }
}
这里使用了重定向(redirect), return "redirect:/main.html"会使访问localhost:8080/user.login地址后,网页被转移到localhost:8080/main.html地址,注意!这个是main.html是虚拟的地址,并不是转发到main.html页面的意思,因此需要使用mvc的配置类对请求就行转发,转发到实际地址中。最终,如果访问localhost:8080/main.html地址,就会打开一个dashboard.html页面。mvc配置类代码如下:
package jiang.com.springbootstudy.config;

import org.springframework.context.annotation.Configuration;
import org.springframework.web.servlet.config.annotation.ViewControllerRegistry;
import org.springframework.web.servlet.config.annotation.WebMvcConfigurer;


@Configuration
public class MyMvcConfig implements WebMvcConfigurer {
    @Override
    public void addViewControllers(ViewControllerRegistry registry) {
        registry.addViewController("/").setViewName("index");  //setViewName后面不用加html
        registry.addViewController("/index.html").setViewName("index");
        registry.addViewController("/main.html").setViewName("dashboard"); // 前面的main.html是假的,只是一种请求,后面才是真的,输入请求后会跳转的地方是后面的html
    }
}
16.3 修改index页面
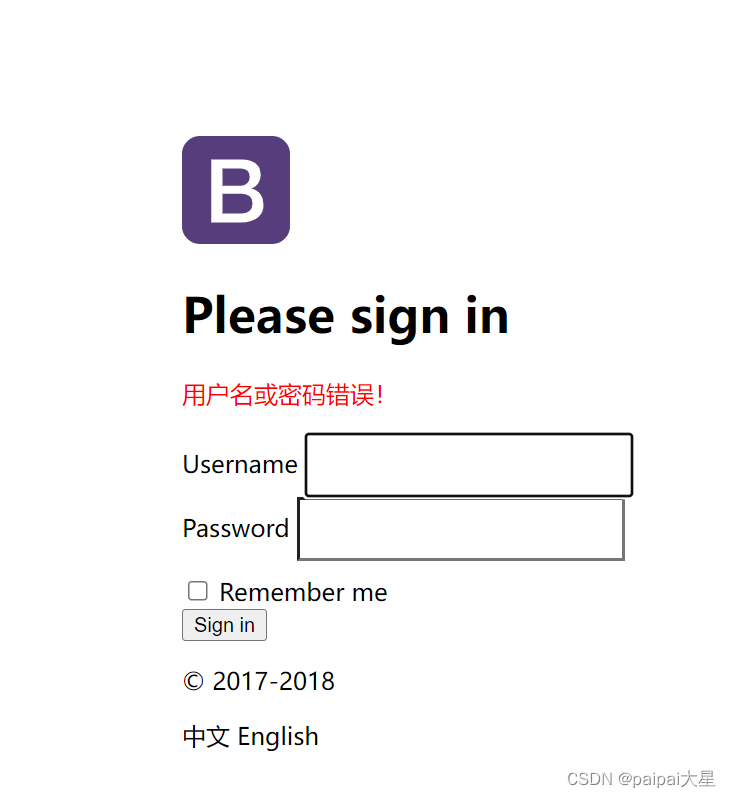
根据Controller类的处理逻辑,如果用户名和密码错误,就会返回indem.html页面,并转发msg数据。转发后,需要在相应位置上把msg数据显示出来。需要在相应位置上加一行html代码,并且对p标签的样式进行了更改,需要增加的html代码如下:
<link th:href="@{/css/mystyle.css}" type="text/css" rel="stylesheet">
<p  class="p-msg" th:text="${msg}" th:if="${not #strings.isEmpty(msg)}"></p>
css样式的代码如下:
p.p-msg{
    color: red;
}
输入错误后转发到index.html的结果:
16.4