1、简介
https://openweathermap.org/
天气预报对于我们的日常生活是非常必要的。它可以帮助我们根据预期做好准备和制定计划。许多气象站被放置在世界各地,以获取实时的天气元素数据。
天气 API包含丰富的天气数据,不仅有实时温度、湿度、风速、降水等这些基础数据,还有过去的历史天气数据和未来的天气预测数据,顶级的天气 API 接口还会包括天气灾害预警,空气质量指数,日出日落、潮汐及月相相关的天文气象等数据。
这些数据包括六个元素,如降水、风、大气压力、云量和温度。有了这些,你可以分析趋势,知道明天的数据预测或预测天气。
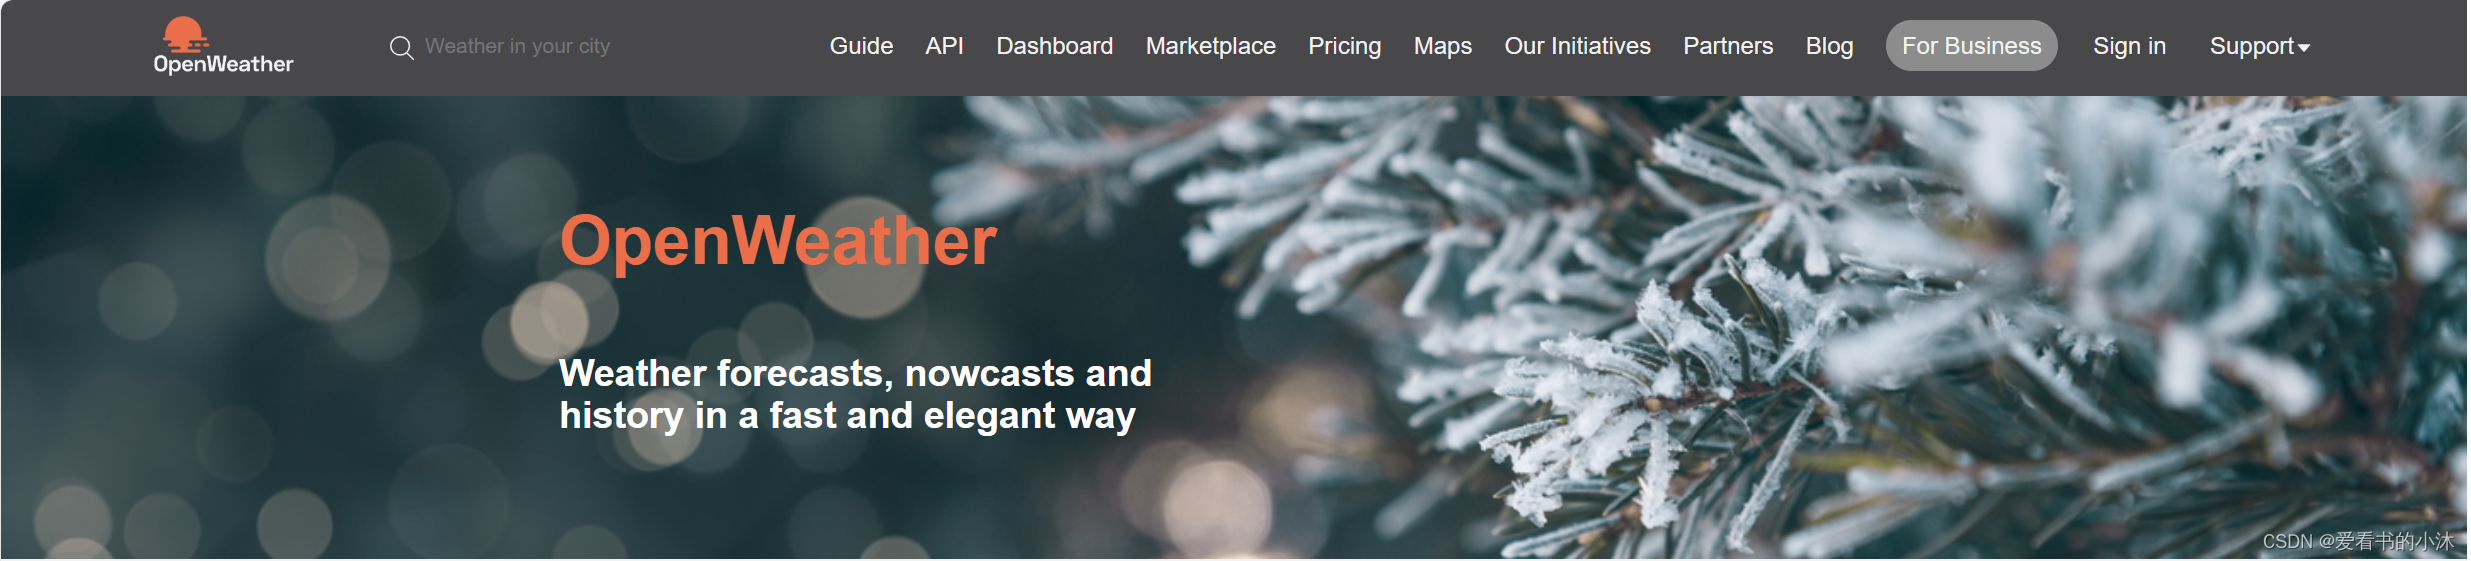
1.1 工具简介

OpenWeatherMap访问地球上任何位置的当前天气数据! 我们收集和处理来自不同来源的天气数据,例如全球和本地天气模型、卫星、雷达和庞大的气象站网络。 数据以 JSON、XML 或 HTML 格式提供。
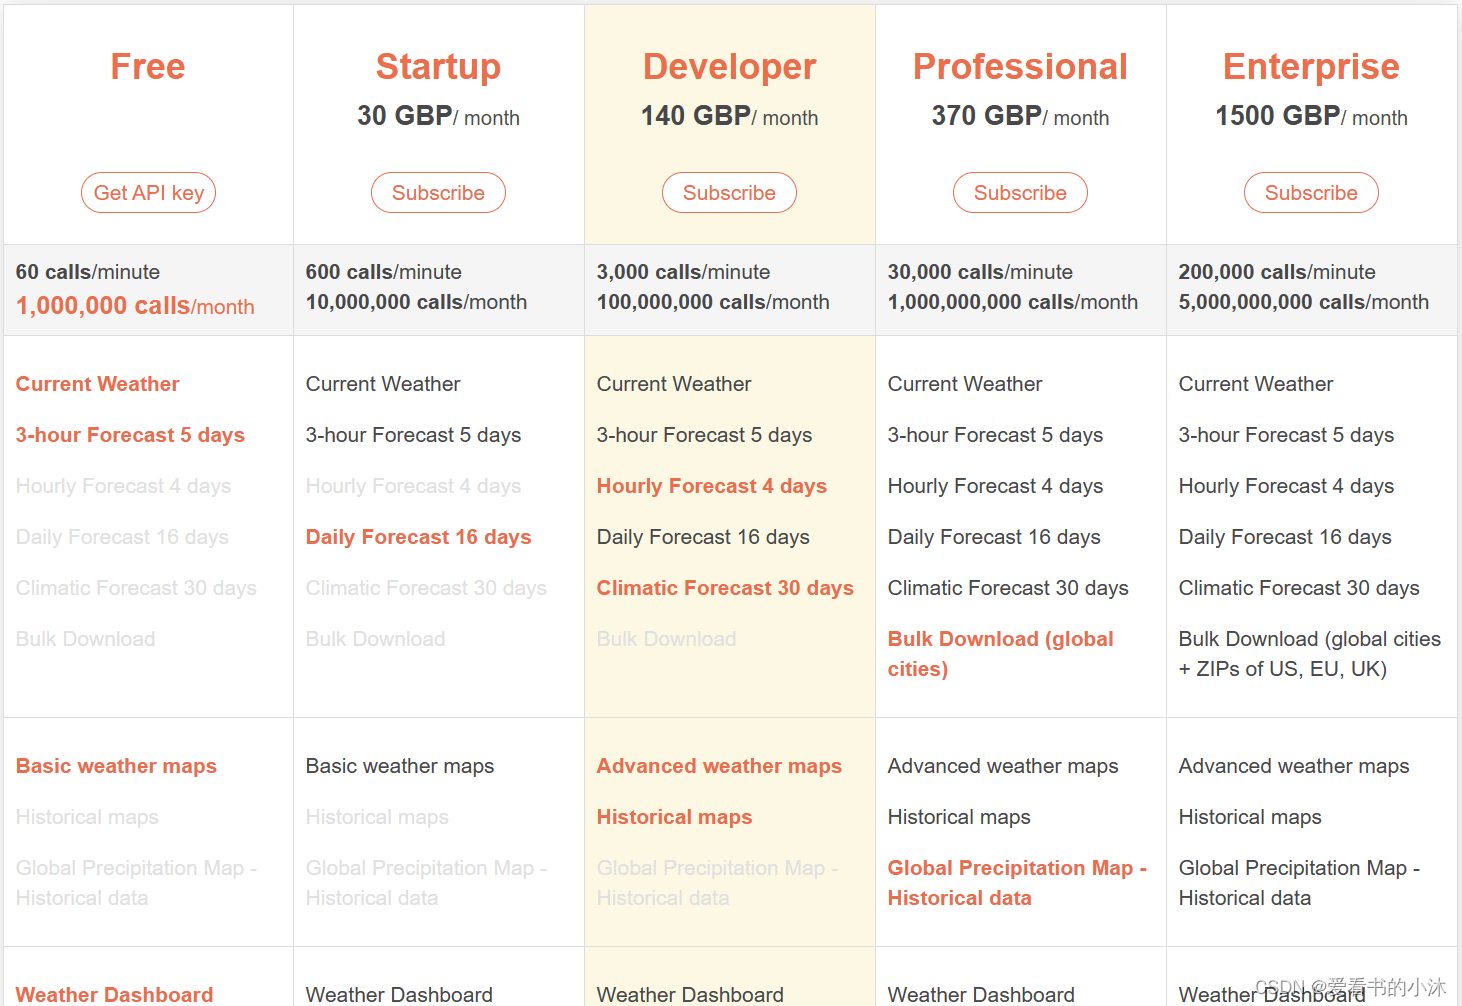
1.2 费用
OpenWeatherMap。提供免费和付费服务。这完全取决于所要求的数据的类型和大小。此外,它也取决于每次请求的数量。
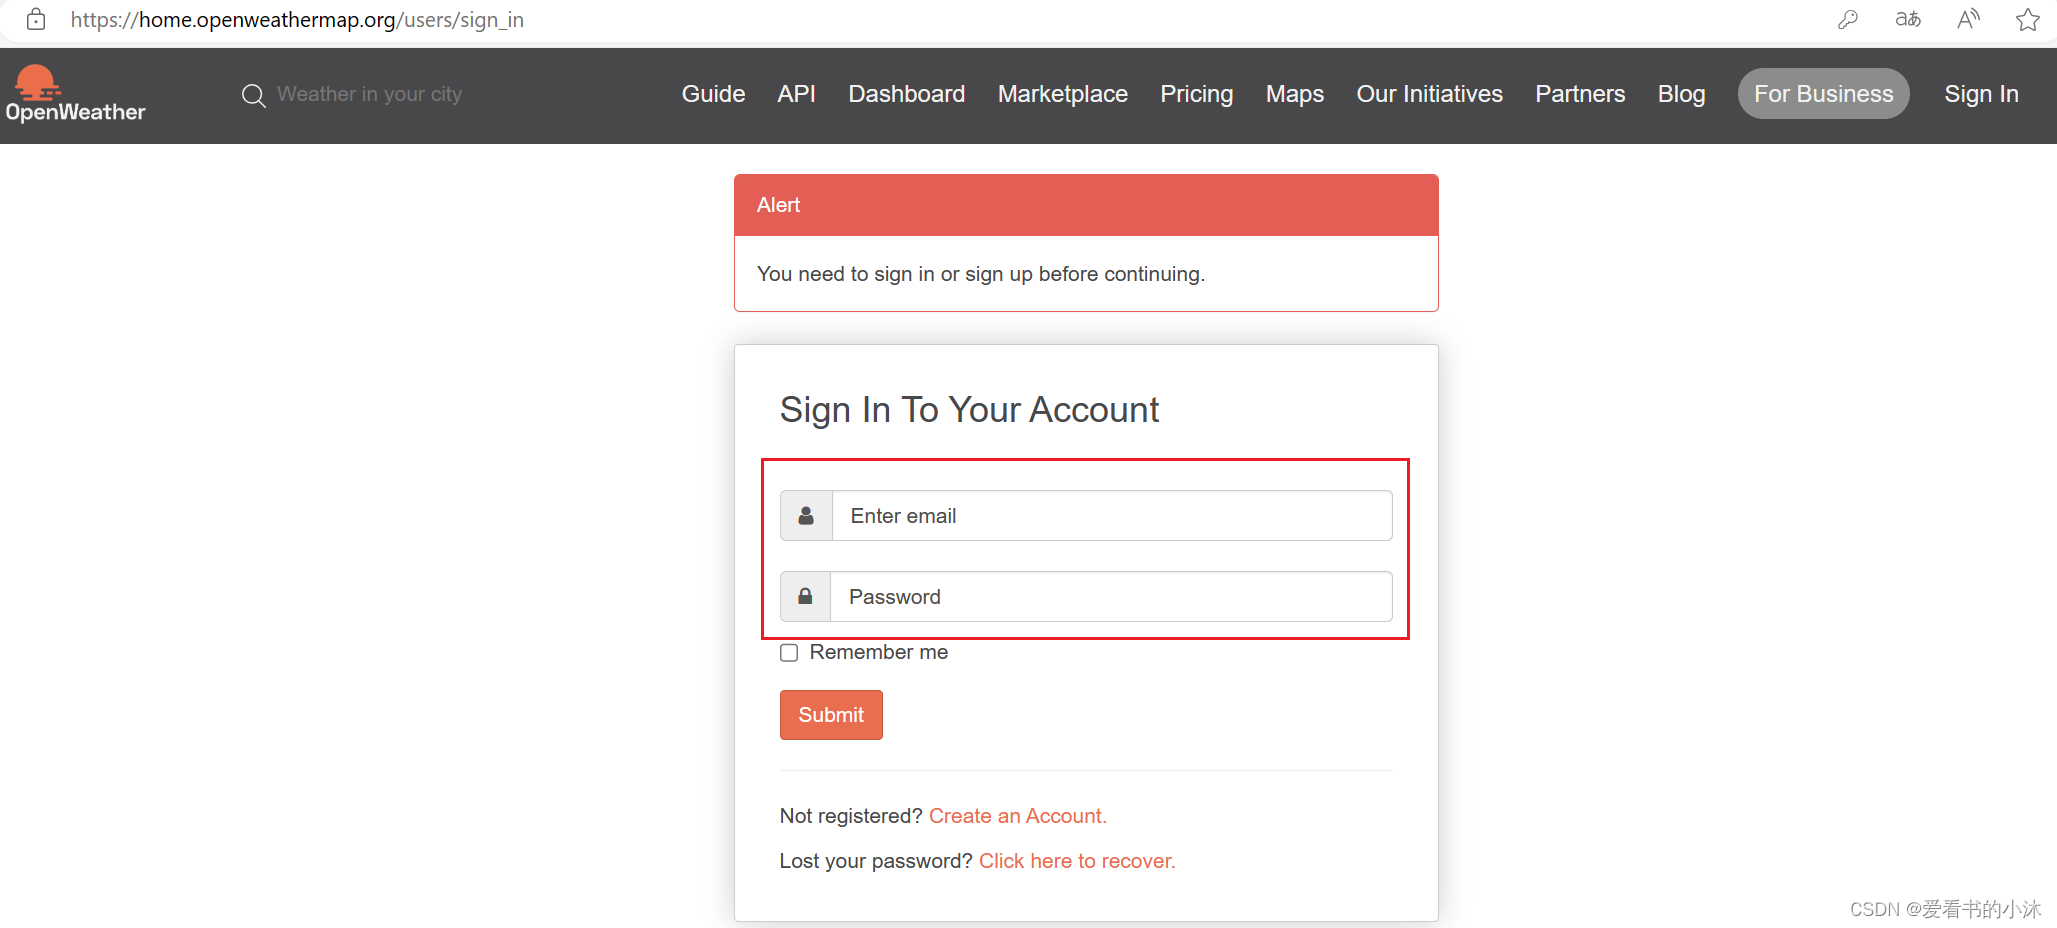
1.3 注册
https://home.openweathermap.org/users/sign_in
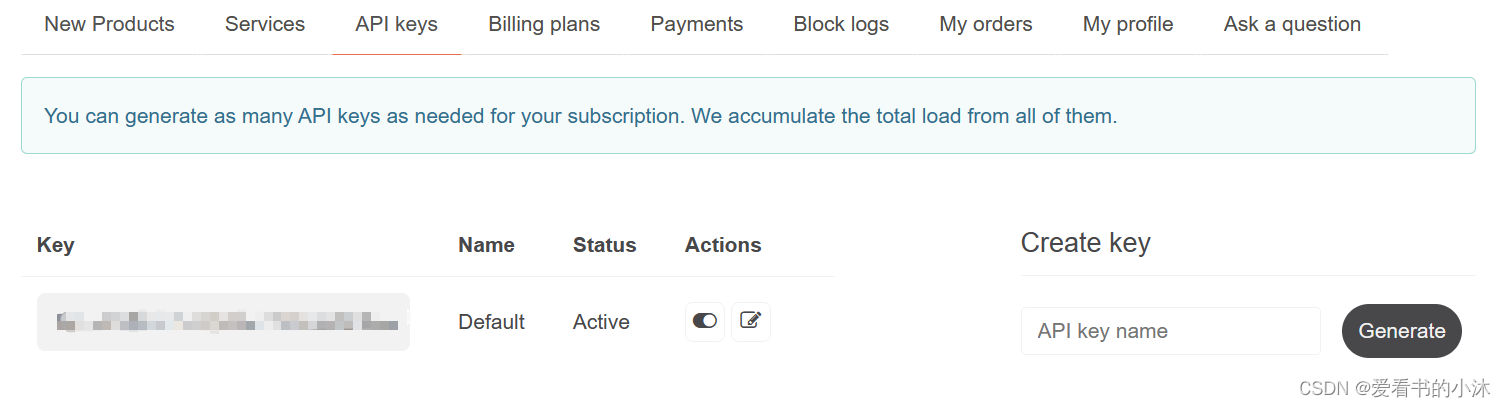
1.4 申请key
https://home.openweathermap.org/api_keys
2、接口说明
对于地球上的每个点,OpenWeather 提供超本地分钟预报、历史数据、当前状态以及从短期到年度和预报的天气数据。所有数据均可通过行业标准 API 获得。
http://www.openweathermap.org/api
http://www.openweathermap.org/current
http://www.openweathermap.org/forecast
http://www.openweathermap.org/weather-conditions
2.1 One Call 3.0
- 当前天气
- 1小时的分钟预报
- 48小时每小时预报
- 8天的每日预报
- 政府天气警报
- 从1979年1月1日到提前4天预测的任何时间戳的天气数据
- 每日汇总 40+ 年存档和 1.5 年预报的天气数据
https://api.openweathermap.org/data/3.0/onecall?lat={

    lat}&lon={

    lon}&exclude={

    part}&appid={

    API key}
2.2 Current Weather and Forecasts collection
- 每 10 分钟更新一次的当前状态
- 以小时为粒度的 4 天预测
- 16 天的预测,每天在晚上、白天、晚上和早上为您提供四次数据
- 30天预测
2.2.1 API 调用
https://openweathermap.org/current
# city name
https://api.openweathermap.org/data/2.5/weather?q={

    city name}&appid={

    API key}

# JSON
https://api.openweathermap.org/data/2.5/weather?q=London&appid={

    API key}

# XML
https://api.openweathermap.org/data/2.5/weather?q=London&mode=xml&appid={

    API key}

# Latitude & Longitude
https://api.openweathermap.org/data/2.5/weather?lat={

    lat}&lon={

    lon}&appid={

    API key}
https://api.openweathermap.org/data/2.5/weather?lat=44.34&lon=10.99&appid={

    API key}
2.2.2 API 参数
| 参数名 | 可选 | 描述 |
|---|---|---|
| q | 必填 | 城市名称、州代码和国家代码以逗号分隔,州代码或国家代码请参考 ISO 3166。您不仅可以用英语指定参数。在这种情况下,如果位置位于我们预定义的超过 200,000 个位置列表中,则应使用与请求的位置名称相同的语言返回 API 响应。 |
| lat | 必填 | 纬度。如果您需要地理编码器自动将城市名称和邮政编码转换为地理坐标,反之亦然,请使用我们的地理编码 API |
| lon | 必填 | 经度。如果您需要地理编码器自动将城市名称和邮政编码转换为地理坐标,反之亦然,请使用我们的地理编码 API |
| appid | 必填 | 您唯一的 API 密钥(您可以随时在帐户页面的“API 密钥”选项卡下找到它) |
| mode | 自选 | 响应格式。可能的值为xml 和html 。如果不使用参数,则默认格式为 JSON。 |
| units | 自选 | 计量单位。standard、metric、imperial,并提供单位。如果不使用该参数,则默认情况下将应用单位。 |
| lang | 自选 | 您可以使用此参数获取您的语言的输出。 |
2.3 Historical Weather collection
- 40+ 年前的历史档案,具有小时粒度
- 历史 预测存档,包括全球任何地点未来 16 天的先前预测
- 历史 API,包含一个月或一年的天气数据,具体取决于您的订阅
- 统计天气 API,按一年中选定的日期或月份或全年的主要天气参数提供统计数据
我们通过 History API 提供全球任何位置的每小时历史天气数据。每小时历史数据的可用性取决于订阅的类型。
- History API
https://history.openweathermap.org/data/2.5/history/city?lat={

    lat}&lon={

    lon}&type=hour&start={

    start}&end={

    end}&appid={

    API key}

https://history.openweathermap.org/data/2.5/history/city?lat={

    lat}&lon={

    lon}&type=hour&start={

    start}&cnt={

    cnt}&appid={

    API key}
2.4 Weather Maps collection
- 天气地图 2.0 具有 15 个天气图层,可显示历史、当前和预报天气数据
- 基于雷达数据、卫星图像并由机器学习提供支持的全球降水图
- 地貌图作为 OpenWeather 地图的基础图层
预报、历史和当前天气图。15 个天气图图层。您只需使用一个简单的 URL 即可获得所有这些!
- Weather Maps 2.0, 3-hour step
http://maps.openweathermap.org/maps/2.0/weather/{

    op}/{

    z}/{

    x}/{

    y}?appid={

    API key}
2.5 Other weather APIs
-
具有气溶胶特性的空气质量每小时数据:PM2.5、PM10;碳CO2;前体SO2、NO2;臭氧O3;AQ指数
-
地理编码 API 是一个简单的工具,可在使用地理名称和坐标时简化位置搜索
-
Current air pollution data
http://api.openweathermap.org/data/2.5/air_pollution?lat={

    lat}&lon={

    lon}&appid={

    API key}
3、接口测试
3.1 例子1:Current Weather + flask
- test1.py
from flask import Flask, request
import requests
import datetime

app = Flask(__name__)

@app.route('/weather', methods=['GET'])
def get_weather():
    # 设置请求参数,包括城市名和 API Key
    params = {


        "q": "beijing",
        "appid": "your api key",
        "units": "metric"
    }

    # 向 OpenWeather API 发送 GET 请求,获取实时天气数据
    response = requests.get('http://api.openweathermap.org/data/2.5/weather', params=params)
    weather_data = response.json()
    print(weather_data)

    # 提取最近几天的天气信息
    weather_list = []
    # 可以通过对获取的实时天气数据进行解析,得到今天、明天和后天的天气数据
    # 这里只演示了提取当前天气的温度和描述信息的代码

    time_str = datetime.datetime.fromtimestamp(weather_data['dt'])

    weather_list.append({


        "date": time_str,
        "temperature": weather_data['main']['temp'],
        "description": weather_data['weather'][0]['description']
    })

    # 返回最近几天的天气信息
    return {

    "weather": weather_list}

if __name__ == '__main__':
    app.run()
python脚本运行如下:
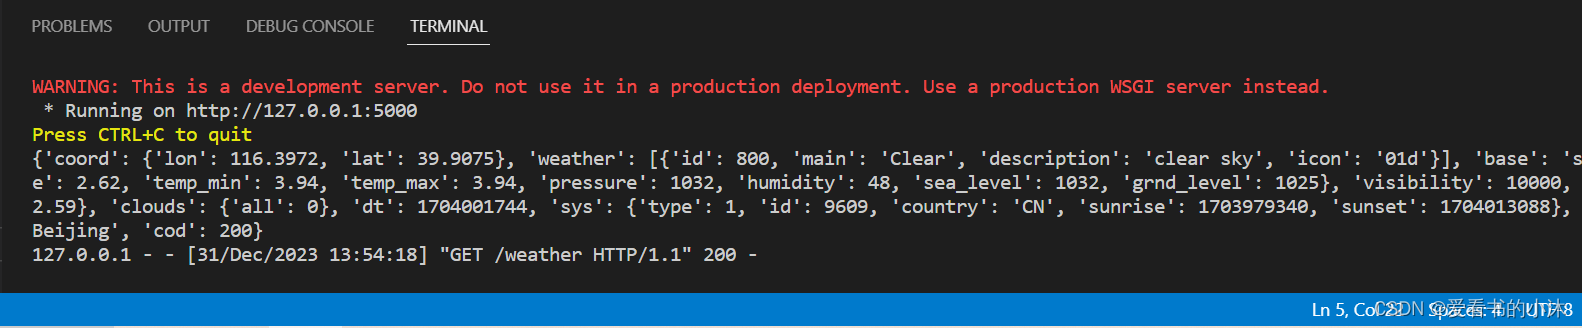
浏览器访问如下:
http://127.0.0.1:5000/weather

3.2 例子2:Current Weather + node.js
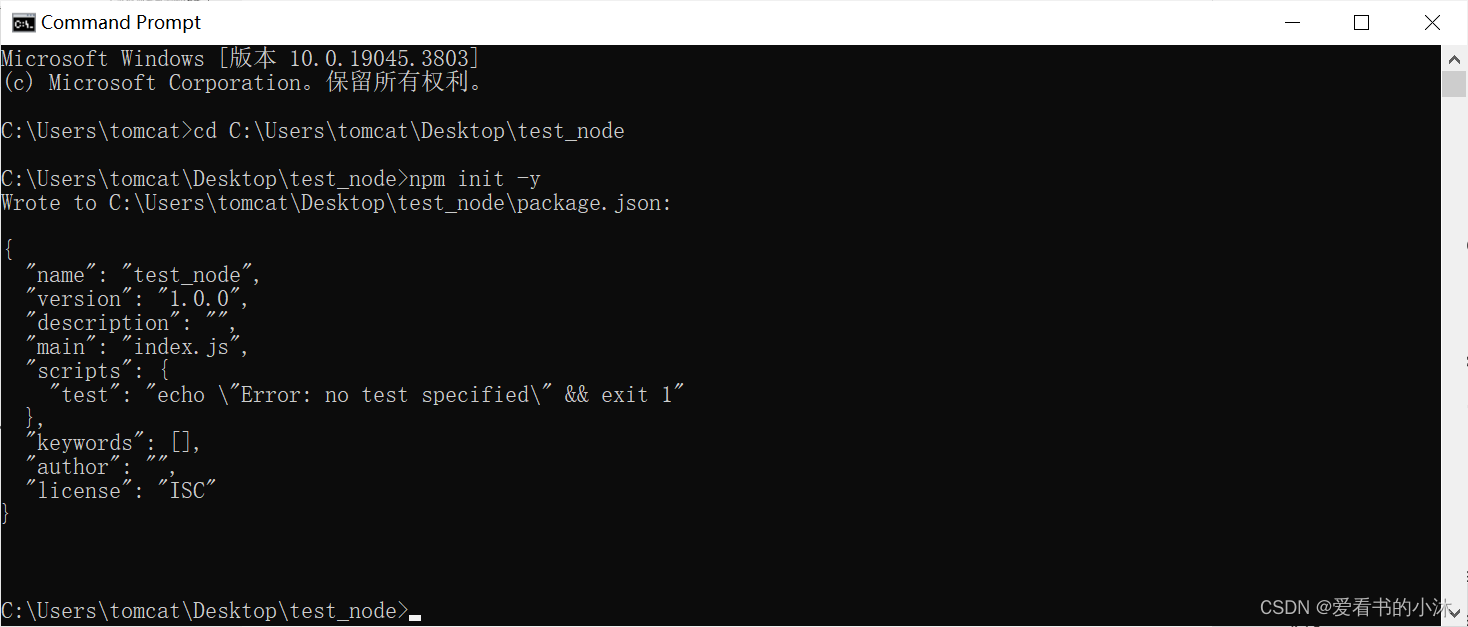
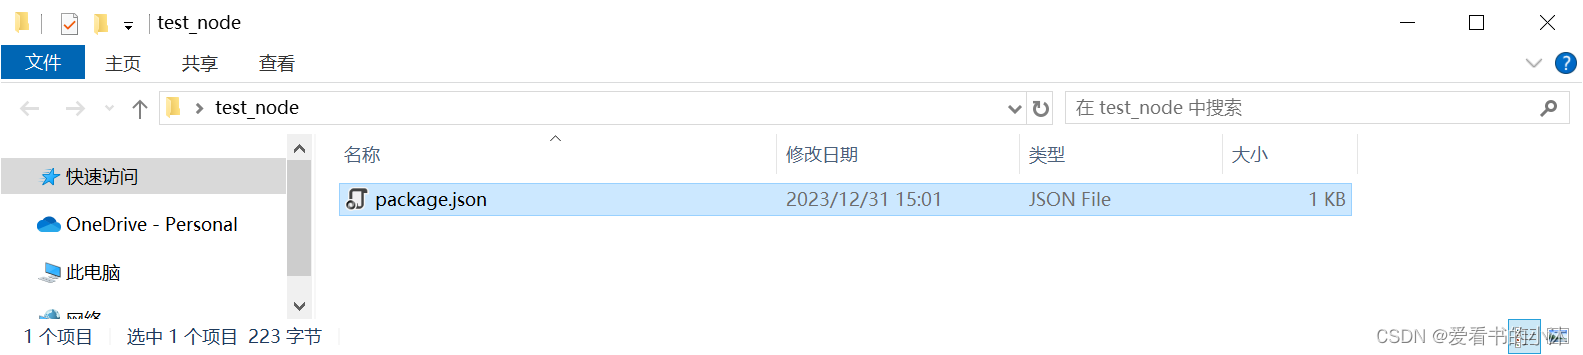
- 设置项目,通过使用下面的命令初始化Node.js项目。
npm init -y
该命令接受终端对话中的所有默认选项。它在根目录下创建一个新的配置文件,名为package.json 。
- 安装依赖项
npm i express dotenv body-parser request ejs
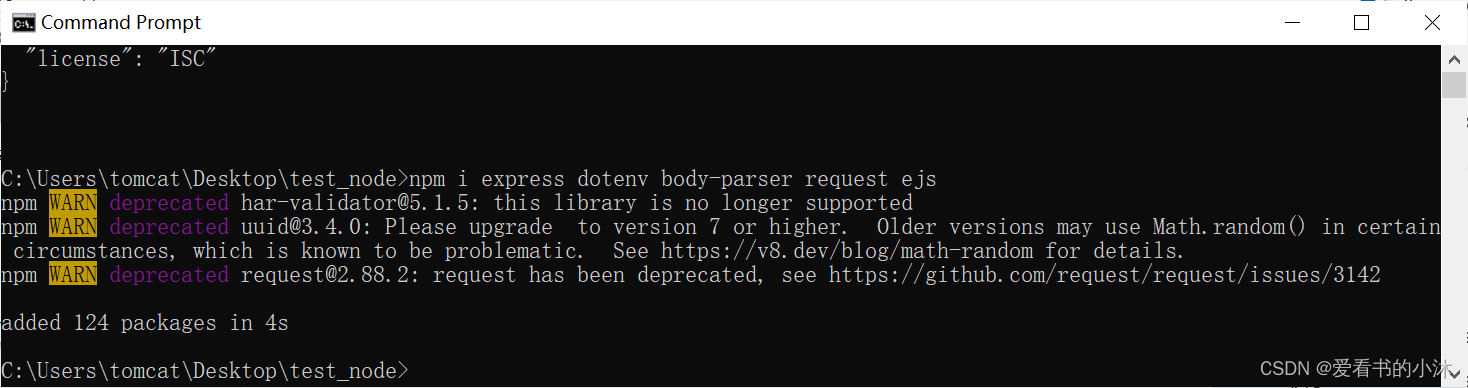

在package.json 文件中添加一行代码"start": “node server.js”,
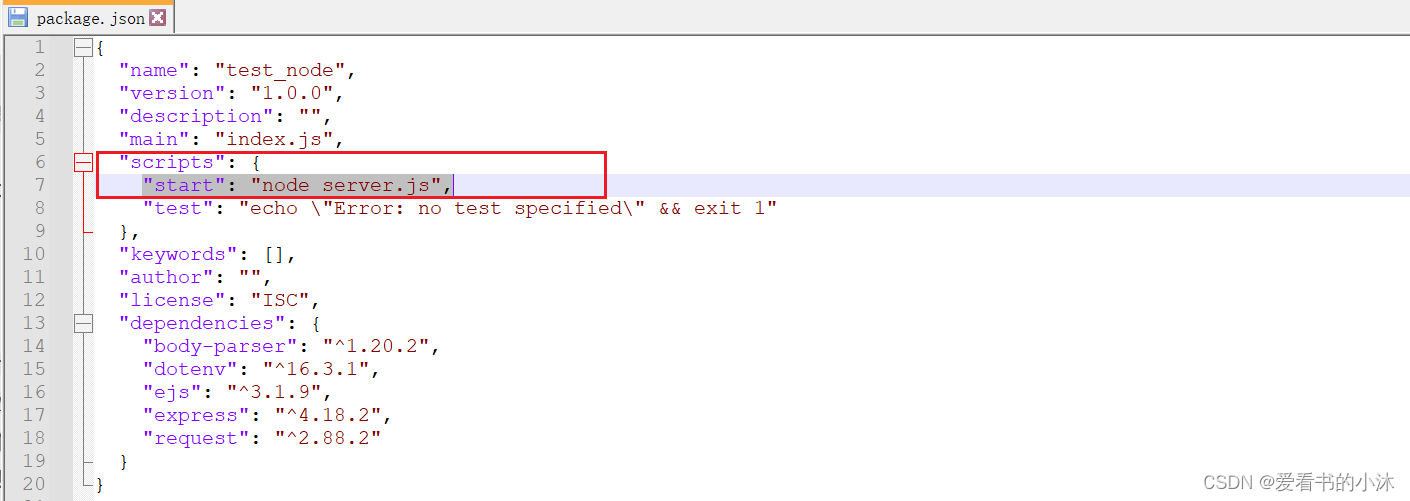
- 新建文件:server.js
const express = require("express");
const bodyParser = require("body-parser");
const request = require("request");
const app = express();

require("dotenv").config();

const apiKey = `${

      process.env.API_KEY}`;

app.use(express.static("public"));
app.use(bodyParser.urlencoded({

     extended: true }));
app.set("view engine", "ejs");

app.get("/", function (req, res) {


  // It will not fetch and display any data in the index page
  res.render("index", {

     weather: null, error: null });
});

app.post('/', function(req, res) {


    // Get city name passed in the form
    let city = req.body.city;

    // Use that city name to fetch data
    // Use the API_KEY in the '.env' file
    let url = `http://api.openweathermap.org/data/2.5/weather?q=${

      city}&units=metric&appid=${

      apiKey}`;

	request(url, function(err, response, body) {


        // On return, check the json data fetched
        if (err) {


            res.render('index', {

     weather: null, error: 'Error, please try again' });
        } else {


            let weather = JSON.parse(body);
			console.log(weather);

            if (weather.main == undefined) {


                res.render('index', {

     weather: null, error: 'Error, please try again' });
            } else {


                // we shall use the data got to set up your output
                let place = `${

      weather.name}, ${

      weather.sys.country}`,
                  /* you shall calculate the current timezone using the data fetched*/
                  weatherTimezone = `${

      new Date(
                    weather.dt * 1000 - weather.timezone * 1000
                  )}`;
                let weatherTemp = `${

      weather.main.temp}`,
                  weatherPressure = `${

      weather.main.pressure}`,
                  /* you will fetch the weather icon and its size using the icon data*/
                  weatherIcon = `http://openweathermap.org/img/wn/${

      weather.weather[0].icon}@2x.png`,
                  weatherDescription = `${

      weather.weather[0].description}`,
                  humidity = `${

      weather.main.humidity}`,
                  clouds = `${

      weather.clouds.all}`,
                  visibility = `${

      weather.visibility}`,
                  main = `${

      weather.weather[0].main}`,
                  weatherFahrenheit;
                weatherFahrenheit = (weatherTemp * 9) / 5 + 32;

                // you shall also round off the value of the degrees fahrenheit calculated into two decimal places
                function roundToTwo(num) {


                  return +(Math.round(num + "e+2") + "e-2");
                }
                weatherFahrenheit = roundToTwo(weatherFahrenheit);
				res.render("index", {


                  weather: weather,
                  place: place,
                  temp: weatherTemp,
                  pressure: weatherPressure,
                  icon: weatherIcon,
                  description: weatherDescription,
                  timezone: weatherTimezone,
                  humidity: humidity,
                  fahrenheit: weatherFahrenheit,
                  clouds: clouds,
                  visibility: visibility,
                  main: main,
                  error: null,
                });
            }
        }
    });
});

app.listen(5000, function () {


  console.log("Weather app listening on port 5000!");
});
- 新建文件:.env
API_KEY=your api key
- 新建文件:views\index.ejs
<!DOCTYPE html>
<html lang="en">
  <head>
    <title>Weather</title>
    <!-- Required meta tags -->
    <meta charset="utf-8" />
    <meta
      name="viewport"
      content="width=device-width, initial-scale=1, shrink-to-fit=no"
    />

    <!-- Bootstrap CSS -->
    <!-- Use some bootstrap CSS and google fonts to quicken the process -->
    <!-- you shall also add a favicon -->
    <link
      rel="shortcut icon"
      href="https://img.icons8.com/office/16/000000/sunset--v2.png"
      type="image/x-icon"
    />
    <link rel="stylesheet" type="text/css" href="/css/style.css" />
    <link
      href="https://fonts.googleapis.com/css?family=Open+Sans:300"
      rel="stylesheet"
      type="text/css"
    />
    <link
      rel="stylesheet"
      href="https://stackpath.bootstrapcdn.com/bootstrap/4.3.1/css/bootstrap.min.css"
      integrity="sha384-ggOyR0iXCbMQv3Xipma34MD+dH/1fQ784/j6cY/iJTQUOhcWr7x9JvoRxT2MZw1T"
      crossorigin="anonymous"
    />
  </head>

  <body>
    <div class="container">

  <!-- This shall hold the input fields and the output data -->
  <fieldset>
    <!-- This form shall be used to fetch your city name -->
    <form action="/" method="post">
      <input name="city" type="text" class="ghost-input" placeholder="Enter a City" required>
      <input type="submit" class="ghost-button" value="Get Weather">
    </form>

    <!-- Upon fetching of data you will display it -->
    <%if( weather !== null){

     %>
    <div class="grid">
      <p>
        <%= place %>
      </p>
      <p class="text-muted small">
        <%= timezone %>
      </p>
    </div>

    <!-- You can find other data fetched by the app on the console in JSON form and display it as you please -->
    <div class="card-deck">
      <div class="card card-accent-dark mb-3" style="max-width: 18rem;">
        <div class="card-header">Summary</div>
        <div class="card-body text-dark">Bootstrap CSS
          <img src="<%= icon %>" alt="Weather-Icon">
          <h5 class="card-title">Temperature</h5>
          <p class="card-text">
            In Degrees:
            <%= temp %>°C/
            <%= fahrenheit %>°F
          </p>
          <h5 class="card-title">Main</h5>
          <p class="card-text">
            <%= main %>
          </p>
        </div>
      </div>
      <div class="card-deck">
        <div class="card card-acTomorrowcent-dark mb-3" style="max-width: 18rem;">
          <div class="card-header">Description</div>
          <div class="card-body text-dark">
            <h5 class="card-title">Overall Description: </h5>
            <p class="card-text">
              <%= description %>
            </p>
            <h5 class="card-title">Cloud coverage: </h5>
            <p class="card-text">
              <%= clouds %>%
            </p>
            <h5 class="card-title">Visibility: </h5>
            <p class="card-text">
              <%= visibility %> meters
            </p>
          </div>
        </div>
        <div class="card-deck">
          <div class="card card-accent-dark mb-3" style="max-width: 18rem;">
            <div class="card-header">Other info</div>
            <div class="card-body text-dark">
              <h5 class="card-title">Humidity: </h5>
              <p class="card-text">
                <%= humidity %> g.m-3
              </p>
            </div>
            <div class="card-body text-dark">
              <h5 class="card-title">Pressure: </h5>
              <p class="card-text">
                <%= pressure %> N·m−2
              </p>
            </div>
          </div>
        </div>

        <% } %>

        <% if(error !== null){

     %>
        <p>
          <%= error %>
        </p>
        <% } %>
  </fieldset>
</div>

    <!-- jQuery first, then Popper.js, then Bootstrap JS -->
    <script
      src="https://code.jquery.com/jquery-3.3.1.slim.min.js"
      integrity="sha384-q8i/X+965DzO0rT7abK41JStQIAqVgRVzpbzo5smXKp4YfRvH+8abtTE1Pi6jizo"
      crossorigin="anonymous"
    ></script>
    <script
      src="https://cdnjs.cloudflare.com/ajax/libs/popper.js/1.14.7/umd/popper.min.js"
      integrity="sha384-UO2eT0CpHqdSJQ6hJty5KVphtPhzWj9WO1clHTMGa3JDZwrnQq4sF86dIHNDz0W1"
      crossorigin="anonymous"
    ></script>
    <script
      src="https://stackpath.bootstrapcdn.com/bootstrap/4.3.1/js/bootstrap.min.js"
      integrity="sha384-JjSmVgyd0p3pXB1rRibZUAYoIIy6OrQ6VrjIEaFf/nJGzIxFDsf4x0xIM+B07jRM"
      crossorigin="anonymous"
    ></script>
  </body>
</html>
- 新建文件:public\css\style.css
body {


  width: auto;
  margin: 0 auto;
  font-family: "Open Sans", sans-serif;
}

/* This will format the whole fieldset content*/

.container {


  width: 80%;
  margin: 0 auto;
}

/* This will format the whole fieldset content*/

fieldset {


  display: block;
  -webkit-margin-start: 0px;
  -webkit-margin-end: 0px;
  -webkit-padding-before: 0em;
  -webkit-padding-start: 0em;
  -webkit-padding-end: 0em;
  -webkit-padding-after: 0em;
  border: 0px;
  border-image-source: initial;
  border-image-slice: initial;
  border-image-width: initial;
  border-image-outset: initial;
  border-image-repeat: initial;
  min-width: -webkit-min-content;
  padding: 30px;
}

/* Format the input section */

/* Format the input, paragraph, hover effect, focus and button */
.ghost-input,
p {


  display: block;
  font-weight: 300;
  width: 100%;
  font-size: 25px;
  border: 0px;
  outline: none;
  width: 100%;
  -webkit-box-sizing: border-box;
  -moz-box-sizing: border-box;
  box-sizing: border-box;
  color: #4b545f;
  background: #fff;
  font-family: Open Sans, Verdana;
  padding: 10px 15px;
  margin: 30px 0px;
  -webkit-transition: all 0.1s ease-in-out;
  -moz-transition: all 0.1s ease-in-out;
  -ms-transition: all 0.1s ease-in-out;
  -o-transition: all 0.1s ease-in-out;
  transition: all 0.1s ease-in-out;
}

.ghost-input:focus {


  border-bottom: 1px solid #ddd;
}

.ghost-button {


  background-color: transparent;
  border: 2px solid #ddd;
  padding: 10px 30px;
  width: 100%;
  min-width: 350px;
  -webkit-transition: all 0.1s ease-in-out;
  -moz-transition: all 0.1s ease-in-out;
  -ms-transition: all 0.1s ease-in-out;
  -o-transition: all 0.1s ease-in-out;
  transition: all 0.1s ease-in-out;
}

.ghost-button:hover {


  border: 2px solid #515151;
}

p {


  color: #e64a19;
}
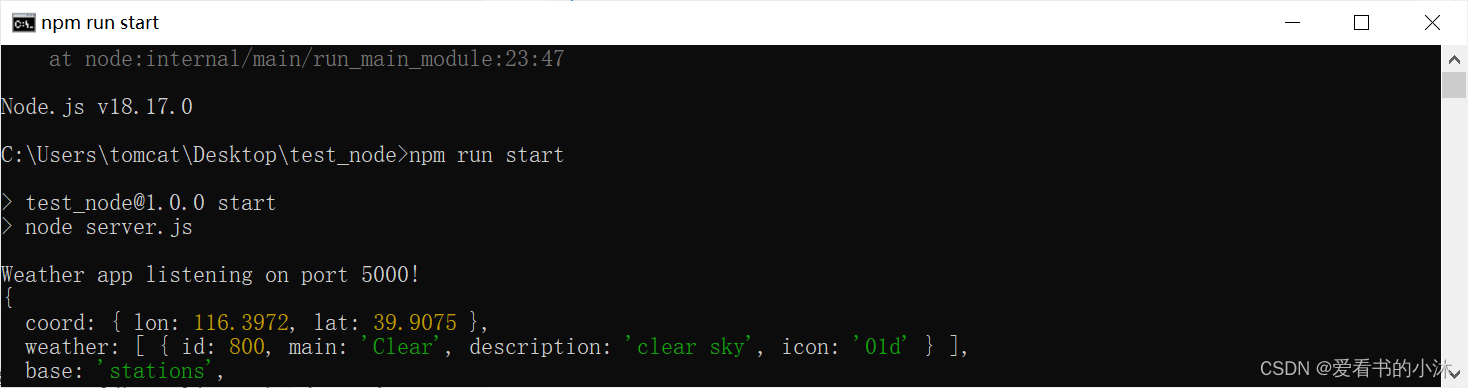
终端中运行以下命令如下:
npm run start
#or
node server.js
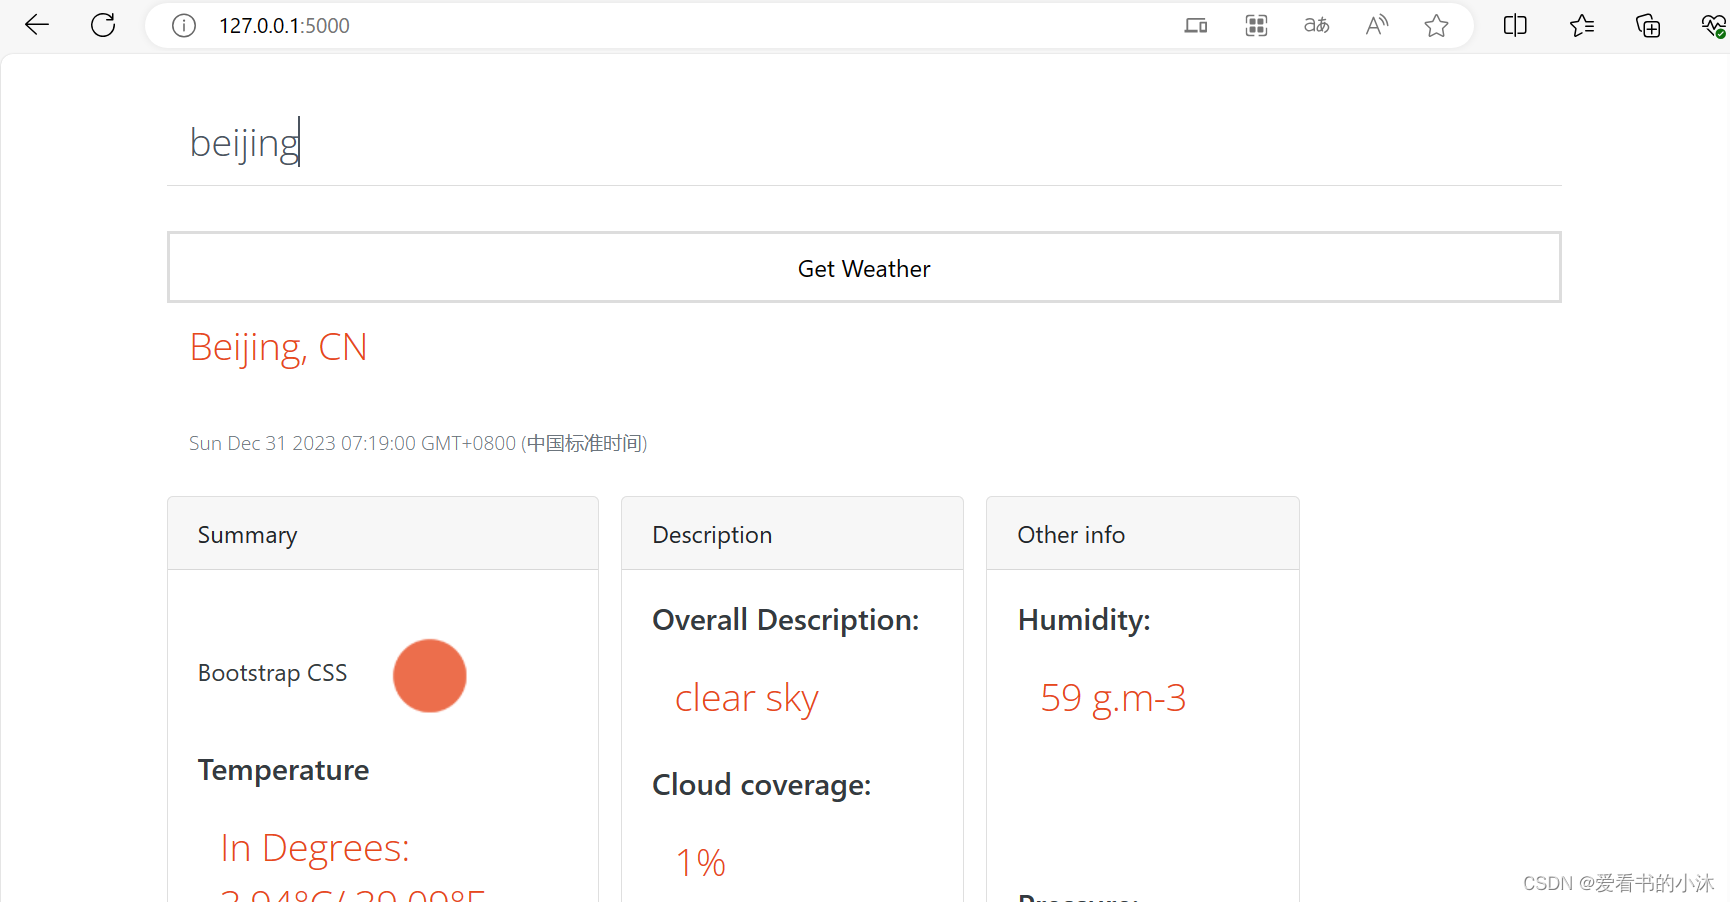
浏览器访问如下:
http://127.0.0.1:5000/
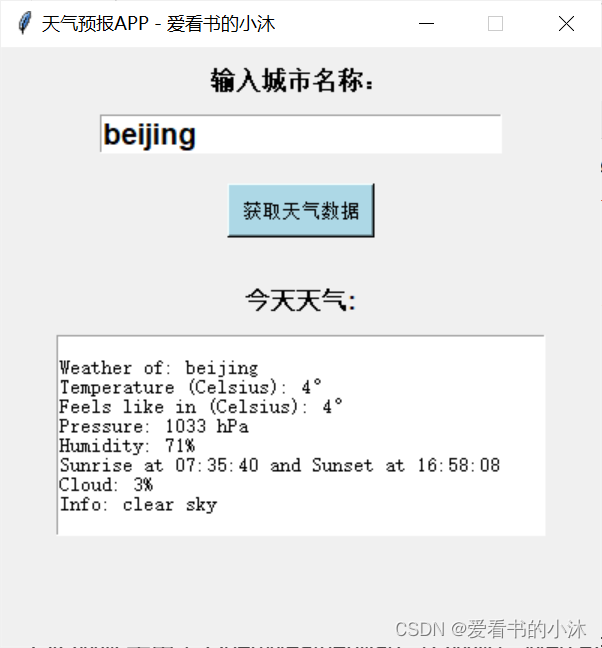
3.3 例子3:Current Weather + tkinter
from tkinter import *
import requests
import json
from datetime import datetime

root =Tk()
root.geometry("400x400")
root.resizable(0,0)
root.title("天气预报APP - 爱看书的小沐")

city_value = StringVar()

def time_format_for_location(utc_with_tz):
    local_time = datetime.utcfromtimestamp(utc_with_tz)
    return local_time.time()

def showWeather():
    #Enter you api key, copies from the OpenWeatherMap dashboard
    api_key = "your api key"  #sample API

    # Get city name from user from the input field (later in the code)
    city_name=city_value.get()

    # API url
    weather_url = 'http://api.openweathermap.org/data/2.5/weather?q=' + city_name + '&appid='+api_key

    # Get the response from fetched url
    response = requests.get(weather_url)

    # changing response from json to python readable
    weather_info = response.json()
    print(weather_info)

    if weather_info['cod'] == 200:
        kelvin = 273 # value of kelvin

        temp = int(weather_info['main']['temp'] - kelvin)   #converting default kelvin value to Celcius
        feels_like_temp = int(weather_info['main']['feels_like'] - kelvin)
        pressure = weather_info['main']['pressure']
        humidity = weather_info['main']['humidity']
        wind_speed = weather_info['wind']['speed'] * 3.6
        sunrise = weather_info['sys']['sunrise']
        sunset = weather_info['sys']['sunset']
        timezone = weather_info['timezone']
        cloudy = weather_info['clouds']['all']
        description = weather_info['weather'][0]['description']

        sunrise_time = time_format_for_location(sunrise + timezone)
        sunset_time = time_format_for_location(sunset + timezone)

        weather = f"\nWeather of: {

      city_name}\nTemperature (Celsius): {

      temp}°\nFeels like in (Celsius): {

      feels_like_temp}°\nPressure: {

      pressure} hPa\nHumidity: {

      humidity}%\nSunrise at {

      sunrise_time} and Sunset at {

      sunset_time}\nCloud: {

      cloudy}%\nInfo: {

      description}"
    else:
        weather = f"\n\tWeather for '{

      city_name}' not found!\n\tKindly Enter valid City Name !!"

    tfield.delete("1.0", "end")
    tfield.insert(INSERT, weather)   #to insert or send value in our Text Field to display output


Label(root, text = '输入城市名称:', font = 'Arial 12 bold').pack(pady=10) #to generate label heading
Entry(root, textvariable = city_value,  width = 24, font='Arial 14 bold').pack()
Button(root, command = showWeather, text = "获取天气数据", font="Arial 10", bg='lightblue', fg='black', activebackground="teal", padx=5, pady=5 ).pack(pady= 20)
Label(root, text = "今天天气:", font = 'arial 12 bold').pack(pady=10)

tfield = Text(root, width=46, height=10)
tfield.pack()

root.mainloop()
运行python代码如下:
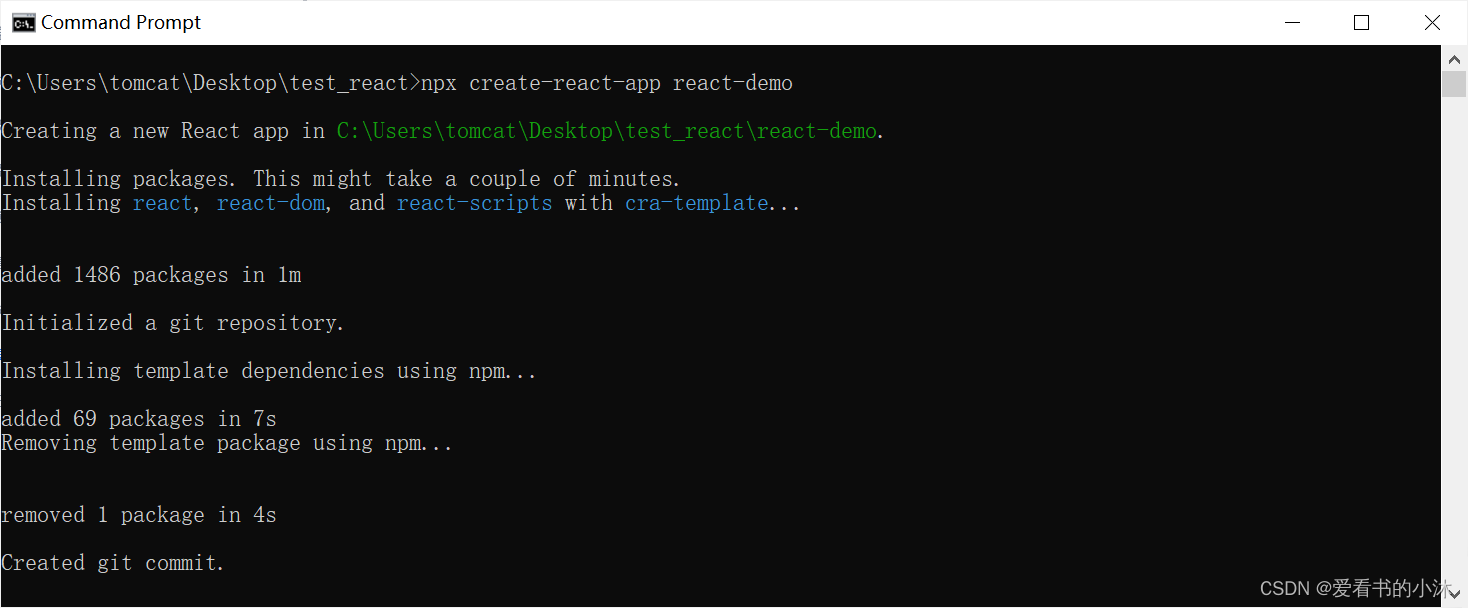
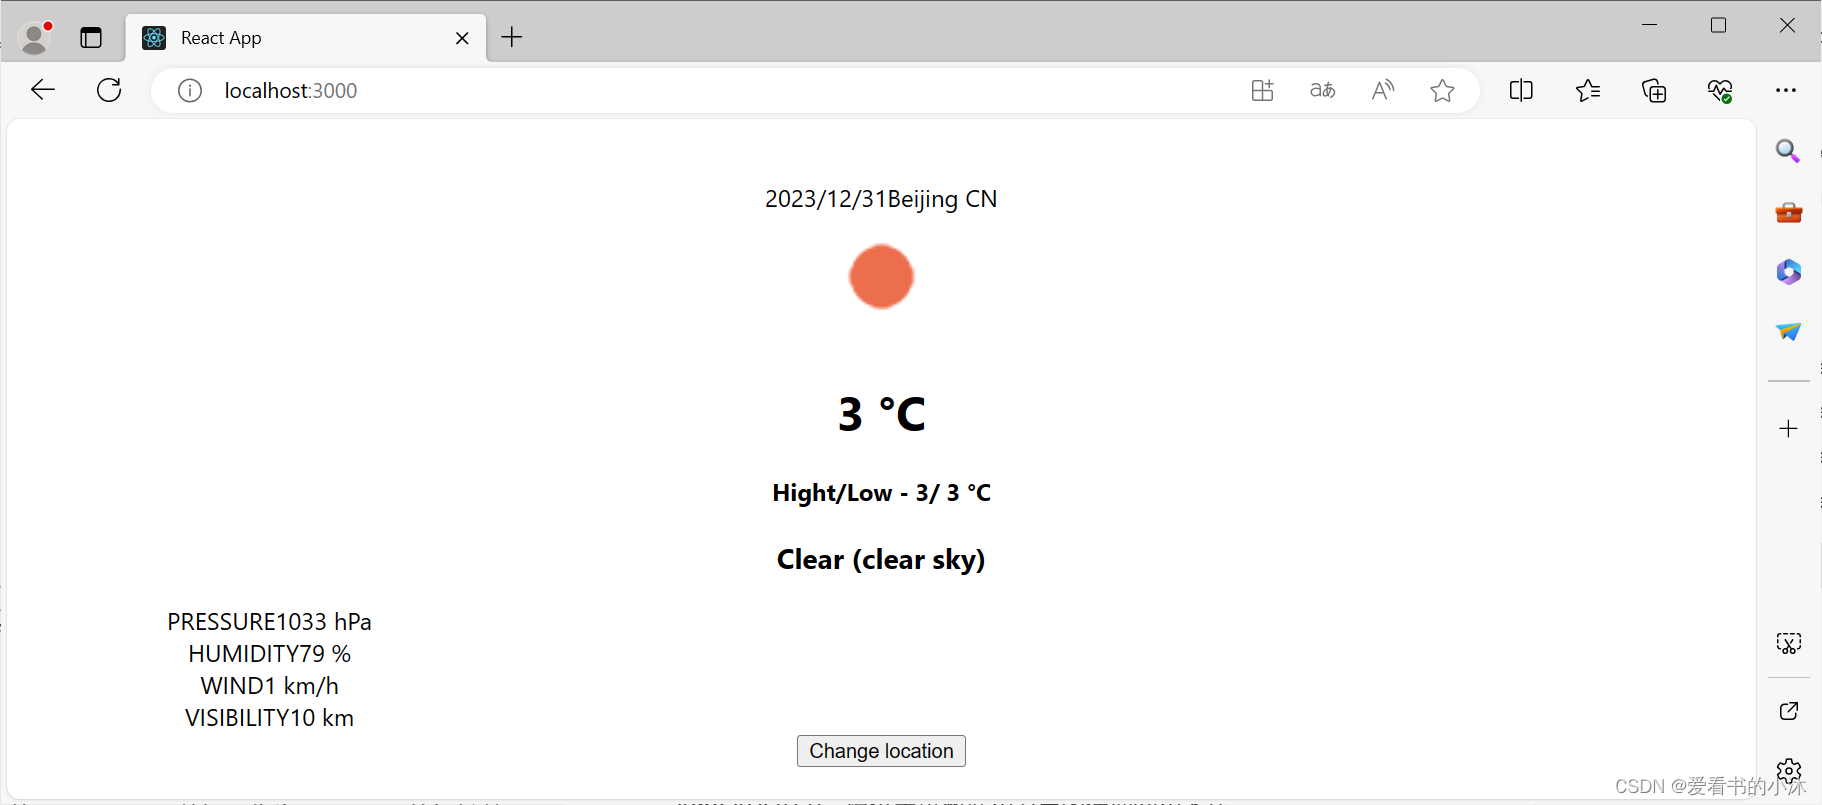
3.4 例子4:Current Weather + React.js
- 使用 React 脚手架初始化项目
初始化项目,命令。
npx create-react-app my-app
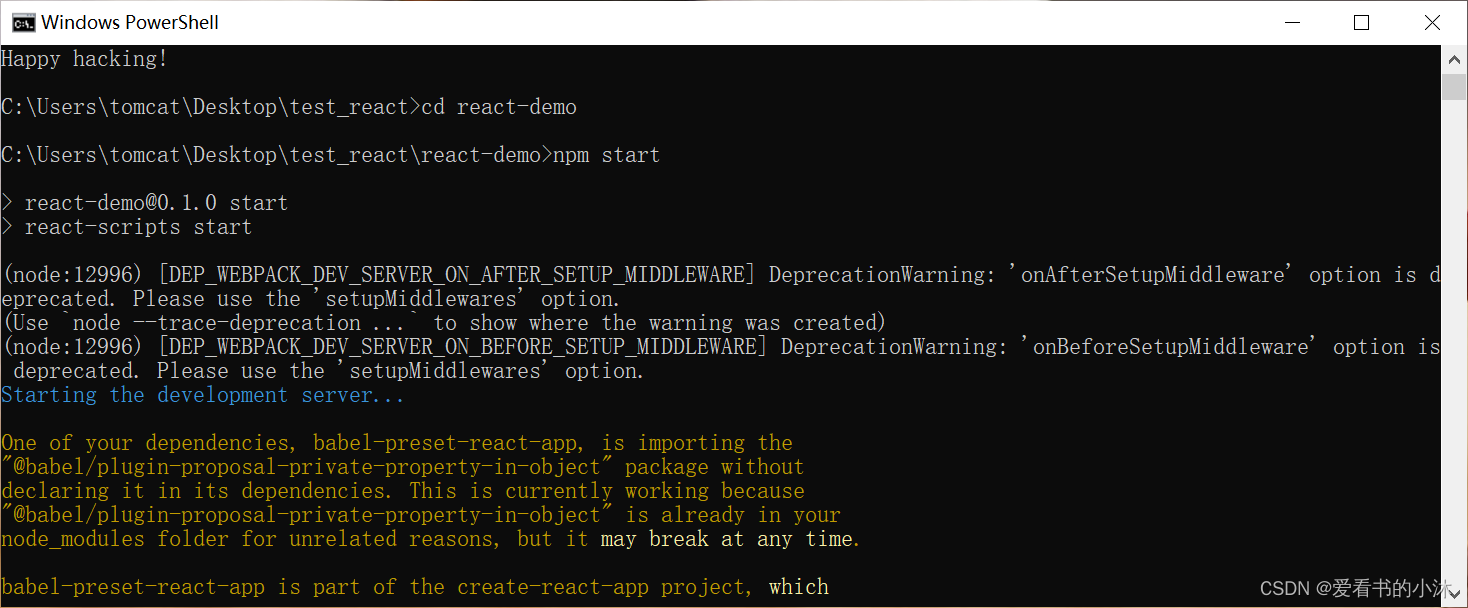
启动项目,在项目根目录执行命令:
npm start
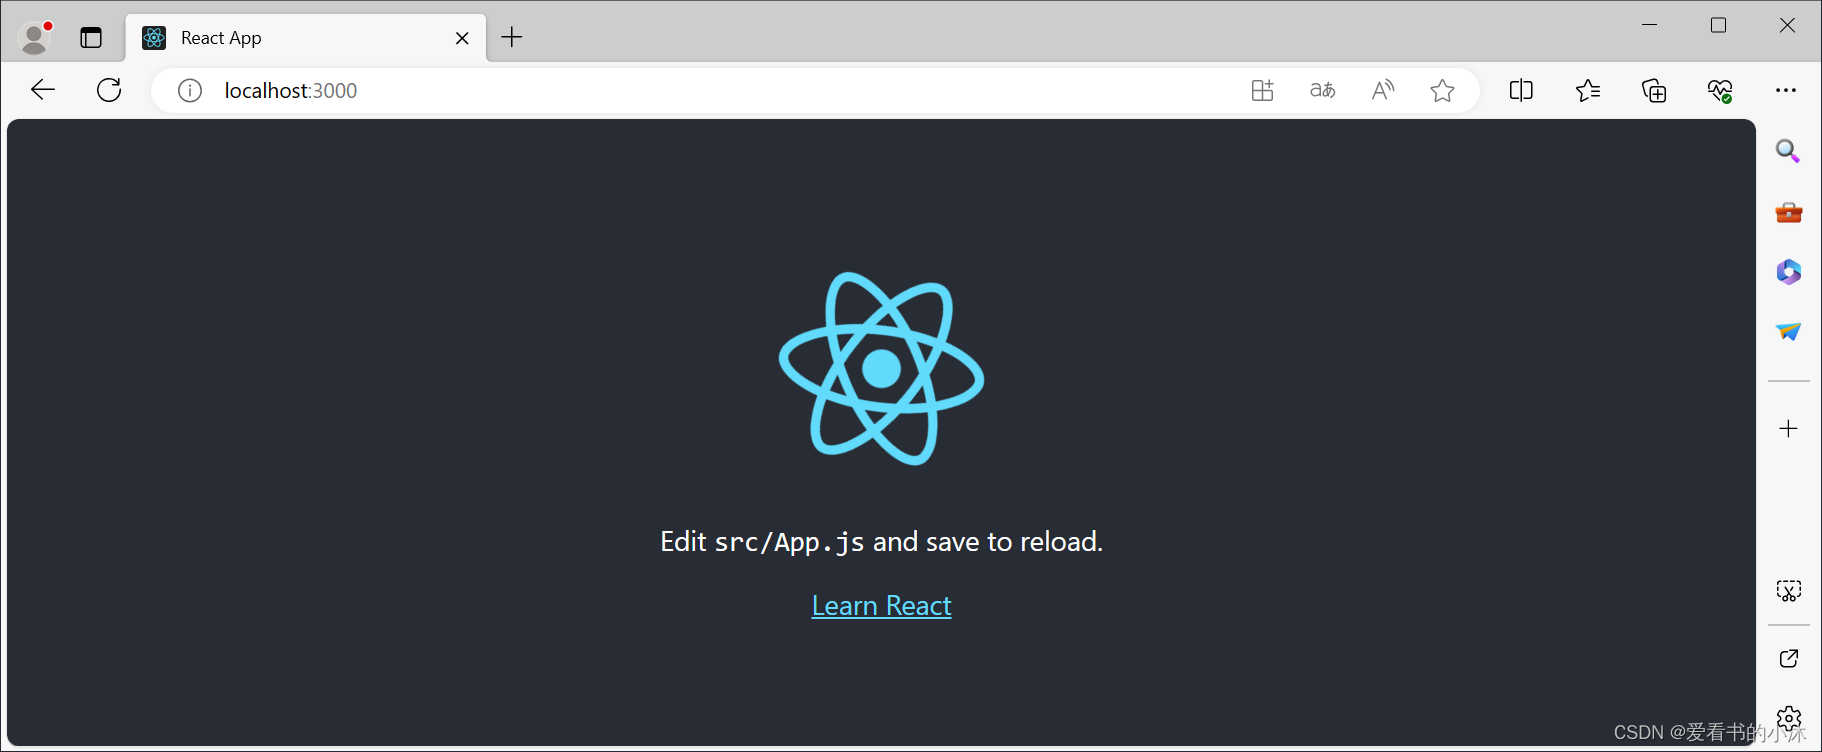
浏览器访问:
http://localhost:3000/
- 修改文件:react-demo\src\App.js
import logo from './logo.svg';
import './App.css';
import Weather from './components/Weather';

function App() {


  return (
    <div className="App">
     <Weather/>
    </div>
  );
}

export default App;
- 新建文件:react-demo\src\components\Weather.js
import React, {

     useState } from 'react'
// import './Weather.css'
import WeatherCard from './WeatherCard'

export default function Weather() {


    const [formData, setFormData] = useState([]);
    const [data, setData] = useState(null);

    const apiKey = 'your api key'; // https://openweathermap.org/

    const handlerChange = (e) => {


        setFormData(prev => ({

     ...prev, [e.target.name]: e.target.value }))
    }

    const handlerSubmit = async () => {


        if (!formData.city) {


            alert("Please Eneter City");
            return
        }

        if (!formData.country) {


            alert("Please Eneter Country");
            return
        }

        const res = await fetch(`https://api.openweathermap.org/data/2.5/weather?q=${

      formData.city},${

      formData.country}&appid=${

      apiKey}`).then((res) => {


            res.json().then((data) => {


                setData(data);
                console.log(data);
            });
            ;
        }).catch((err) => {


            console.log(err);
            setData(null)
            return
        })
    }
    return (
        <div className='weather'>

            <br />

            {

    !data ? (
                <div>
                    <span className='title' style={

    {


                        fontSize: 35
                    }}>This is Your weather</span>
                    <input type="text" onChange={

    handlerChange} className='input-control' name="city" placeholder="Enter your city" />
                    <input type="text" onChange={

    handlerChange} className='input-control' name="country" placeholder="Enter your Country" />
                    <button className='btn' onClick={

    handlerSubmit}>
                        Find Now Weather
                    </button>
                </div>
            ) : (
                <>
                    <WeatherCard {

    ...data} />

                    <div class="location-container">
                        <button onClick={

    () => setData(null)} class="location-button"> <i data-feather="map-pin"></i><span>Change location</span></button>
                    </div>
                </>
            )}

            {

    /* Weather Card */}
            {

    /* */}

        </div>
    )
}
- 新建文件:react-demo\src\components\WeatherCard.js
import React from 'react'
// import './WeatherCard.css'

export default function WeatherCard({

      name, sys, main, weather, wind,visibility }) {


    return (
        <div>
            <div class="container">
                <div class="weather-side">
                    <div class="weather-gradient"></div>
                    <div class="date-container">
                        <h2 class="date-dayname"></h2><span class="date-day">
                            {

    new Date().toLocaleDateString()}
                        </span><i class="location-icon" data-feather="map-pin"></i><span class="location">
                            {

    name} {

    sys.country}
                        </span>
                    </div>
                    <div class="weather-container"><i class="weather-icon" data-feather="sun"></i>
                        <img src={

    `http://openweathermap.org/img/wn/${

      weather[0].icon}.png`} width={

    85} />
                        <span>

                        </span>
                        <h1 class="weather-temp">{

    Math.floor(main.temp - 273.15)} °C</h1>
                        <h4>
                        Hight/Low {

    " - "}
                            {

    Math.floor(main.temp_max - 273.15)}
                            / {

    " "}
                            {

    Math.floor(main.temp_max - 273.15)} °C
                        </h4>


                        <h3 class="weather-desc">{

    weather[0].main} ({

    weather[0].description})</h3>
                    </div>
                </div>
                <div style={

    {


                    width: '350px'
                }} class="info-side">
                    <div class="today-info-container">
                        <div class="today-info">
                            <div class="precipitation"> <span class="title">PRESSURE</span><span class="value">{

    main.pressure} hPa</span>
                                <div class="clear"></div>
                            </div>
                            <div class="humidity"> <span class="title">HUMIDITY</span><span class="value">{

    main.humidity} %</span>
                                <div class="clear"></div>
                            </div>
                            <div class="wind"> <span class="title">WIND</span><span class="value">{

    Math.floor((wind.speed * 18) / 5)} km/h</span>
                                <div class="clear"></div>
                            </div>
                            <div class="wind"> <span class="title">VISIBILITY</span><span class="value">{

    visibility / 1000} km</span>
                                <div class="clear"></div>
                            </div>
                        </div>
                    </div>
                    <div class="week-container">
                    </div>
                </div>
            </div>
        </div>
    )
}
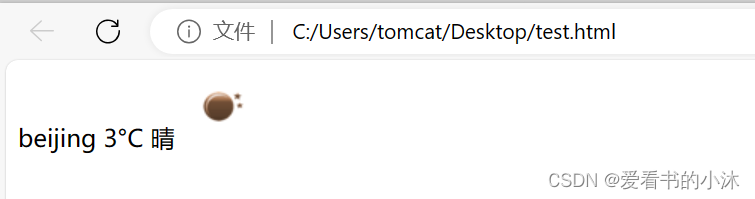
3.5 例子5:Current Weather + Vue.js
<!DOCTYPE html>
<html lang="en">

<head>
  <meta charset="UTF-8">
  <title>天气预报</title>
  <script src="https://cdn.jsdelivr.net/npm/[email protected]/dist/vue.min.js"></script>
</head>

<body>
  <div id="app">
    <div class="weather">
      <span class="city">{

    {

     city }}</span>
      <span class="temp">{

    {

     temperature }}°C</span>
      <span class="description">{

    {

     description }}</span>
      <img :src="iconUrl" />
    </div>
  </div>

  <script>
    var app = new Vue({


      el: '#app',
      data: {


        city: "beijing",
        apiKey: "your api key",
        temperature: "",
        description: "",
        iconCode: ""
      },
      methods: {


        getWeatherData: function () {


          let url =
            `https://api.openweathermap.org/data/2.5/weather?q=${

      this.city}&appid=${

      this.apiKey}&lang=zh_cn`;

          fetch(url)
            .then(response => response.json())
            .then(data => {


              console.log(data);

              this.temperature = Math.round(data.main.temp - 273.15);
              this.description = data.weather[0].description;
              this.iconCode = data.weather[0].icon;
            })
            .catch(err => {


              console.log(err);
            });
        }
      },
      computed: {


        iconUrl: function () {


          return `http://openweathermap.org/img/w/${

      this.iconCode}.png`;
        }
      },
      mounted: function () {


        this.getWeatherData();
      }
    });
  </script>

</body>
</html>
浏览器访问如下:
4、PyOWM
4.1 简介
PyOWM 是用于 OpenWeatherMap (OWM) Web API 的客户端 Python 包装库。它允许通过简单的对象模型以人性化的方式快速轻松地使用 Python 应用程序中的 OWM 数据。
PyOWM 在 Python 3.7+ 上运行。
PyOWM 获取 OpenWeatherMap 的 OneCall API 数据,作为 Dark Sky 的轻松替代品。
4.2 功能
- 天气 API v2.5 + OneCall API,提供当前天气数据、天气预报、天气历史
- Agro API v1.0,提供土壤数据和卫星图像搜索和下载
- 空气污染 API v3.0,提供有关 CO、O3、NO2 和 SO2 的数据
- UV Index API v3.0,提供有关紫外线暴露的数据
- Stations API v3.0,允许创建和管理气象站并发布本地天气测量值
- 天气警报 API v3.0,允许在天气状况和区域上设置触发器,并轮询生成的警报
- OWM 提供的多个地图图层的图像切片
- 地理编码 API v1.0 允许执行直接/反向地理编码
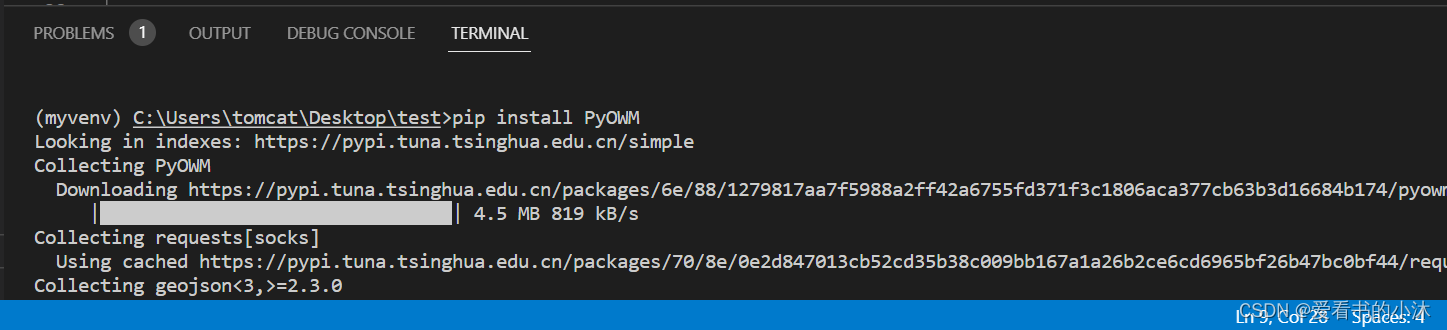
4.3 安装
pip install PyOWM
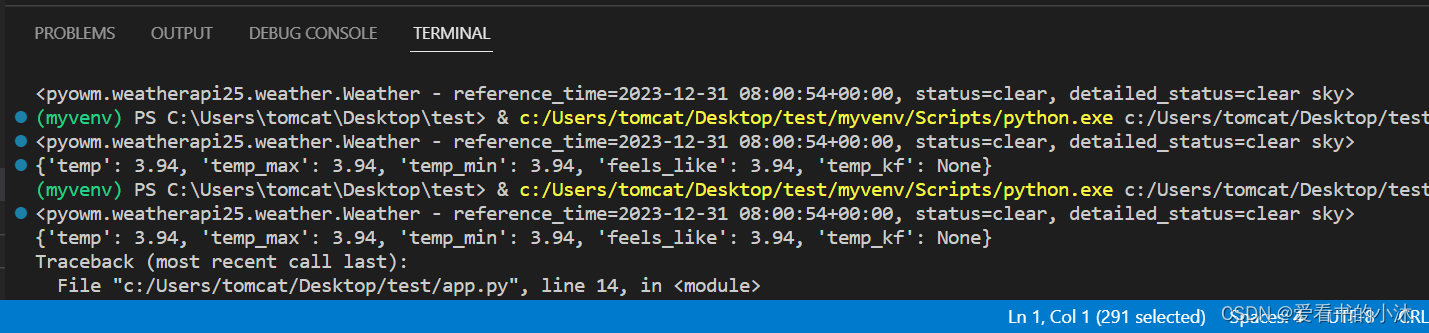
4.4 使用
import pyowm

owm = pyowm.OWM('your api key') # TODO: Replace <api_key> with your API key
mgr = owm.weather_manager()
# sf = mgr.weather_at_place('San Francisco, US')
sf = mgr.weather_at_place('beijing, CN')
w = sf.weather
print(w)
print(w.temperature('celsius'))
5、其他
- 高德天气 API -免费、 稳定、极简,适合天气预报基础需求
- 心知天气 API - 免费、轻便、专业,适合天气预报的初级需求
- 和风天气 API - 免费和付费同权限,非商业无限免费,含空气质量、天文气象
- OpenWeather - 免费 100 万次/月 分钟级实时预报,天气云图
- AccuWeather - 全球最大的气象数据服务商,历史悠久,数据精准,天气 API 王者
- Visual Crossing - 非开发者使用友好 50年历史气象数据免费调用
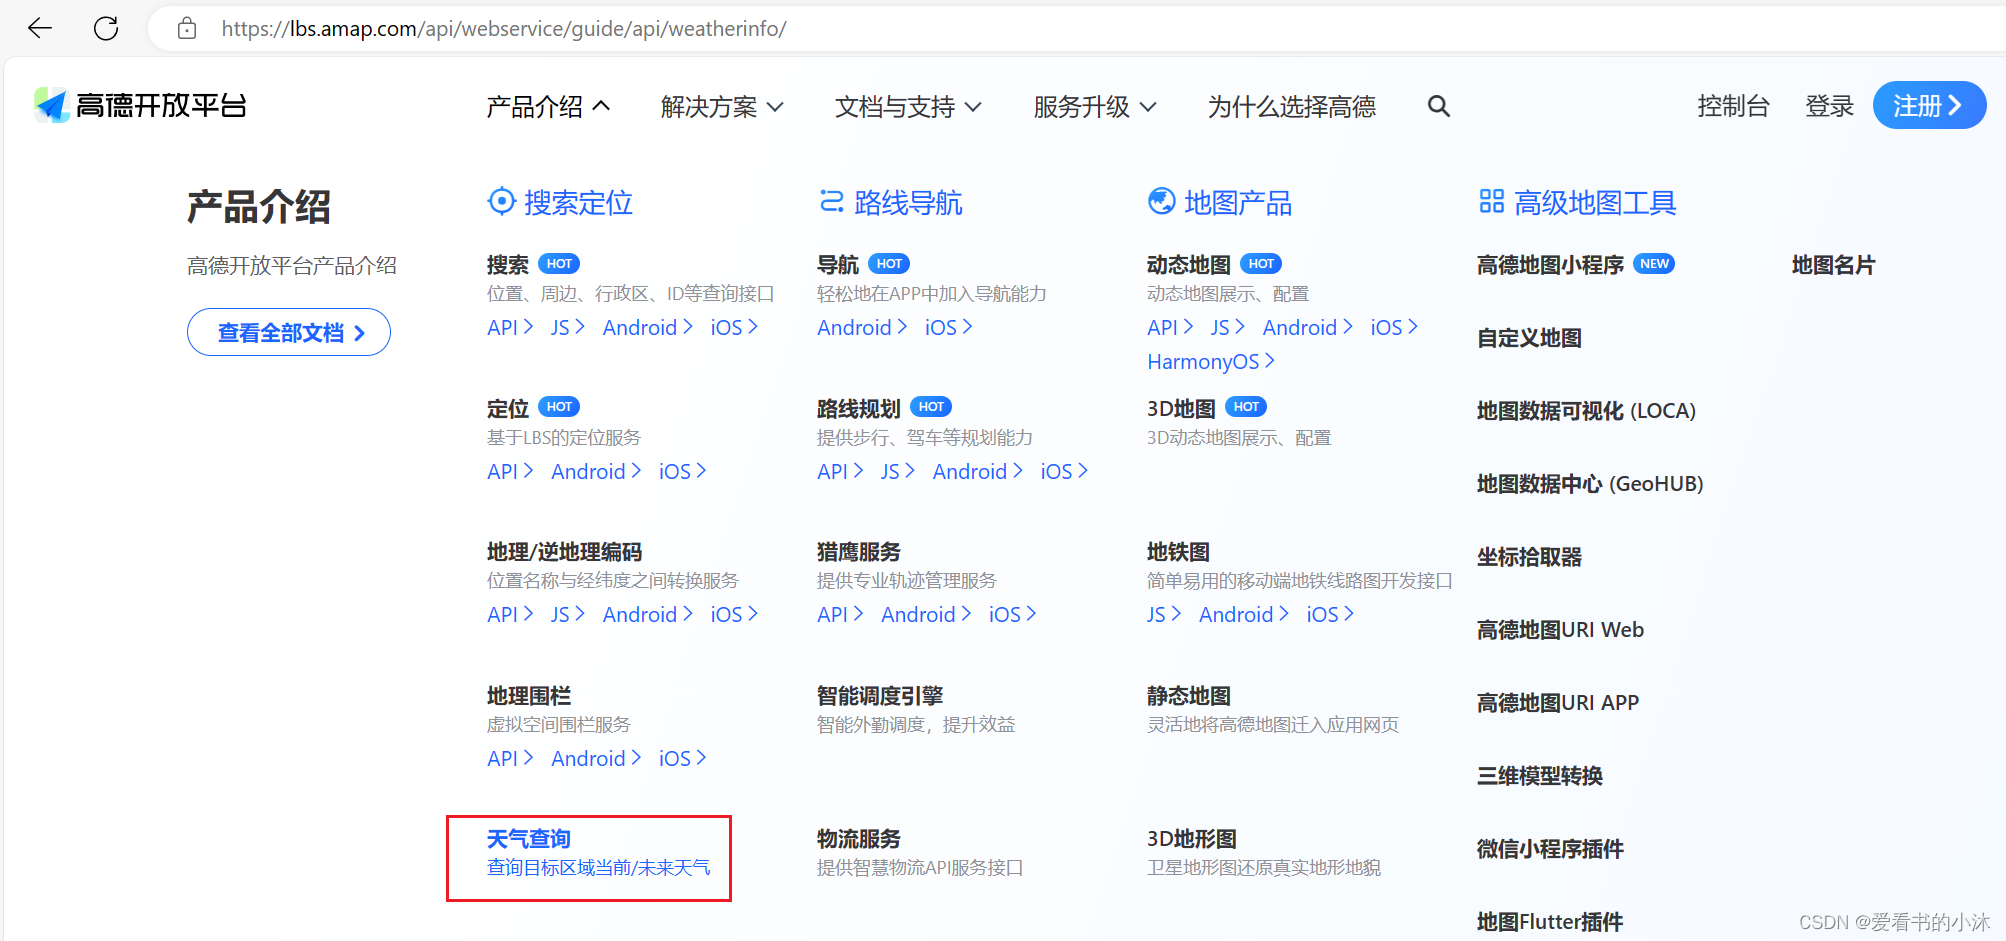
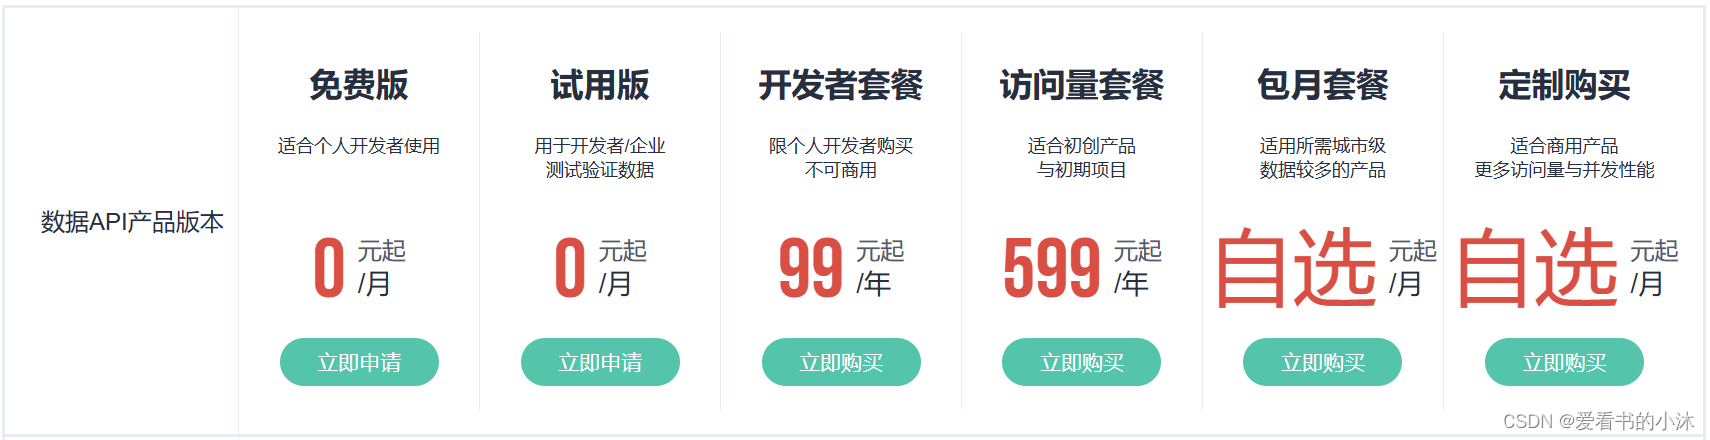
5.1 高德天气 API
https://lbs.amap.com/api/webservice/guide/api/weatherinfo
天气查询是一个简单的HTTP接口,根据用户输入的adcode,查询目标区域当前/未来的天气情况,数据来源是中国气象局。
https://restapi.amap.com/v3/weather/weatherInfo?parameters
https://restapi.amap.com/v3/weather/weatherInfo?city=110101&key=<用户key>
https://restapi.amap.com/v3/weather/weatherInfo?key=<用户key>&city=110000&extensions=all
5.2 心知天气 API
https://www.seniverse.com/
HyperData 是心知天气的高精度气象数据产品,通过标准的 Restful API 接口,提供标准化的数据访问。无论是 APP、智能硬件还是企业级系统都可以轻松接入心知的精细化天气数据。
心知天气为新注册用户提供免费 14 天全接口试用期,并享有 1 万次免费访问量.
https://api.seniverse.com/v3/weather/now.json?key=your_api_key&location=beijing&language=zh-Hans&unit=c
https://api.seniverse.com/v3/weather/daily.json?key=<用户key>&location=beijing&language=zh-Hans&unit=c&start=-1&days=5
5.3 和风天气 API
https://www.qweather.com/
和风天气开发服务提供了API、iOS SDK和Android SDK用以访问基于位置的天气数据,包括实况天气、30天预报、逐小时预报、空气质量AQI,灾害预警、分钟级降水、生活指数等天气数据服务。
GET https://api.qweather.com/v7/weather/now?{

    查询参数}
curl -L -X GET --compressed 'https://api.qweather.com/v7/weather/now?location=101010100&key=YOUR_KEY'
结语
如果您觉得该方法或代码有一点点用处,可以给作者点个赞,或打赏杯咖啡;╮( ̄▽ ̄)╭
如果您感觉方法或代码不咋地//(ㄒoㄒ)//,就在评论处留言,作者继续改进;o_O???
如果您需要相关功能的代码定制化开发,可以留言私信作者;(✿◡‿◡)
感谢各位大佬童鞋们的支持!( ´ ▽´ )ノ ( ´ ▽´)っ!!!