文章转载自:
https://www.cnblogs.com/wangyaobk/articles/7885052.html
本文是基于spring-rabbit中间件来实现消息的发送接受功能
项目搭建采用spring-boot:
pom.xml如下:
1  <!--AMQP-->
2         <dependency>
3             <groupId>org.springframework.boot</groupId>
4             <artifactId>spring-boot-starter-amqp</artifactId>
5         </dependency>
rabbitMQ配置:
1 rabbitmq.host=
2 rabbitmq.userName=
3 rabbitmq.password=
4 rabbitmq.port=5672
5 rabbitmq.sendQueueName=test
6 rabbitmq.receiverQueueName=test
配置类:

 1 @Configuration
 2 @PropertySource("classpath:rabbitmq.properties")
 3 public class RabbitMQConfiguration {
 4     @Value("${rabbitmq.host}")
 5     private String host;
 6     @Value("${rabbitmq.userName}")
 7     private String userName;
 8     @Value("${rabbitmq.password}")
 9     private String password;
10     @Value("${rabbitmq.port}")
11     private Integer port;
12     @Value("${rabbitmq.sendQueueName}")
13     private String sendQueueName;
14     @Value("${rabbitmq.receiverQueueName}")
15     private String receiverQueueName;
16
17     //此处省略getter ,setter
}
Amqp注册与监听:
/**
 * /**
 * Amqp消息注册监听
 */
@Configuration
public class AmqpListener {


    @Autowired
    private RabbitMQConfiguration rabbitMQConfiguration;

    @Bean
    public MessageListener exampleListener() {
        return new MessageListener() {
            public void onMessage(Message message) {
                //amqpReceiver.onMessage(message);
                System.out.print("接收消息:" + new String(message.getBody()));
            }
        };
    }

    @Bean
    public SimpleMessageListenerContainer messageListenerContainer() {
        SimpleMessageListenerContainer container = new SimpleMessageListenerContainer();
        container.setConnectionFactory(rabbitConnectionFactory());
        //设置监听的队列名,数组[]"abc","test4"
        String[] types = {rabbitMQConfiguration.getReceiverQueueName()};
        container.setQueueNames(types);
        container.setMessageListener(exampleListener());
        return container;
    }

    @Bean
    public ConnectionFactory rabbitConnectionFactory() {
        CachingConnectionFactory connectionFactory = new CachingConnectionFactory(rabbitMQConfiguration.getHost());
        connectionFactory.setUsername(rabbitMQConfiguration.getUserName());
        connectionFactory.setPassword(rabbitMQConfiguration.getPassword());
        connectionFactory.setPort(rabbitMQConfiguration.getPort());
        return connectionFactory;
    }

}
下面介绍简单的消息发送:
 1 /**
 2  * 发送消息mq队列
 3  */
 4 public class AmqpSend {
 5
 6     private static Logger log = LoggerFactory.getLogger(AmqpSend.class);
 7
 8     private AmqpTemplate rabbitTemplate;
 9     private RabbitMQConfiguration rabbitMQConfiguration;
10     private String context;
11
12     public AmqpSend(String context, RabbitMQConfiguration rabbitMQConfiguration, AmqpTemplate rabbitTemplate) {
13         this.context = context;
14         this.rabbitMQConfiguration = rabbitMQConfiguration;
15         this.rabbitTemplate = rabbitTemplate;
16     }
17
18     public void send() {
19         try {
20          this.rabbitTemplate.convertAndSend(rabbitMQConfiguration.getSendQueueName(), context);
21             log.info("消息发送成功");
22         } catch (Exception e) {
23             log.error(e.getMessage());
24             log.error("消息发送失败");
25         }
26
27     }
28 }
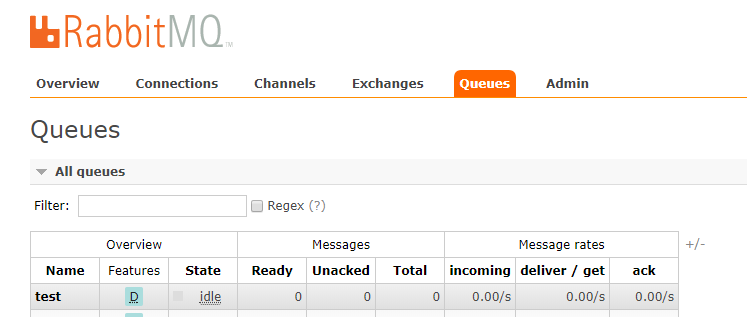
然后登录rabbitmq web界面: