1、先安装webp
yum install libwebp
2、编译安装ImageMagick
之前有过yum安装的先卸载
yum remove ImageMagick
我使用的是老版本ImageMagick-6.8.7-10.tar.gz,备用下载地址:https://www.lanzous.com/i1b99je
wget https://netix.dl.sourceforge.net/project/imagemagick/old-sources/6.x/6.8/ImageMagick-6.8.7-10.tar.gz
tar -zxvf ImageMagick-6.8.7-10.tar.gz
cd ImageMagick-6.8.7-10
./configure --with-webp
make && make install
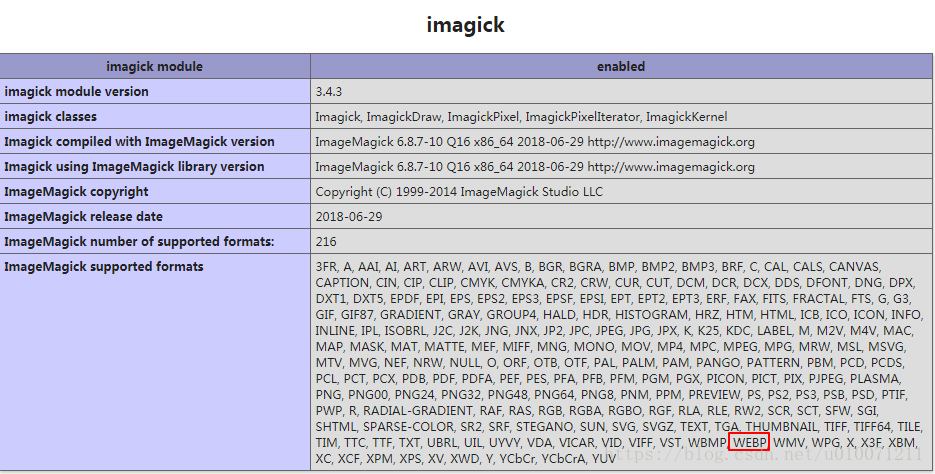
查看ImageMagick支持的格式,确认包含 webp
convert -list format
测试将webp格式转换为jpg格式,
convert test.webp test.jpg
3、编译安装ImageMagick-php
从http://pecl.php.net/package/imagick找到imagick的最新的版本
wget http://pecl.php.net/get/imagick-3.4.3.tgz
tar -zxvf imagick-3.4.3.tgz
cd imagick-3.4.3
phpize
./configure
make
make install
加载imagick到php
在/etc/php.ini 加上extension=imagick.so
重启apache
service httpd restart //CentOS6
systemctl restart httpd.service //CentOS7
使用 phpinfo() 来查看是否安装成功
php中的使用方法
$imagick2 = new \Imagick();
$src = './ceshi2.webp';       //原始的图片
$dest = './ceshi66666.jpg';   //转码后图片存放位置及文件名
$imagick2->readImage($src);
echo $imagick2->writeImage($dest);   //转格式成功,返回1