注意 这里的版本要是1.5.15的


Application代码
@SpringBootApplication
@ComponentScan("com.example.demo1.controller")
public class Demo1Application {

   public static void main(String[] args) {
      SpringApplication.run(Demo1Application.class, args);
   }
}
Controller代码
方法一:ModelAndView
@Controller
@EnableAutoConfiguration
public class HelloController {

    @RequestMapping("/hello")

    @ResponseBody
    public ModelAndView hello(){
        System.out.println("hello!");
        ModelAndView mode = new ModelAndView();
        mode.setViewName("hello");
        return mode;
    }
}
方法二:String
@Controller
@EnableAutoConfiguration
public class HelloController {

    @RequestMapping("/hello")

    public String hello() {
        System.out.println("进入controller");
        return "hello";
    }
}
html代码
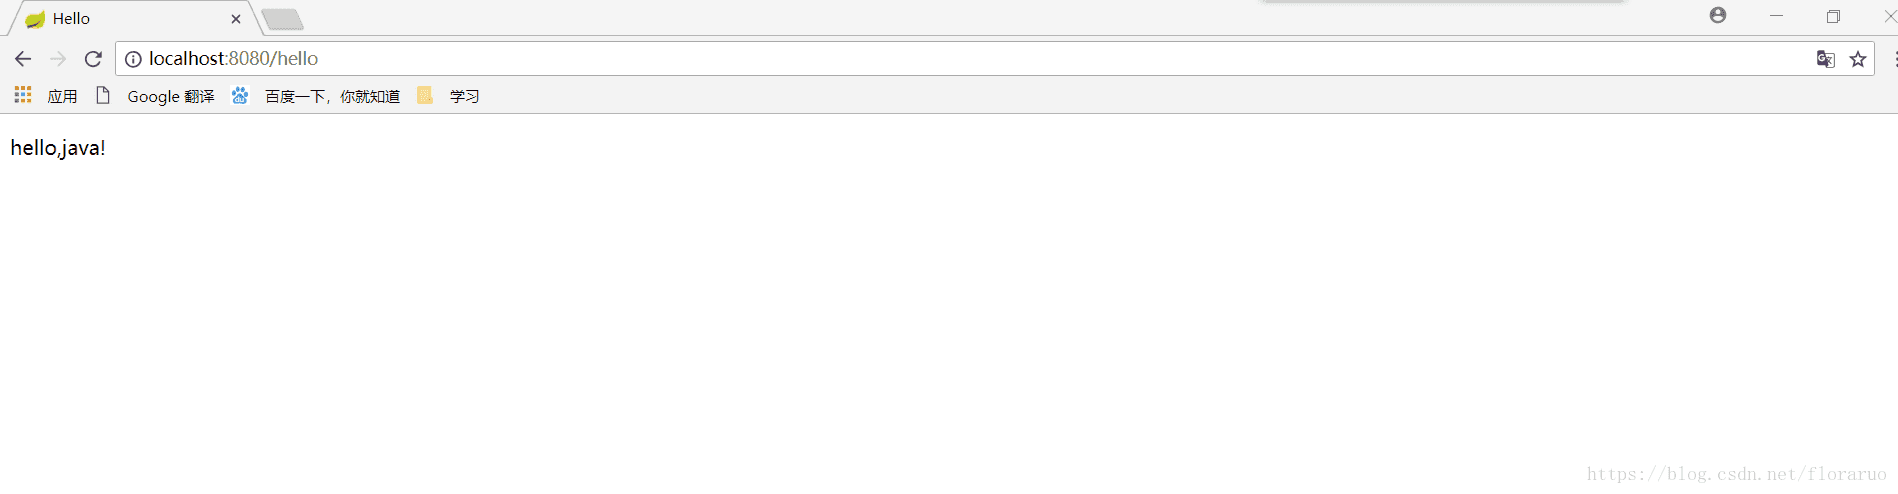
<!DOCTYPE html>
<html lang="en">
<head>
    <meta charset="UTF-8"/>
    <title>Hello</title>
</head>
<body>
<p>hello,java!</p>
</body>
</html>
properties文件
spring.mvc.view.prefix=/
spring.mvc.view.suffix=.html
pom文件配置
加上这两段
<!-- https://mvnrepository.com/artifact/org.springframework/springloaded -->
<dependency>
   <groupId>org.springframework</groupId>
   <artifactId>springloaded</artifactId>
   <version>1.2.6.RELEASE</version>
   <scope>provided</scope>
</dependency>

<dependency>
   <groupId>org.springframework.boot</groupId>
   <artifactId>spring-boot-starter-thymeleaf</artifactId>
</dependency>