1.在pom.xml中把
<packaging>jar</packaging><packaging>war</packaging>2.移除内嵌的tomcat容器,在pom.xml中加上:
<dependency>
    <groupId>org.springframework.boot</groupId>
    <artifactId>spring-boot-starter-tomcat</artifactId>
    <scope>provided</scope>
</dependency><finalName>springBoot</finalName><finalName></finalName>里的名称要和application.properties配置中的server.context-path保持一致,即
server.context-path=/springBoot4.改变启动方式:
新增ServletInitializer类,使之继承抽象类SpringBootServletInitializer,然后实现configure方法,即
package com.boot;

import org.springframework.boot.builder.SpringApplicationBuilder;
import org.springframework.boot.web.support.SpringBootServletInitializer;

public class ServletInitializer extends SpringBootServletInitializer{

    @Override
    protected SpringApplicationBuilder configure(SpringApplicationBuilder application) {
        return application.sources(TestBoot01Application.class);
    }
}5.打包,这里以idea为例:
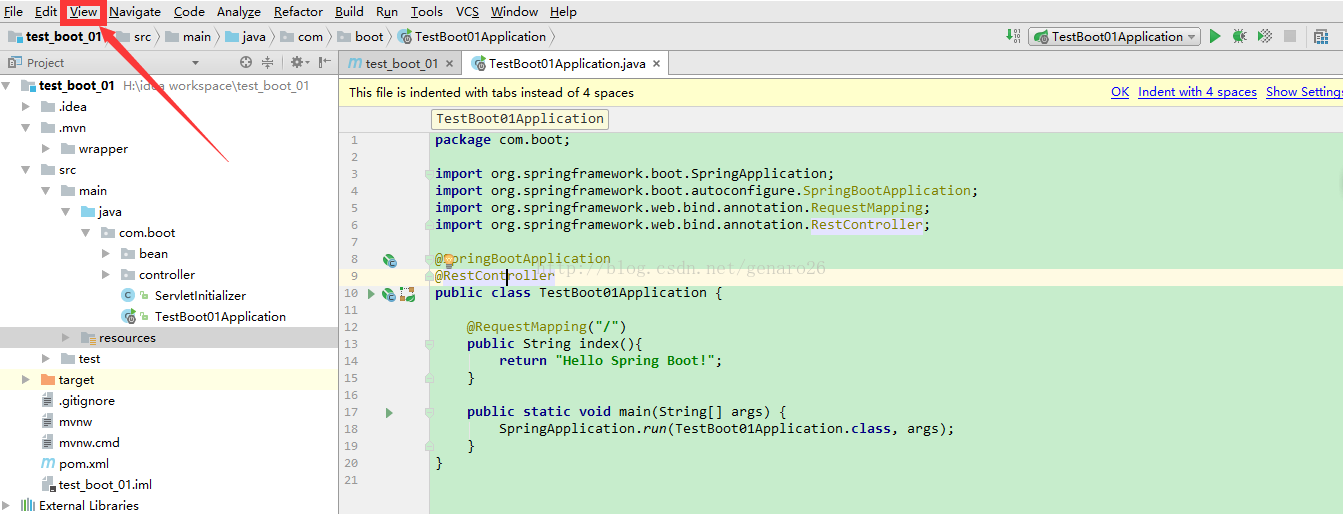
第一步:

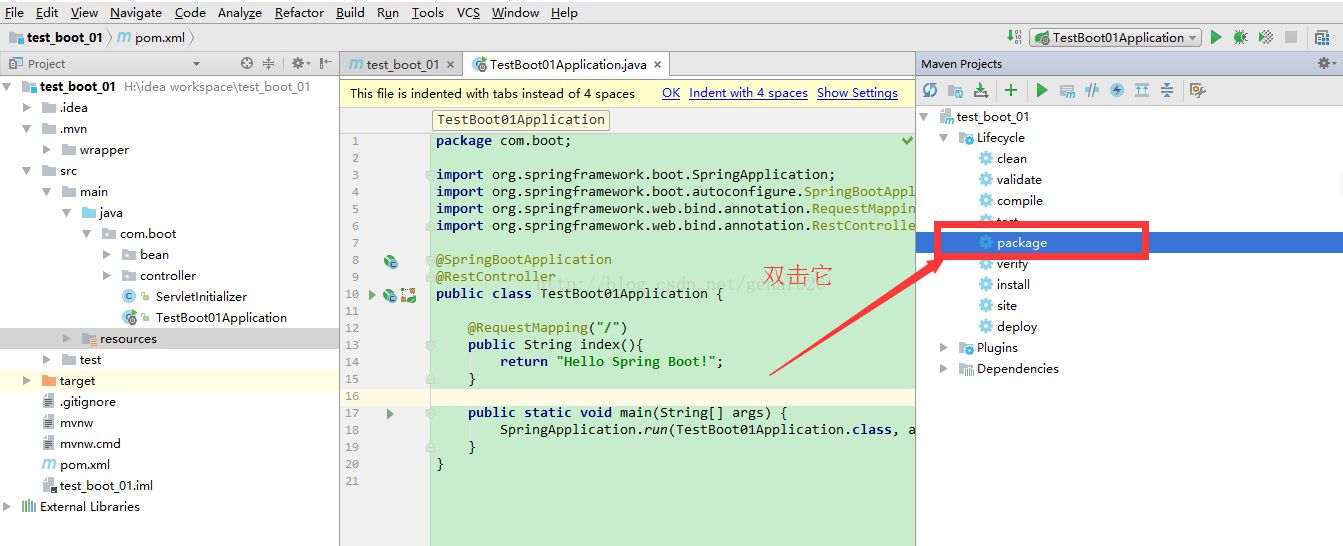
第二步:
第三步:
然后就是等待啦,这个过程很快的,打好的war包在项目的target文件夹内
7.把这个war包放在tomcat的webapps目录下面,启动tomcat,输入http://localhost:8080/springBoot就可以访问项目的根目录啦