上一篇文章说明了WebView的基本用法
接下来继续探讨:怎么与JS交互
(1)首先我们得创建一个JavaScript demo
<input type="button" value="Say hello" onClick="showAndroidToast('Mountain Hua')" />

<script type="text/javascript">
    function showAndroidToast(toast) {
        Android.showToast(toast);
    }
</script>
目的是显示一个按钮,通过JS与Android交互实现点击出现Mountain Hua字样的Toast.
然后在Android studio里面设置为Project目录,默认的是Android。
如图
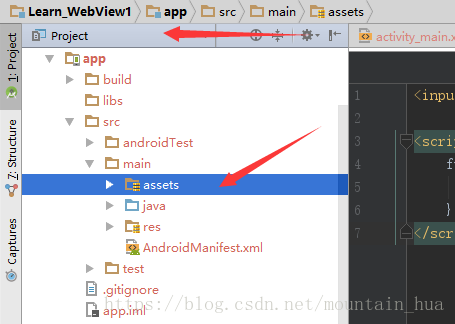
这个assets文件夹是我已经创建好的,下面说说怎么创建:
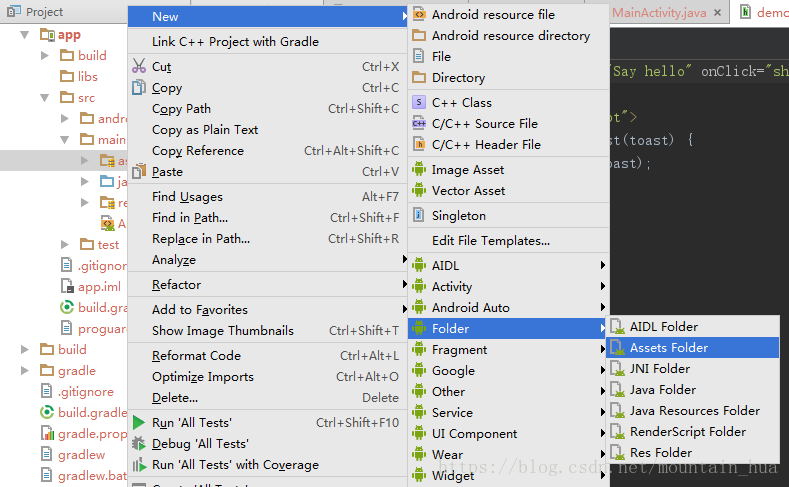
右键main文件夹根据如图所示步骤,点击 Assets Folder,根据提示继续点击创建一个assets文件夹。
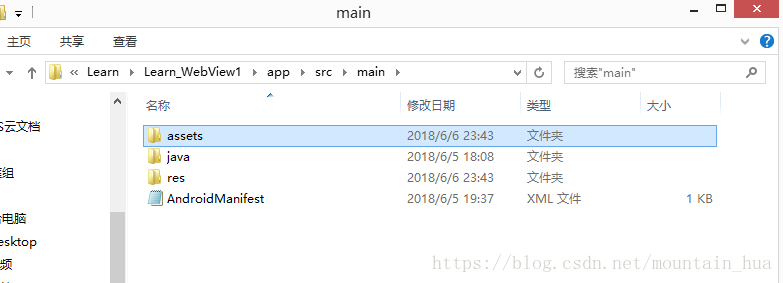
然后找到这个assets文件夹,把刚刚的JS demo放进去,也可以直接在AS里面粘贴:
(2)配置MainActivity:
首先创建一个class:WebAppInterface
 class WebAppInterface {
    Context mContext;

    /** Instantiate the interface and set the context */
    WebAppInterface(Context c) {
        mContext = c;
    }

    /** Show a toast from the web page */
    @JavascriptInterface
    public void showToast(String toast) {
        Toast.makeText(mContext, toast, Toast.LENGTH_SHORT).show();
    }
}
然后在OnCreat方法里面加入如下代码:
final WebView webView=(WebView)findViewById(R.id.webview);
webView.loadUrl("file:///android_asset/demo.html"); //本地Url,注意asset没有S
webView.setWebViewClient(new WebViewClient()); //防止加载不出来,详见我上一篇文章 Android接入WebView(一)
WebSettings webSettings = webView.getSettings(); //web设置
webSettings.setJavaScriptEnabled(true); //设置能使用JS
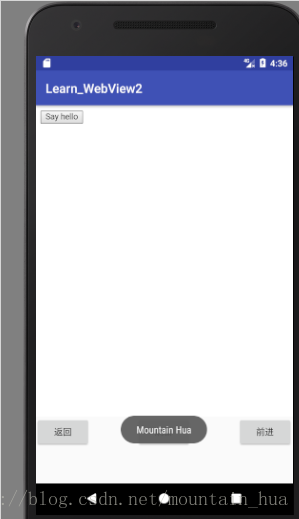
webView.addJavascriptInterface(new WebAppInterface(this),"Android"); //提供Android接口(3)测试:
点击Say hello后,出现了Toast信息:Mountain Hua.说明Android与JS交互成功
本文写作参考: