一、创建表
import pymysql

db = pymysql.connect("localhost","root","a","yc57")   #连接对象,类似 程序->数据库 中间的高速公路

cur = db.cursor()   #游标对象,类似 程序->数据库 中间高速公路中的货车

cur.execute( "drop table if exists teacher" )

sql = "create table teacher(tid int primary key auto_increment,tname varchar(50),age int)"

cur.execute(sql)

cur.close()  #将这个游标对象关闭

db.close()   #将这个连接对象关闭
首先我们一定要导入pymysql这个包,连接数据库的函数都在这里,其中connect就是连接的对象,("localhost","root","a","yc57")从前到后分别表示(连接主机名,mysql账号名,密码,连接的数据库名)。这里的cur是我们 创建的cursor游标对象。为什么要用这个游标?我们举个比较形象的例子,connect函数就像把主机与mysql数据库连接的高速公路,但是只有路没有车怎么运送货物呢,所以就用这个cursor游标对象作为高速公路上的货车,所以execute这个执行函数由cursor来调用,但是要记得使用完以后,cursor与connect都要close()。
这样我们就创建了一个表名为 teacher的新表。
二、向表插入数据
import pymysql

db = pymysql.connect("localhost","root","a","yc57")
cur = db.cursor()

sql = "insert into teacher(tname,age) values('jjf',21) "

try:
    cur.execute( sql )
    db.commit()   #将事务提交
    print('受影响行数:',cur.rowcount)
except Exception as e:
    print( e )
    db.rollback
finally:
    cur.close()
    db.close()

print("操作成功 . . .")
这里使用了事务,如果插入数据时候出了错误可以进行回滚,不会对表产生不必要的影响。
三、输入数据再向表插入
import pymysql

tname = input("请输入教师名:")
age = input("请输入教师年龄:")

db = pymysql.connect("localhost","root","a","yc57")
cur = db.cursor()

sql = "insert into teacher(tname,age) values(%s,%s) "

try:
    cur.execute( sql,[tname,age] )
    db.commit()
    print('受影响行数:',cur.rowcount)
except Exception as e:
    print( e )
    db.rollback
finally:
    cur.close()
    db.close()

print("操作成功 . . .")
这里实现插入的SQL语句中的使用了 %s 占位符,我们在下面 cur.execute( sql,[tname,age] ) ,这里sql后面加上要添加到占位符的数据就可以实现输入数据的插入数据。
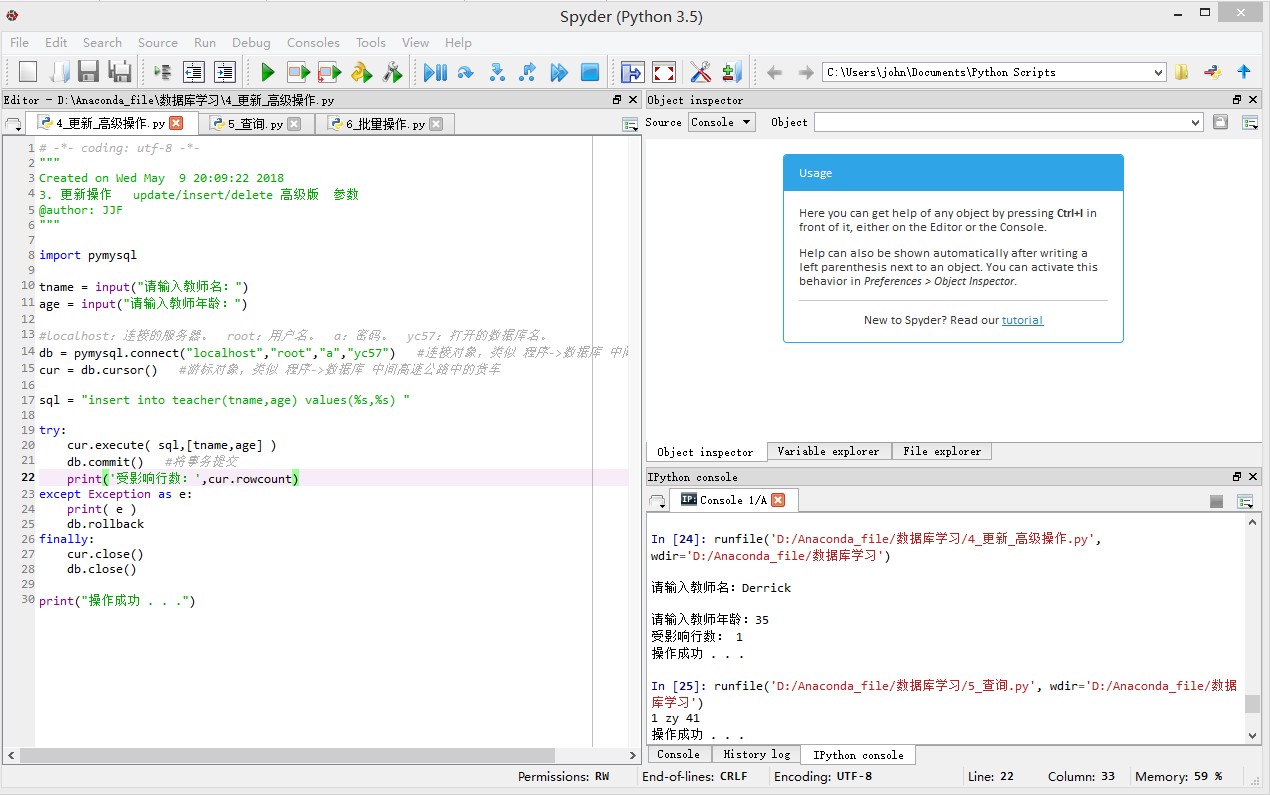
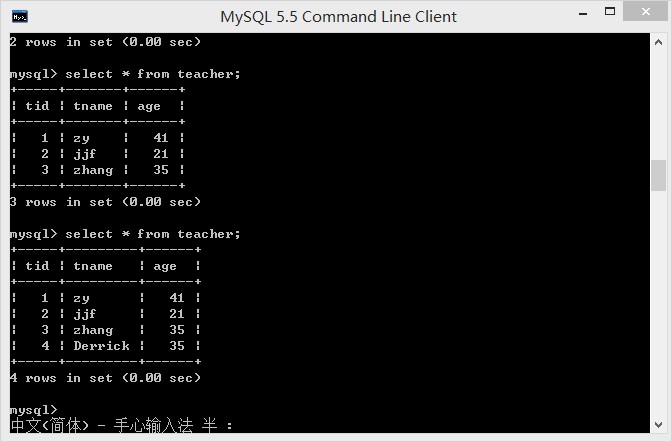
可以看到我们插入成功。
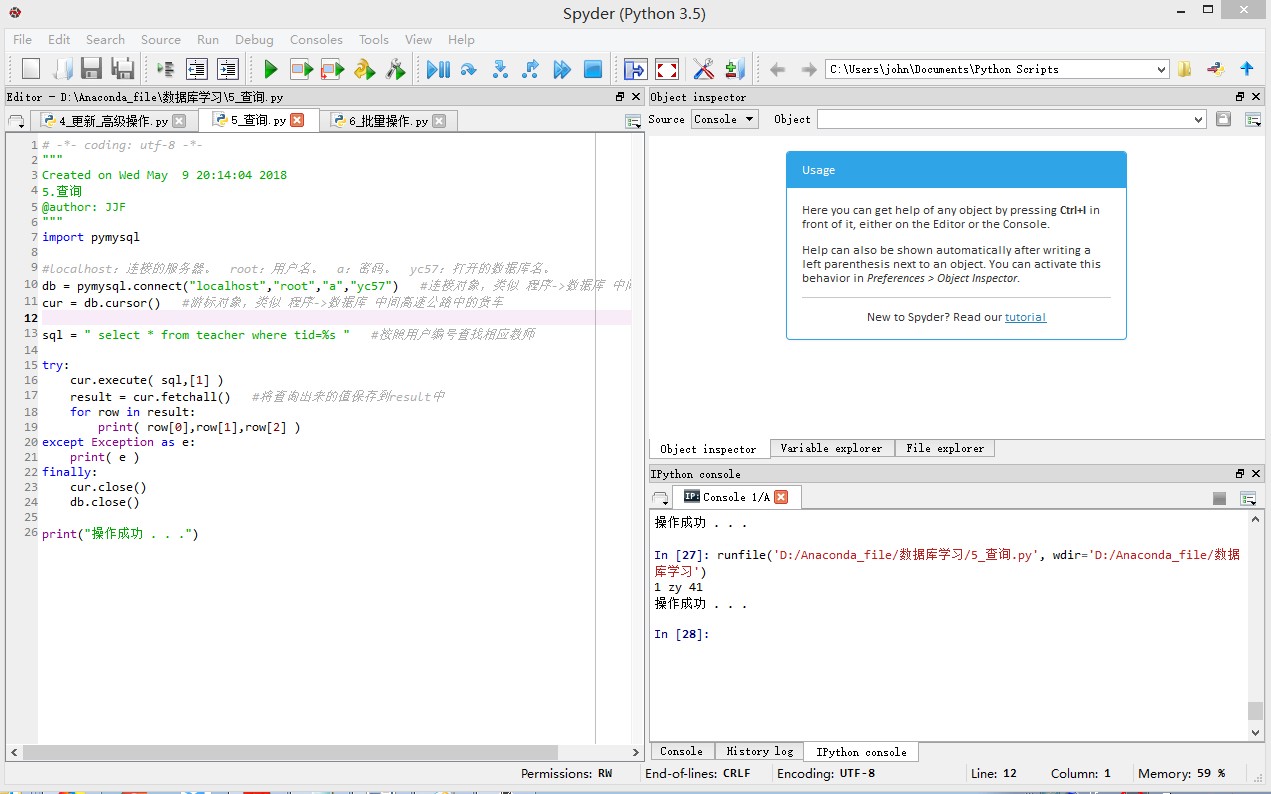
四、查询相关表数据
import pymysql

db = pymysql.connect("localhost","root","a","yc57")
cur = db.cursor()

sql = " select * from teacher where tid=%s "

try:
    cur.execute( sql,[1] )
    result = cur.fetchall()   #将查询出来的值保存到result中
    for row in result:
        print( row[0],row[1],row[2] )
except Exception as e:
    print( e )
finally:
    cur.close()
    db.close()

print("操作成功 . . .")
这里我们也是要使用 %s 占位符,来实现查询匹配的数据,查询要使用fetchall函数将查询出来的值保存到result中,然后输出就可以了。
五、批量操作
import pymysql

db = pymysql.connect("localhost","root","a","yc57")
cur = db.cursor()

sql = " insert into teacher(tname,age) values(%s,%s) "

try:
    cur.executemany( sql,[('lisi',32),('wangwu',27),('zhaoliu',40)] )
    db.commit()   #将事务提交
    print('受影响行数:',cur.rowcount)
except Exception as e:
    print( e )
    db.rollback
finally:
    cur.close()
    db.close()

print("操作成功 . . .")
有的时候要插入的数据很多,我们一条条插入会很繁琐,所以这里我们用批量操作,插入数据时的执行函数要用executemany,然后将数据写在函数中就可以了。
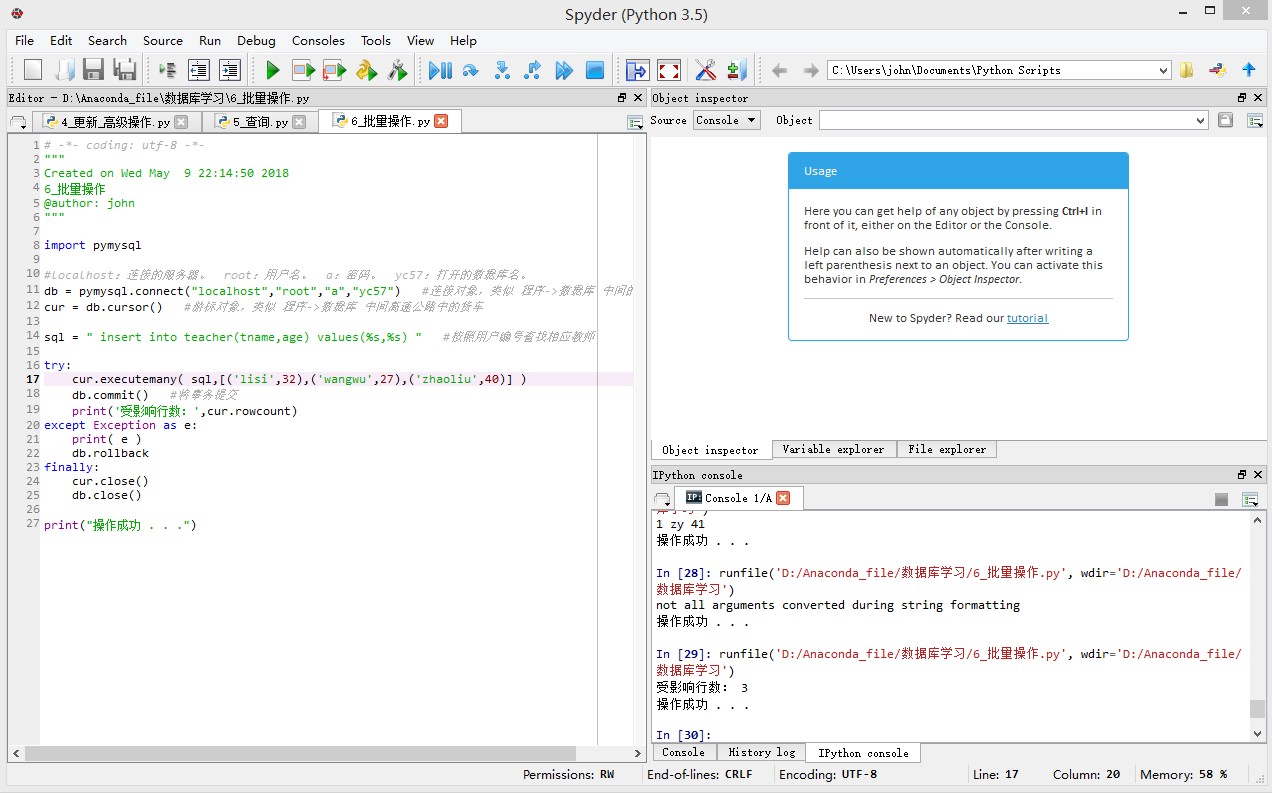
执行以后的结果如下:

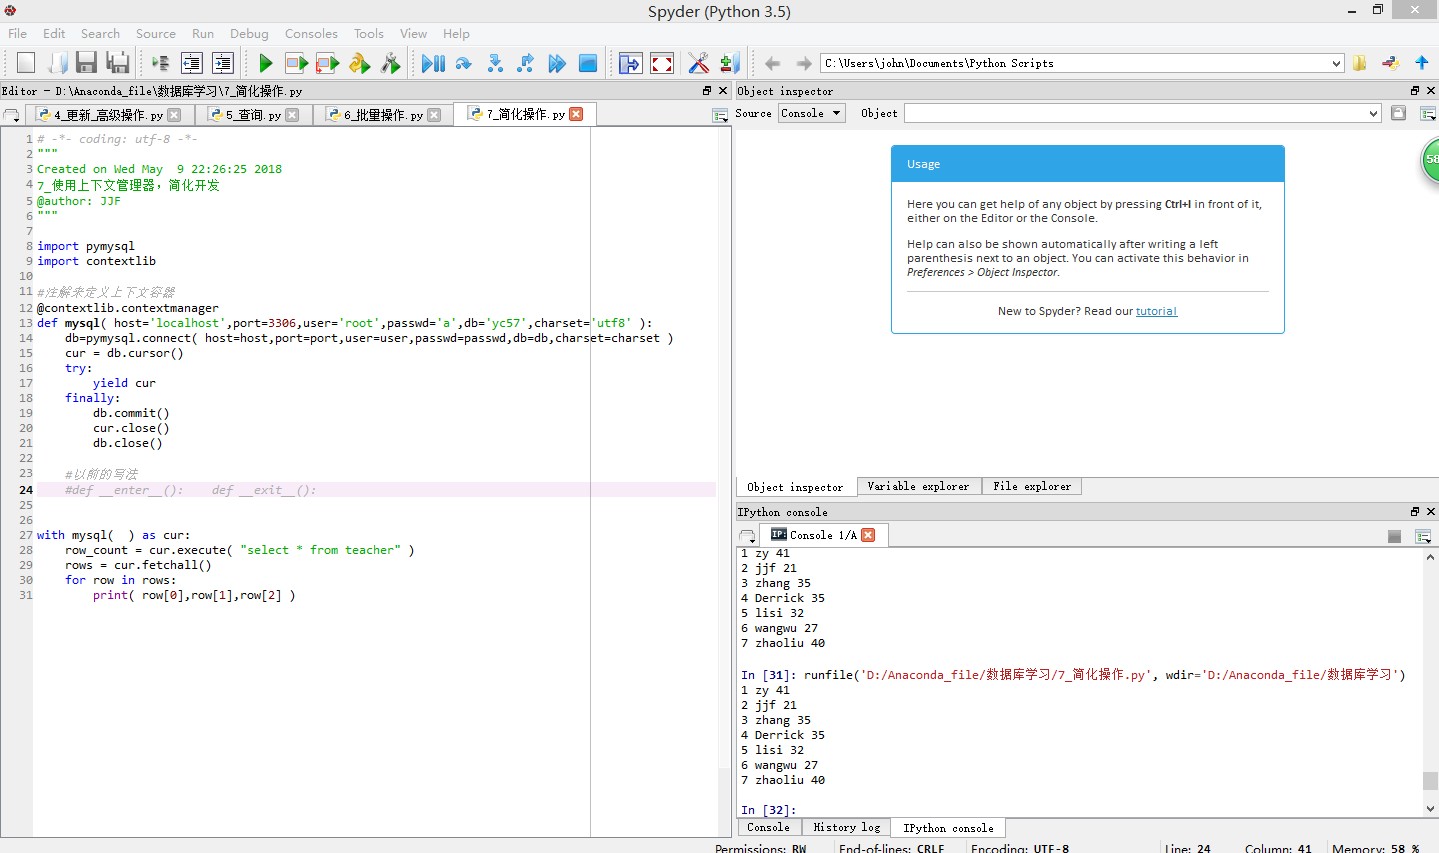
六、简化操作
import pymysql
import contextlib

#注解来定义上下文容器
@contextlib.contextmanager
def mysql( host='localhost',port=3306,user='root',passwd='a',db='yc57',charset='utf8' ):
    db=pymysql.connect( host=host,port=port,user=user,passwd=passwd,db=db,charset=charset )
    cur = db.cursor()
    try:
        yield cur
    finally:
        db.commit()
        cur.close()
        db.close()

with mysql(  ) as cur:
    row_count = cur.execute( "select * from teacher" )
    rows = cur.fetchall()
    for row in rows:
        print( row[0],row[1],row[2] )
由于上面我们每次使用数据库都要重新写数据库的连接语句,会很繁琐,所以我们封装一下,并用注解来定义上下文容器,使连接mysql数据库可以更加方便可复制。