一、Nginx 介绍
Nginx是一款轻量级的Web 服务器/反向代理服务器及电子邮件(IMAP/POP3)代理服务器,并在一个BSD-like 协议下发行。其特点是占有内存少,并发能力强,事实上nginx的并发能力确实在同类型的网页服务器中表现较好,中国大陆使用nginx网站用户有:百度、京东、新浪、网易、腾讯、淘宝等。
二、Nginx部署
1、下载安装包 nginx-1.140.tar.gz
解压并在文件中删除版本号(安全)和debug功能(简洁)
[root@server1 ~]# ls
anaconda-ks.cfg  install.log  install.log.syslog  nginx-1.14.0.tar.gz
[root@server1 ~]# tar zxf nginx-1.14.0.tar.gz 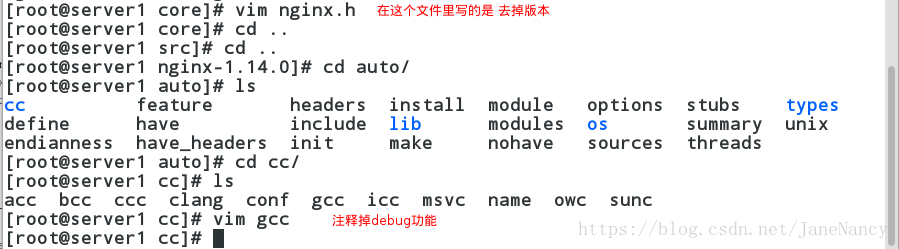


2、./configure配置 选择自己需要的功能模块,可以–help查看

但是会报错,我们根据报错,安装所需要的服务工具


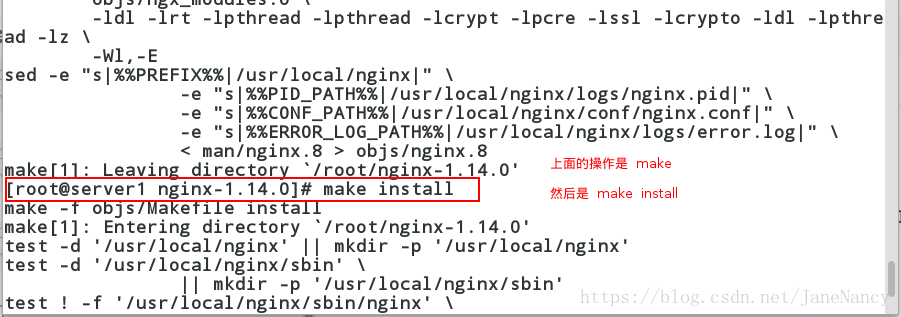
配置完成,进行编译(make)和安装(make install)
3、作软链接方便启动nginx
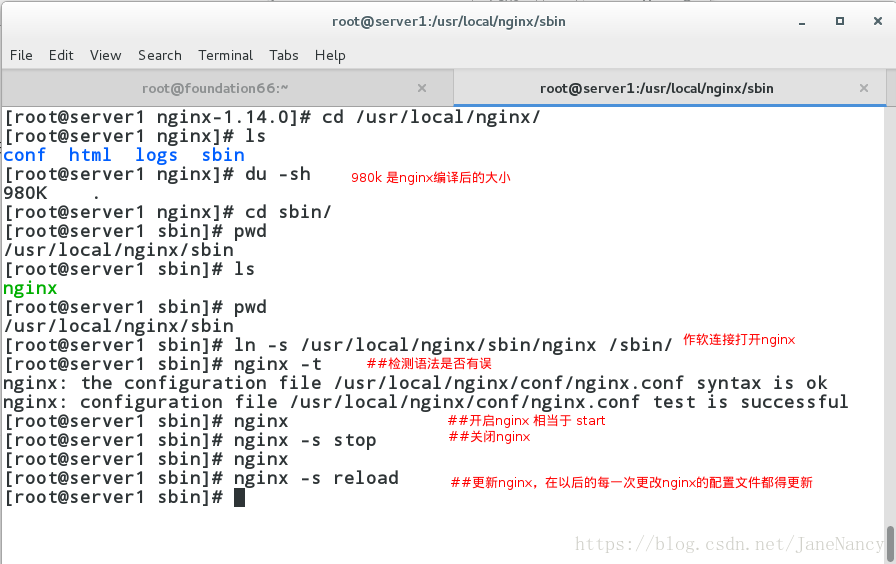
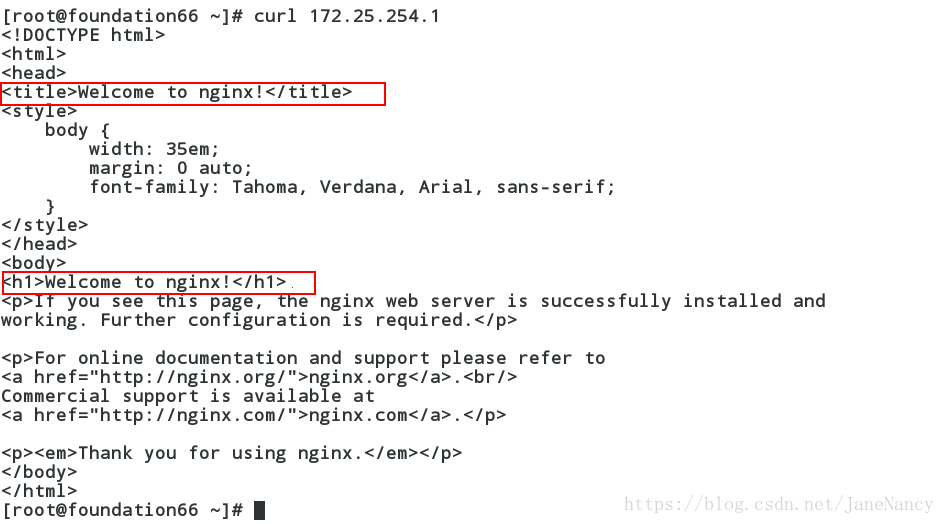
4、测试:
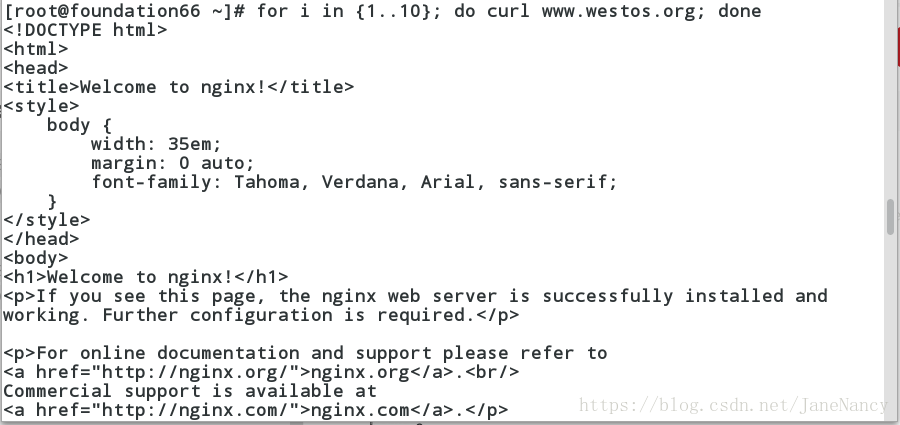
在真机上测试: curl 172.25.254.1 会出现 welcome nginx ;
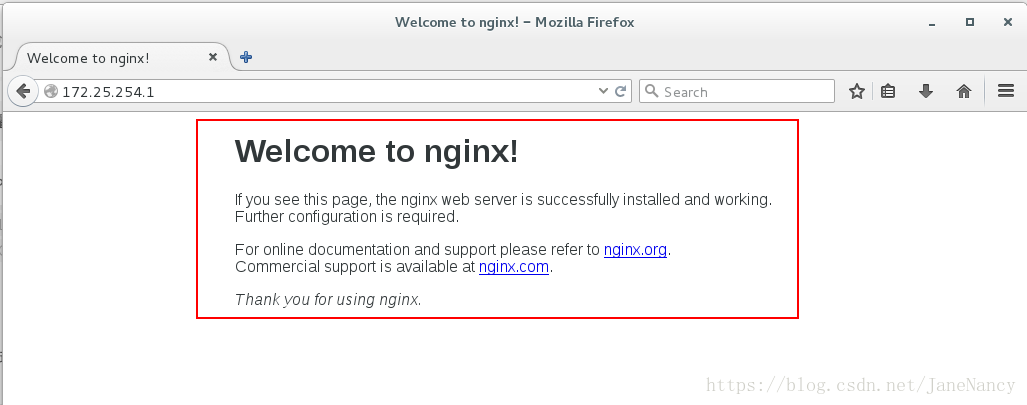
在网页上测试: 172.25.254.1 也会出现 welcome nginx .
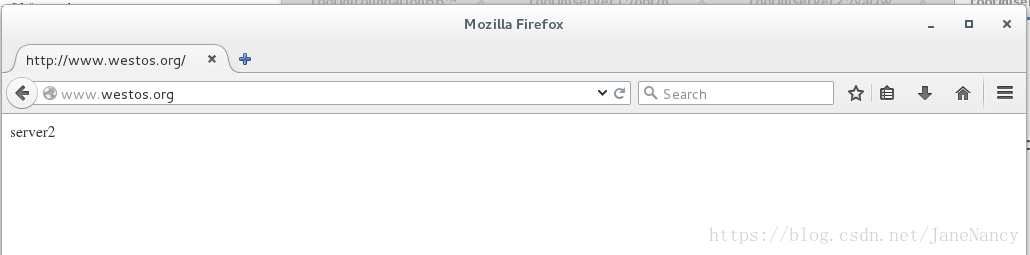
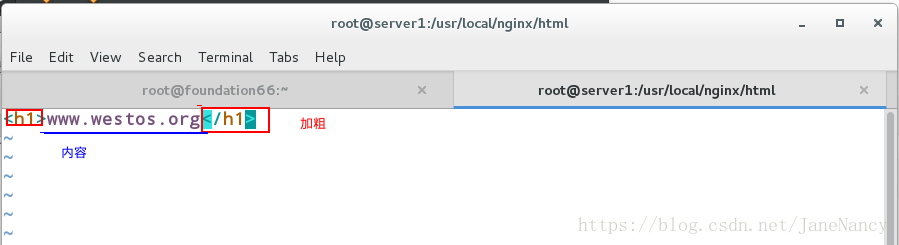
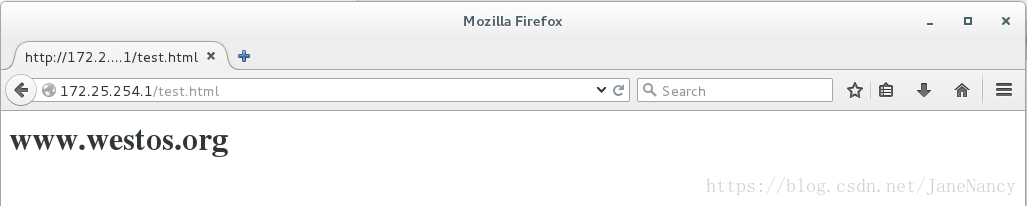
重新编写内容,在网页上搜索172.25.254.1/test.html就可以看到文件内编写的内容
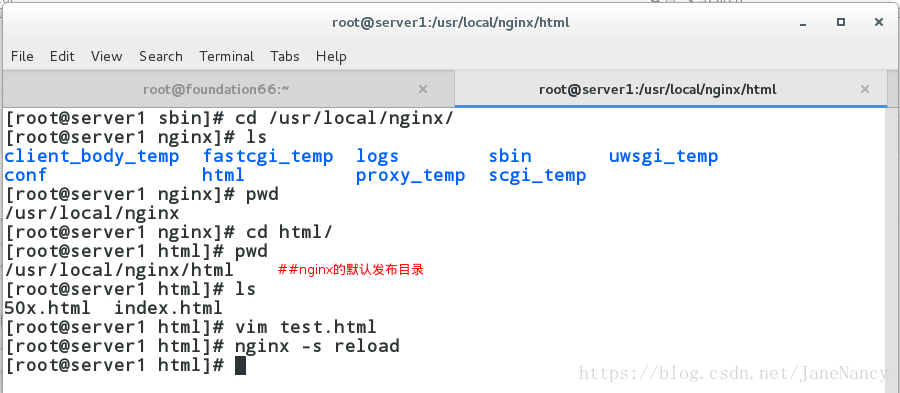
查看
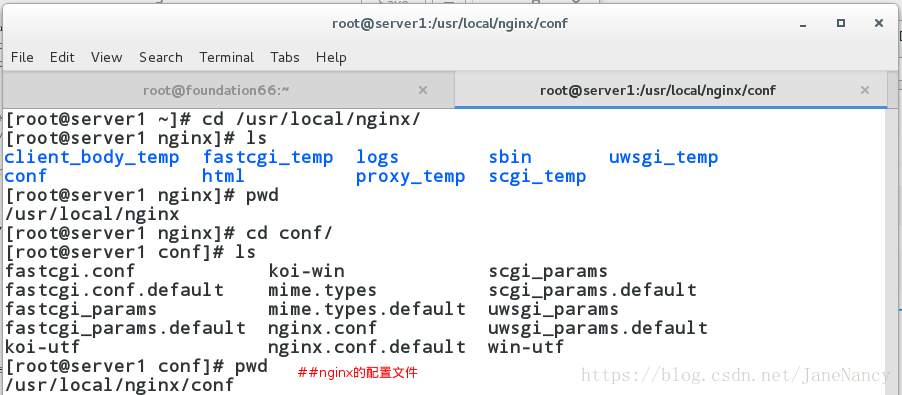
三、Nginx应用
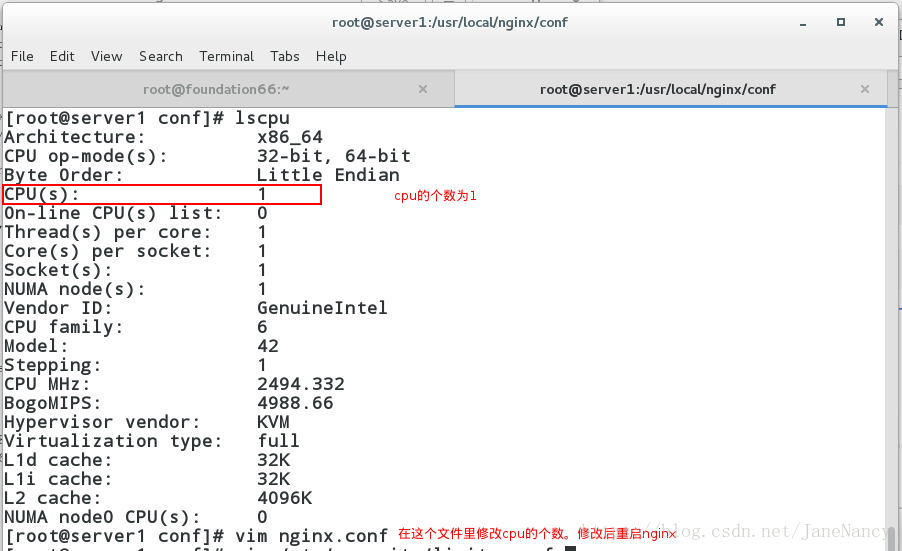
1、修改配置文件
更改cpu

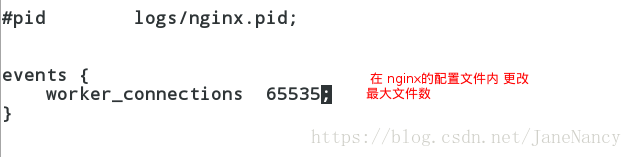
更改最大文件数


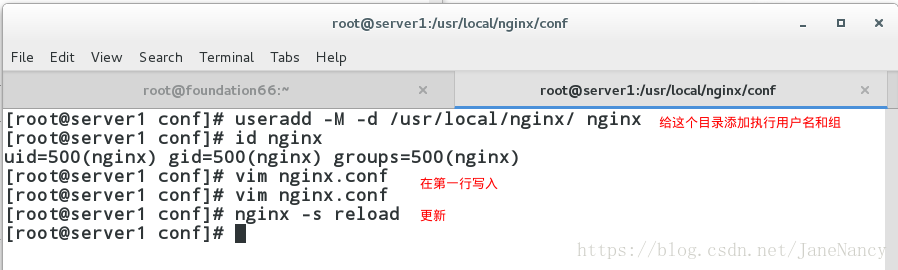
修改文件的用户名和组

[root@server1 conf]# nginx -t ##没有语法错误
nginx: the configuration file /usr/local/nginx/conf/nginx.conf syntax is ok
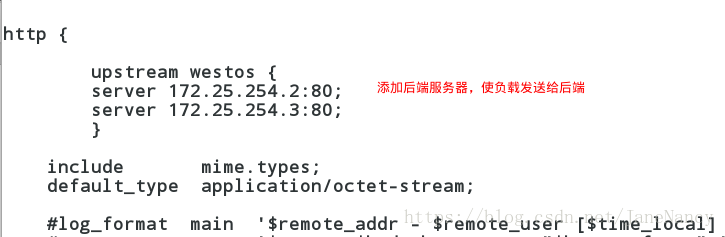
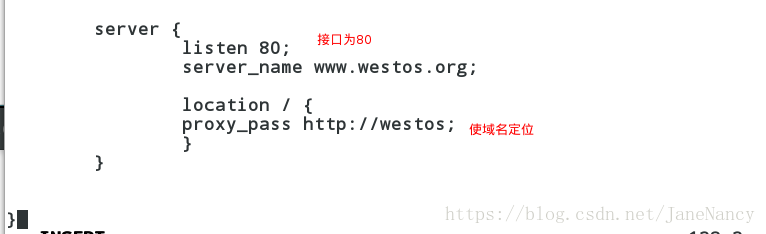
nginx: configuration file /usr/local/nginx/conf/nginx.conf test is successful配置虚拟主机

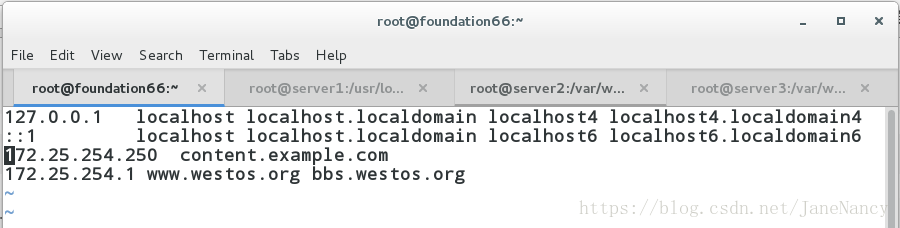
添加解析
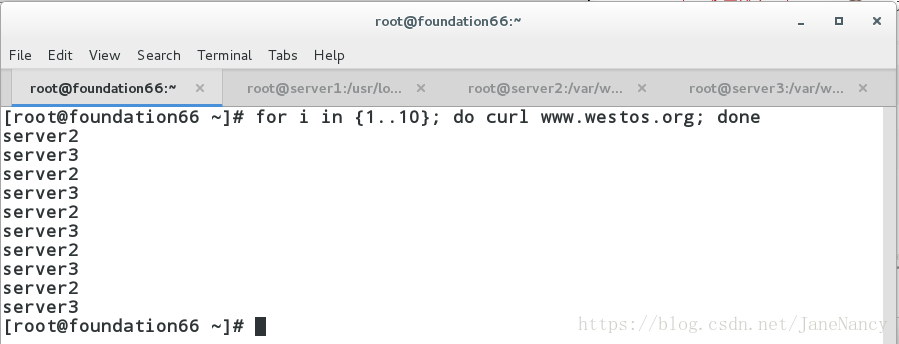
测试
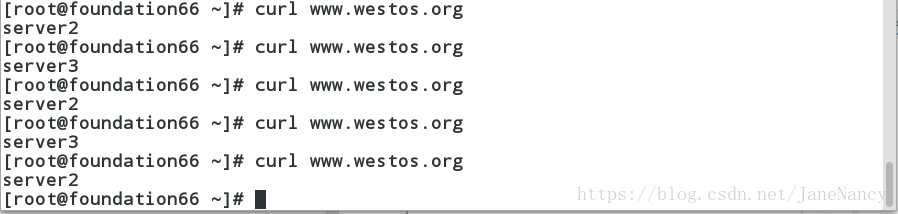


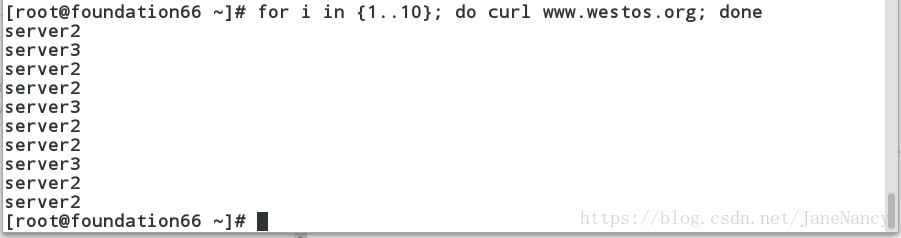
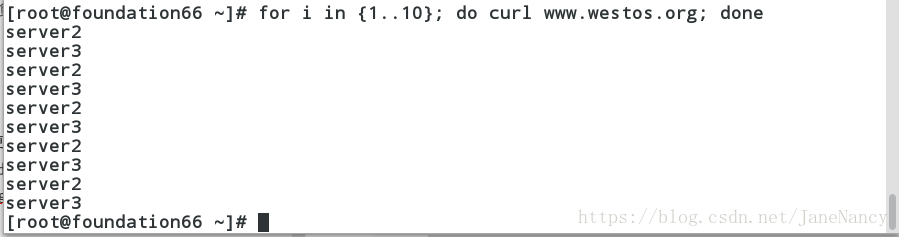
这里的算法默认的使rr最公平的算法,所以实现负载均衡。
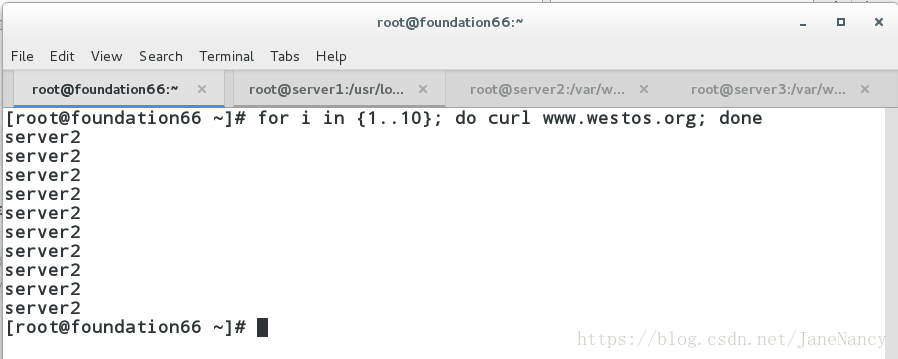
2、用 ip_hash
[root@server1 conf]# vim nginx.conf
[root@server1 conf]# nginx -s reload   ##更新没有出现报错
[root@server1 conf]# nginx -t  ##语法也没有出现报错
nginx: the configuration file /usr/local/nginx/conf/nginx.conf syntax is ok
nginx: configuration file /usr/local/nginx/conf/nginx.conf test is successful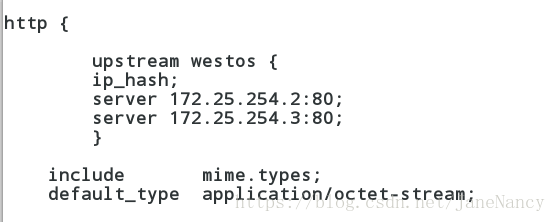
测试:
3、用加权重算法
[root@server1 conf]# vim nginx.conf
[root@server1 conf]# nginx -s reload   ##更新没有出现报错
[root@server1 conf]# nginx -t  ##语法也没有出现报错
nginx: the configuration file /usr/local/nginx/conf/nginx.conf syntax is ok
nginx: configuration file /usr/local/nginx/conf/nginx.conf test is successful
测试 在后台服务器ip为 172.25.254.2 上加的权重
4、backup 当后台服务器全是好着的时候,就是负载均衡;当后台服务器全挂了,那么测试的就是 VS
[root@server1 conf]# vim nginx.conf
[root@server1 conf]# nginx -s reload   ##更新没有出现报错
[root@server1 conf]# nginx -t  ##语法也没有出现报错
nginx: the configuration file /usr/local/nginx/conf/nginx.conf syntax is ok
nginx: configuration file /usr/local/nginx/conf/nginx.conf test is successful
当后台服务器全挂
三、添加 Nginx 外部拓展模块
[root@server1 ~]# nginx -s stop   ##关闭nginx
[root@server1 ~]#
[root@server1 ~]# ls
anaconda-ks.cfg  install.log.syslog   nginx-1.14.0         nginx-sticky-module-ng.tar.gz
install.log      nginx-1.10.1.tar.gz  nginx-1.14.0.tar.gz
[root@server1 ~]# tar zxf nginx-1.10.1.tar.gz   ##解压这个版本的nginx
[root@server1 ~]# ls
anaconda-ks.cfg  install.log.syslog  nginx-1.10.1.tar.gz  nginx-1.14.0.tar.gz
install.log      nginx-1.10.1        nginx-1.14.0         nginx-sticky-module-ng.tar.gz
[root@server1 ~]# cd nginx-1.10.1
[root@server1 nginx-1.10.1]# ls
auto  CHANGES  CHANGES.ru  conf  configure  contrib  html  LICENSE  man  README  src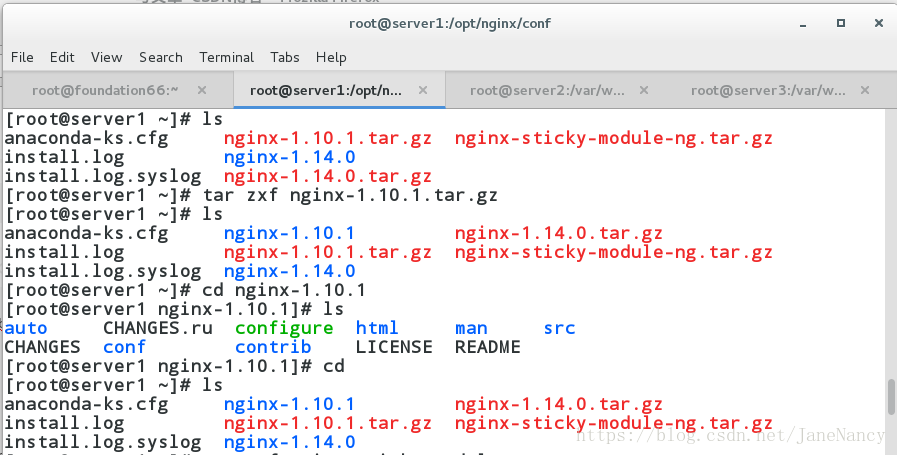
[root@server1 ~]# tar zxf nginx-sticky-module-ng.tar.gz  ##解压sticky算法
[root@server1 ~]# ls
anaconda-ks.cfg     nginx-1.10.1         nginx-1.14.0.tar.gz
install.log         nginx-1.10.1.tar.gz  nginx-sticky-module-ng
install.log.syslog  nginx-1.14.0         nginx-sticky-module-ng.tar.gz
[root@server1 ~]# cd nginx-1.10.1
[root@server1 nginx-1.10.1]# ls
auto  CHANGES  CHANGES.ru  conf  configure  contrib  html  LICENSE  man  README  src
[root@server1 nginx-1.10.1]# ./configure --prefix=/opt/nginx --with-http_ssl_module --with-http_stub_status_module --with-threads --with-file-aio --add-module=/root/nginx-sticky-module-ng

[root@server1 nginx-1.10.1]# make
[root@server1 nginx-1.10.1]# make install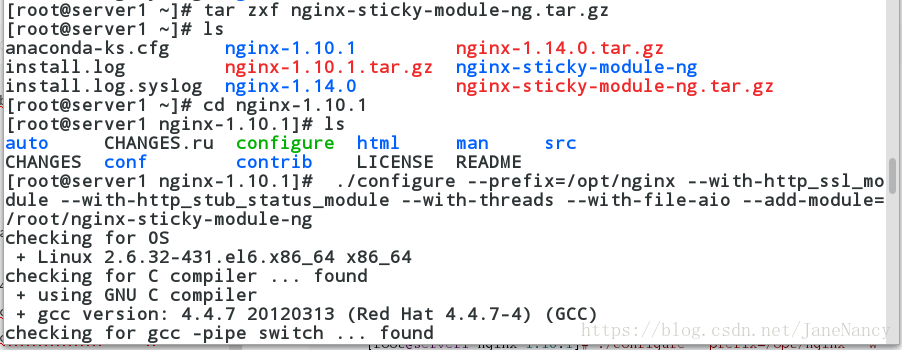
[root@server1 conf]# pwd
/opt/nginx/conf
[root@server1 conf]# ls
fastcgi.conf koi-utf nginx.conf uwsgi_params
fastcgi.conf.default koi-win nginx.conf.default uwsgi_params.default
fastcgi_params mime.types scgi_params win-utf
fastcgi_params.default mime.types.default scgi_params.default
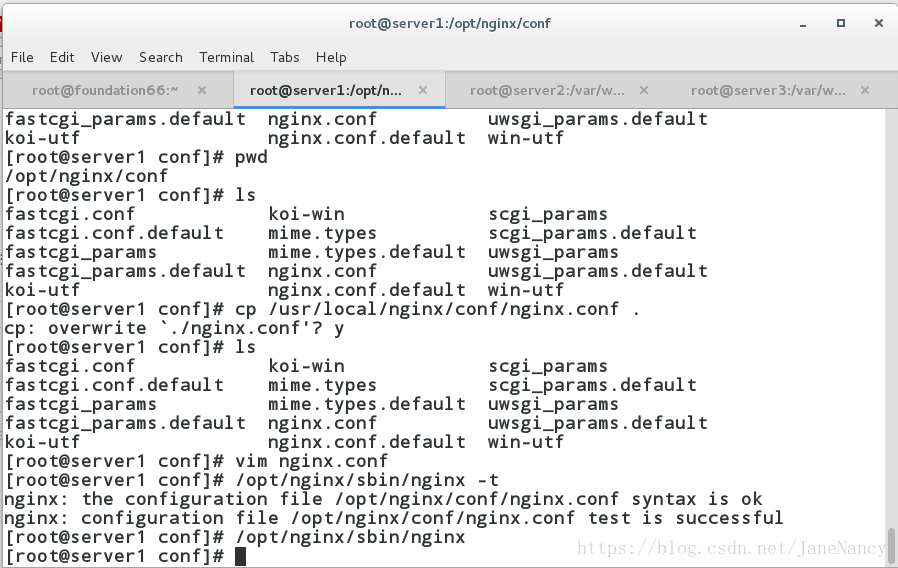
[root@server1 conf]# cp /usr/local/nginx/conf/nginx.conf .
cp: overwrite `./nginx.conf'? y
[root@server1 conf]# ls
fastcgi.conf koi-utf nginx.conf uwsgi_params
fastcgi.conf.default koi-win nginx.conf.default uwsgi_params.default
fastcgi_params mime.types scgi_params win-utf
fastcgi_params.default mime.types.default scgi_params.default
[root@server1 conf]# vim nginx.conf ##注释掉 backup
[root@server1 conf]# /opt/nginx/sbin/nginx -t ##没有语法错误
nginx: the configuration file /opt/nginx/conf/nginx.conf syntax is ok
nginx: configuration file /opt/nginx/conf/nginx.conf test is successful
[root@server1 conf]# /opt/nginx/sbin/nginx 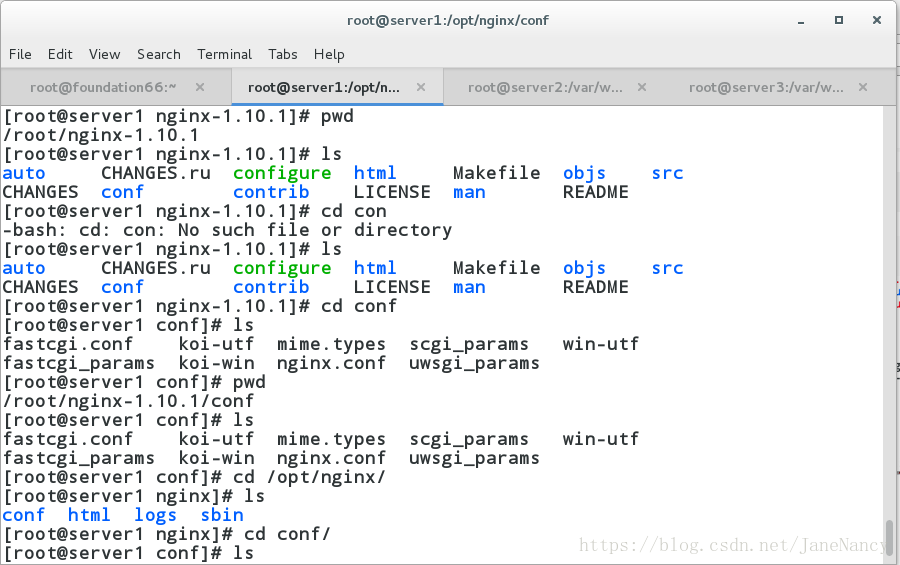
然后在网页中输入 www.westos.org 会一直出现后台服务器的内容,(确保后台的服务器都是开着的) 实现了轮询