进入nginx安装目录的conf目录下,修改nginx.conf文件,在一个server{}中添加 一个location 部分配置代码如下
root@ubuntu:/usr/local/nginx/conf# vi nginx.conf
 server {
        listen       80; server_name localhost; location / { root html; index index.html index.htm; } location /image/ { root /usr/local/myImage/; autoindex on; } }
从上面的配置可以看出来 端口为80,server_name为localhost(写ip地址也可以)
location /image/ {
            root   /usr/local/myImage/;
            autoindex on;
        }
这个配置表示输入 localhost:80/image/ 时会访问本机的/usr/local/myImage/image/ 目录。所以要新建/usr/local/myImage/image/ 目录,同时还要在nginx安装目录的html目录中新建一个 与 location中 image同名的image目录,虽然该目录里面什么也没有,在/usr/local/my Image/image/ 中我们放一张图片1.jpg上去,重启nginx服务,就可以通过 localhost:80/image/1.jpg访问了
root@ubuntu:/usr/local/nginx/html# mkdir image

root@ubuntu:/usr/local/nginx/html# mkdir /usr/local/myImage/image #放一张照片上去# root@ubuntu:/usr/local/nginx/html# cd /usr/local/myImage/image root@ubuntu:/usr/local/myImage/image# ls 1.jpg root@ubuntu:/usr/local/myImage/image#
重启 nginx
root@ubuntu:/usr/local/nginx/sbin# ./nginx -s reload
root@ubuntu:/usr/local/nginx/sbin#
打开浏览器 输入 server_name:80/image/1.jpg 就可以访问该静态图片了如下图
实际示例:
 cat backstage.conf

server {
        listen       80;
        server_name  backstage.z****tech.cn;

        location ^~ /web/ {
        root /home/deploy/deep_fashion_targets;

        index index.html index.htm;
        }


        location / {
            proxy_pass http://127.0.0.1:8082/;
            proxy_set_header Host $host;
            proxy_set_header X-Real-IP $remote_addr;
            proxy_set_header X-Forwarded-For $proxy_add_x_forwarded_for;
        }


    }
[root@weifeng web]# pwd
/home/deploy/deep_fashion_targets/web
[root@weifeng web]# ls
app.d2c1606b.css  chunk-vendors.1fa31f00.css  dist         fonts  index.html  node_modules  public     src
babel.config.js   css                         favicon.ico  img    js          package.json  readme.md  vue.config.js
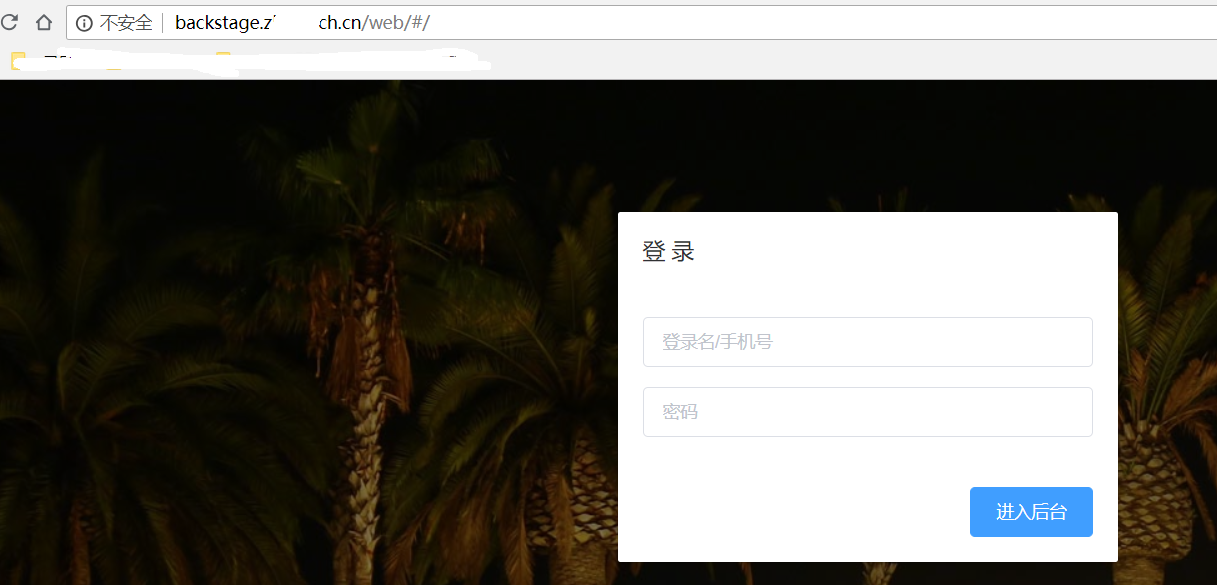
访问效果: