一.简介
uiautomator2是一个python库,用于Android的UI自动化测试,其底层基于Google uiautomator,Google提供的uiautomator库可以获取屏幕上任意一个APP的任意一个控件属性,并对其进行任意操作
二.安装
1. 安装uiautomator2
pip install --upgrade --pre uiautomator22.如果你需要用到截图,安装pillow
pip install pillow3.手机USB线与电脑连接,将关联的守护进程部署到设备电脑连接上一个手机或多个手机,确保adb已经添加到环境变量中,执行下面的命令会自动安装本库所需要的设备端程序:uiautomator-server,atx-agent,openstf / minicap,openstf / minitouch
# init就是所有USB连接电脑的手机上都安装uiautomator2
python -m uiautomator2 init


# 指定手机安装uiautomator2, 用 --mirror
python -m uiautomator2 init --mirror --serial $SERIAL
嫌弃慢的话,可以用国内的镜像
python -m uiautomator2 init --mirror4.安装weditor,有了这个,方便我们快速的识别手机上的元素,方便写代码
pip install --pre -U weditorWindows系统可以使用命令在桌面创建一个快捷方式 python -m weditor --shortcut
启动方法:python -m weditor ,会自动打开浏览器,看到如下界面

扫描二维码关注公众号,回复:
2590135 查看本文章

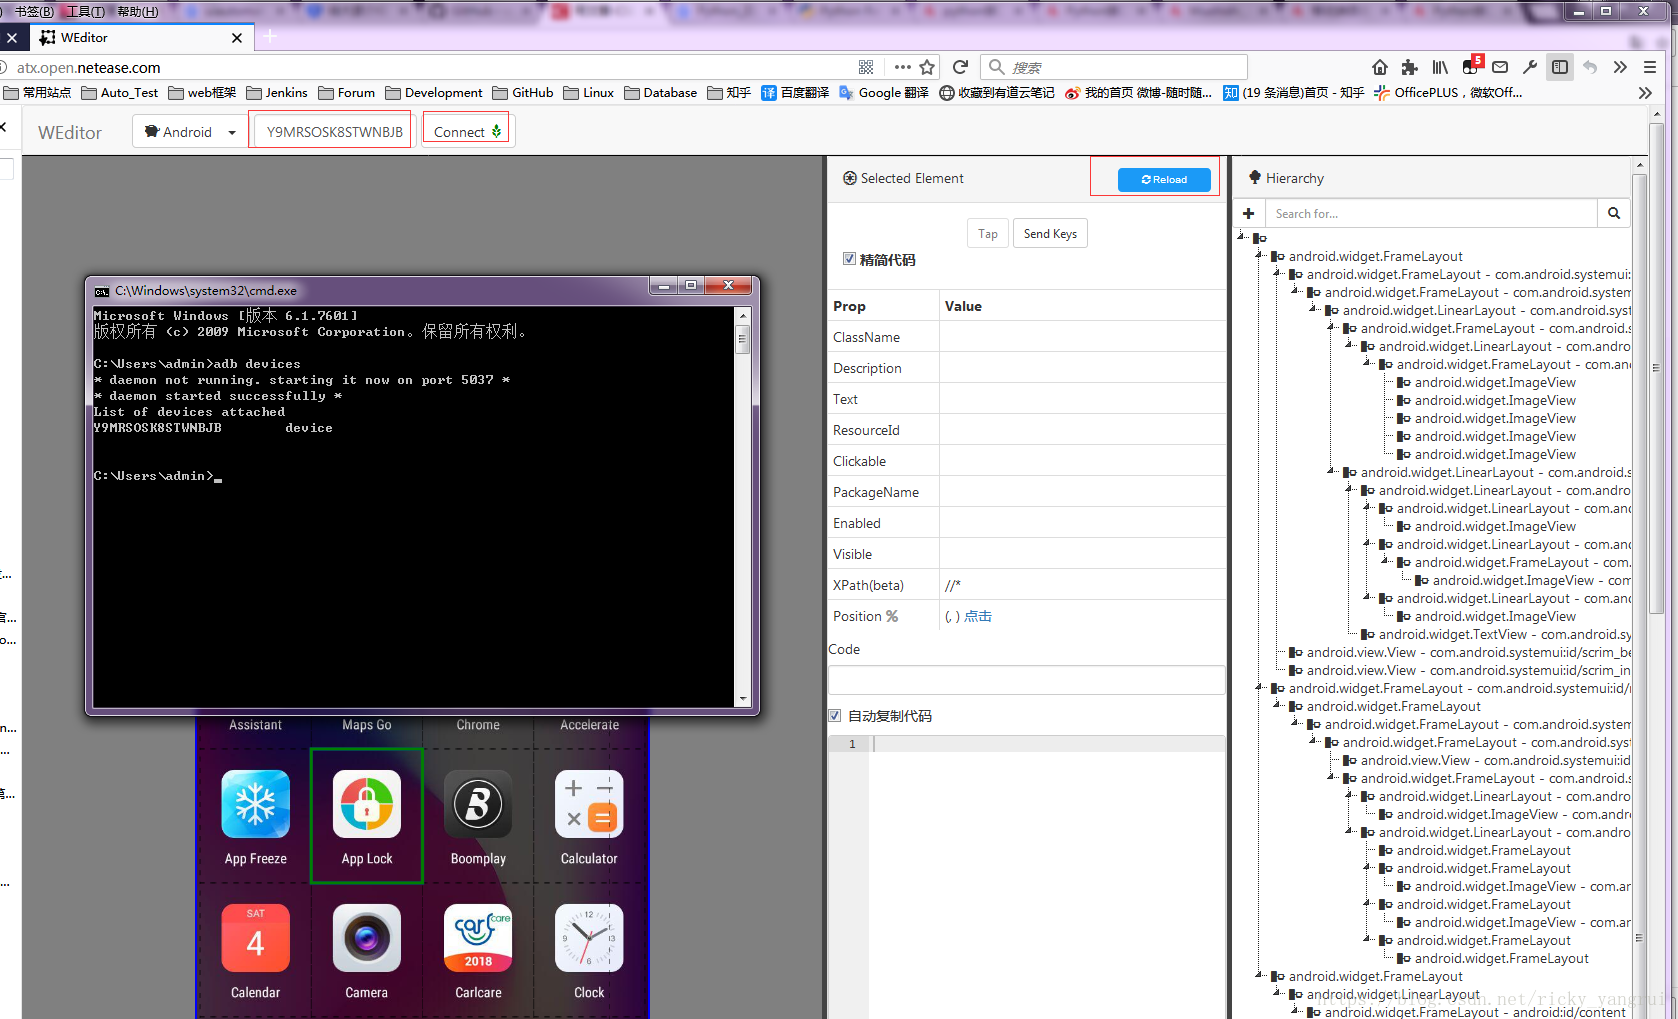
如何与手机连接起来呢,就是通过手机序列号来实现的。打开cmd,输入adb devices,查看手机序列号

在刚才的浏览器的界面输入手机的序列号,点击连接,然后点击reload,就可以在网页上看到手机的界面了。非常的强大。我们可以看到手机元素的各种定位方法,在UI自动化写代码的时候,真的是非常的方面,手机页面和weditor是实时同步的。
5. 命令行
- init: 为设备安装所需要的程序
- install: 安装apk,apk通过URL给出
python -m uiautomator2 install $device_ip https://example.org/some.apk- clear-cache: 清空缓存
python -m uiautomator2 clear-cacheapp-stop-all:停止所有应用
python -m uiautomator2 app-stop-all $device_ip- screenshot: 截图
python -m uiautomator2 screenshot $device_ip screenshot.jpg- healthcheck: 健康检查
python -m uiautomator2 healthcheck $device_ip