View有个属性为layer,layer有个属性为mask其本质也是layer,mask有个特点内容是非透明的则显示,内容是透明的则会被忽略掉。利用这个特点可以实现常说的遮罩 和镂空效果。

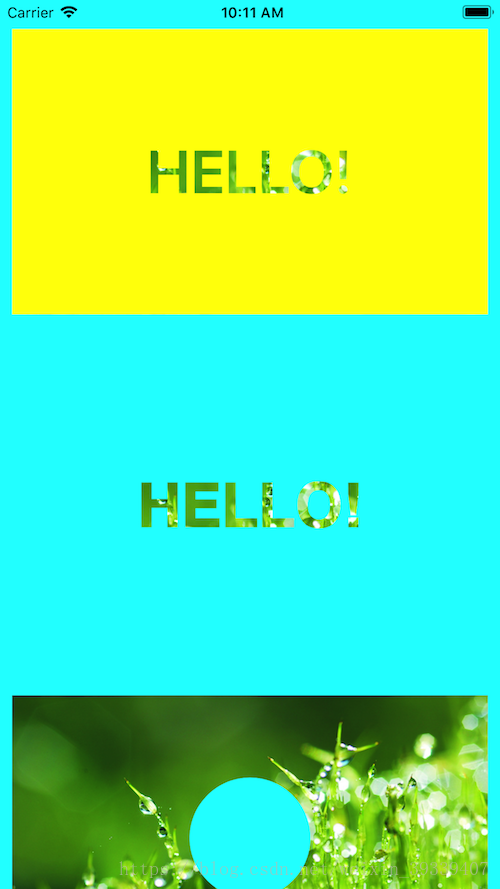
利用UIBezierPath及CAShapeLayer设置mask的形状及透明和不透明区域,来控制要显示的区域。
这里是创建了view的一个分类,所以self则代表的是一个view
其中AnnularStyle为自定义枚举,用来控制绘制圆形还是方形。
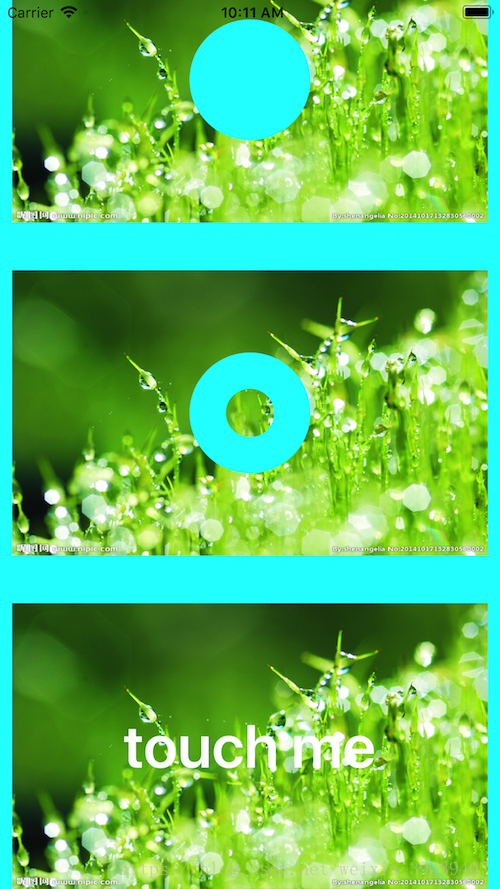
#pragma mark - 设置显示环形区域内容
- (void)setAnnularWithWidth:(CGFloat)lineWidth annularStyle:(AnnularStyle)annularStyle{
    CAShapeLayer * shapeLayer = [CAShapeLayer layer];
    shapeLayer.lineCap = kCALineCapButt;//处理拐角
    shapeLayer.lineJoin = kCALineJoinRound;//处理终点
    shapeLayer.strokeColor = [UIColor redColor].CGColor;//线的颜色不透明,此处内容才会被保留
    shapeLayer.fillColor = [UIColor clearColor].CGColor;//填充颜色选择透明此处内容才会被忽略
    shapeLayer.lineWidth = lineWidth;//设置线宽
    shapeLayer.path = [self getCirclePathWith:lineWidth].CGPath;
    if (annularStyle == AnnularRectangle) {
        shapeLayer.path = [self getRectanglePathWith:lineWidth].CGPath;
    }
    self.layer.mask = shapeLayer;
}

- (UIBezierPath *)getCirclePathWith:(CGFloat)lineWidth{//用bezier绘制一个圆形
    CGFloat radius = MIN(self.frame.size.width/2.f, self.frame.size.height/2.f);
     UIBezierPath * bezierPath = [UIBezierPath bezierPathWithArcCenter:CGPointMake(self.frame.size.width/2.f, self.frame.size.height/2.f) radius:radius - lineWidth/2 startAngle:0 endAngle:2 * M_PI clockwise:NO];
    return bezierPath;
}

- (UIBezierPath *)getRectanglePathWith:(CGFloat)lineWidth{//用bezier绘制一个长方形
    UIBezierPath * bezierPath = [UIBezierPath bezierPathWithRoundedRect:CGRectMake(0, 0, self.frame.size.width, self.frame.size.height) cornerRadius:0];
    return bezierPath;
}
其它效果实现思路类似,Demo中有注释。