1.创建工程
网上有很多显示图片的资料,但是大多是按照图片控件窗口的大小来绘制的,这里介绍一种自适应图片控件区域大小的方法,使大图显示不会失真。首先创建一个Picture的工程,绘制的对话框窗口如下,控件的ID分别为IDC_BUTTON_SELECT和IDC_STATIC_PIC。

2.源代码
源代码里面都有详细的解释,所以直接贴上源码:
/*选择图片的消息处理函数*/
void CPictureDlg::OnBnClickedButtonSelect()
{
	// TODO:  在此添加控件通知处理程序代码
	Invalidate();    //刷新窗口,以便清除上一次显示的图片
	int width, height;
	CImage  image;
	CRect   rect;
	//创建打开图片的文件路径对话框
	CFileDialog dlg(TRUE, NULL, NULL, 0, _T("All Files (*.*)|*.*|BMP (*.bmp)|*.bmp|DIB (*.dib)|*.dib|EMF (*.emf)|*.emf|GIF (*.gif)|*.gif|ICO (*.ico)|*.ico|JPG (*.jpg)|*.jpg|WMF (*.wmf)|*.wmf||"), NULL);
	if (dlg.DoModal() == IDOK)
	{

		CString FilePathName = dlg.GetPathName();
		image.Load(FilePathName);
		CDC* pDC = GetDlgItem(IDC_STATIC_PIC)->GetDC();//获取picture的DC
		HDC hDC = pDC->GetSafeHdc();// 获取 HDC(设备句柄) 来进行绘图操作
		GetDlgItem(IDC_STATIC_PIC)->GetClientRect(&rect);//获取Picture Control控件的大小
		//获取图片的宽 高度
		width = image.GetWidth();
		height = image.GetHeight();
		// 求出picture control的宽和高
		int rect_w = rect.Width();
		int rect_h = rect.Height();
		//当图片比绘图区域小
		if (width <= rect.Width() && height <= rect.Width())
		{
			int tx = (int)(rect_w - width) / 2;   // 使图片的显示位置正好在控件的正中
			int ty = (int)(rect_h - height) / 2;
			SetRect(rect, tx, ty, tx + width, ty + width);   //设置新的矩阵区域
			image.Draw(hDC, rect);//将图片绘制到picture表示的区域内
			ReleaseDC(pDC);
		}
		//当图片比绘图区域大,这里默认是图片控件较长,只判断了图片和控件的宽度比较
		else if (height > rect_h)
		{
			double scale = (double)rect_h / (double)height; //缩放的比例因子
			int tx = (int)(rect_w - width*scale) / 2;
			int ty = 0;
			SetRect(rect, tx, ty, tx + width*scale, rect_h); //设置新的矩阵区域
			image.Draw(hDC, rect);//将图片绘制到picture表示的区域内
			ReleaseDC(pDC);
		}
	}
}
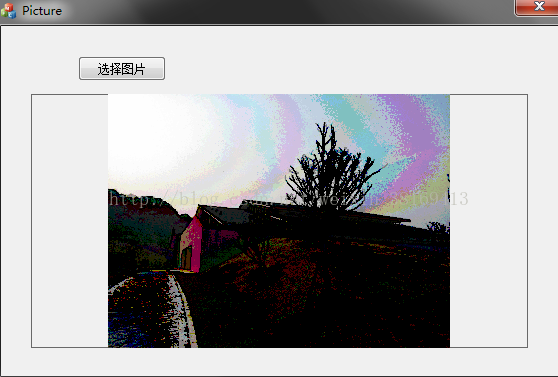
3.运行结果
打开文件的界面如下:

运行结果如下两图,分别是经过等比例缩小的和原图: