写在前面的话:每一个实例的代码都会附上相应的代码片或者图片,保证代码完整展示在博客中。最重要的是保证例程的完整性!!!方便自己也方便他人~欢迎大家交流讨论~
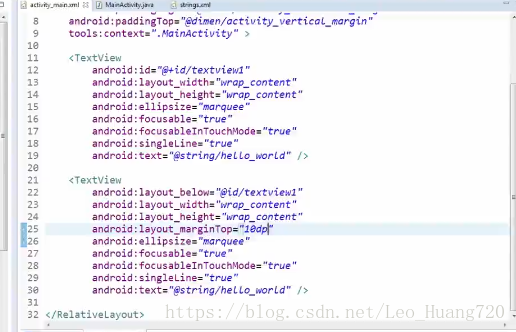
1.新建一个项目,在.xml文件中添加两个TextView控件
在string.xml增加文本内容
  <string name="txetView1">我是一个长Text,我又是一个长Text,我还是一个长Text,我依然是一个长Text</string>
    <string name="txetView2">我是一个长Text,我又是一个长Text,我还是一个长Text,我依然是一个长Text</string>
再添加四个重要属性
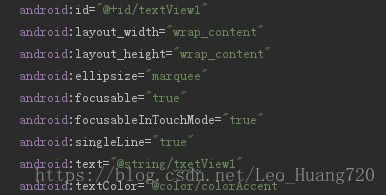
android:ellipsize="marquee"
 android:focusable="true"
 android:focusableInTouchMode="true"
 android:singleLine="true"
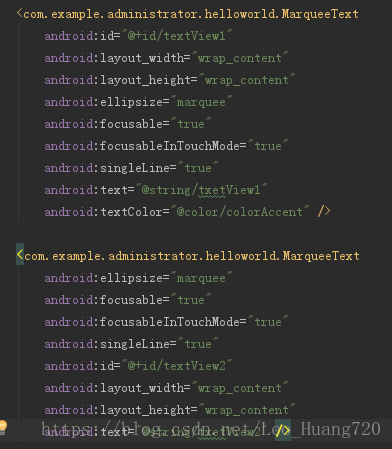
两个TextView控件设置如图

2.新建一个class,取名为MarqueeText
MarqueeText.java
package com.example.administrator.helloworld;

import android.content.Context;
import android.support.annotation.Nullable;
import android.util.AttributeSet;
import android.widget.TextView;

public class MarqueeText extends TextView {
    public MarqueeText(Context context) {
        super(context);
    }

    public MarqueeText(Context context, @Nullable AttributeSet attrs) {
        super(context, attrs);
    }

    public MarqueeText(Context context, @Nullable AttributeSet attrs, int defStyleAttr) {
        super(context, attrs, defStyleAttr);
    }
//return true if this view is focused.下面return true 就是强制两个都focused(拿到焦点)
    @Override
    public boolean isFocused() {
        return true;
    }
}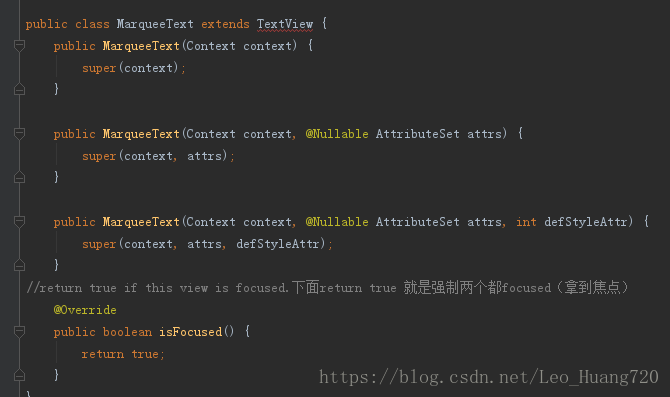
!!!!!!!这里有个小技巧:右键——Generate——constructor——选中函数——OK 就可以直接构造上图那三个函数**
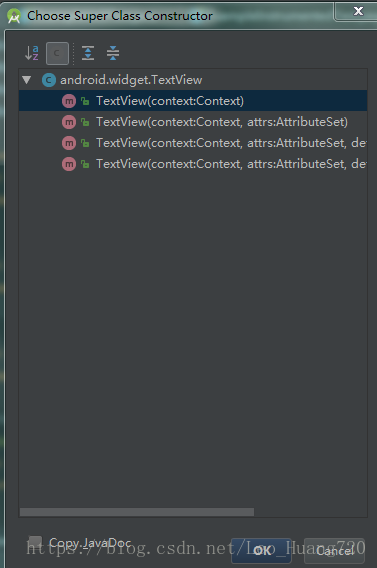
只构造了前三个函数是因为构造第4个时,它自动提示该函数无须用到,因此删去了·。
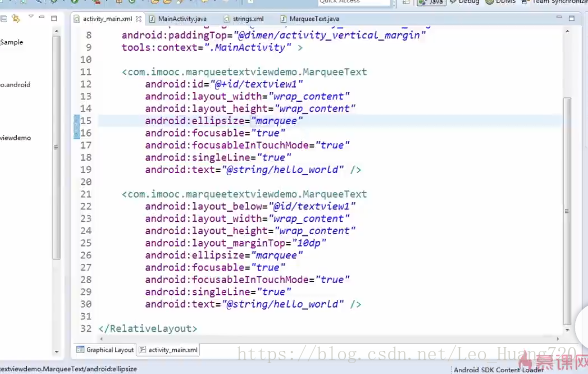
3.修改控件TextView为新建的包名

即
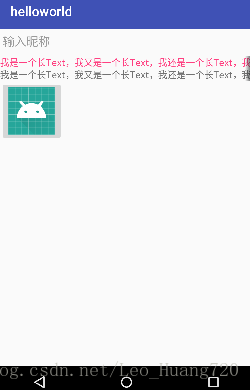
4.运行
因为我是在真机运行,所以这不是最终效果图,只是design,大家自己试试就知道最终效果啦(请无视那个ImageButton)
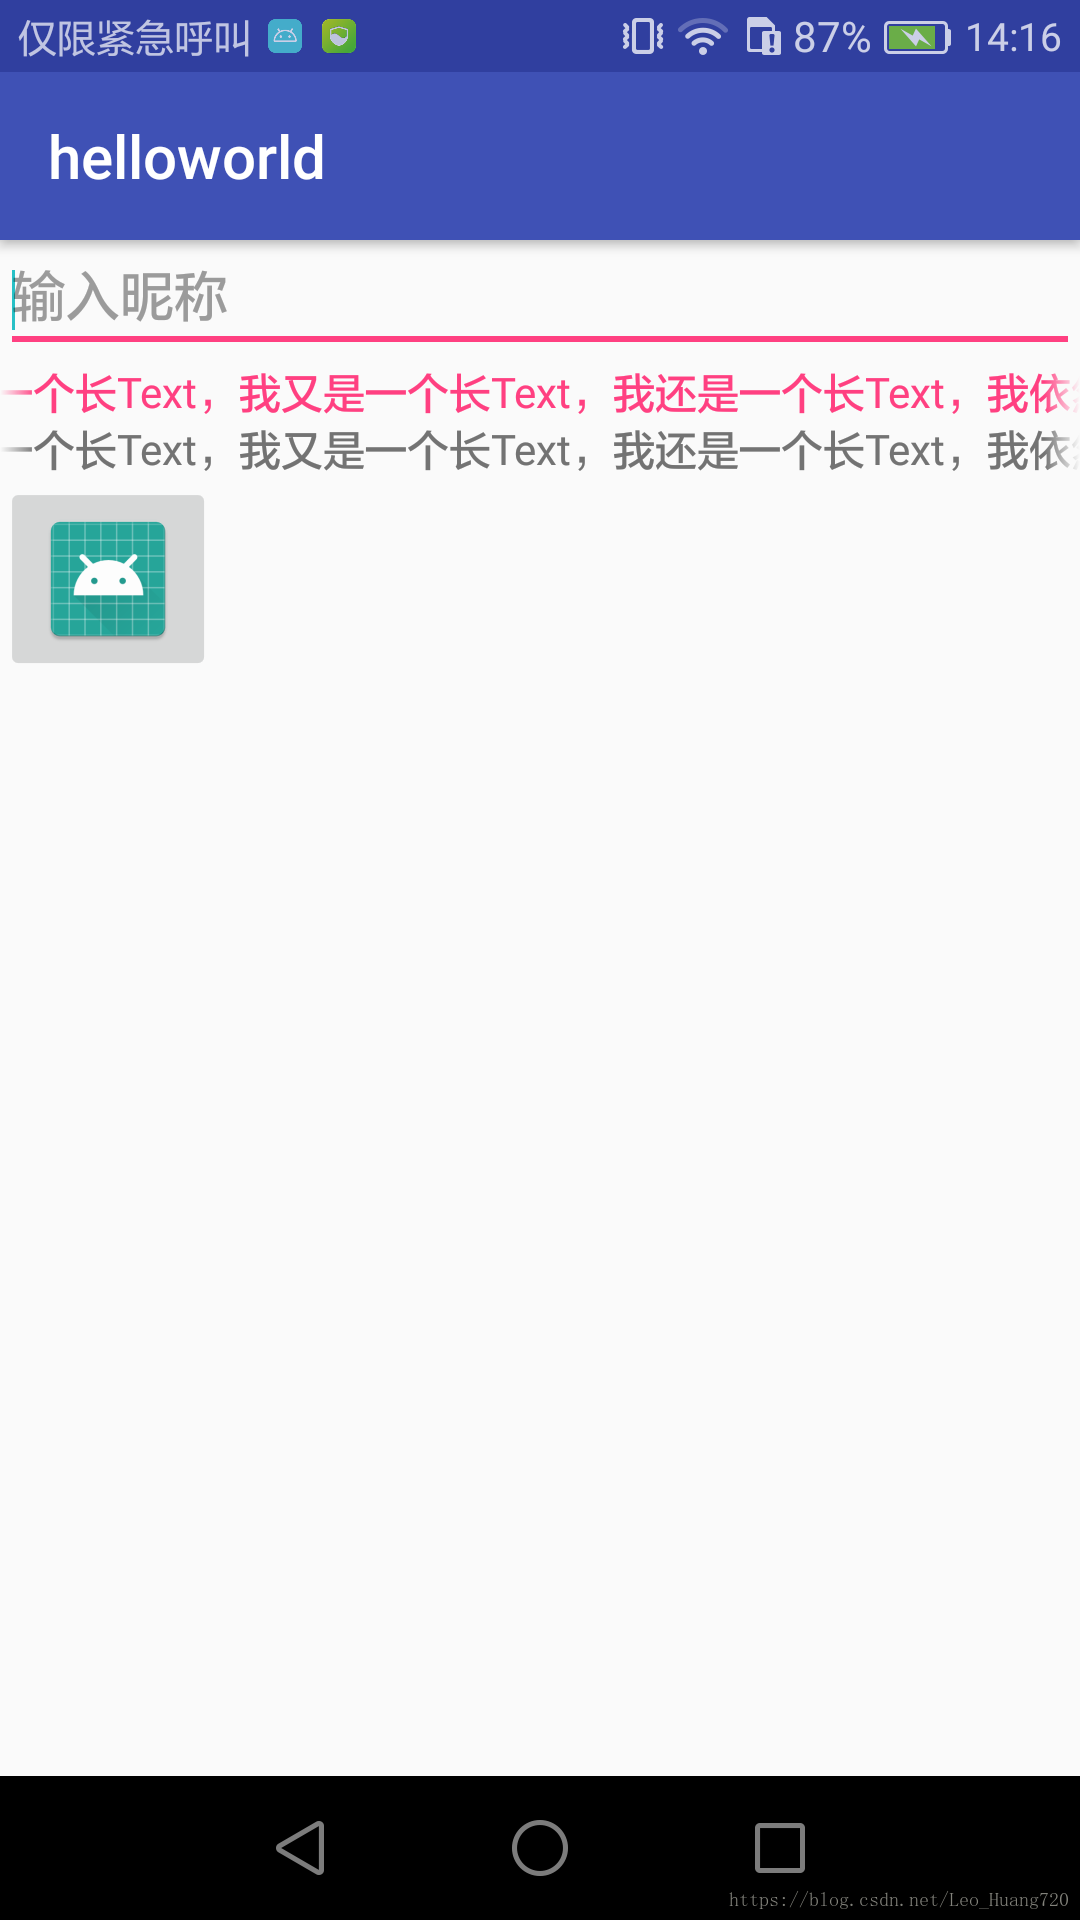
5.真机效果
图为手机截图,大家可以看到左右两边都是半个字确实是在滚动了(请继续无视下面的按钮和上面的框框)
附:1.学习视频——用TextView实现跑马灯(https://www.imooc.com/video/4308)
2.教程里面.xml文件的修改前后比较截图