https://start.spring.io/
构建项目

点击generate Project将初始源代码下载下来 放入工作空间之中
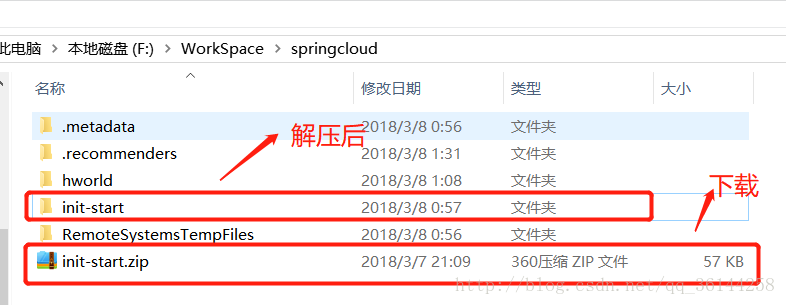
解压后复制一份重命名为hworld
eclipse版本 4.7+
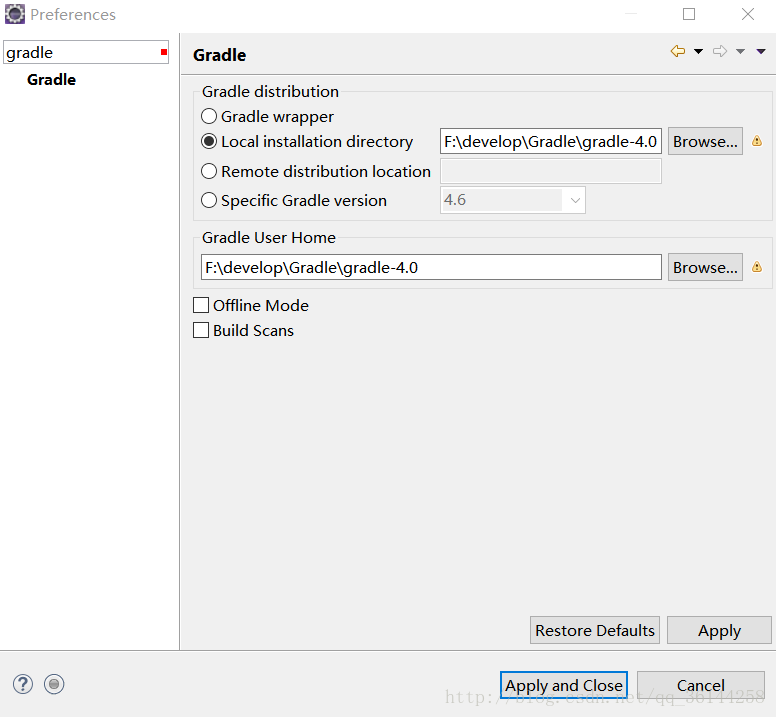
在eclispe中配置gradle
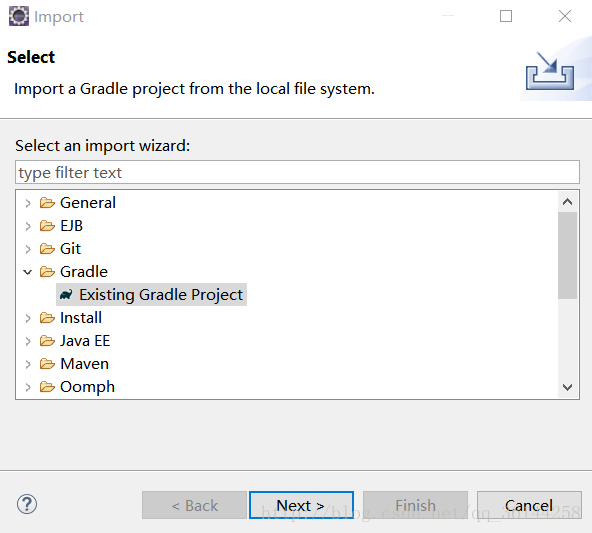
引入gradle项目
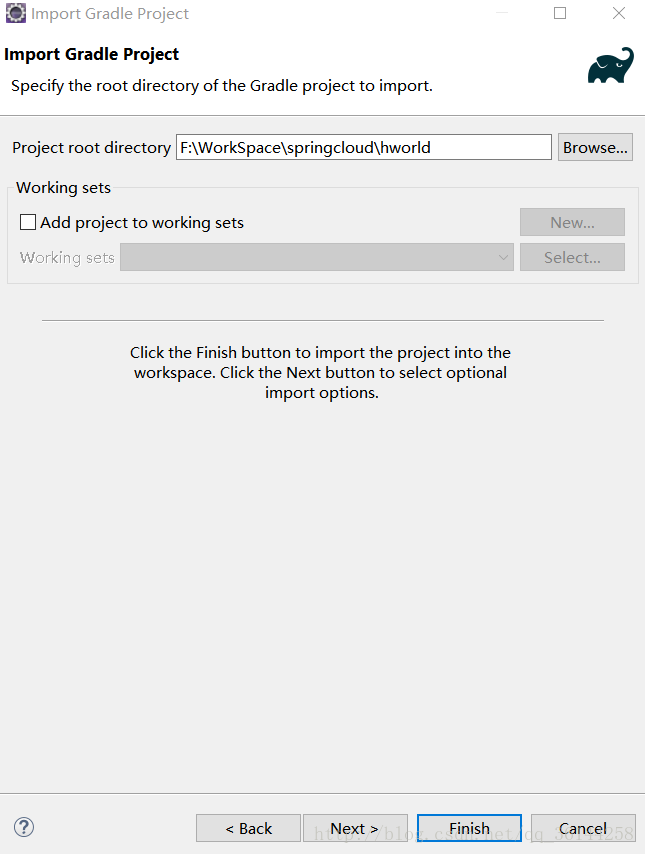
点击finish就行了
需要注意的是jdk需要是1.8+
导入成功后适当对包名以及类名做出一定的修改
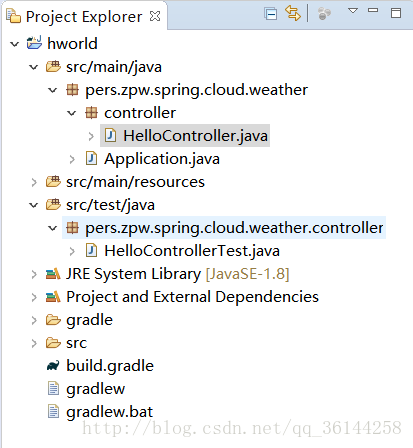
其中Application.java的源代码如下
@SpringBootApplication
public class Application {

    public static void main(String[] args) {
        SpringApplication.run(Application.class, args);
    }
}
@SpringBootApplication是spring boot最重要的一个注解,用于快捷配置启动类。
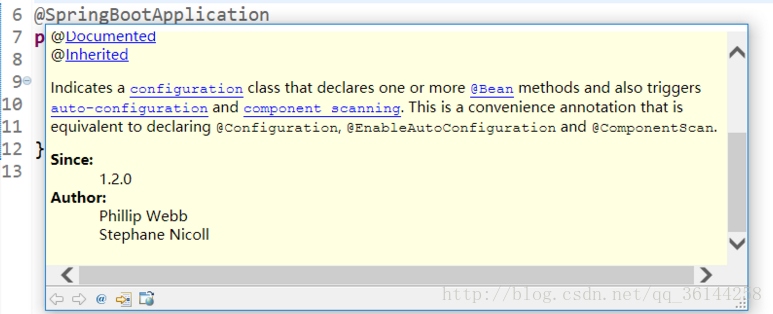
@SpringBootApplication等同于@Configuration,@EnableAutoConfiguration,@ComponentScan这三个注解
1、@Configuration的注解类标识这个类可以使用Spring IoC容器作为bean定义的来源
2、@EnableAutoConfiguration:能够自动配置spring的上下文,试图猜测和配置你想要的bean类,通常会自动根据你的类路径和你的bean定义自动配置。
3、@ComponentScan:会自动扫描指定包下的全部标有@Component的类,并注册成bean,当然包括@Component下的子注解@Service,@Repository,@Controller
编写SpringBoot第一个入门程序
/**
 * 开始第一个SpringBoot
 *
 * @author ZhuPengWei
 * @data  2018年3月8日
 */
@RestController
public class HelloController {

    @GetMapping("/hello")
    public String hello() {
        return "Hello World";
    }

}
单元测试
package pers.zpw.spring.cloud.weather.controller;

import org.hamcrest.Matchers;
import org.junit.Test;
import org.junit.runner.RunWith;
import org.springframework.beans.factory.annotation.Autowired;
import org.springframework.boot.test.autoconfigure.web.servlet.AutoConfigureMockMvc;
import org.springframework.boot.test.context.SpringBootTest;
import org.springframework.http.MediaType;
import org.springframework.test.context.junit4.SpringRunner;
import org.springframework.test.web.servlet.MockMvc;
import org.springframework.test.web.servlet.request.MockMvcRequestBuilders;
import org.springframework.test.web.servlet.result.MockMvcResultMatchers;

/**
 * 测试SpringBoot
 *
 * @author ZhuPengWei
 * @data  2018年3月8日
 */
@RunWith(SpringRunner.class)
@SpringBootTest
@AutoConfigureMockMvc
public class HelloControllerTest {

    @Autowired
    private MockMvc mockMvc;

    @Test
    public void testSucessHello() throws Exception {
        mockMvc.perform(MockMvcRequestBuilders.get("/hello").accept(MediaType.APPLICATION_JSON))
                .andExpect(MockMvcResultMatchers.status().isOk())
                .andExpect(MockMvcResultMatchers.content().string(Matchers.equalTo("Hello World")));
    }
}
当然如果要测试失败的话只需要改变最后的Hello World就能打到所预期的结果