创建一个自己皮肤的文件目录完成下面文件
-
Create a new directory where you will save your skin configuration files.
-
Define the visual appearance of the skin in a text file named
layout. This file defines many characteristics of the skin, such as the size and image assets for specific buttons. For example:parts {
device {
display {
width 320
height 480
x 0
y 0
}
}portrait {
    background {
         image background_port.png
     }

     buttons {
         power {
             image  button_vertical.png
             x 1229
             y 616
         }
     }
 }
 ...
}
-
Add the bitmap files of the device images in the same directory.
-
Specify additional hardware-specific device configurations in a
hardware.inifile for the device settings, such ashw.keyboardandhw.lcd.density. -
Archive the files in the skin folder and select the archive file as a custom skin.
然后在android studio中将你的皮肤文件导入 也可以使用android studio自带的皮肤。
-
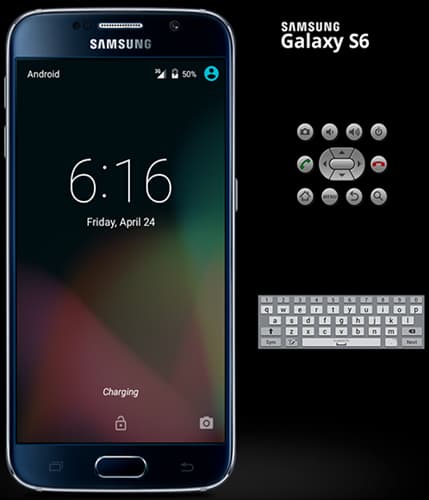
Download Samsung Emulator Skins, You can download from here.
-
After downloading, extract the zip file and copy it in the path Android Studio > plugins > android > lib > device-art-resources. (where x is the platform version number)
-
Launch Android Studio.
-
In Android Studio, go to Tools > Android > AVD Manager.

Figure 1: Android Studio Window In the AVD Manager, click "Create Virtual Device"
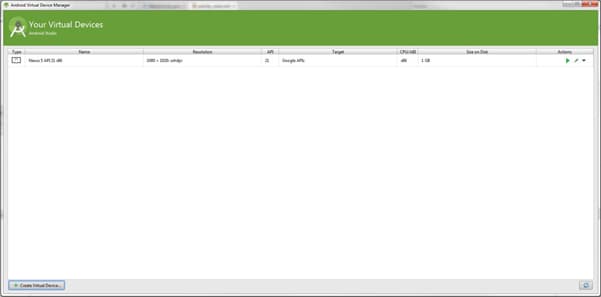
Figure 2: Creating a new virtual device In the Virtual Device Configuration, click "New Hardware Profile"
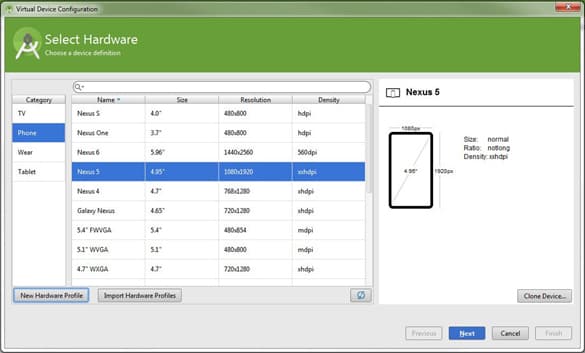
Figure 3: Creating a new hardware profile Fill in the specifications for the skin you would like to use.
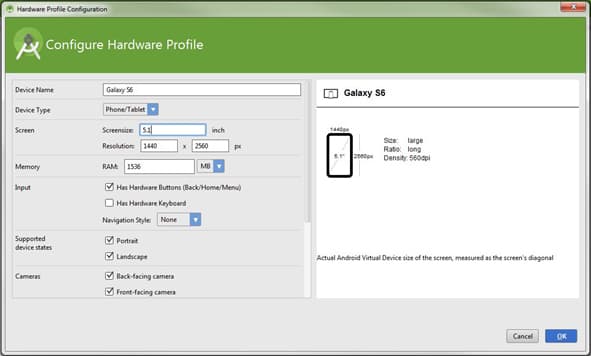
Figure 4: Configuring hardware profile In the Default skin, select the folder of the zip file you extracted in the device-art-resources folder.
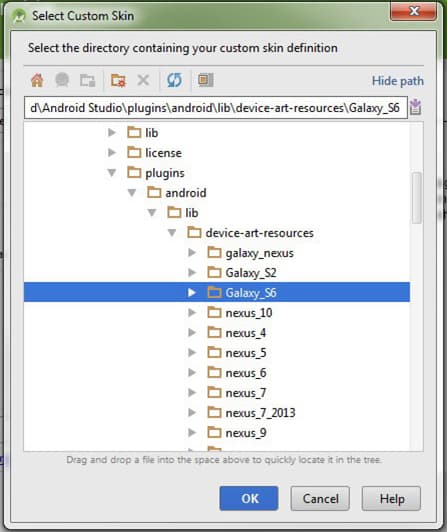
Figure 5: Selecting the default skin Select the system image you would like to use for your virtual device. Example: Lollipop
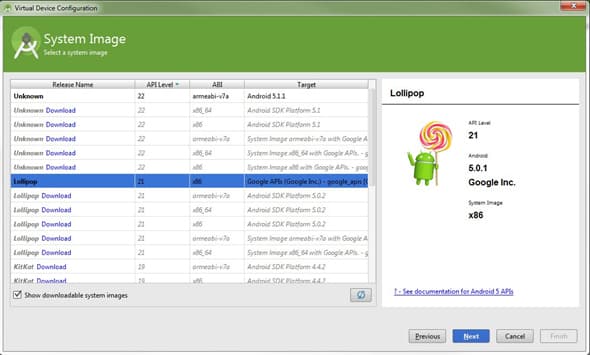
Figure 6: Selecting a system image
Verify all configurations are correct and click the finish button.
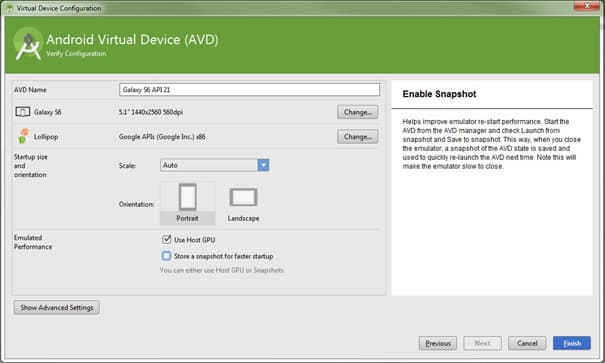 Figure 7: Verifying configuration
The newly created virtual device appears on the AVD manager. To launch, select the virtual device and click the play icon.
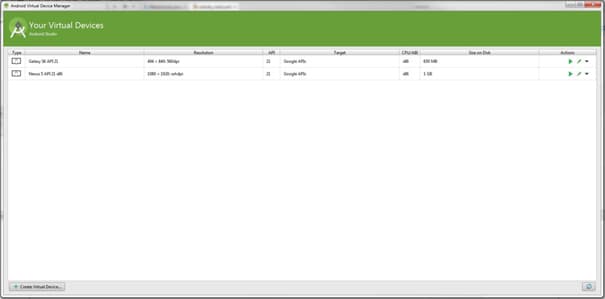 Figure 8: Launch virtual device
The Android emulator takes a few minutes to start, then appears: