如果系统中之前就下载过其他版本的mysql,先将其卸载,准备一个干净的环境来安装mysql5.7
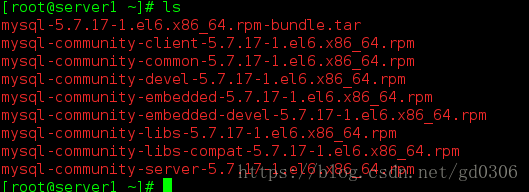
安装mysql5.7,需要用到以下几个包:
mysql-5.7.17-1.el6.x86_64.rpm-bundle.tar
mysql-community-client-5.7.17-1.el6.x86_64.rpm
mysql-community-common-5.7.17-1.el6.x86_64.rpm
mysql-community-libs-5.7.17-1.el6.x86_64.rpm
mysql-community-libs-compat-5.7.17-1.el6.x86_64.rpm
mysql-community-server-5.7.17-1.el6.x86_64.rpm
1.

2.启动mysql
/etc/init.d/mysqld start

3.
与5.7之前的版本相比,5.7安装完之后是有一个自动生成的密码的
在日志文件 /var/log/mysqld.log 中
使用命令
cat /var/log/mysqld.log | grep temp过滤一下就能得到密码

我的密码是:uo=dy?you2pM
如果在看到密码之前日志文档被误删了,得不到密码,就要以安全方式登录,然后修改密码。
解决方法:
在配置文件里添加登陆不检测密码:
vim /etc/my.cnf
添加在最后一行
skip-grant-tables重启服务,就能直接登陆了(不要密码登陆)
以上master机和slave配置方式一样
master机配置
[root@server1 ~]# vim /etc/my.cnf
 29 server-id=1
 30 log-bin=mysql-bin    ##开启二进制日志

[root@server1 mysql]# /etc/init.d/mysqld restart
Stopping mysqld:                                           [  OK  ]
Starting mysqld:                                           [  OK  ]
[root@server1 mysql]# mysql -p
Enter password:
Welcome to the MySQL monitor.  Commands end with ; or \g.
Your MySQL connection id is 4
Server version: 5.7.17-log MySQL Community Server (GPL)

Copyright (c) 2000, 2016, Oracle and/or its affiliates. All rights reserved.

Oracle is a registered trademark of Oracle Corporation and/or its
affiliates. Other names may be trademarks of their respective
owners.

Type 'help;' or '\h' for help. Type '\c' to clear the current input statement.

mysql> flush privileges;        ##同步
Query OK, 0 rows affected (0.01 sec)

mysql> show master status;          ##查看master机状态
+------------------+----------+--------------+------------------+-------------------+
| File             | Position | Binlog_Do_DB | Binlog_Ignore_DB | Executed_Gtid_Set |
+------------------+----------+--------------+------------------+-------------------+
| mysql-bin.000007 |      1005 |              |                  |                   |
+------------------+----------+--------------+------------------+-------------------+
1 row in set (0.00 sec)
slave机配置
[root@server2 mysql]# mysql -p
Enter password:
Welcome to the MySQL monitor.  Commands end with ; or \g.
Your MySQL connection id is 7
Server version: 5.7.17 MySQL Community Server (GPL)

Copyright (c) 2000, 2016, Oracle and/or its affiliates. All rights reserved.

Oracle is a registered trademark of Oracle Corporation and/or its
affiliates. Other names may be trademarks of their respective
owners.

Type 'help;' or '\h' for help. Type '\c' to clear the current input statement.

mysql> change master to master_host='172.25.52.1',master_user='redhat',master_password='westos',master_log_file='mysql-bin.000002',master_log_pos=601;
Query OK, 0 rows affected, 2 warnings (0.36 sec)

mysql> start slave;
Query OK, 0 rows affected (0.07 sec)

mysql> show slave status\G;
*************************** 1. row ***************************
               Slave_IO_State: Waiting for master to send event
                  Master_Host: 172.25.52.1
                  Master_User: redhat
                  Master_Port: 3306
                Connect_Retry: 60
              Master_Log_File: mysql-bin.000002
          Read_Master_Log_Pos: 601
               Relay_Log_File: server2-relay-bin.000002
                Relay_Log_Pos: 320
        Relay_Master_Log_File: mysql-bin.000002
             Slave_IO_Running: Yes
            Slave_SQL_Running: Yes
              Replicate_Do_DB:
          Replicate_Ignore_DB:
           Replicate_Do_Table:
       Replicate_Ignore_Table:
      Replicate_Wild_Do_Table:
  Replicate_Wild_Ignore_Table:
                   Last_Errno: 0
                   Last_Error:
                 Skip_Counter: 0
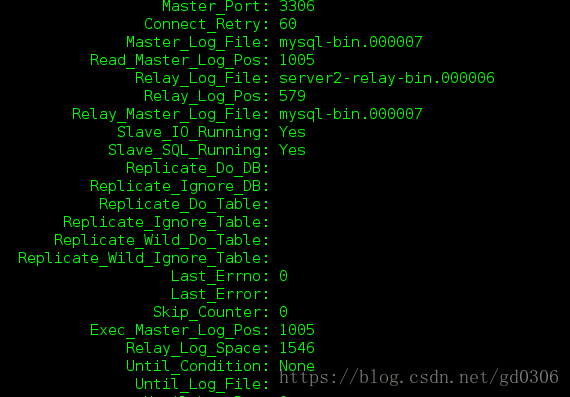
如果 Slave_IO_Running 是 Connecting,原因:网络、授权、log_file/log_pos
测试
master机写入数据:
mysql> create database user;
Query OK, 1 row affected (0.14 sec)
mysql> use user;
Database changed
mysql> create table usertb (
    -> username varchar(20) not null,
    -> age varchar(4) not null);
Query OK, 0 rows affected (1.04 sec)

mysql> show tables;
+----------------+
| Tables_in_user |
+----------------+
| usertb         |
+----------------+
1 row in set (0.00 sec)
mysql> insert into usertb values('gd','18');
Query OK, 1 row affected (0.42 sec)

mysql> select * from usertb;
+----------+-----+
| username | age |
+----------+-----+
| wuyanzu  | 18  |
+----------+-----+
1 row in set (0.00 sec)

slave机查看:
mysql> show databases;
+--------------------+
| Database           |
+--------------------+
| information_schema |
| mysql              |
| performance_schema |
| sys                |
| user               |
| westos             |
+--------------------+
6 rows in set (0.00 sec)

mysql> select * from user.usertb;
+----------+-----+
| username | age |
+----------+-----+
| wuyanzu  | 18  |
+----------+-----+
1 row in set (0.00 sec)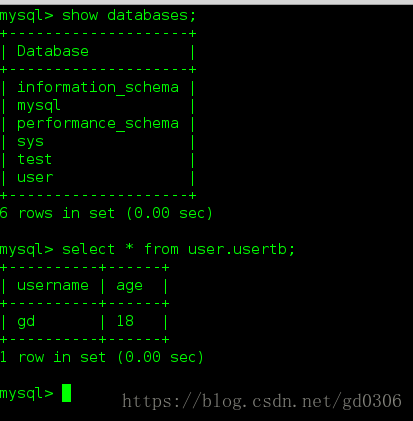
GTID是什么
全局事务ID,其保证为每一个主服务器上提交的事务在复制集群中可以生成一个唯一 的ID(从服务器数据库将已执行的事务的GTID值发送给主服务器,主服务器将未执行事务的GTID值发送给从服务器,从而保证了同一个事务在指定的从服务器数据库中只执行一次)。
可在主数据库上修改数据,在从库上观察是否同步修改记录。
在master与slave中编辑my.cnf文件:
vim /etc/my.cnf
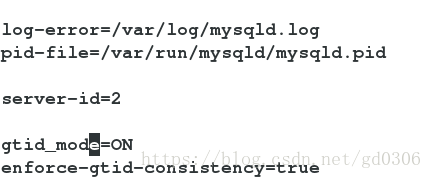
重启mysql
在slave中:
进入mysql
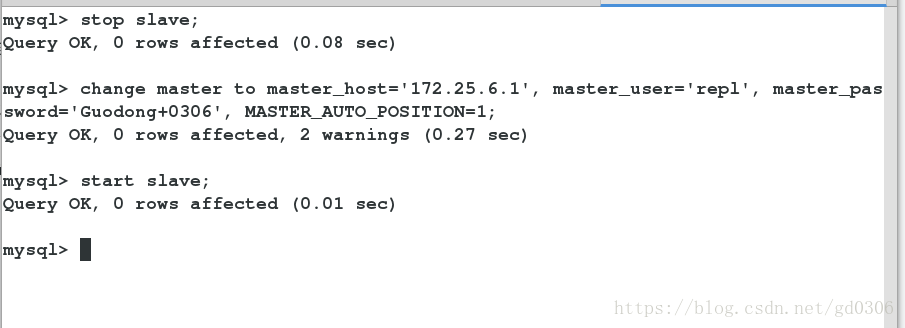
执行 stop slave;
change master to master_host='172.25.6.1' , master_user='repl', master_password='Guodong+0306', MASTER_AUTO_POSITION=1;
start slave;
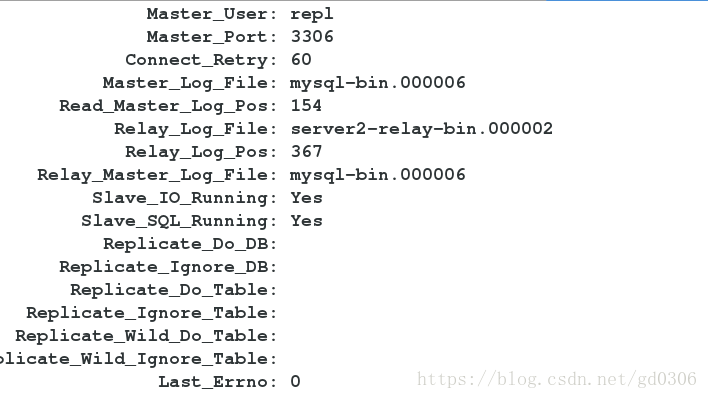
查看master与slave连接状态:
show slave status\G;
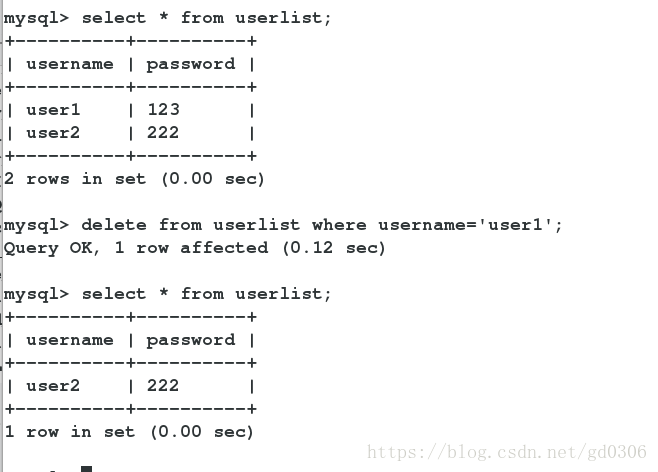
在master的mysql中修改数据
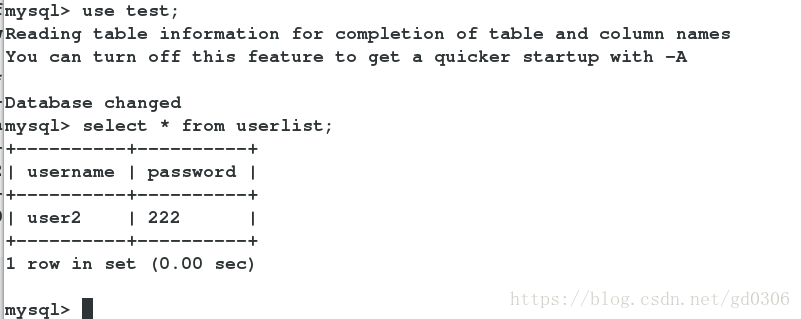
在slave中查看是否同步:
#######半同步模式######
配置
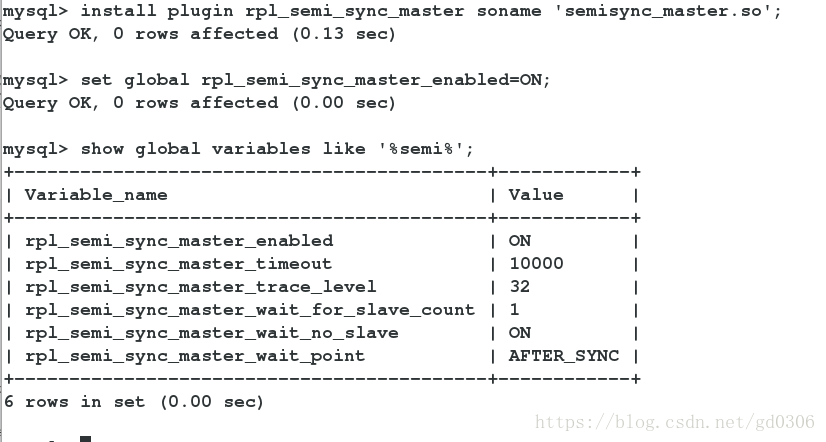
主节点(master):
-
mysql> install plugin rpl_semi_sync_master soname 'semisync_master.so'; -
mysql> set global rpl_semi_sync_master_enabled=ON; -
mysql> show global variables like '%semi%';
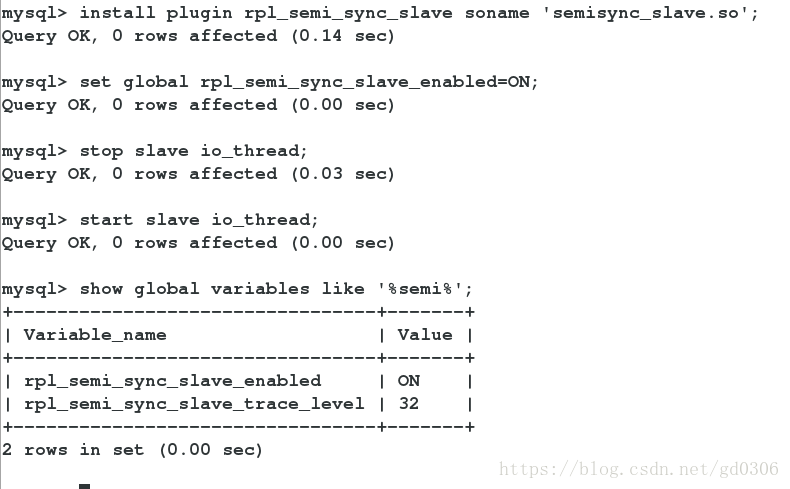
从节点(slave):
-
mysql> install plugin rpl_semi_sync_slave soname 'semisync_slave.so'; -
mysql> set global rpl_semi_sync_slave_enabled=ON; -
mysql> stop slave io_thread; -
mysql> start slave io_thread; -
mysql> show global variables like '%semi%';
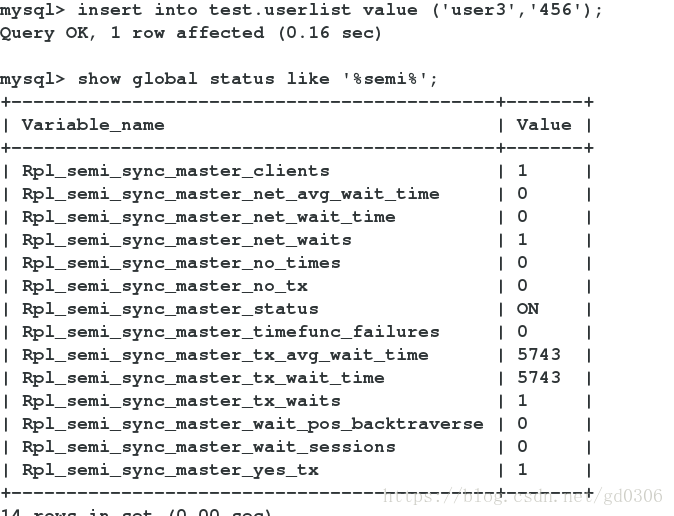
插入检测:
-
#往test库的test表里插入一条数据 -
mysql> insert into test.userlist value ('user3','456'); -
mysql> show global status like '%semi%';
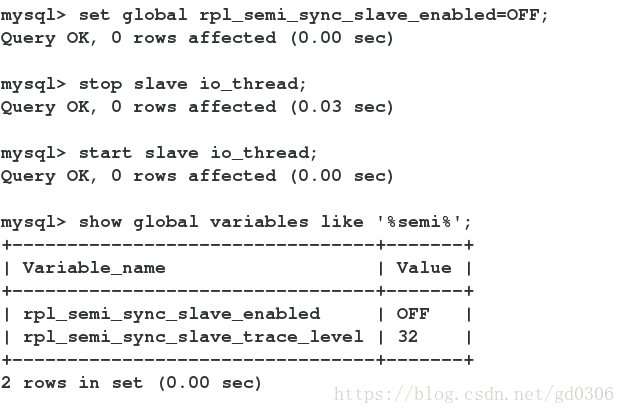
将slave的半同步关掉,进行插入测试:
slave:
-
mysql> set global rpl_semi_sync_slave_enabled=OFF; -
mysql> stop slave io_thread; -
mysql> start slave io_thread; -
mysql> show global variables like '%semi%';
master:
-
mysql> insert into test.userlist value ('user4','777'); -
#本次插入花费了十秒,因为异步复制有十秒等待slave发送ack的时间. -
mysql> show global status like '%semi%';
