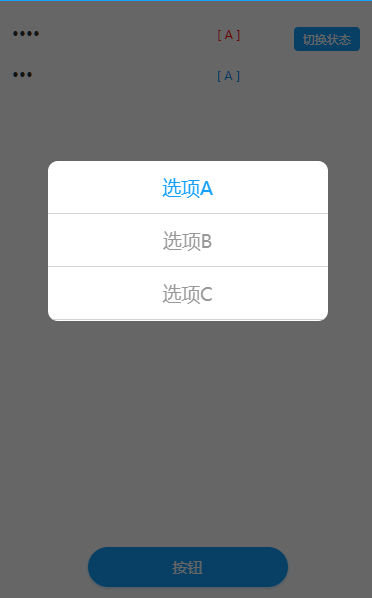
效果图
wxml
给需要点击的view增加事件
bindtap=
"goAlert"
<!-- 弹框 -->
 <view class='bg' wx:if="{{alert==1}}">
    <view class='bg-alert'>
        <view  wx:for="{{alertLlist}}"  data-index='{{index}}' class="{{selected==index?'show-alert':'hidden-alert'}}" bindtap='selected'>{{item}}</view>
    </view>
</view>
wxss
/*弹窗  */
.bg{
  width: 100%;
  height: 100%;
  position: fixed;
  top: 0rpx;
  left: 0rpx;
  background: rgba(0, 0, 0, 0.6)
}
.bg-alert{
  width:560rpx;
  height: 320rpx;
  background-color: #fff;
  border-radius: 20rpx;
  margin: 320rpx auto;
}
.gb-txt{
  height: 106rpx;
  border-bottom: 2rpx solid #d2d3d5;
  text-align: center;
  line-height: 106rpx;
}
.show-alert{
  color: #14a1fd;
  height: 106rpx;
  border-bottom: 2rpx solid #d2d3d5;
  text-align: center;
  line-height: 106rpx;
}
.hidden-alert{
  color: #999;
  height: 106rpx;
  border-bottom: 2rpx solid #d2d3d5;
  text-align: center;
  line-height: 106rpx;
}
js
Page({

/**
* 页面的初始数据
*/
data: {
alert: 0,
alertLlist: ['选项A', '选项B','选项C'],
selected: 0,
index:0
},
selected: function (e) {
// console.log(e)
let that = this
let index = e.currentTarget.dataset.index
// console.log(index)
if (index == 0) {
that.setData({
selected: 0,
alert: 0
})
} else if (index == 1) {
that.setData({
selected: 1,
alert: 0
})
} else{
that.setData({
selected: 2,
alert: 0
})
}
},
goAlert :function (){
let that = this
that.setData({
alert:1
})
},