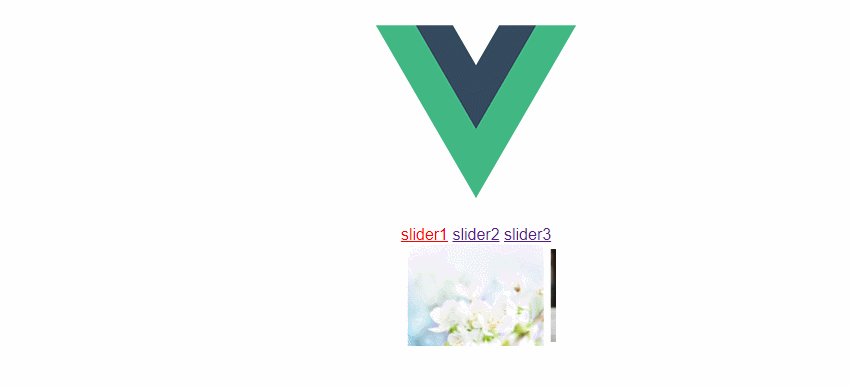
vue开发中遇到这样一个需求实现导航栏和中间内容相结合实现页面滑动导航跟随改变的效果。看效果:

这里我用的是vue所带的插件:vue-awesome-swiper,传送门:https://www.npmjs.com/package/vue-awesome-swiper
这个api纯英文,不过不是很难理解,大家只需要看那些地方有需要,可以copy=>paste到自己的地方。
准备:
1.node 环境 vue环境
2.vue init webpack project
3.npm install vue-awesome-swiper
这里讲解下上述demo的实现的思路
一:首先需要先实现导航的点击变色
这个我们只需要添加自定义属性,分别给定下标0,1,2添加同一个点击事件。
通过传值$event获得自定义属性,但后动态添加类名,给改类名设置样式即可。
二:我们要实现点击导航滑块滑倒对应的位置
我们只需要调用api:this.swiper.slideTo(res.target.dataset.current, 1000, false);第一个参数为下标,1000=1s
点击的下标赋给第一个参数即可实现点击导航到对应的滑块。
三:实现滑块滑动改变data属性,改变类名所依赖的判断:
这里我们可以给最外层的swiper标签添加属性:@slideChangeTransitionEnd="moveEnd('滑块移动结束')"
通过调用moveEnd,再滑块结束后通过this.swiper获取元素当前的下标记得是activeIndex;
然后将改为类名所以来的virtualDom即可。
思路整理就是这样,下面附上主要代码:
main.js:
// The Vue build version to load with the `import` command
// (runtime-only or standalone) has been set in webpack.base.conf with an alias.
import Vue from 'vue'
import App from './App'
import router from './router'
import VueAwesomeSwiper from 'vue-awesome-swiper'
import 'swiper/dist/css/swiper.css'
Vue.use(VueAwesomeSwiper, /* { default global options } */)
Vue.config.productionTip = false

/* eslint-disable no-new */
new Vue({
el: '#app',
router,
components: { App },
template: '<App/>'
})
index.vue
<template>
  <div class="swiper">
    <a href="#" :class="currentTab==0?'focus':''" data-current="0" @click="switchTab('点击了slider1',$event)">slider1</a>
    <a href="#" :class="currentTab==1?'focus':''" data-current="1" @click="switchTab('点击了slider1',$event)">slider2</a>
    <a href="#" :class="currentTab==2?'focus':''" data-current="2" @click="switchTab('点击了slider1',$event)">slider3</a>
    <swiper :options="swiperOption" ref="mySwiper" @slideChangeTransitionEnd="moveEnd('滑块移动结束')">
      <swiper-slide v-for="(item, index) in slides" :key="index"><img :src="item"></swiper-slide>
    </swiper>
  </div>
</template>
<script>
  import { swiper, swiperSlide } from 'vue-awesome-swiper';
  export default{
    name: 'test2',
    data(){
      return {
        currentTab: 0,
        slides: [
          'https://timgsa.baidu.com/timg?image&quality=80&size=b9999_10000&sec=1511015180050&di=0d2ee92eead284e8133d6df07535d75a&imgtype=0&src=http%3A%2F%2Fimg.sc115.com%2Fuploads1%2Fsc%2Fjpgs%2F1512%2Fapic16988_sc115.com.jpg',
          'https://timgsa.baidu.com/timg?image&quality=80&size=b9999_10000&sec=1511015180167&di=7412fd486c47c15f1d27485be0d7bd28&imgtype=0&src=http%3A%2F%2Fwww.duoxinqi.com%2Fimages%2F2012%2F06%2F20120605_8.jpg',
          'https://timgsa.baidu.com/timg?image&quality=80&size=b9999_10000&sec=1511015180167&di=3bcedd33a30129b9951be2a81f9b505c&imgtype=0&src=http%3A%2F%2Fpic1.5442.com%2F2015%2F0420%2F06%2F05.jpg'
        ],
        //轮播config
        swiperOption: {
          // 如果自行设计了插件,那么插件的一些配置相关参数,也应该出现在这个对象中,如下debugger
          debugger: true,
//          autoplay: true,
//          loop: true,
          slidesPerView: "auto",//设置slider容器能够同时显示的slides数量(carousel模式)。可以设置为数字(可为小数,小数不可loop),或者 'auto'则自动根据slides的宽度来设定数量。loop模式下如果设置为'auto'还需要设置另外一个参数loopedSlides。
          centeredSlides: true,//<span style="color:rgb(68,68,68);font-family:'microsoft yahei';font-size:13px;">设定为true时,活动块会居中,而不是默认状态下的居左。</span>
          hashNavigation: true,
        }
      }
    },
    methods: {
      switchTab: function (prompt,res) {
//        console.log(prompt,res.target.dataset.current);
        this.currentTab = res.target.dataset.current;
        this.swiper.slideTo(res.target.dataset.current, 1000, false)
      },
      moveEnd: function(prompt){
        console.log(prompt);
        let oIndex = this.swiper.activeIndex;
        console.log(oIndex);
        this.currentTab = oIndex;
//        if(oIndex <= 2) {
//          this.currentTab = oIndex;
//        } else {
//          this.currentTab = oIndex - 3;
//        }
      }
    },
    mounted() {
      console.log('this is current swiper instance object', this.swiper);
    },
    components: {
      swiper,
      swiperSlide
    },
    computed: {
      swiper () {
        return this.$refs.mySwiper.swiper
      }
    }
  }

</script>
<style scoped>
.swiper {
  margin: 10px auto;
  width: 10rem;
  height: 6.4rem;
  /*overflow: hidden;*/
}
  .swiper .swiper-slide {
    width: 8.53rem;
    height: 6.4rem;
  }
  .swiper-slide.swiper-slide-active img{
    margin-top: 0;
    width: 100%;
    height: 100%;
  }
  .swiper img {
    display: block;
    margin: 0 auto;
    margin-top: 3.5%;
    width: 90.635%;
    height: 90.625%;
    vertical-align: middle;
    -webkit-transition: all .5s ease 0s;
    -moz-transition: all .5s ease 0s;
    -ms-transition: all .5s ease 0s;
    -o-transition: all .5s ease 0s;
    transition: all .5s ease 0s;
  }
  .focus {
    color: red;
  }
</style>
总结至此,vue实现轮播图的添加算完成,希望对小伙伴们有用,记得点赞哦。