版权声明:本文为博主原创文章,未经博主允许不得转载。 https://blog.csdn.net/mn_is_me/article/details/79485549
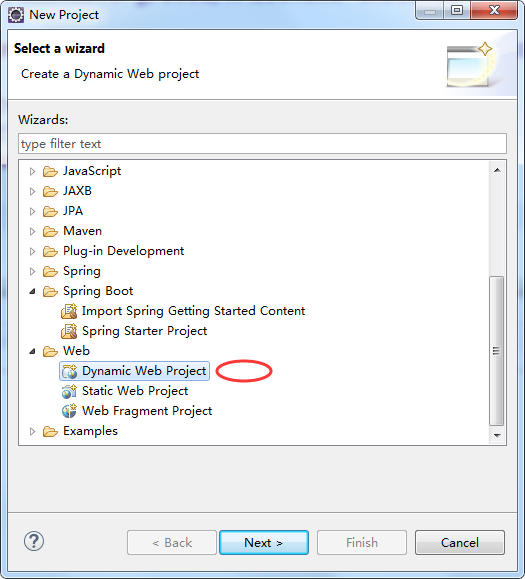
1、首先创建一个web项目
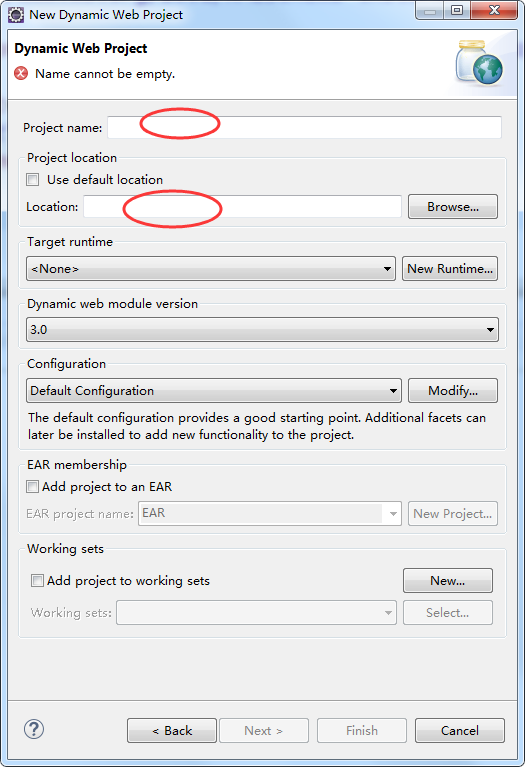

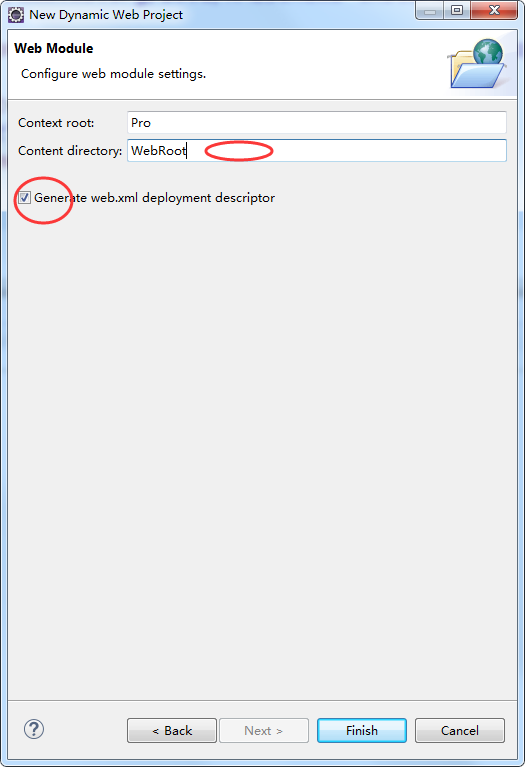
文件路径按照自己喜好改变 选择打钩的地方 可以自动创建web.xml
2、建一个studen类
public class Student {
	public String uname;
	public int age;
	public String getUname() {
		return uname;
	}
	public void setUname(String uname) {
		this.uname = uname;
	}
	public int getAge() {
		return age;
	}
	public void setAge(int age) {
		this.age = age;
	}

}
3、web.xml
<?xml version="1.0" encoding="UTF-8"?>
<web-app version="2.5"
    xmlns="http://java.sun.com/xml/ns/javaee"
    xmlns:xsi="http://www.w3.org/2001/XMLSchema-instance"
    xsi:schemaLocation="http://java.sun.com/xml/ns/javaee
    http://java.sun.com/xml/ns/javaee/web-app_2_5.xsd">
    <!-- 应用程序Spring上下文配置 -->
    <context-param>
  	<param-name>contextConfigLocation</param-name>
  	<param-value>classpath*:applicationContext.xml</param-value>
  </context-param>

    <!-- spring上下文加载监听器 -->
    <listener>
  	<listener-class>org.springframework.web.context.ContextLoaderListener</listener-class>
  </listener>
  <welcome-file-list>
    <welcome-file>index.jsp</welcome-file>
  </welcome-file-list>
</web-app>
4.applicationContext.xml 放src下
<?xml version="1.0" encoding="UTF-8"?>
<beans xmlns="http://www.springframework.org/schema/beans"

    xmlns:xsi="http://www.w3.org/2001/XMLSchema-instance"

    xsi:schemaLocation="http://www.springframework.org/schema/beans http://www.springframework.org/schema/beans/spring-beans-3.0.xsd"

    default-lazy-init="false" default-autowire="byName">
    <bean id="student" class="test.Student">
        <property name="uname" value="123"/>
    </bean>
</beans>
5、测试
import org.springframework.context.ApplicationContext;
import org.springframework.context.support.ClassPathXmlApplicationContext;

public class Test {
	public static void main(String[] args) {
		ApplicationContext ac=new ClassPathXmlApplicationContext("applicationContext.xml");
	    Student user =(Student)ac.getBean("student");
	    System.out.println(user.uname);
	}
}
6、运行成功
