版权声明:本文为博主原创文章,未经博主允许不得转载。 https://blog.csdn.net/Tomwildboar/article/details/82422485
目的:使用springboot启动tomcat
第一种:(了解就好,基本只是测试的时候用一下)
启动单个的controller 代码如下
package com.xdx97.controller;

import org.springframework.boot.SpringApplication;
import org.springframework.boot.autoconfigure.EnableAutoConfiguration;
import org.springframework.web.bind.annotation.RequestMapping;
import org.springframework.web.bind.annotation.RestController;

@RestController  //表示该类中的所有方法都会返回json格式   不是springboot提供的
//@RestController  + @Controller +  @ResponseBody
@EnableAutoConfiguration  // 自动配置:扫包范围在当前页面
public class TestController {
    @RequestMapping("/index")
    public String index() {
        System.out.printf("111");
        return "{\"project\":\"bbb\"}";
    }

    //运行这个方法就启动了
    public static void main(String[] args){
        //整个程序的入口
        SpringApplication.run(TestController.class,args);
    }
}
这种方法启动的,只能启动这一个controller。
第二种:相当于第一种的抽取。
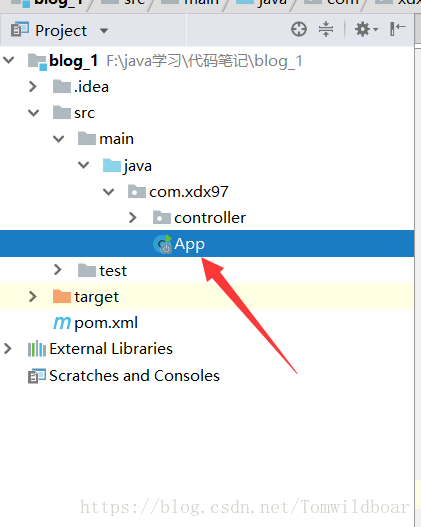
2-1:我们在和controller平级下面建立一个App.java (使用idea创建maven项目的时候,会自动创建好了)
package com.xdx97;

import org.springframework.boot.SpringApplication;
import org.springframework.boot.autoconfigure.EnableAutoConfiguration;
import org.springframework.context.annotation.ComponentScan;

@EnableAutoConfiguration
//这个注释是扫面这个包
@ComponentScan("com.xdx97.controller")
public class App
{
    public static void main( String[] args )
    {
        SpringApplication.run(App.class,args);
    }
}
当你运行这个方法。 那个com.xdx97.controller 下面的所有controller都运行成功了。