首先使用脚手架工具vue-cli快速创建vue项目时,可以直接安装vue-router。
项目创建完成后,项目文件src/router/index.js是设置路由的核心文件。其中引入Vue、vue-router和组件,数组routes来配置路由。
import Vue from 'vue'
import Router from 'vue-router'
import HelloWorld from '@/components/HelloWorld'
import TestRouter from '@/components/TestRouter'

Vue.use(Router)

export default new Router({
  routes: [
    {
      path: '/',
      name: 'Hello',
      component: HelloWorld
    },
    {
      path: '/test',
      name: 'test',
      component: TestRouter
    }
  ]
})
HelloWorld组件:
<template>
  <div class="hello">
    <h1>{{ msg }}</h1>
  </div>
</template>

<script>
export default {
  name: 'HelloWorld',
  data () {
    return {
      msg: 'Hello World!'
    }
  }
}
</script>

<!-- Add "scoped" attribute to limit CSS to this component only -->
<style scoped>
h1, h2 {
  font-weight: normal;
}

ul {
  list-style-type: none;
  padding: 0;
}

li {
  display: inline-block;
  margin: 0 10px;
}

a {
  color: #42b983;
}
</style>
TestRouter组件:
<template>
  <div class="test">
    <h1>{{msg}}</h1>
  </div>
</template>
<script type="text/ecmascript-6">
  export default {
    data () {
      return {
        msg: 'Testing Router!'
      }
    }
  }
</script>
<style>

</style>
App组件:
<template>
  <div id="app">
    <img src="./assets/logo.png">
    <router-view/>
  </div>
</template>

<script>
export default {
  name: 'app'
}
</script>

<style>
#app {
  font-family: 'Avenir', Helvetica, Arial, sans-serif;
  -webkit-font-smoothing: antialiased;
  -moz-osx-font-smoothing: grayscale;
  text-align: center;
  color: #2c3e50;
  margin-top: 60px;
}
</style>其中设置了俩个路由,内容在App.vue中的<router-view>组件来渲染,然后App组件挂载到index.html页面的id为app的div上。
此时运行程序,浏览器显示如下: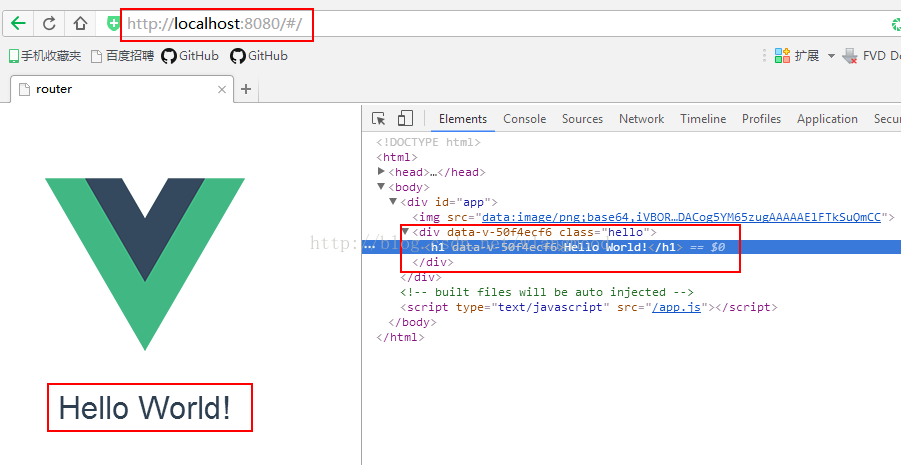
当访问http://localhost:8080/#/时,<router-view>渲染的是HelloWorld组件,所以页面显示Hello World!
当访问http://localhost:8080/#/test时,<router-view>渲染的是TestRouter组件,所以页面显示Testing Router!
现在已经可以通过修改地址来访问不同的页面内容了,那能不能通过导航链接的方式来访问不同的页面内容呢?
<router-link>组件就是为其而生的,通过to属性指定目标地址。
在App组件中添加
<router-link to="/">hello</router-link>
<router-link to="/test">test</router-link>
实现路由的切换。浏览器展示如下:
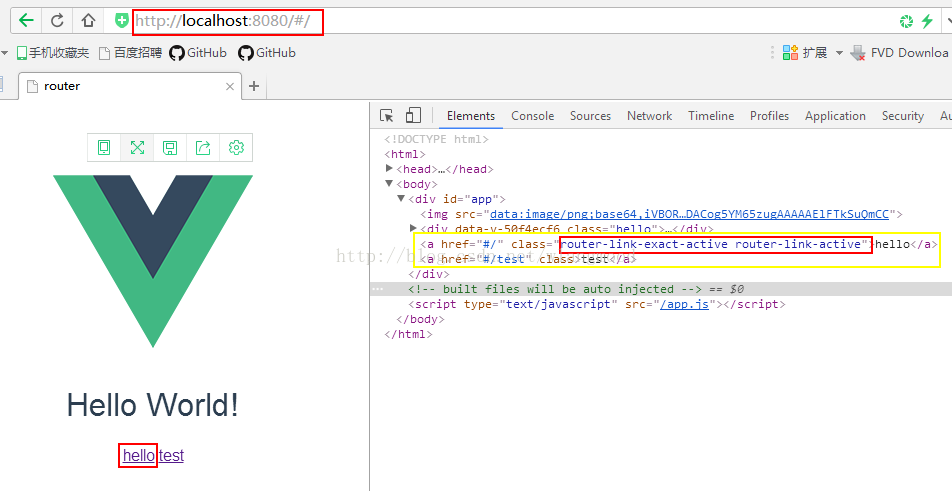
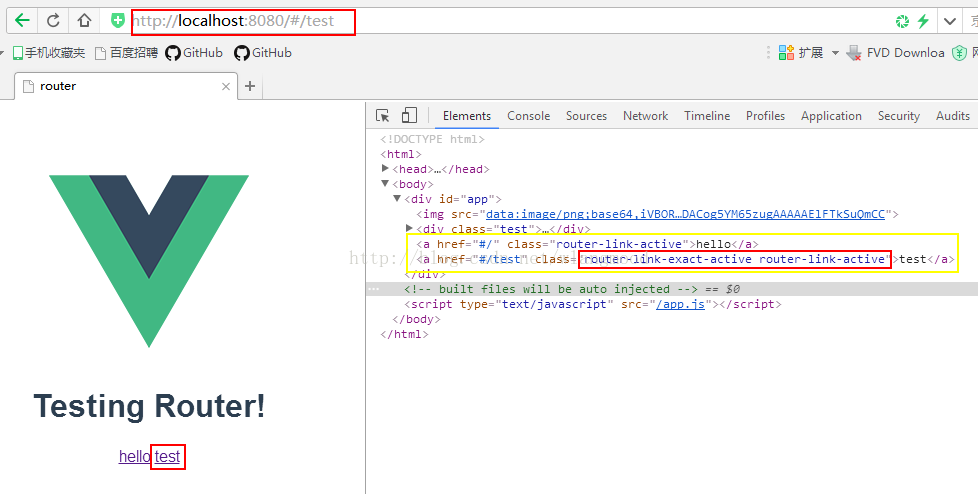
<router-link>被渲染成了带有正确链接的a标签,目标路由成功激活后,a链接自动添加了表示激活的css类名。
router-link-active是<router-link>默认激活class类名的默认值,router-link-exact-active是<router-link>默认精确激活class类名的默认值。可以通过设置router-link-exact-active的样式来呈现选中状态下的路由样式。
路由的简单思路基本实现了,但是其中还是有几个问题先提出来,后续来解决:
1、http://localhost:8080/#/test地址中为什么会有#?
2、设置路由时name有什么作用,其实我们根本没用到?
3、<router-link>中的to属性是否有其他的书写形式?如果目标链接上有参数时如何书写?
本文参考 技术胖博客 vue-router官网