写在前面
关于目的
这是一篇介绍如何在云服务器上搭建LNMP环境的指北南
内容基于我近一段时间来的学习和实践,所以有些内容会和网上其他文章有重复,所以说本文目的在于通过前辈们的知识,并且尽量清晰的总结出一套行之有效的方法。
关于LNMP
LNMP = Linux + Nginx + MySQL + PHP
其实能进来看这个的应该都找到LNMP是啥,所以我就不多说了~
真有不知道的可以LNMP。
操作环境
- 服务器: 百度云(1核/1GB/20GB/普通型)
- 操作系统: CentOS7.2
- 本地计算机: Windows7 + putty
关于以上:
关于云服务器:用的是百度首月九块九的最便宜的云服务器,其实无论是什么服务器在操作上并没有什么区别。
关于服务器操作系统:这个可能有一定影响,本文只适合在CentOS7以上的版本操作,其他什么Ubuntu之类的并不适用,而且对于CentOS6.X也有些操作指令上的区别。
关于本地计算机:就是普通Windows7,安装了putty(下面会说)没什么影响~
下面开始正文~
准备
服务端
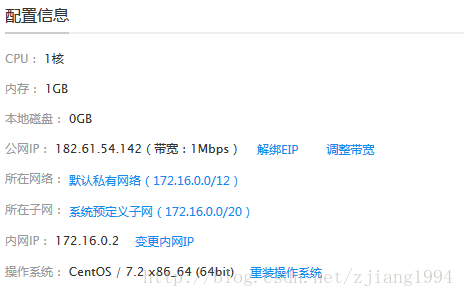
首先,你需要一台云服务器,具体是哪个公司的并没有什么区别,我用的是这种:

我的快过期了╮(╯▽╰)╭
然后确认一下操作系统:CentOS / 7.2 x86_64 (64bit)
每个云服务器提供商的控制台都可以重装系统,类是这样:

这样,我们就能确保有一个最基础的服务器环境了~
本地
搞定了云服务器,我们就要在本机链接、操作服务器,如何实现那~
有很多软件可以远程链接服务器比如xshell、putty等等。
这里我选择putty,特别小也不用安装,解压即用~
下载链接网上有很多,解压后是这样:
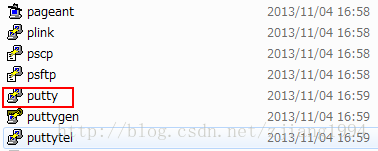
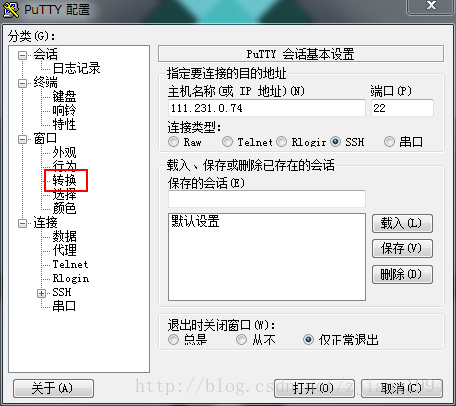
上图标红的就是我们要用的,打开它是这样:
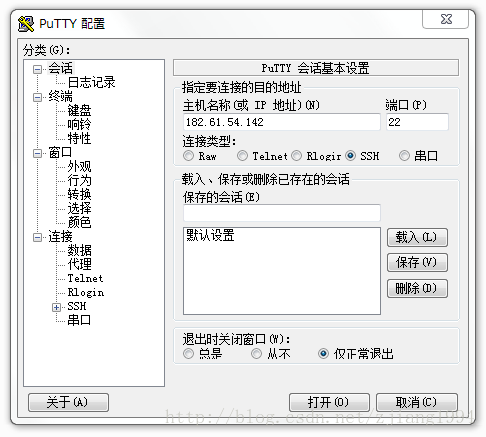
在主机名称中输入你的公网IP,我的是182.61.54.142(你可以在云服务器的提供商处获得)
在端口处输入22(22是ssh端口)
点击打开
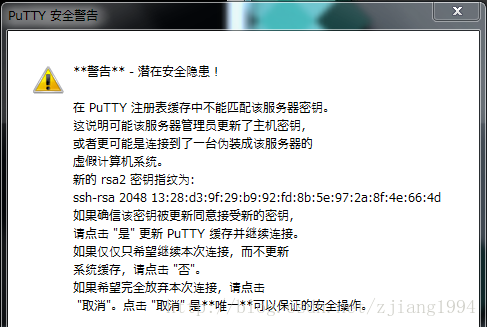
首次登陆会出现安全提示,点击是:
然后按提示输入用户名和密码(用户名和密码就是上面重装系统设置的)~
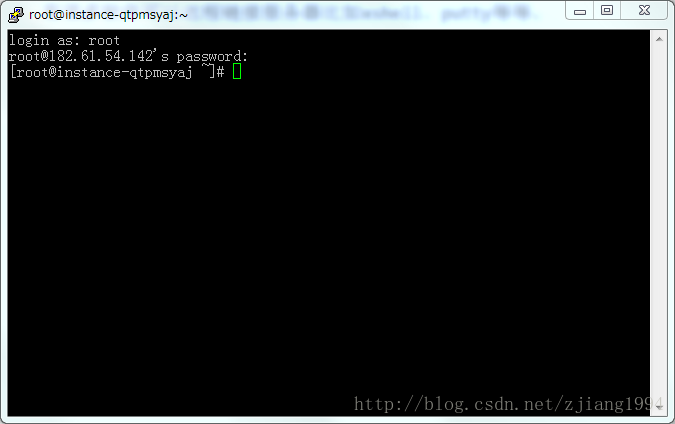
这样就和云服务器链接成功了~
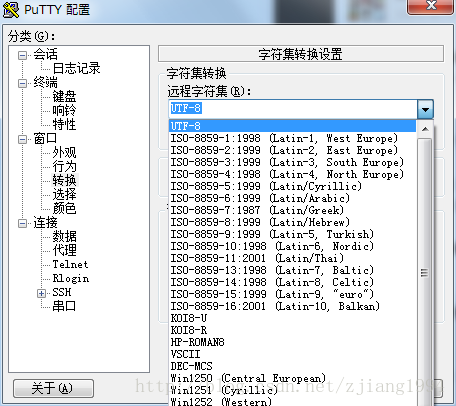
这里多说一句,有些时候在putty终端可能出现乱码,类似这样:

是因为字符集不匹配的原因,为了防止这个,我们可以修改一下字符集,改为UTF-8
方法是选择左边框的转换,
然后再右边远程字符集中选择UTF-8
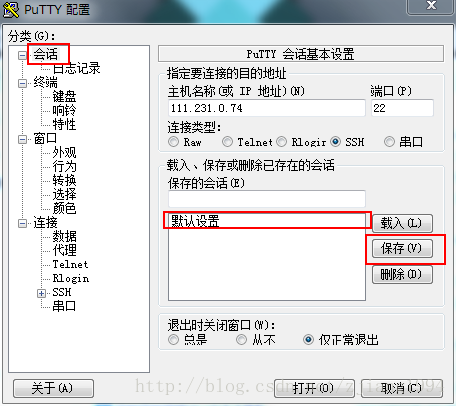
然后回到”会话”界面点击”默认设置”再点击”保存”这样就不会乱码了。
安装
Nginx
下面进入正式的搭建环节,第一步我们安装N – Nginx。
关于Nginx也可以参考我的另一篇博客:Nginx的安装与配置(PHP)
在CentSO上,我习惯使用yum来安装程序,
关于yum,可以参考我的另一篇博客yum常用命令,本文只说明涉及到的部分。
首先通过yum安装Nginx:
#使用yum安装,-y表示对所有的提问都回答“yes”,install为安装指令
yum -y install nginx
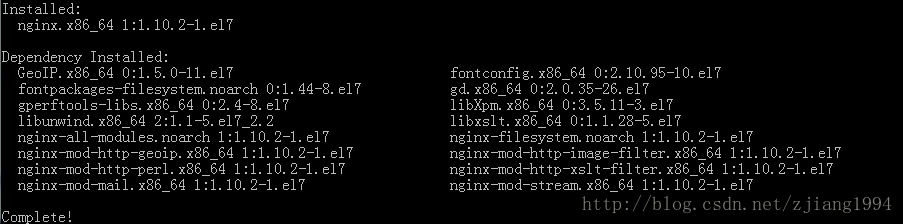
安装成功~
接下来测试一下Nginx的状态:
- 首先启动Nginx:
# 启动nginx服务
systemctl start nginx.service
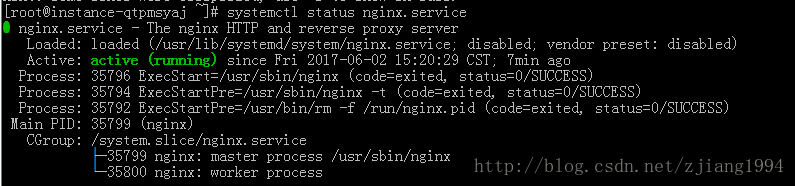
- 检查一下nginx.service是否启动
# 检查服务状态
systemctl status nginx.service
如下,显示Nginx启动成功:
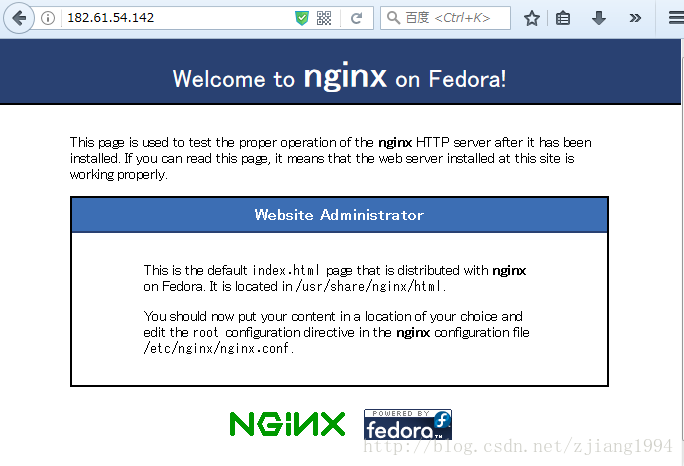
这时,在浏览器输入你的公网ip地址会显示Nginx的欢迎页面~
MySQL
接下来是M – MySQL
因为CentOS7 版本将MySQL数据库软件从默认的程序列表中移除了,所以直接使用yum并不能正常的安装MySQL,使用我们需要自己导入MySQL的yum源。
在MySQL官网,我们可以找到yum源的链接:
选择一个版本的rpm文件:
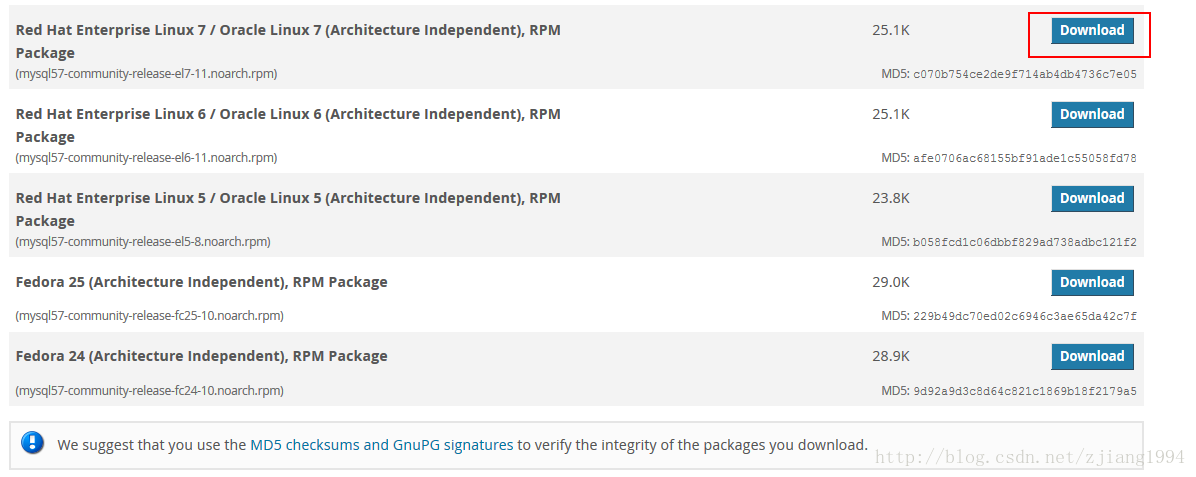
在下方的No thanks, just start my download.上右键复制链接地址:
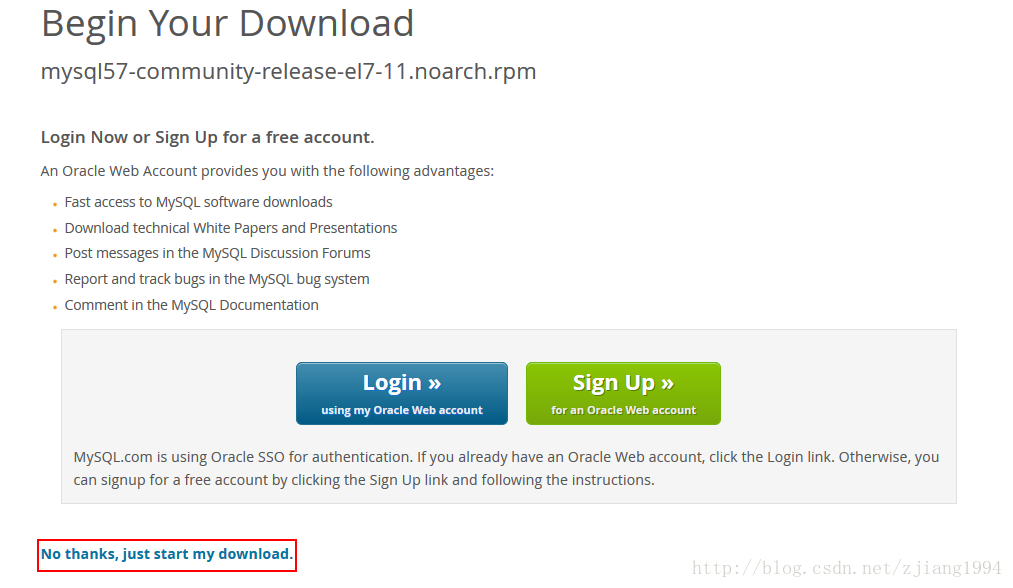
然后再putty中输入:
# wget 下载文件 后边是你复制的链接
wget https://dev.mysql.com/get/mysql57-community-release-el7-11.noarch.rpm
下载成功:
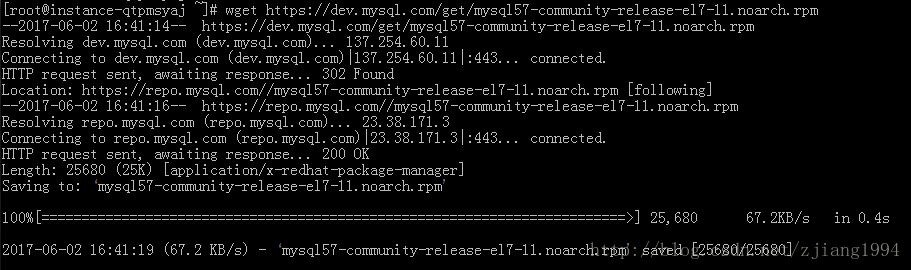
可以看到下载的文件为mysql57-community-release-el7-11.noarch.rpm
然后导入这个源(其实就是安装这个包)
# localinstall 安装本地rpm包 后面是包的名字
yum -y localinstall mysql57-community-release-el7-11.noarch.rpm

这样yum的MySQL库就导入成功了~我们可以通过这个源安装MySQL
# mysql-community-server是这个库的名字
yum -y install mysql-community-server
这个很慢,慢慢等吧╮(╯▽╰)╭
安装完成后我们来配置MySQL的用户信息。
# 启动MySQL服务
systemctl start mysqld
启动之后我们需要MySQL的初始密码,
MySQL5.7不同于之前,会在root目录下生产一个.mysql_secret来放置随机初始密码,但是比较方便的获得方法是在log文件中搜索。
grep 'temporary password' /var/log/mysqld.log

这样就会得到root的密码(我的是:78NLh3:DGh2),然后我们重新设置它:
# 使用MySQL安全配置向导
mysql_secure_install
然后你会看经历下面流程:
[root@instance-qtpmsyaj bin]# mysql_secure_installation

Securing the MySQL server deployment.

Enter password for user root:                # 这里需要你输入过程的随机密码

The existing password for the user account root has expired. Please set a new password.

New password:                               # 设置新的密码

Re-enter new password:                     # 在输入一遍密码
#这是密码验证的提示,验证你密码的强度
The 'validate_password' plugin is installed on the server.
The subsequent steps will run with the existing configuration
of the plugin.
Using existing password for root.
# 这里是你的密码强度,我的是100
Estimated strength of the password: 100
# 问你是否要改变你的密码y就是改变,其他就是不改变
# (这里不改变的意思就是用你刚才输入的密码)
Change the password for root ? ((Press y|Y for Yes, any other key for No) : n
#  不改变

 ... skipping.

By default, a MySQL installation has an anonymous user,
allowing anyone to log into MySQL without having to have
a user account created for them. This is intended only for
testing, and to make the installation go a bit smoother.
You should remove them before moving into a production
environment.

Remove anonymous users? (Press y|Y for Yes, any other key for No) : y
 # 是否删除匿名用户,生产环境建议删除y
 ... skipping.


Normally, root should only be allowed to connect from
'localhost'. This ensures that someone cannot guess at
the root password from the network.

Disallow root login remotely? (Press y|Y for Yes, any other key for No) : n
# 是否禁止root远程登录,不禁止  n
 ... skipping.
By default, MySQL comes with a database named 'test' that
anyone can access. This is also intended only for testing,
and should be removed before moving into a production
environment.


Remove test database and access to it? (Press y|Y for Yes, any other key for No) : y    # 是否删除test数据库,删除 y
 - Dropping test database...
Success.

 - Removing privileges on test database...
Success.

Reloading the privilege tables will ensure that all changes
made so far will take effect immediately.

Reload privilege tables now? (Press y|Y for Yes, any other key for No) : y
Success.  # 是否重新加载权限表  y

All done!
这样就完成了,总结一下就是输入
随机密码->新密码->新密码->n->y->n->y->y
这样MySQL就安装配置成功了~
PHP
接下来安装P – PHP。
和MySQL类似yum没有PHP5.6或者PHP7的源,需要自己下载…
我们可以使用webstatic的源。
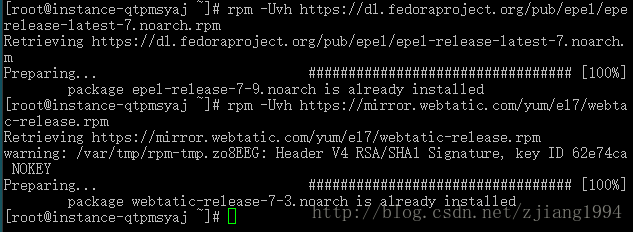
上面是官方文档~根据里面说的,如下安装:
# 引入源
rpm -Uvh https://dl.fedoraproject.org/pub/epel/epel-release-latest-7.noarch.rpm
rpm -Uvh https://mirror.webtatic.com/yum/el7/webtatic-release.rpm
# 安装 PHP7
yum -y install php70w php70w-opcache
# 安装 php-fpm
yum -y install php70w-fpm php70w-opcache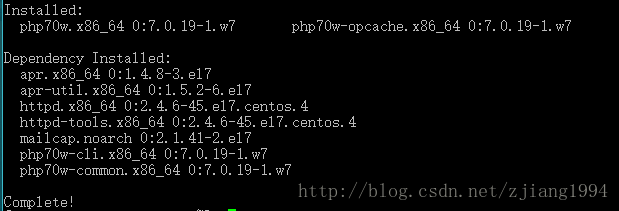

接下来我们测试一下安装是否成功:
首先是PHP
# 查看php版本
php -v

成功了~
然后是php-fpm
# 启动服务
systemctl start php-fpm.service

# 查看php-fpm.service状态
systemctl status php-fpm.service

同样成功了~
这样LNMP的各个部分就都已经安装完成了,接下来是让他们联动~~
联动
Nginx+PHP
首先,我们将环境需要的服务全部锁定成开机自动启动:
systemctl enable nginx.service
systemctl enable php-fpm.service
systemctl enable mysqld.service
然后我们修改一下Nginx的配置文件
# 使用vim 打开nginx.conf(这是nginx的配置文件,默认路径)
vim /etc/nginx/nginx.conf

# 这里也可以搜索一下位置locate nginx.conf然后再打开

打开后是这种:(注释是我加的)
详细的nginx的安装和配置可以看Nginx的安装与配置(PHP)
# nginx运行的用户名
user nginx;
# nginx启动进程,通常设置成和cpu的数量相等,这里为自动
worker_processes auto;

# errorlog文件位置
error_log /var/log/nginx/error.log;
# pid文件地址,记录了nginx的pid,方便进程管理
pid /run/nginx.pid;

# Load dynamic modules. See /usr/share/nginx/README.dynamic.
# 用来加载其他动态模块的配置
include /usr/share/nginx/modules/*.conf;

# 工作模式和连接数上限
events {
    # 每个worker_processes的最大并发链接数
    # 并发总数:worker_processes*worker_connections
    worker_connections 1024;
}

# 与提供http服务相关的一些配置参数类似的还有mail
http {
    # 设置日志的格式
    log_format  main  '$remote_addr - $remote_user [$time_local] "$request" '
                      '$status $body_bytes_sent "$http_referer" '
                      '"$http_user_agent" "$http_x_forwarded_for"';

    # access_log记录访问的用户、页面、浏览器、ip和其他的访问信息
    access_log  /var/log/nginx/access.log  main;

    # 这部分下面会单独解释
    # 设置nginx是否使用sendfile函数输出文件
    sendfile            on;
    # 数据包最大时发包(使用Nagle算法)
    tcp_nopush          on;
    # 立刻发送数据包(禁用Nagle算法)
    tcp_nodelay         on;
    # 链接超时时间
    keepalive_timeout   65;
    # 这个我也不清楚...
    types_hash_max_size 2048;

    # 引入文件扩展名与文件类型映射表
    include             /etc/nginx/mime.types;
    # 默认文件类型
    default_type        application/octet-stream;

    # Load modular configuration files from the /etc/nginx/conf.d directory.
    # See http://nginx.org/en/docs/ngx_core_module.html#include
    # for more information.
    include /etc/nginx/conf.d/*.conf;

    # http服务上支持若干虚拟主机。
    # 每个虚拟主机一个对应的server配置项
    # 配置项里面包含该虚拟主机相关的配置。
    server {
        # 端口
        listen       80 default_server;
        listen       [::]:80 default_server;
        # 访问的域名
        server_name  _;
        # 默认网站根目录(www目录)
        root         /usr/share/nginx/html;

        # Load configuration files for the default server block.

        include /etc/nginx/default.d/*.conf;

        # 默认请求
        location / {
        }

        # 错误页(404)
        error_page 404 /404.html;
            location = /40x.html {
        }

        # 错误页(50X)
        error_page 500 502 503 504 /50x.html;
            location = /50x.html {
        }
    }
}
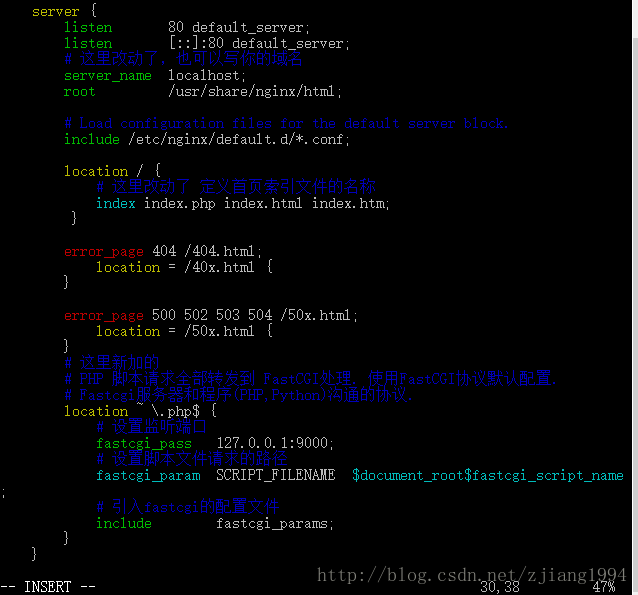
这里我们只需要改server部分:
先输入’i’进入编辑模式,然后按照下面标注的信息改动你的server部分。
如果实在不懂vim编辑器你可以在网上查一下方法。
server {
        listen       80 default_server;
        listen       [::]:80 default_server;
        # 这里改动了,也可以写你的域名
        server_name  localhost;
        root         /usr/share/nginx/html;

        # Load configuration files for the default server block.
        include /etc/nginx/default.d/*.conf;

        location / {
            # 这里改动了 定义首页索引文件的名称
            index index.php index.html index.htm;
        }

        error_page 404 /404.html;
            location = /40x.html {
        }

        error_page 500 502 503 504 /50x.html;
            location = /50x.html {
        }

        # 这里新加的
        # PHP 脚本请求全部转发到 FastCGI处理. 使用FastCGI协议默认配置.
        # Fastcgi服务器和程序(PHP,Python)沟通的协议.
        location ~ \.php$ {
            # 设置监听端口
            fastcgi_pass   127.0.0.1:9000;
            # 设置脚本文件请求的路径
            fastcgi_param  SCRIPT_FILENAME  $document_root$fastcgi_script_name;
            # 引入fastcgi的配置文件
            include        fastcgi_params;
        }
    }
修改完成后点击’Esc’键进入一般模式,然后输入’:wq’报保存信息并退出。
然后验证一下Nginx配置是否正确
# 重启一下nginx
systemctl restart nginx.service
# 验证配置文件
nginx -t

如图说明配置成功了~~
接下来我们要验证php文件是不是真正的可以再我们的环境里运行~
上面提过了/usr/share/nginx/html是Nginx的网站根目录,
所以我们再这个目录里建立一个php文件:
# 建立文件
# phpinfo.php是我要建立的文件名
vim /usr/share/nginx/html/phpinfo.php
进入vim界面后输入’i’进入编辑模式
然后输入如下信息:
<?php

phpinfo();
注:phpinfo();可以再页面显示php的信息。
然后点击’Esc’键进入一般模式,然后输入’:wq’报保存信息并退出。
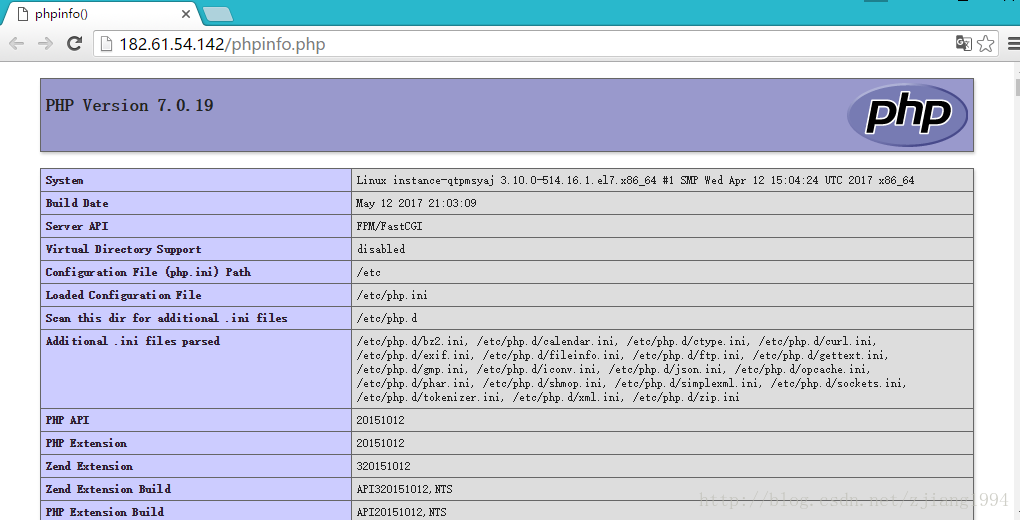
打开浏览器在地址栏输入服务器公网IP/phpinfo.php
显示如下页面表示配置成功:
MySQL+PHP
这里,为了方便管理数据库,我习惯使用phpMyAdmin来管理数据库。
# 首先安装phpmyadmin  就是简单的yum安装
yum -y install phpmyadmin
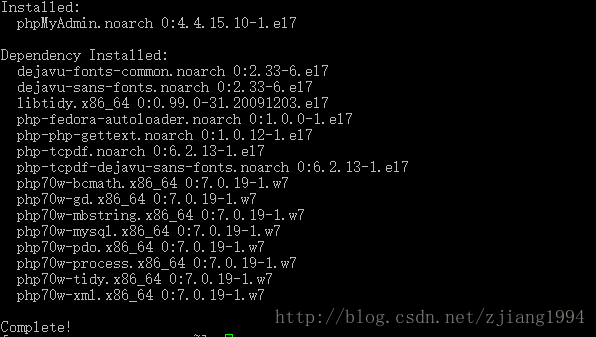
这里可以看到phpMyAdmin安装的同时还安装了很多php的模块,这就是yum的好处~
既然是在通过web方式控制和操作MySQL数据库,我们就需要把他放在我们网站的目录中。
# 将phpMyAdmin目录软连接到网站根目录中(类似于快捷方式)
ln -s /usr/share/phpMyAdmin/ /usr/share/nginx/html/phpmyadmin
# 查看一下是否成功
ls /usr/share/nginx/html/
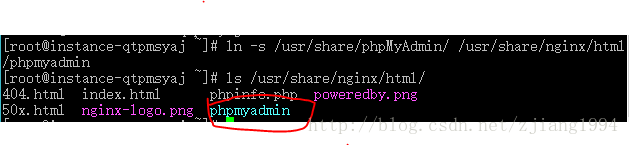
如图,连接成功了。
接下来需要修改PHP的配置,打开session服务
# 打开php.ini文件
vim /etc/php.ini
输入’/session.save_path’搜索信息
(在vim的一般模式中’/XXX’表示搜索XXX)
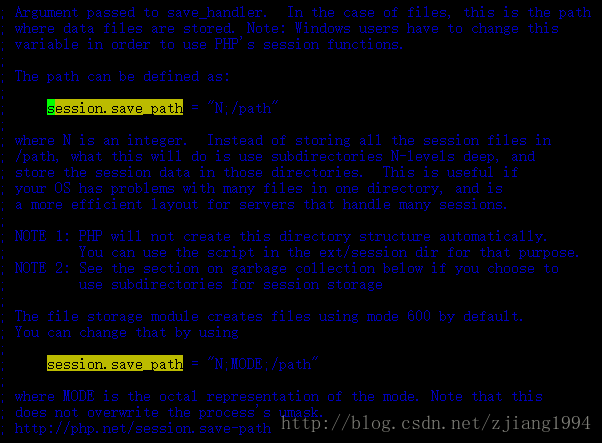
根据查找到的信息我们输入’i’进入编辑模式。
将
; session.save_path = "N;/path"
改为
session.save_path = “/var/lib/php/session”注意前面的分号!!!!
然后点击’Esc’键进入一般模式,然后输入’:wq’报保存信息并退出。
因为我们的服务器是Nginx,所以我们需要将目录的拥有者改为nginx然后更改文件夹权限
# chown 改变文件拥有者 -R 递归变更 账号名称:组名 目录
chown -R nginx:nginx /var/lib/php/session
# 开启文件夹的权限
chmod 777 /var/lib/php/session/
成功后重启服务:
systemctl restart nginx.service
systemctl restart php-fpm.service
打开浏览器输入服务器公网IP/phpmyadmin/
出现如下页面~~
可以用它管理数据库,用户名密码和mysql的相同。
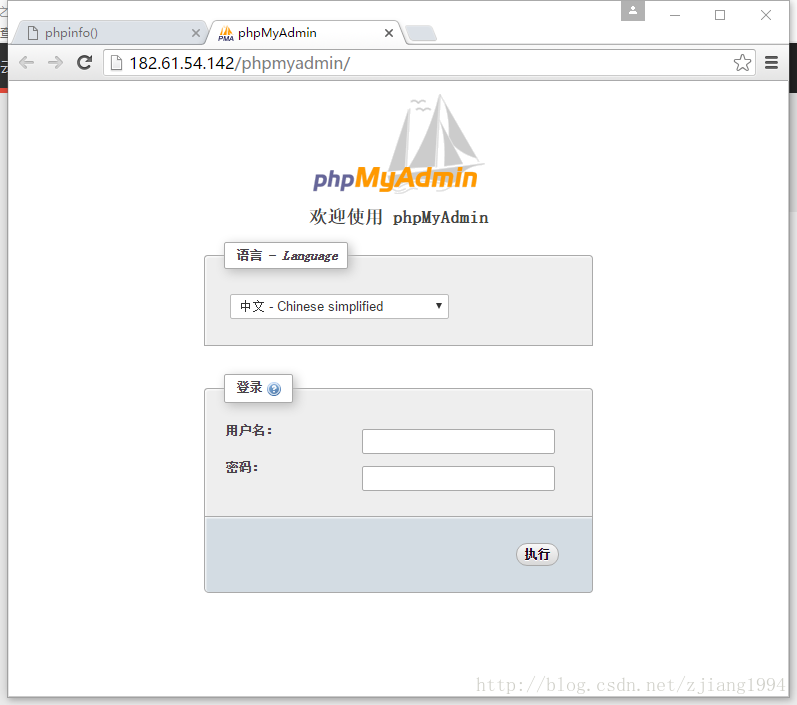
成功了~~
写在后面
经过上面操作我们就成功的在云服务器上搭建了LNMP环境。
| 项目 | 值 |
|---|---|
| 操作系统 | CentOS 7 |
| PHP版本 | 7.0 |
| MySQL版本 | 5.7 |
| 数据库管理 | phpMyAdmin |
| 网站跟目录 | /usr/share/nginx/html/ |
希望可以帮助看到这篇博客的人解决问题,个人感觉写太长了,看完的同学受累了。。。。